Good day, today this post is to give you an update on the little bit of work I’ve been doing on the S-51 project over the past few months. There hasn’t been much progress as I’ve got the push on to get the F1 Rocket wings finished and off the jig. When that’s done, the next steps are to start building the S-51 wings and fuselage as my next big projects. We’ll see how that goes… As of this writing (October 2024) I’m sealing and riveting up the F1 Rocket fuel tanks.
Building S-51 Sub-kits
Over the past number of months, I have done a little bit of work on the S-51, but not much of which is huge visual progress, but progress is progress. Partly in the process of cleaning up the shop and partly to prepare for the S-51 wing build, I started by pulling all of the 0.040 scrap pieces from my scrap metal bin. I wanted to use as much of those scraps as I could in an effort to make sub-kits based on the various S-51 wing drawings.
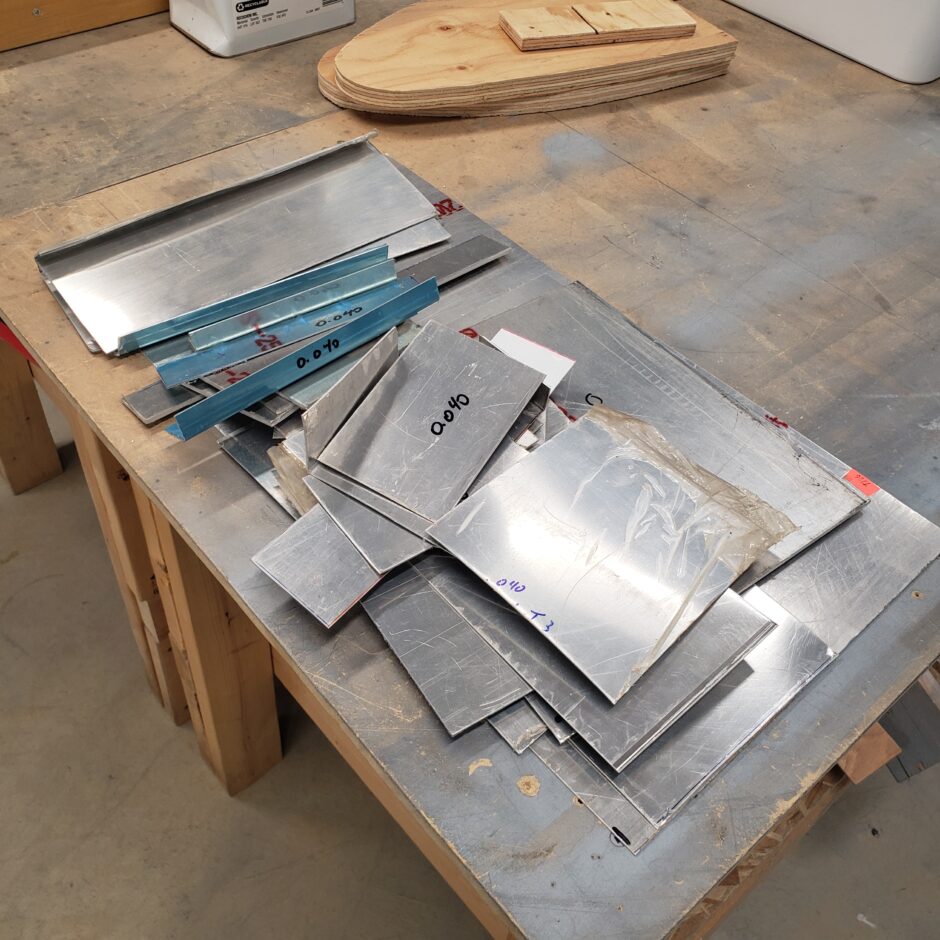
While the pieces below aren’t all from the scrap bin parts, I also had a few extra sheets of 0.040 kicking around that I was able to make a bunch of channels and angles out of. The parts below are mostly all for the firewall assembly. The larger sheet pieces are part of the wheel well assembly.
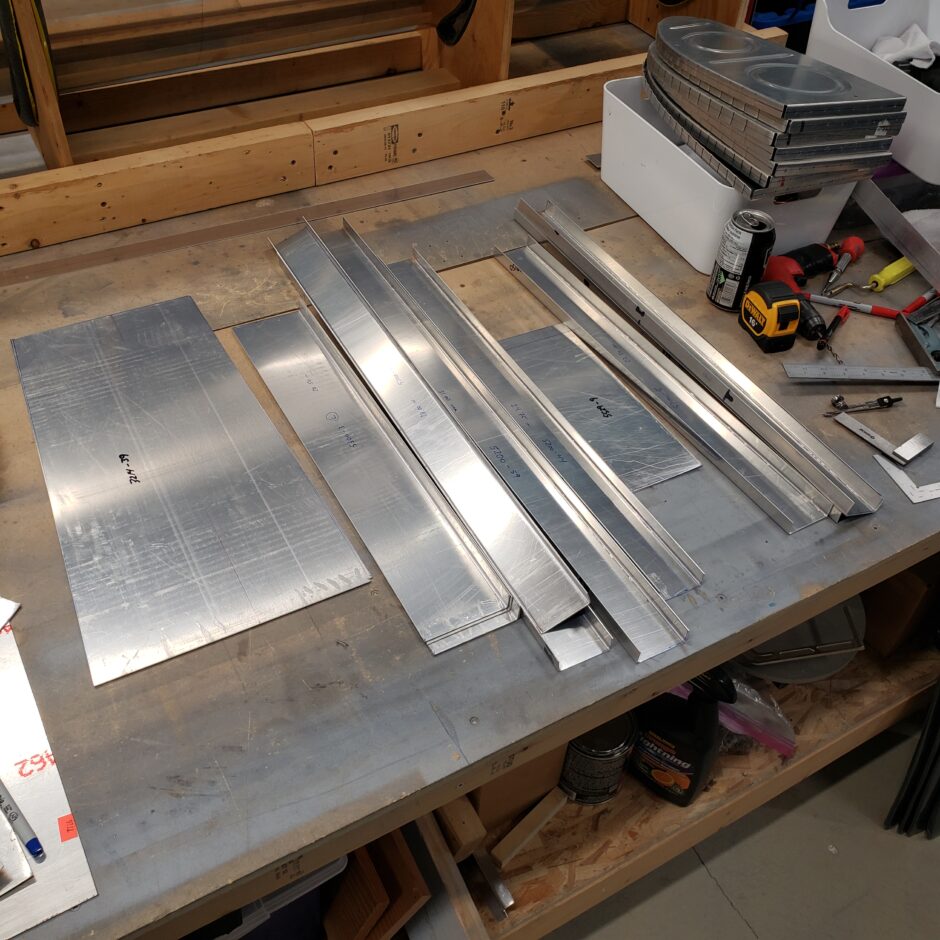
Here is another batch of parts I had cut and are ready to be bent into channel and angles.
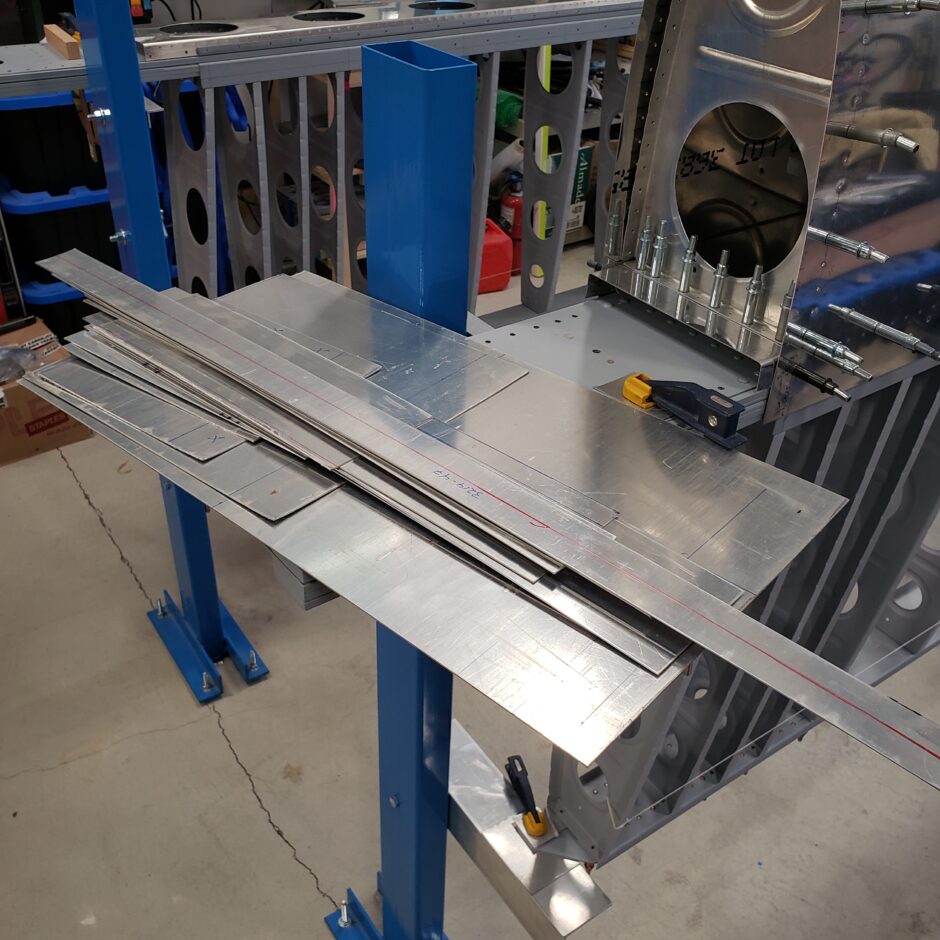
Ultimately what I did, was for each of various drawings, I made a material list showing each part on the specific drawing, the material, dimensions and number of items required. I used this basically as a work order to keep me organized in making the parts I needed. Some of the drawings I did this for were:
- Drawing # 3213 – Rib Assembly – Wing Station 53.00
- DWG 5300 – Firewall Assembly
- DWG 3212 – Wing Station 43.25
- DWG 3215 – Wing Pylon Attach
- DWG 5529 – Plate Assembly – Tailwheel Attach
- DWG 3214 – Wing – Wheel Well Assembly
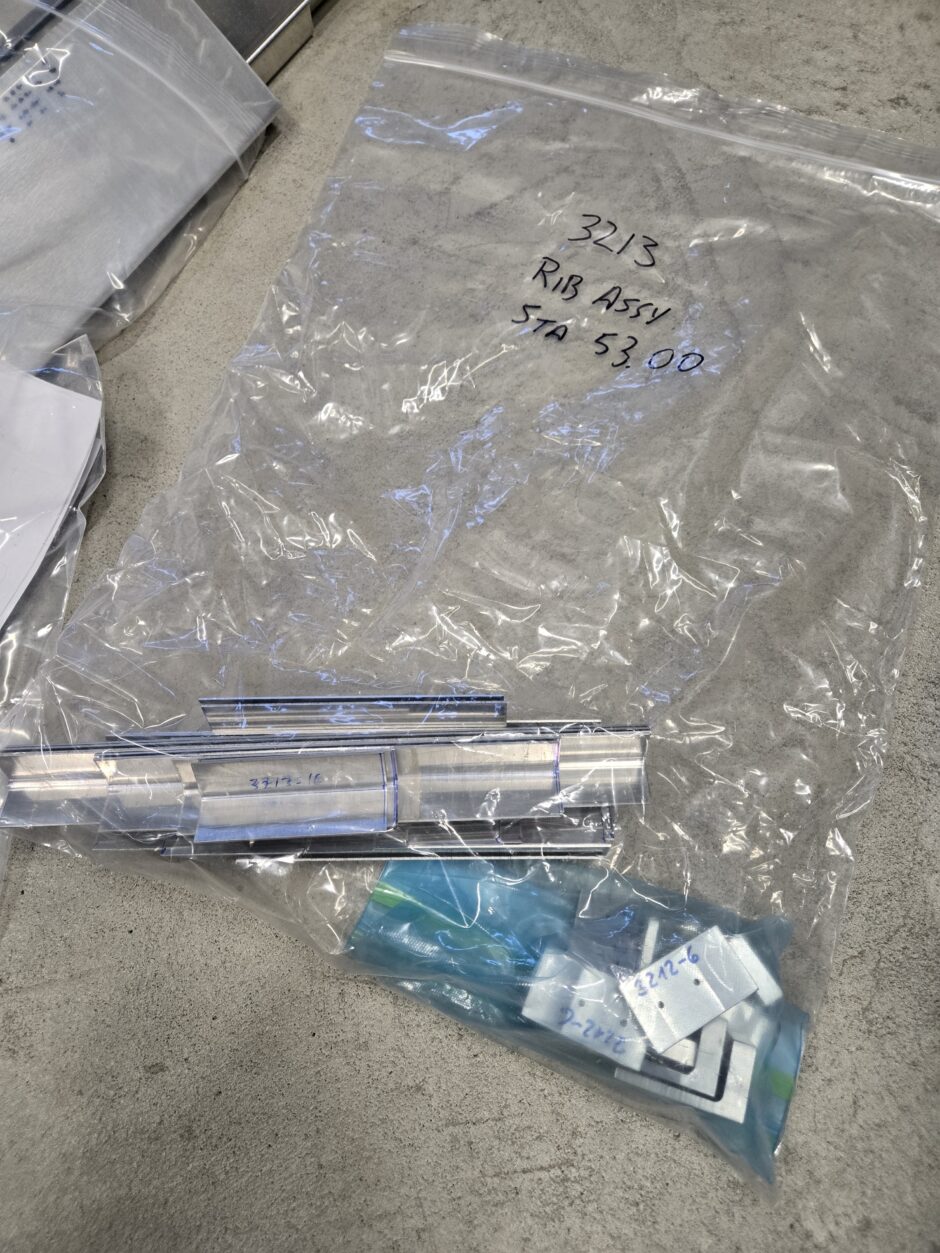
The picture below shows one of the “sub-kits” I’ve produced with the parts required for drawing 3213 – Rib Assembly at wing station 53.00. All the parts, when fabricated, are put into a bag, with a copy of my completed work order and a copy of the drawing. In the bag, you can see that I have a bunch of angles and some fittings that are specific to that drawing. My hope is that when I get to building the wings, these little sub-kits will same me a bunch of time when assembling.
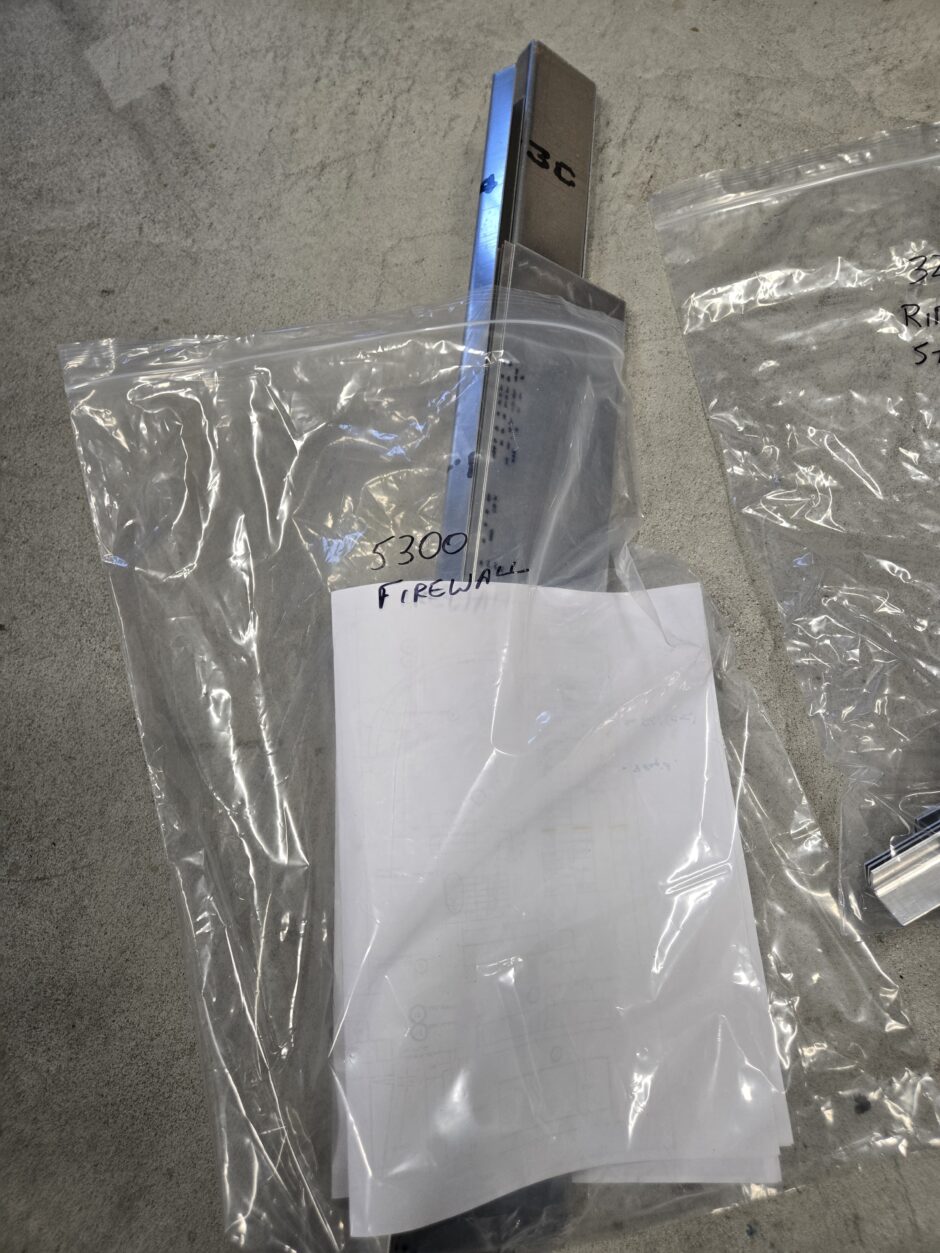
Here’s another example with my bag’o’parts for the firewall (Drawing 5300). It doesn’t quite show as much but you can see how I put the “work order” and a copy of the drawings in the bag.
Fuselage Jig Prepwork
The other thing I’ve been working away at here and there is to start getting all the steel parts ready that I need to build the fuselage jig. Every now and then when I’m in town passing by the Metal Supermarket, I cruise their scrap and off-cuts bins for some scrap metal that I can use for the fuselage jig.
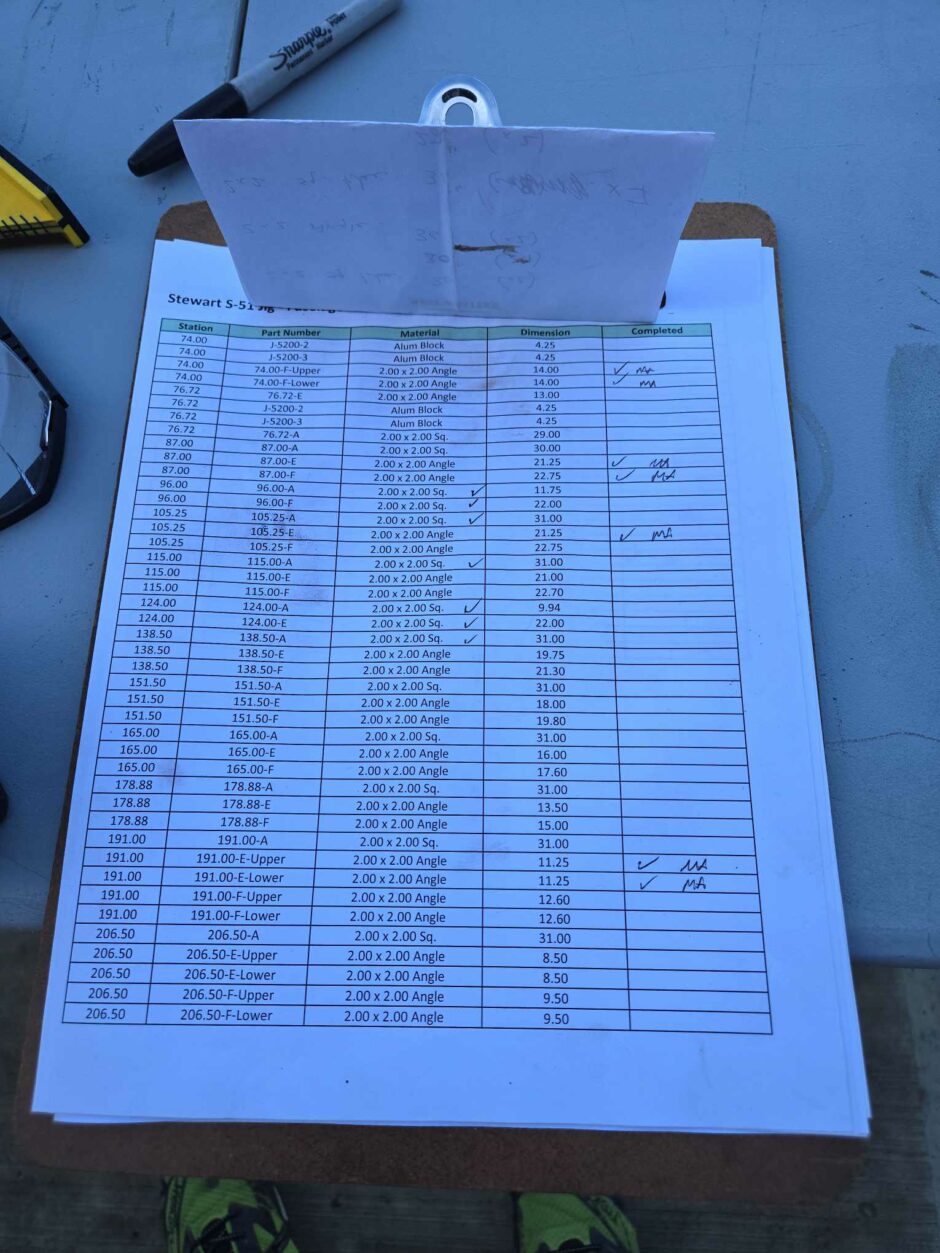
Again, I made up a sort of “work order” outlining all the individual pieces I need, sizes / dimensions, so that when I get some lengths of metal from the off-cuts bins, I can then cut them and identify them for the jig. The picture below shows the work order sheet with the individual parts that I need.
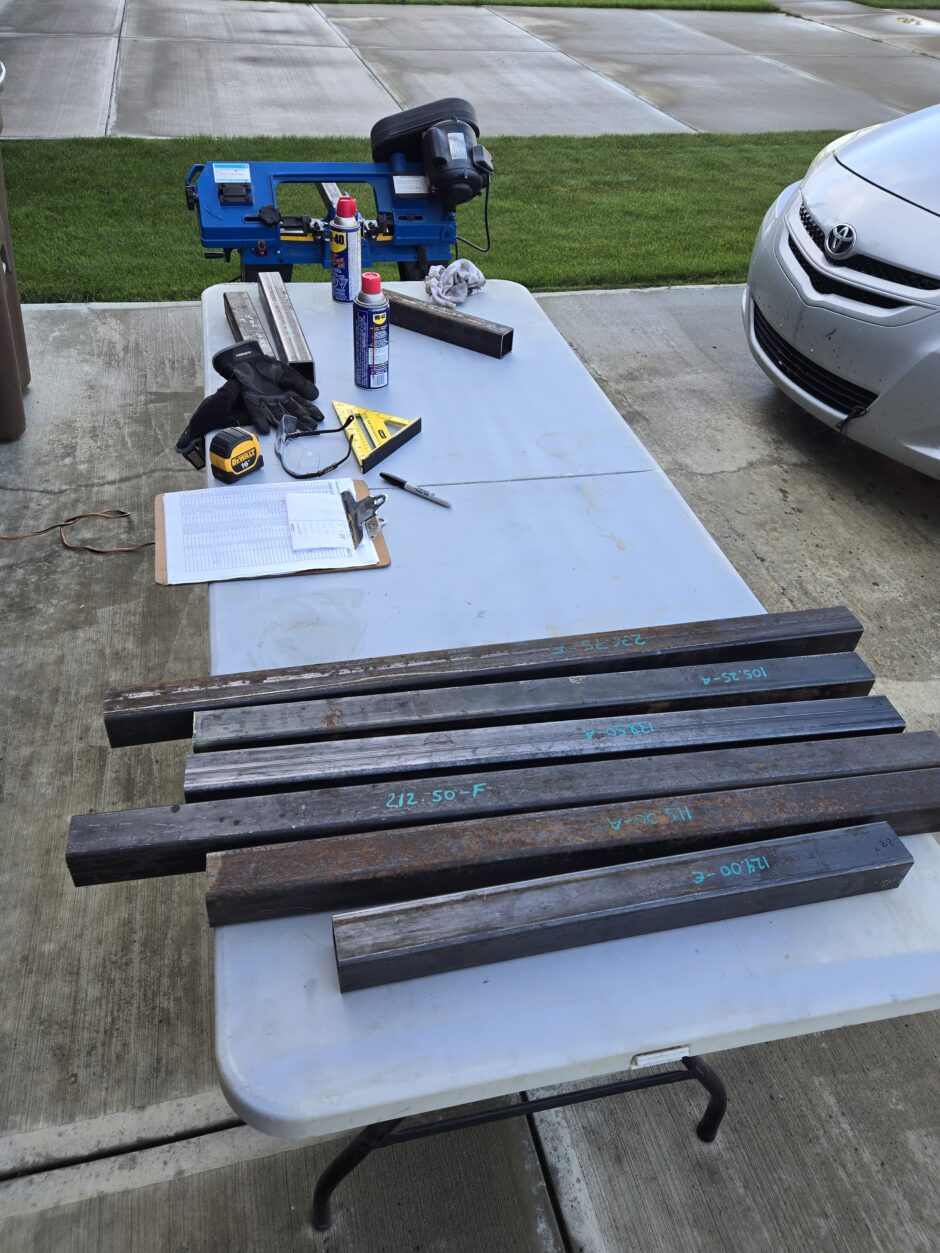
Here’s my setup, with cutting fluid (WD-40) and some of the various parts for the jig.
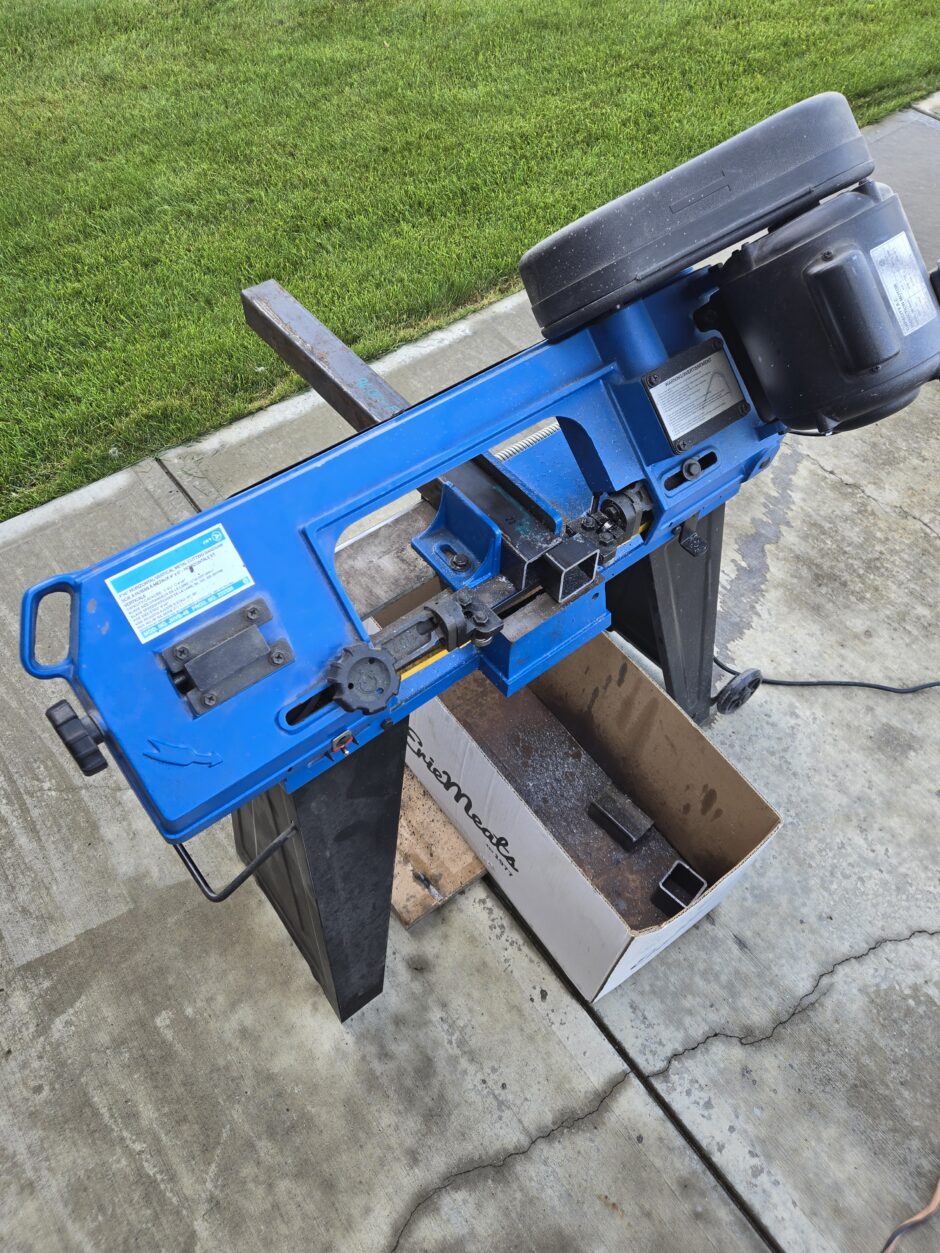
Here’s the metal cutting bandsaw in action!
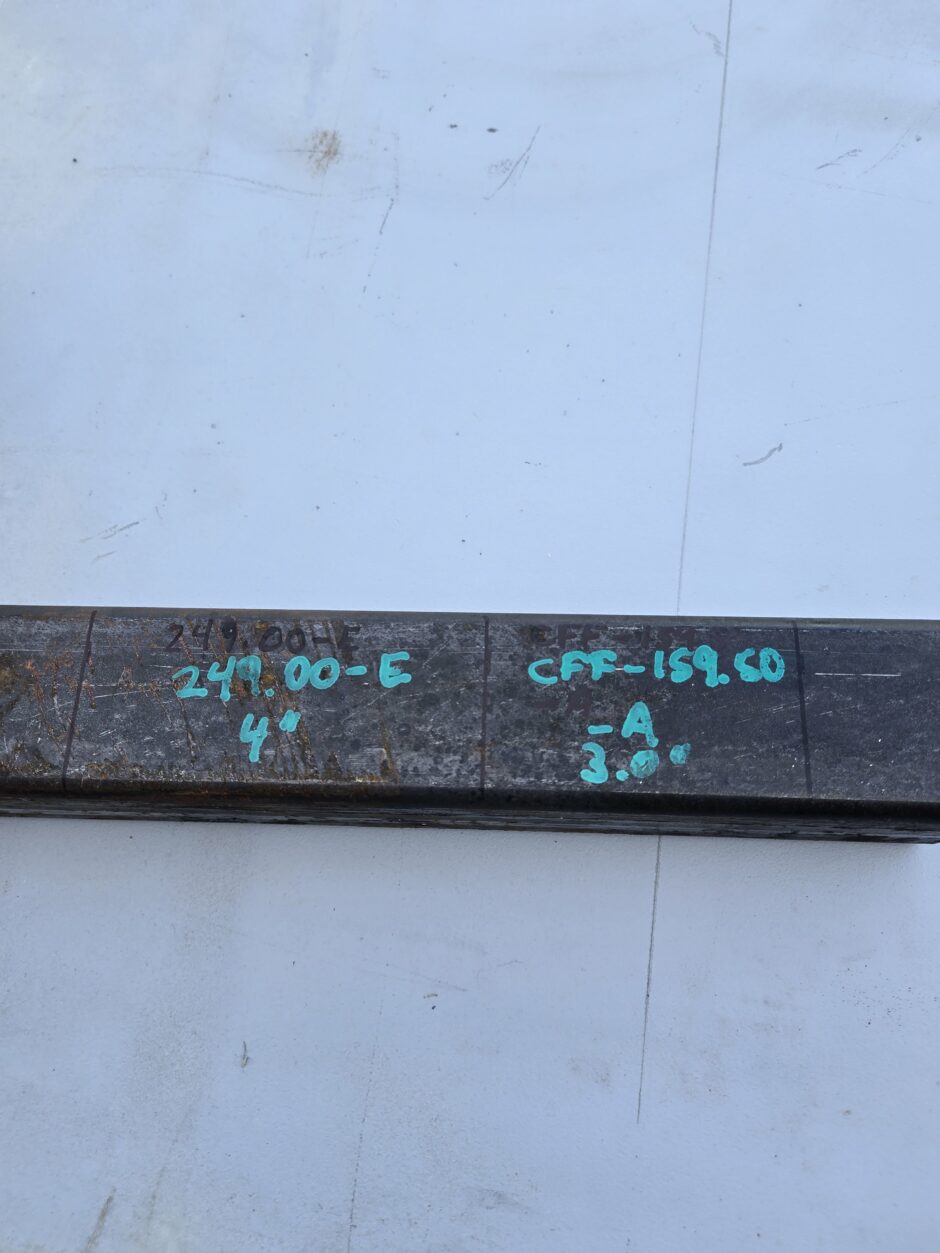
In the picture below, you can see that I have a few pieces to cut from this one length and I identify the parts with a paint marker.
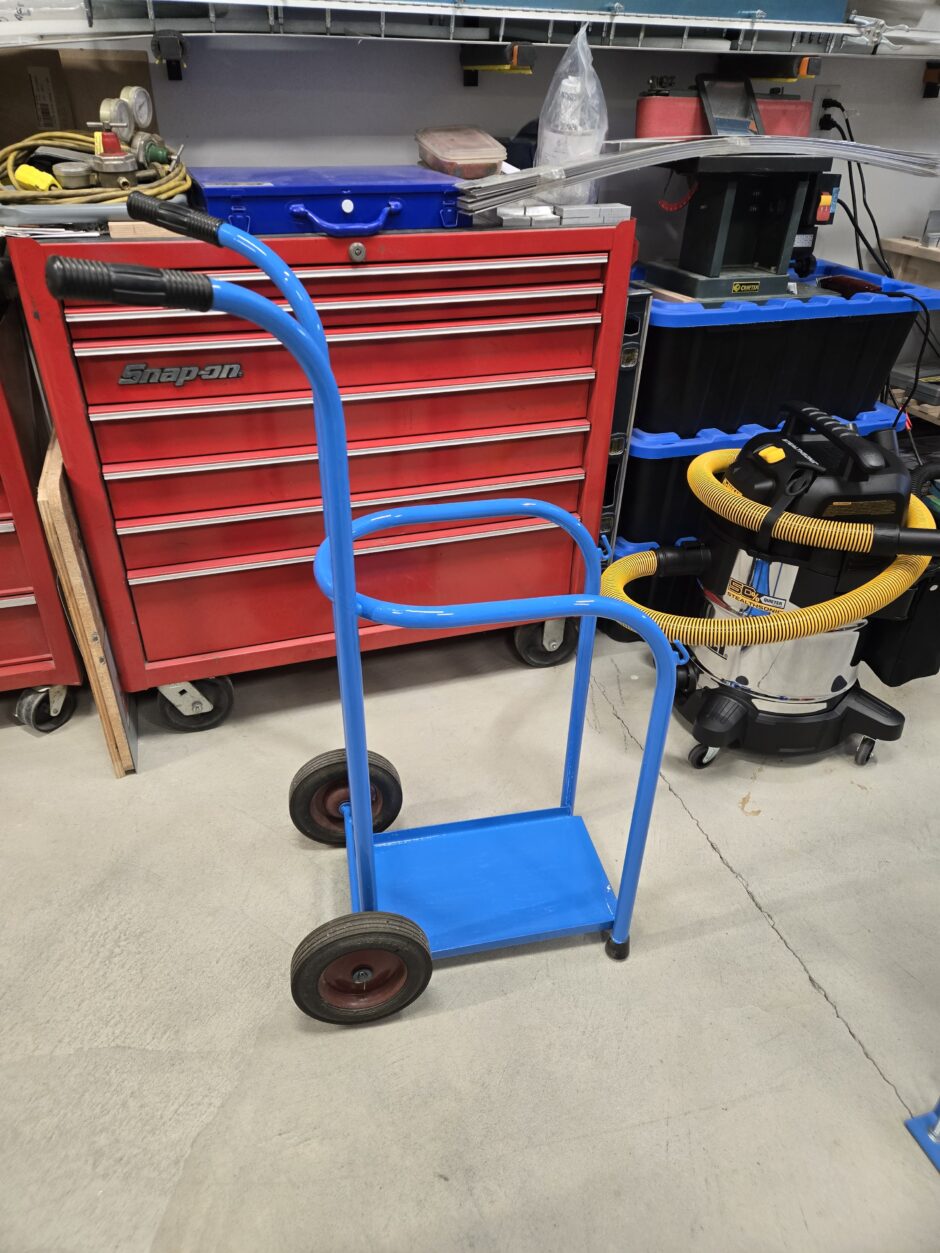
The only other thing that I’ve done in prep for fabricating the fuselage jig is to put a fresh coating of paint on a used oxy-acetylene tank cart I picked up.
That’s all for today folks! Please comment. I love to hear from my readers. Thanks again for coming along for this ride, you make my work worthwhile.
Leave a Reply