Today I am going to start working on the rudder. This component comes pre-assembled, that is it looks likes complete however it’s temporarily held together with pop rivets in every 4th or 5th hole. The rudder will be fabric covered when complete, which is why it isn’t fully covered by aluminum skin.
Eventually for the final assembly of the rudder, I will need to drill out all these small 3/32 inch pilot holes and replace them with -3 and -4 rivet holes. The disassembly is also important for part corrosion protection.
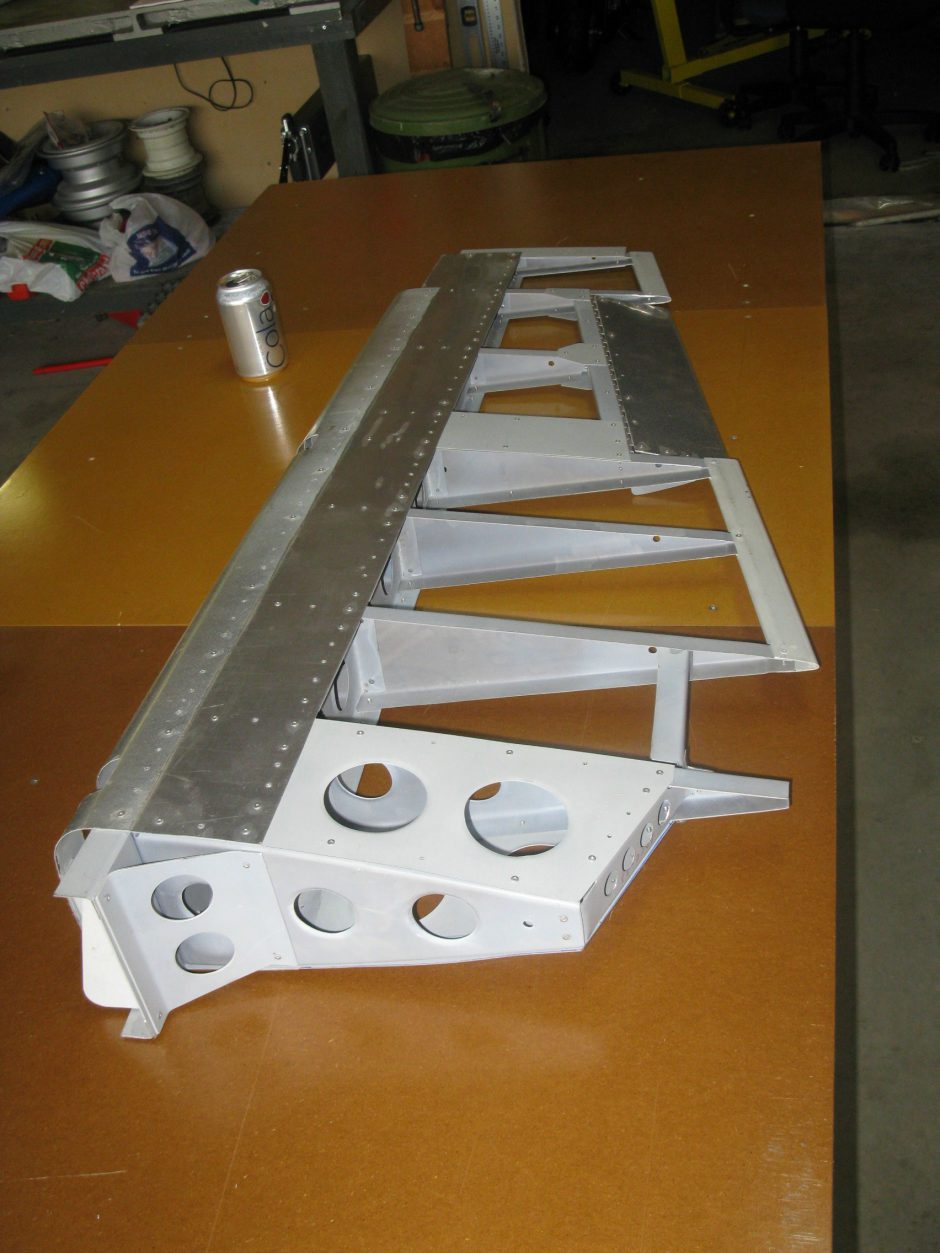
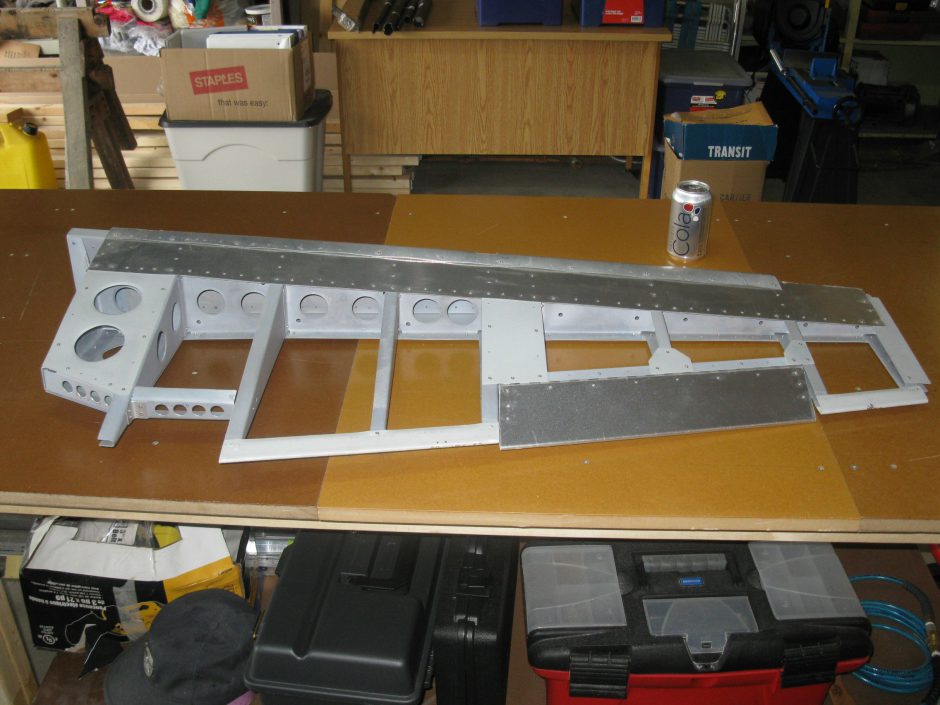
Rudder – Where to begin?
I began with drilling out the pop rivets and removing the leading edge cap skin, the trim tab and the two side skins. Here is the bare skeleton.
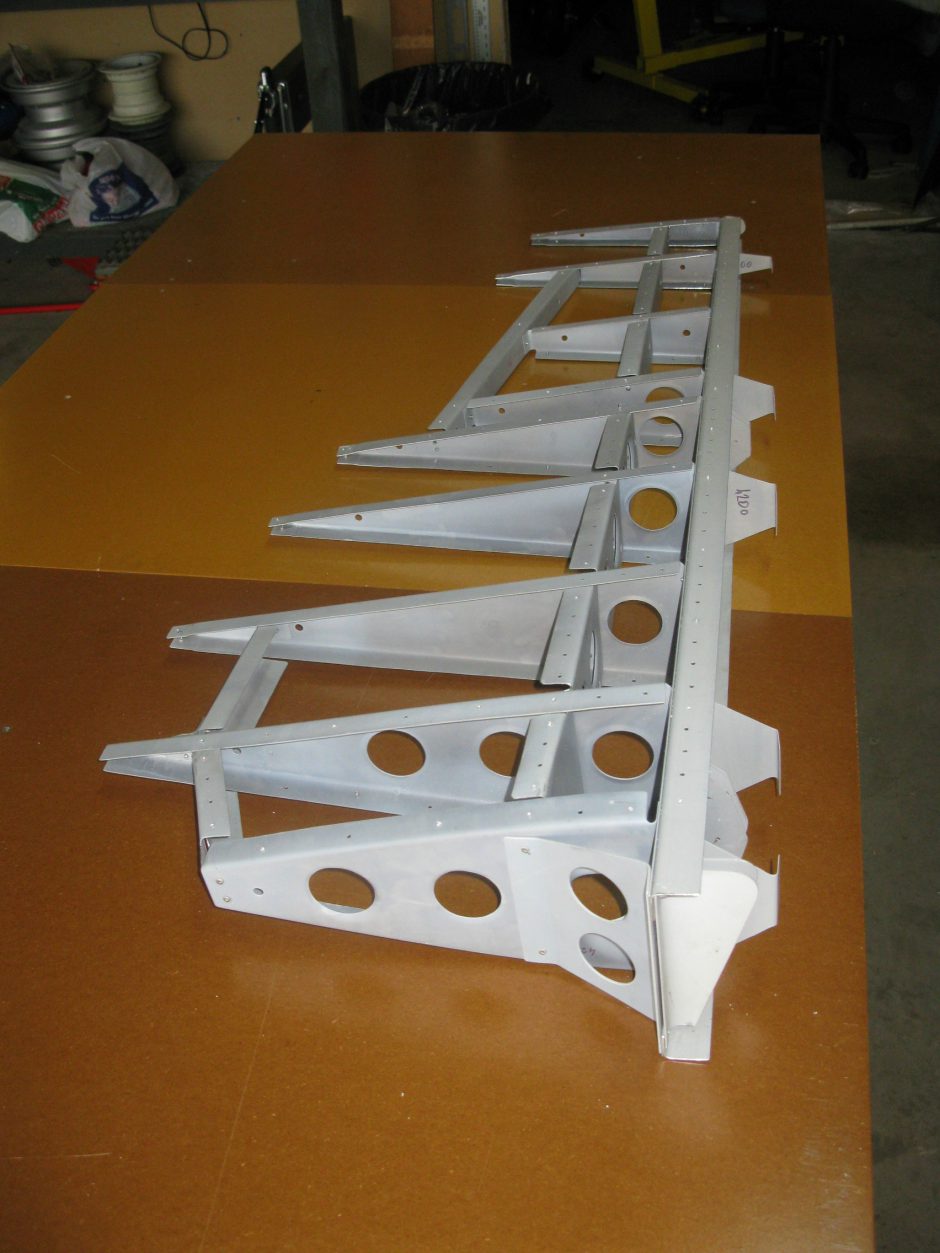
Here is another picture with a better view of the spar.
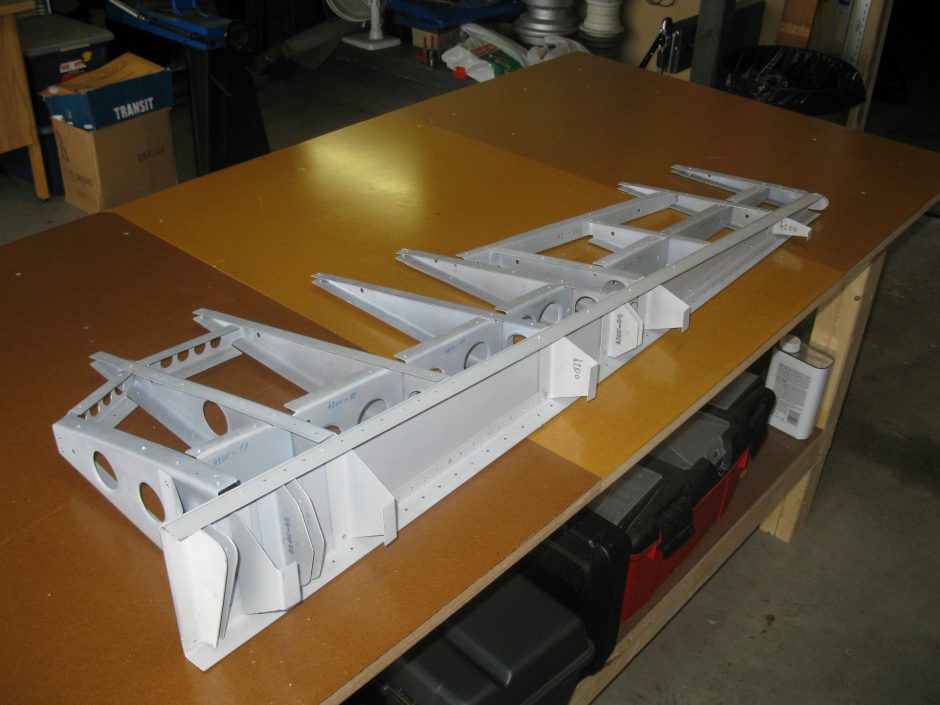
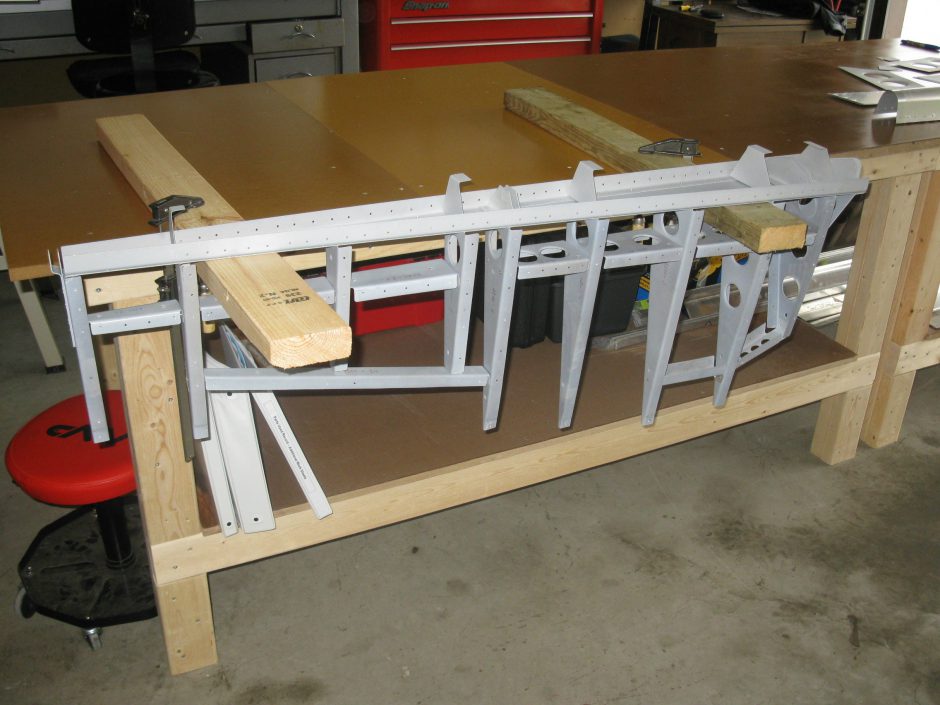
Rudder Disassembly Fixture
In the following picture you can see the fixture I concocted to hold the rudder in a position that I could easily drill the pop rivets off along the spar. By mounting the rudder on the wood 2 x 4 pieces, I was able to have a solid holding fixture to work on the rudder with.
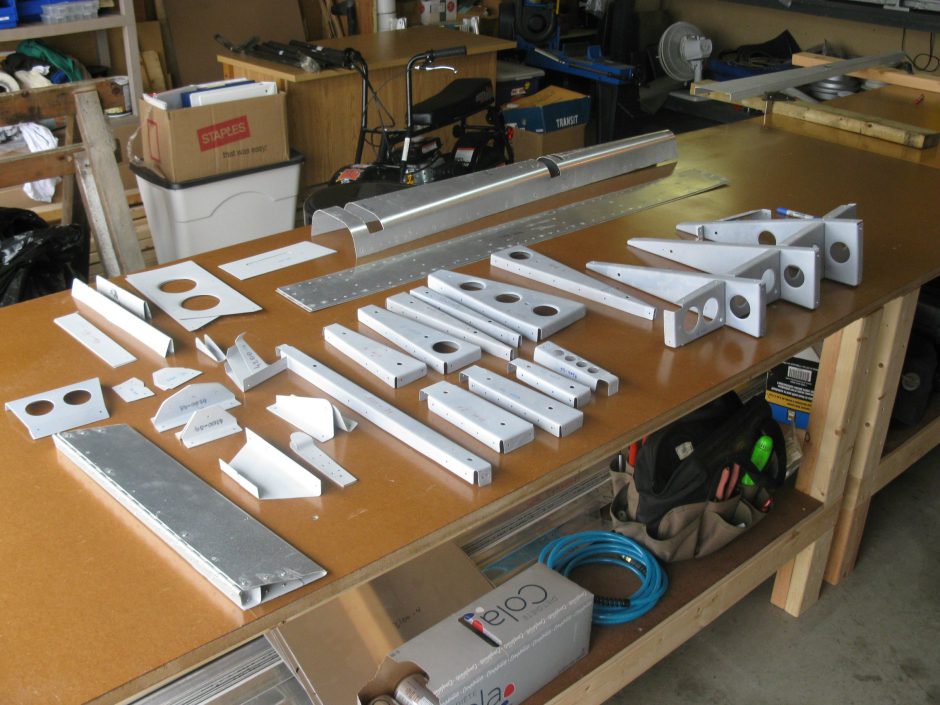
Once I was able to take the rudder ribs off the spar, I was able to quickly get the rest of the parts completely separated. A lot of these parts were prepared with some kind of a primer at HPAI in the Czech Republic. Unfortunately it was applied very well and in some areas no surface prep was conducted resulting in the primer peeling off the bare aluminum. I plan to completely strip, surface prep and prime all these parts.
Please comment, I love to hear from my readers. Thanks again for coming along for this ride, you make my work worthwhile.
Leave a Reply