The workload for today is focused on finishing the left and right elevator center hinges. In the last work session I screwed up the hole on one of these hinge brackets (not drilled on center) and as a result I need to make a new bracket.
Elevator Center Hinge Construction
I thought I was being clever by making drill block to match drill the hinge bracket bolt hole. This all looked good, the parts were clamped together and all the marking lines where lined up.
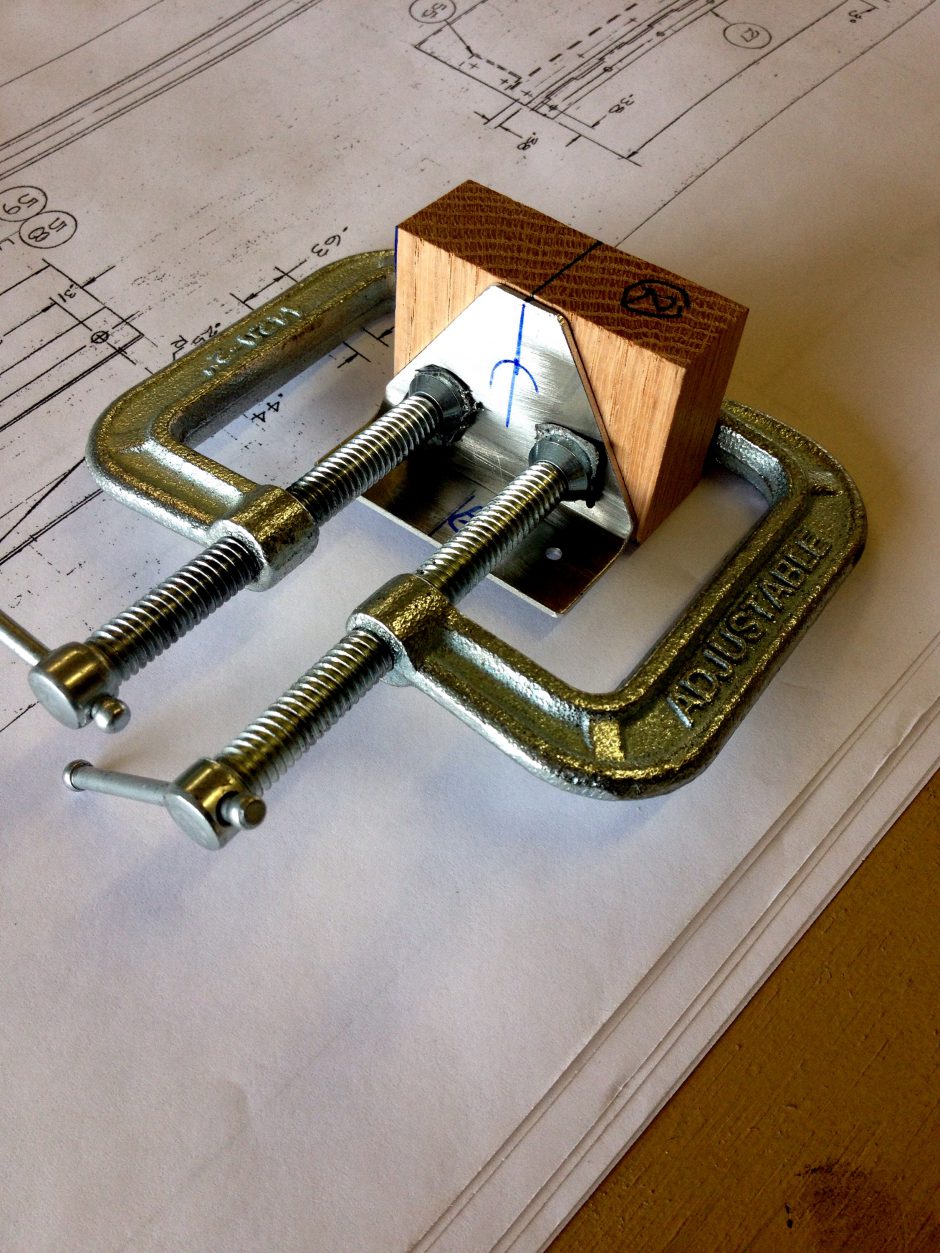
Here is the other side of the oak drill block.
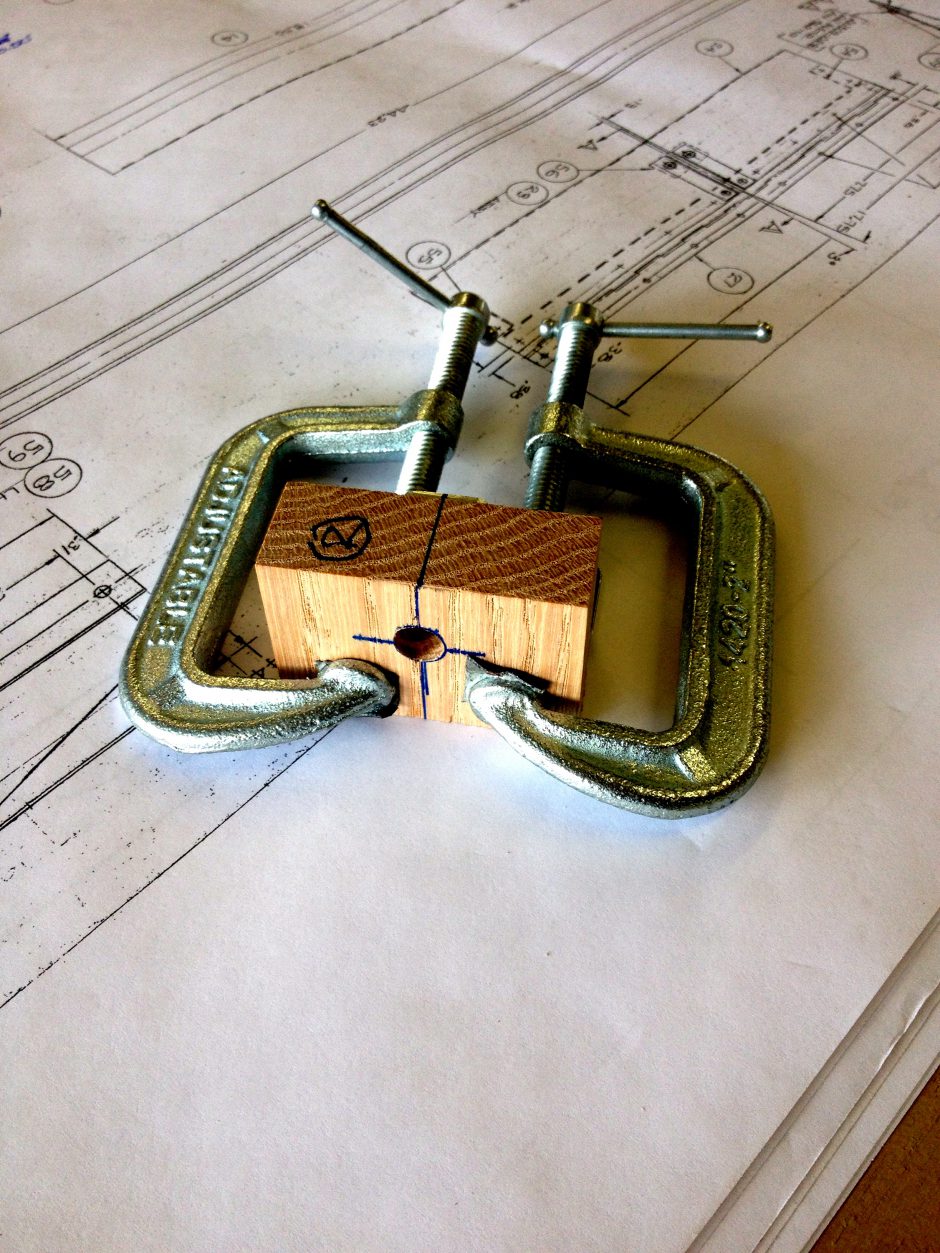
After drilling what I thought was going to be a really good hole, upon closer inspection the hole was quite a bit off center. Definitely not acceptable for hinge alignment. In the bracket shown on the left you can see how much the hole is off.
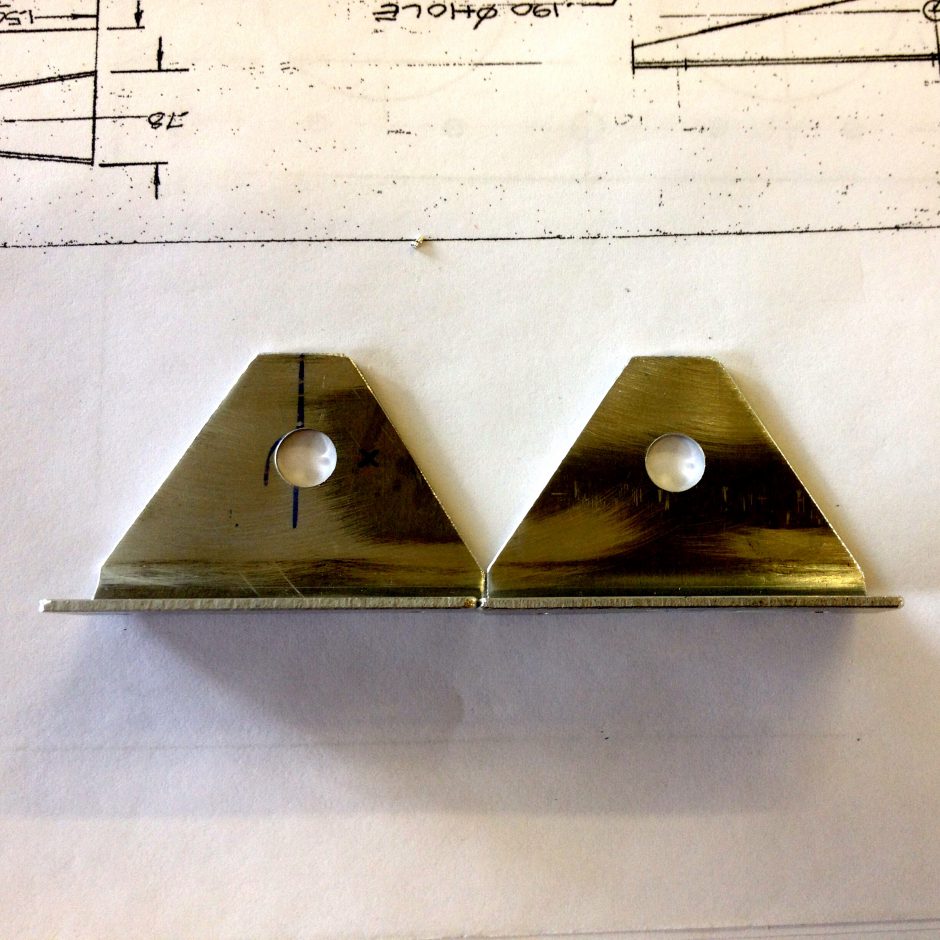
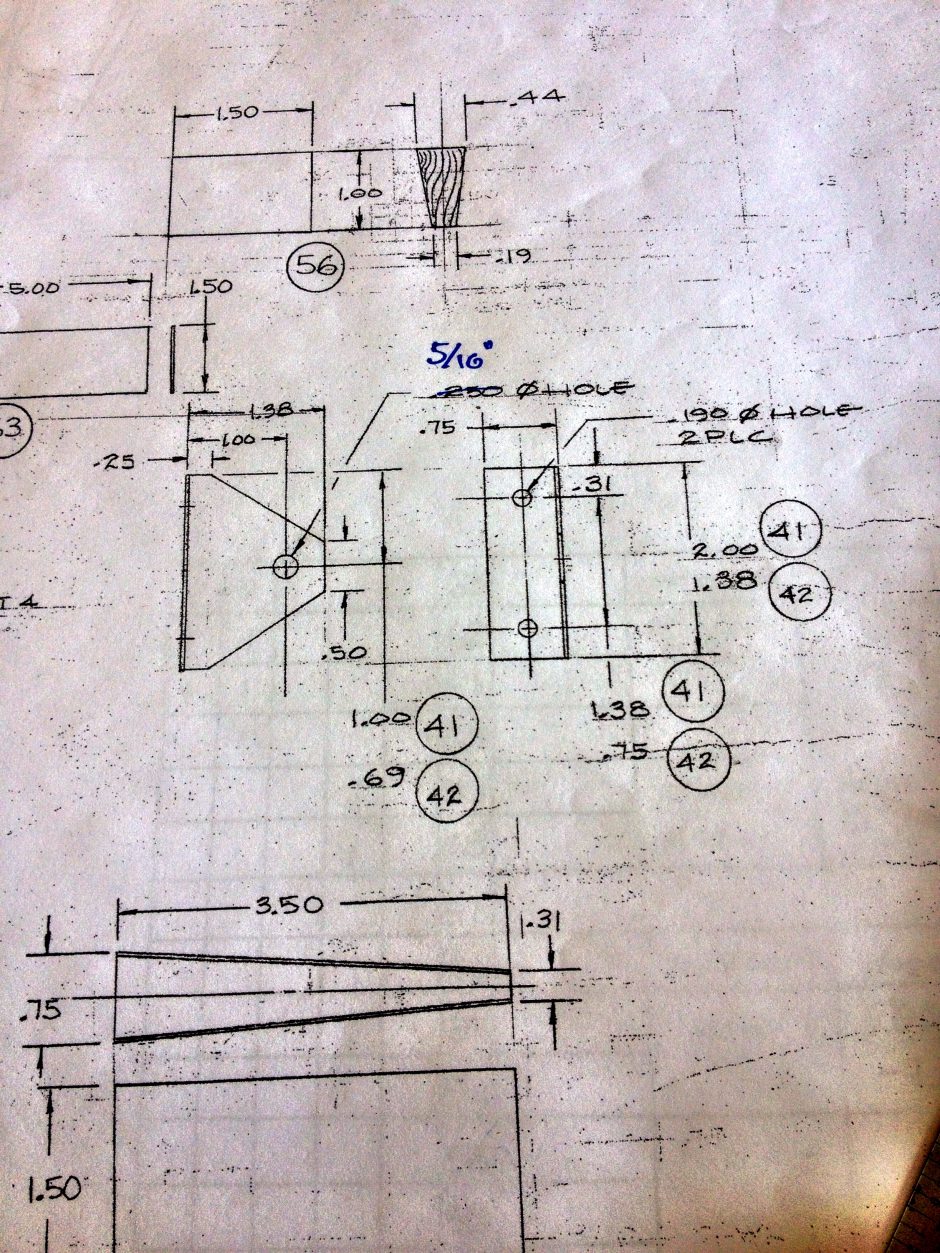
So now I needed to make a new hinge bracket. In the next picture is the drawing for making a new bracket. As you can see I noted that the hinge holt hole size was incorrect being shown as a 0.250 inch hole.
The new bracket started out as a piece of 0.050 inch aluminum cut approximately to the correct width and then bent as you can see in the image below.
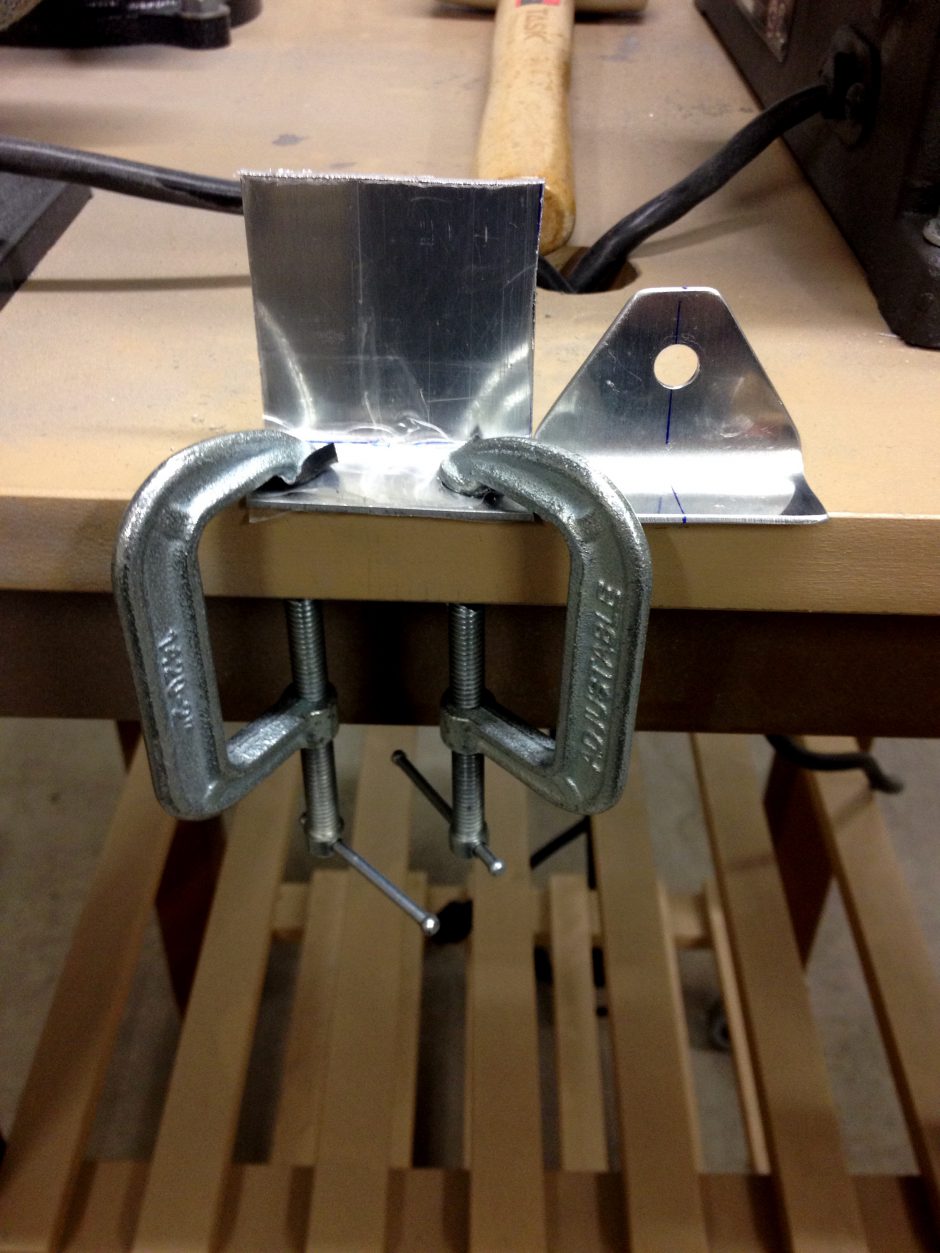
The new hinge bracket requires just a little more trimming. This will be done using the scotchbrite wheel and maybe some filing.
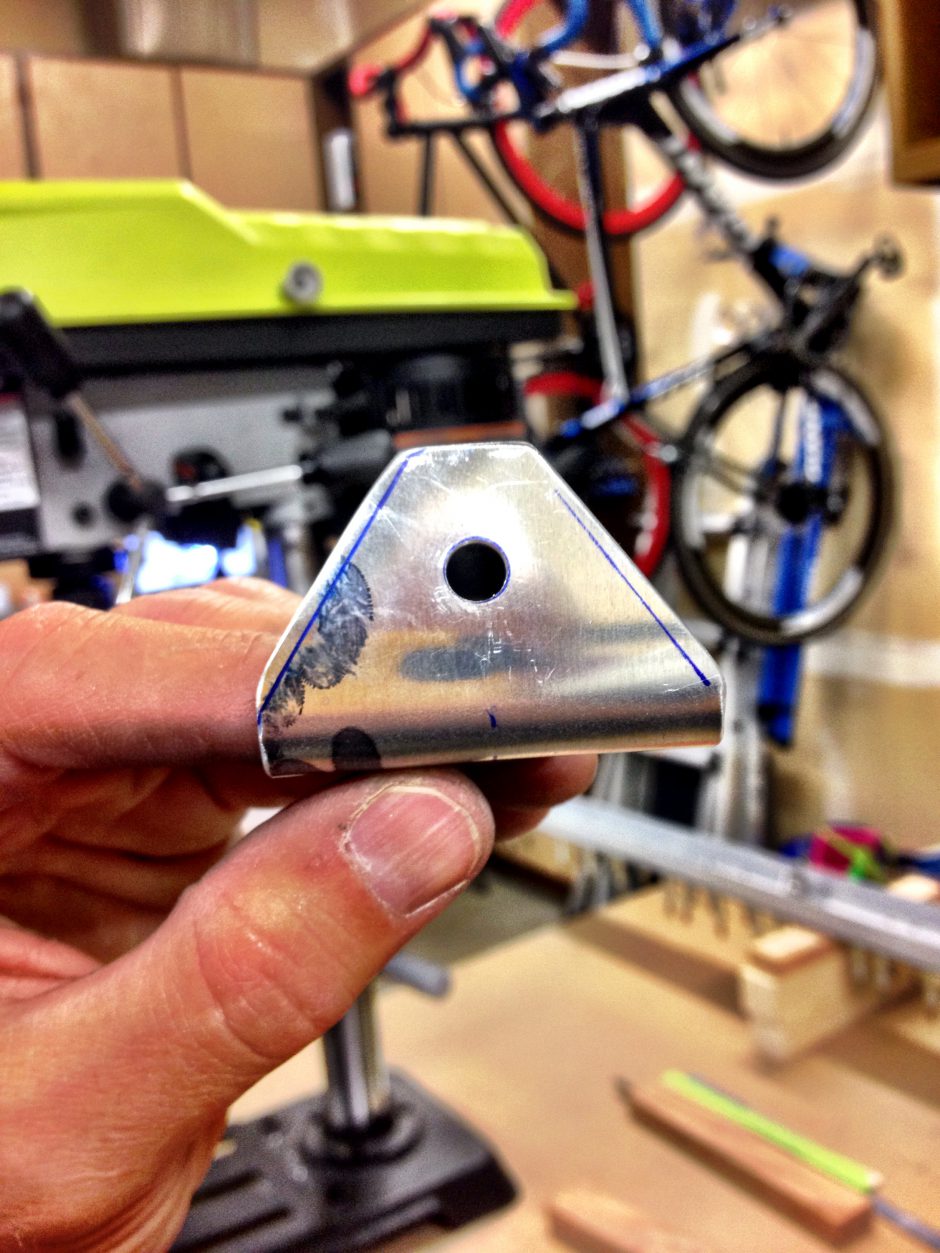
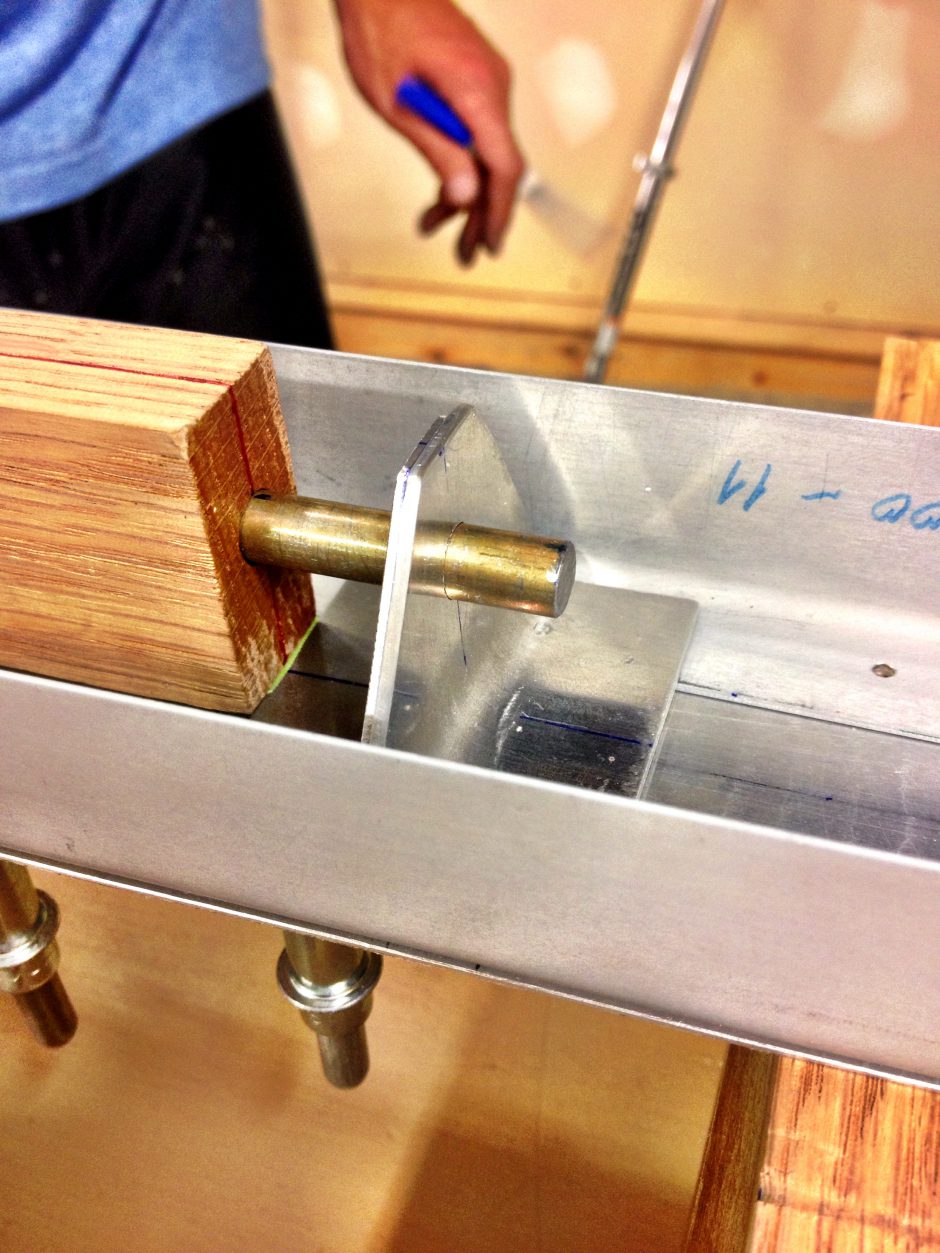
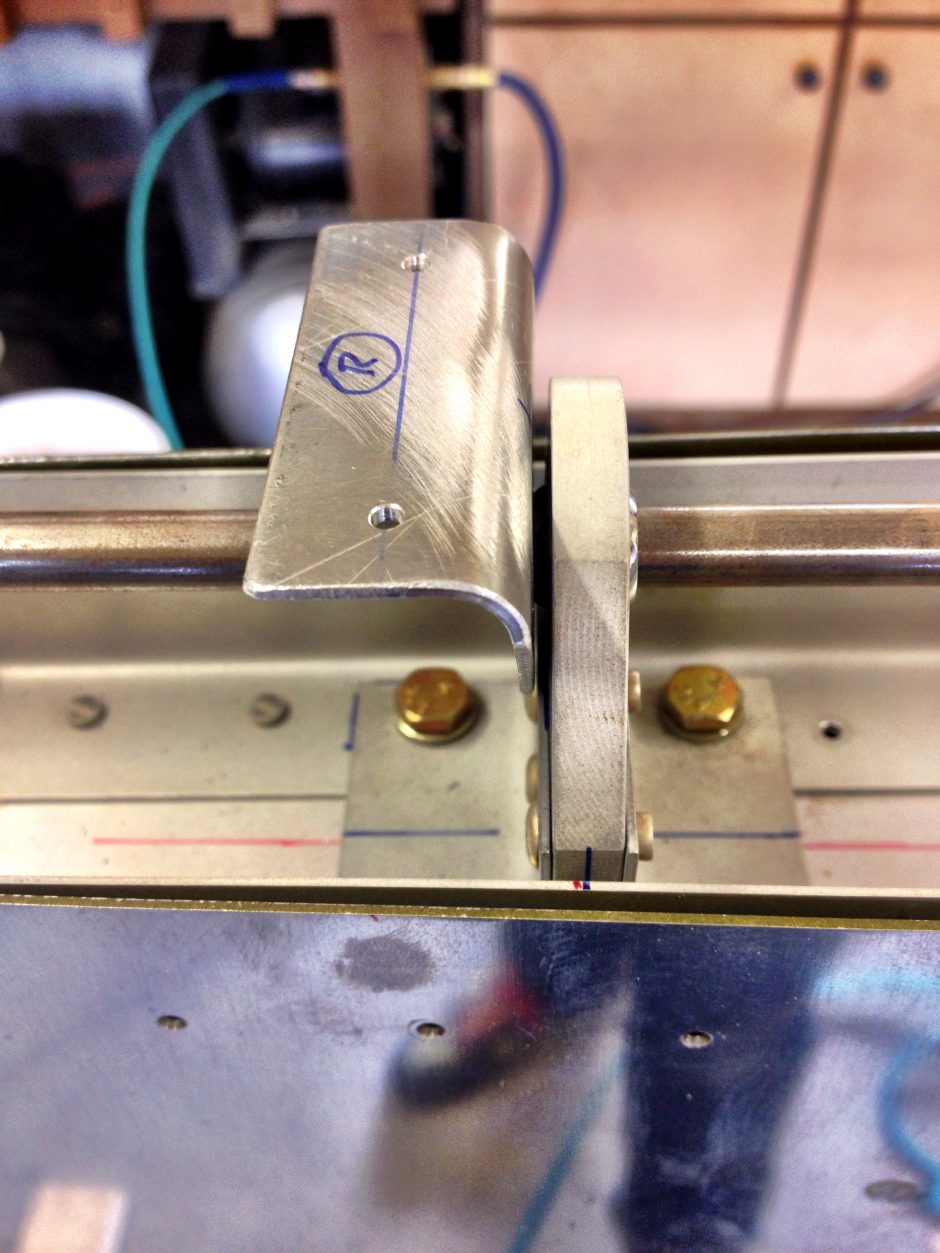
The new bracket was then put in place on the elevator spar and tested for alignment with the first bracket. Using my special alignment tool this was easily verified.
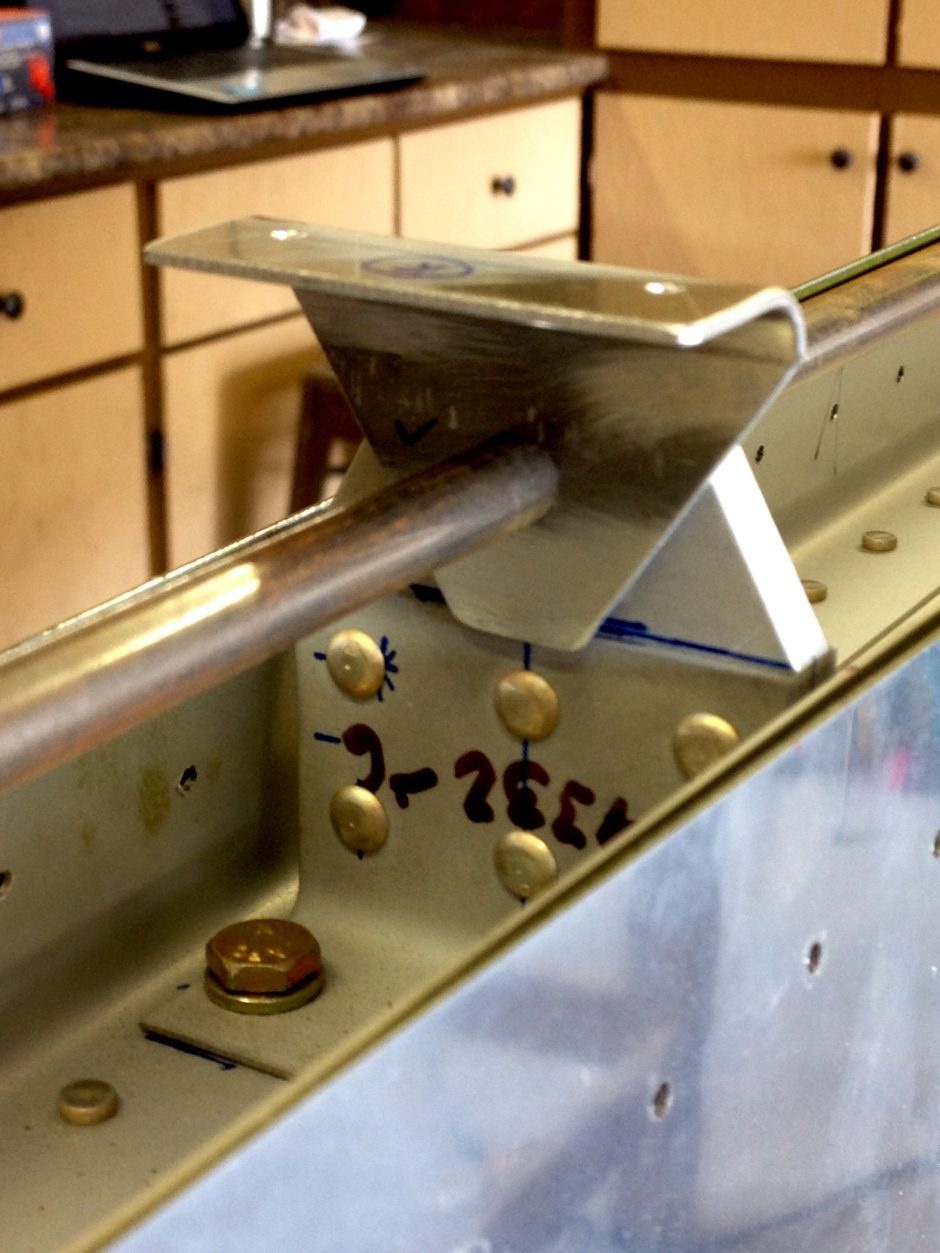
I also test fit the bracket on the horizontal stabilizer center hinge.
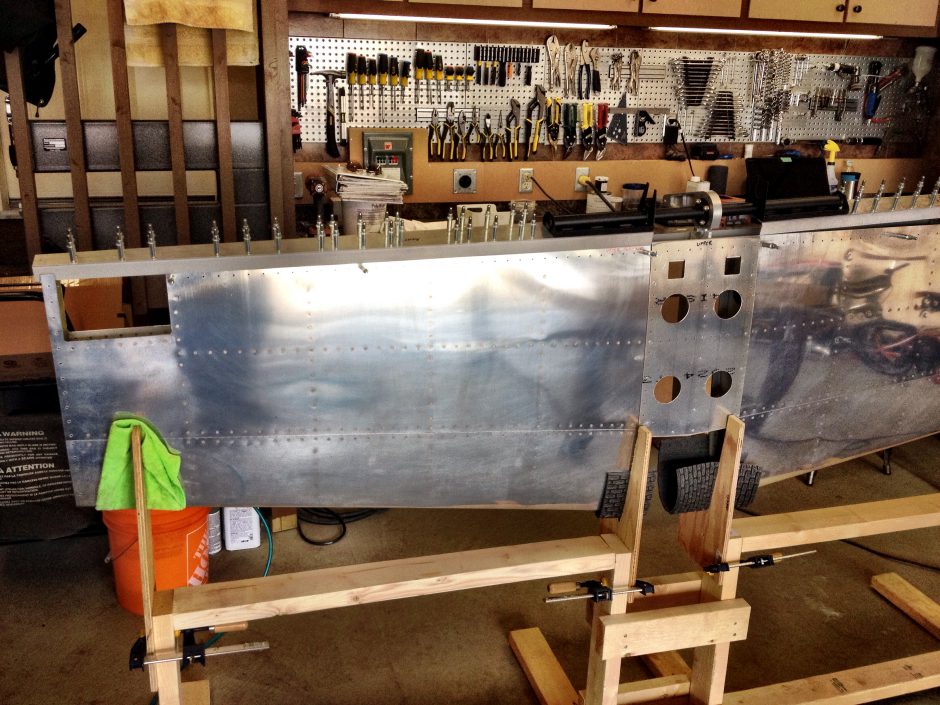
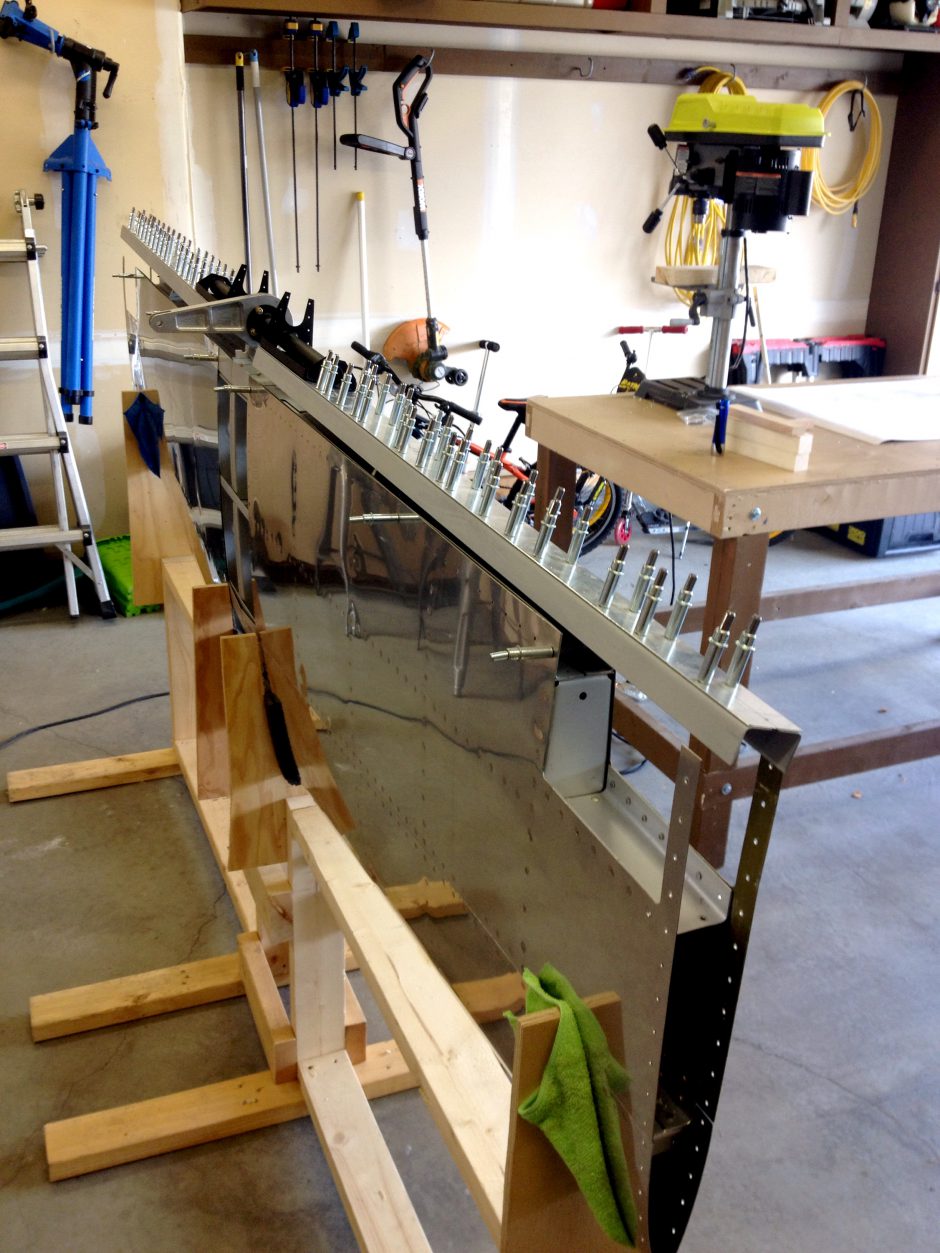
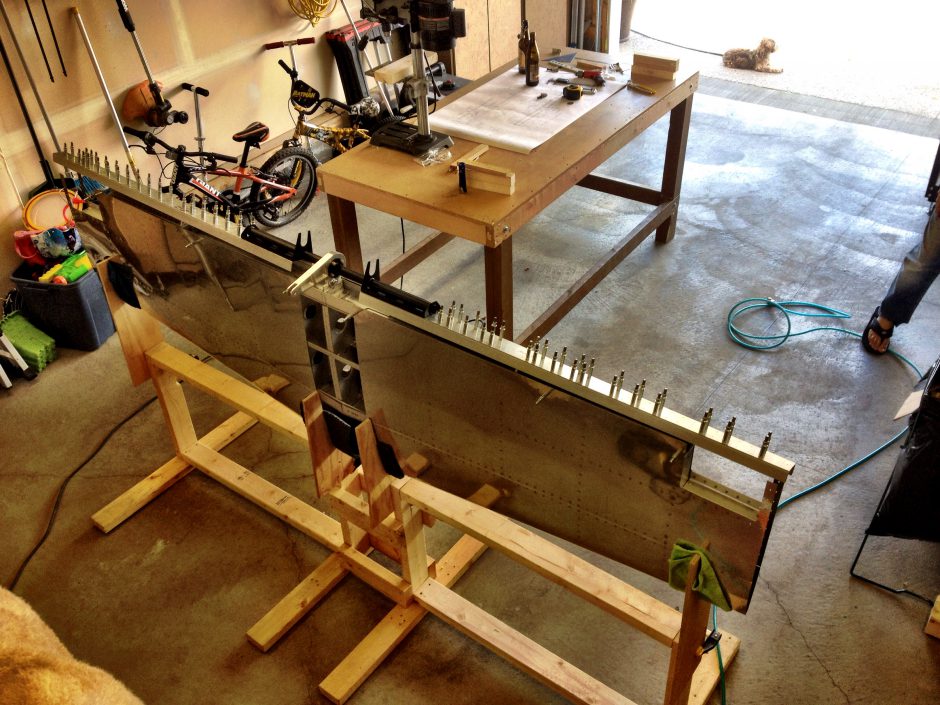
After getting the elevator center hinges in place, it was time to test fit the elevator spars onto the horizontal stab. Needless to say, I was happy to see all assemblies fitting together so well. Not bad for an evenings worth of work.
Please comment, I love to hear from my readers. Thanks again for coming along for this ride, you make my work worthwhile.
Leave a Reply