Today I’m working at adding the leading edges to the elevators. I’ve been putting this off as I don’t want to screw it up, so joining me today is my best bud Garet. We started with locating and pilot drilling the holes to attach the leading edges to the spar.
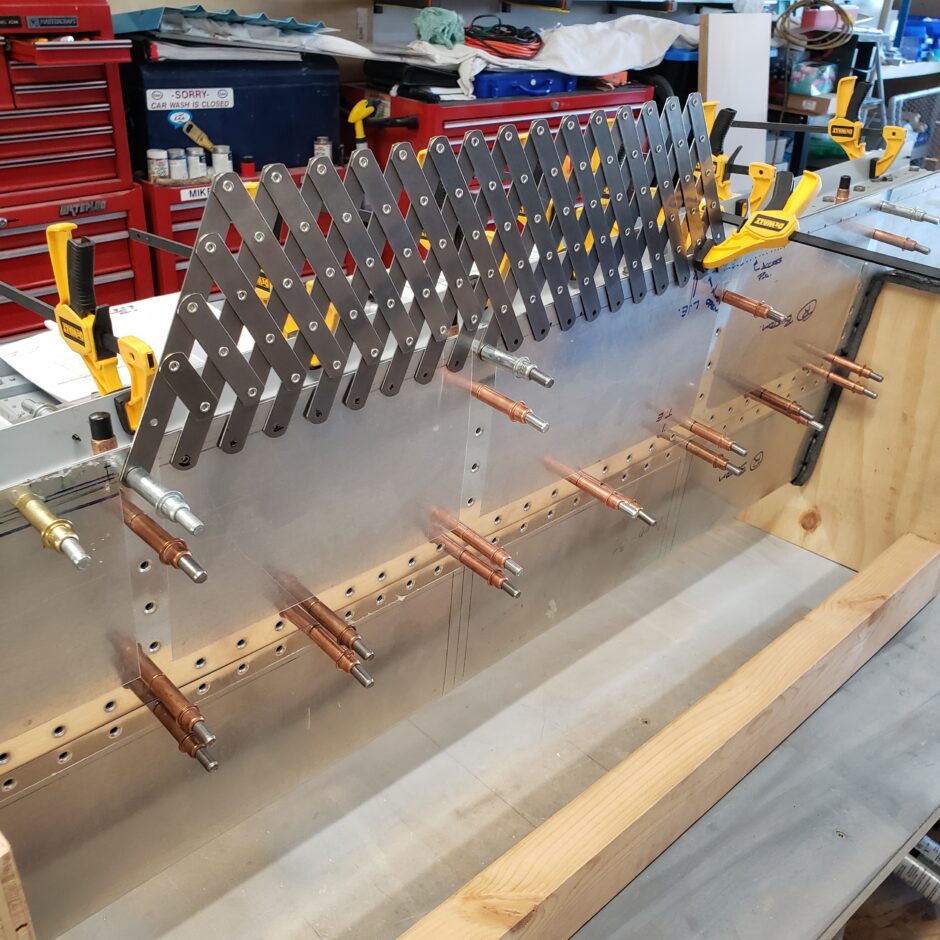
Once all the holes were drilled, the leading edge pieces were slid in between the spar flanges and elevator skins. We pushed the skins in as tightly as we could to allow the least amount of bowing. This will be significant later, as the horizontal stabilizer skins which form the trailing edge of the H. Stab are generously oversized and will take some significant trimming down the road when we attempt to mate the elevator hinges to the horizontal stab hinges. Additionally, the leading edge skins are also quite oversized and will also require significant trimming.
As shown below, you can see how the leading edge skins interfere with the horizontal stabilizer trailing edge. What isn’t shown in this picture is that the hinges are about 1/4 of an inch or so out from being able to insert the hinge bolts. This is where the horizontal stabilizer skins will need to be trimmed to allow the hinge to come together.
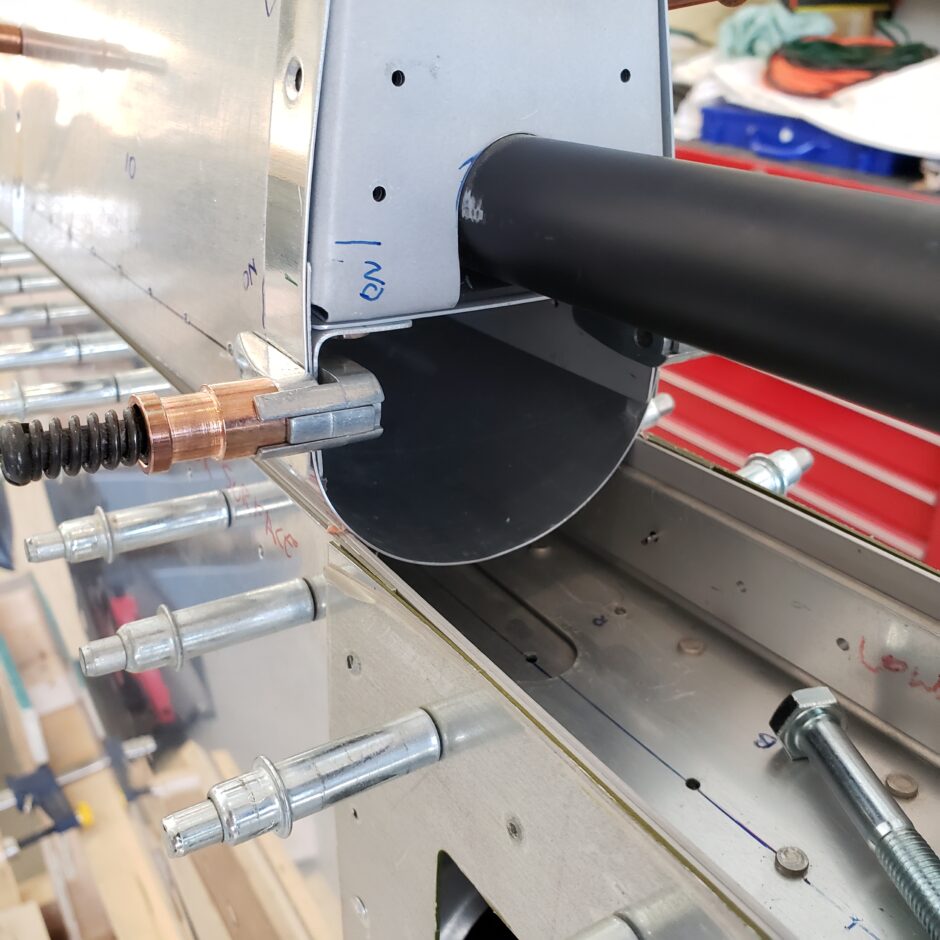
We also used a metal straight edge to ensure that we have the leading edges even along the span of the elevator.
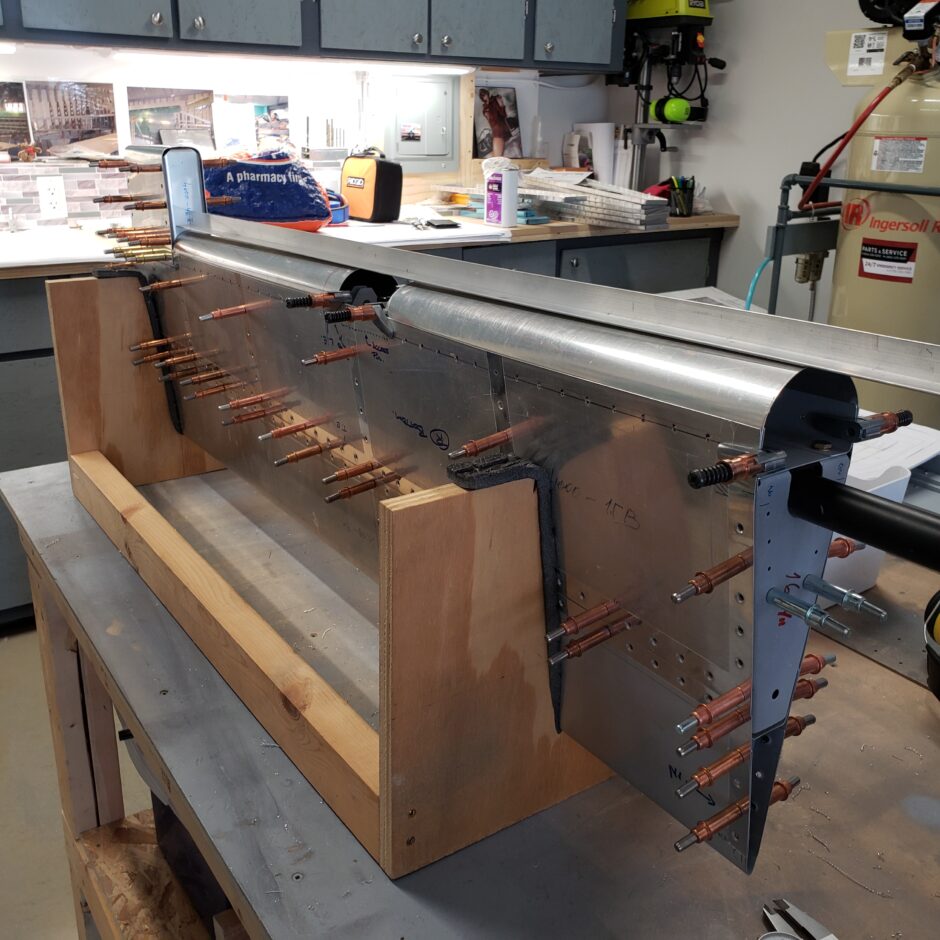
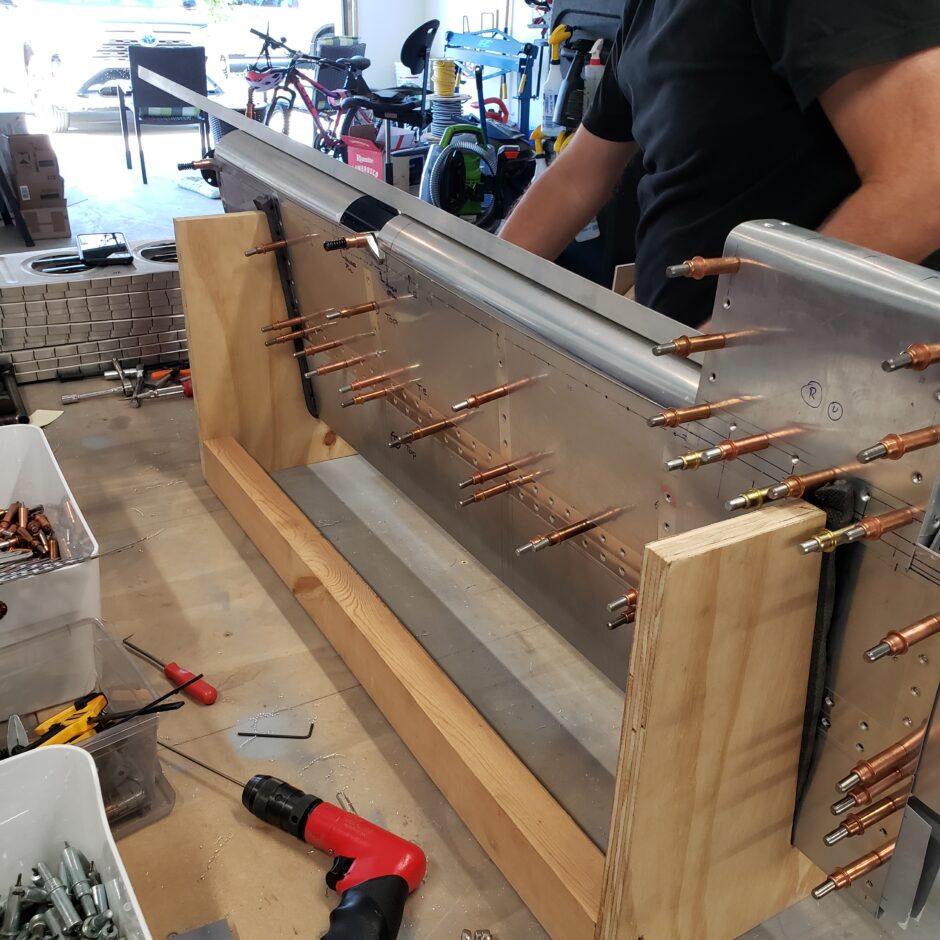
Once we were happy with the placement of the leading edge skins, we clamped them in place as shown below, before we began to match drill the leading edges to the elevator skins and spar.
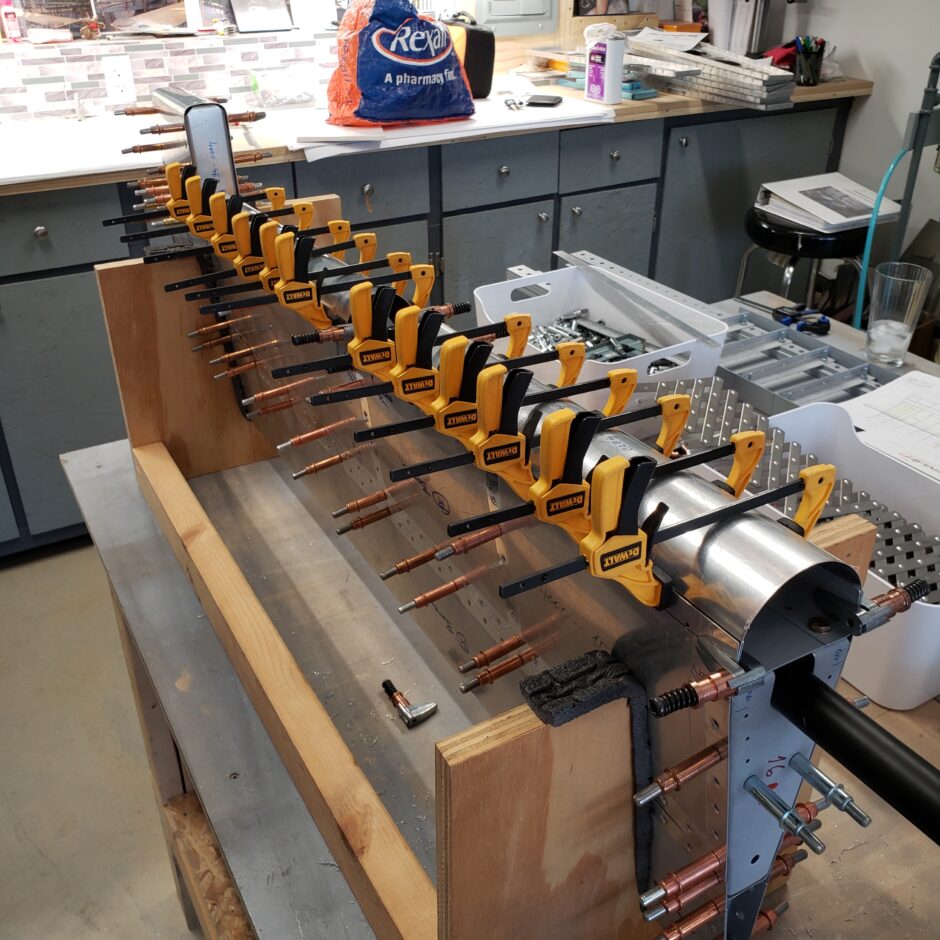
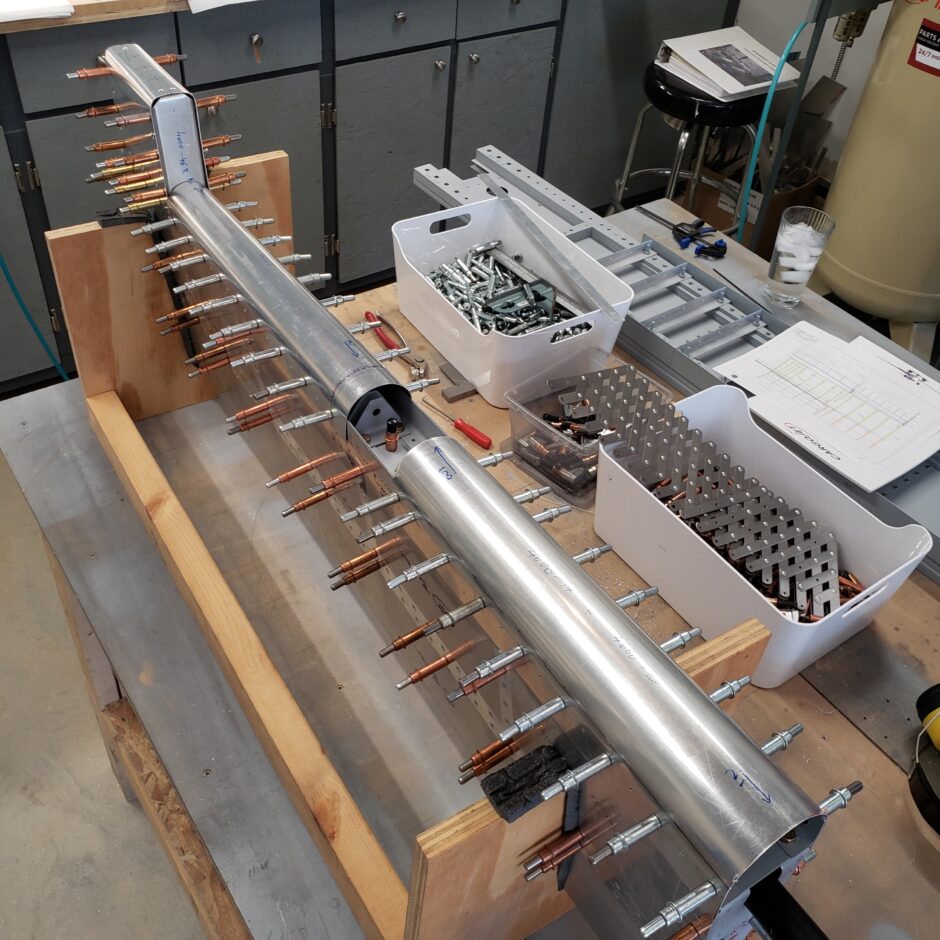

In the picture below, you can see how the leading edge skin of the elevator is very generously oversized. Better too much than not enough!
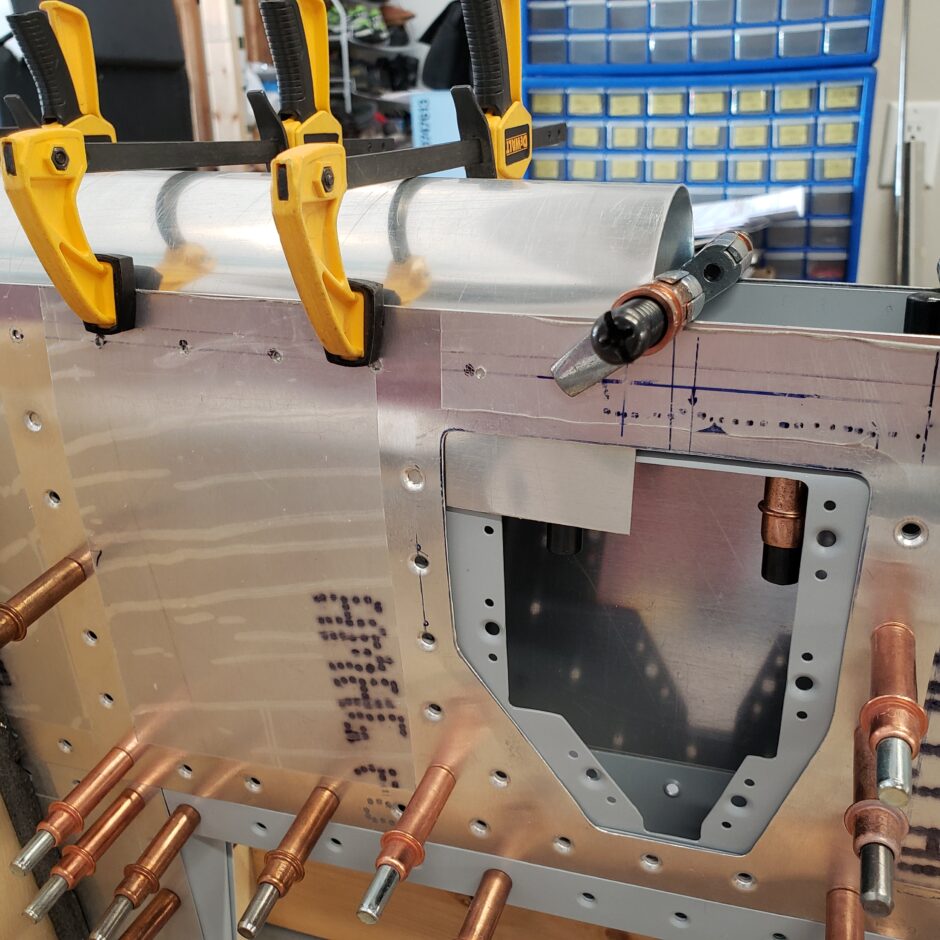
The next couple pictures show a bit more detail of how the leading edge skins mate into the aft side of the horizontal stabilizer. In these pictures we were looking and checking to make sure we had an even fit along the span.
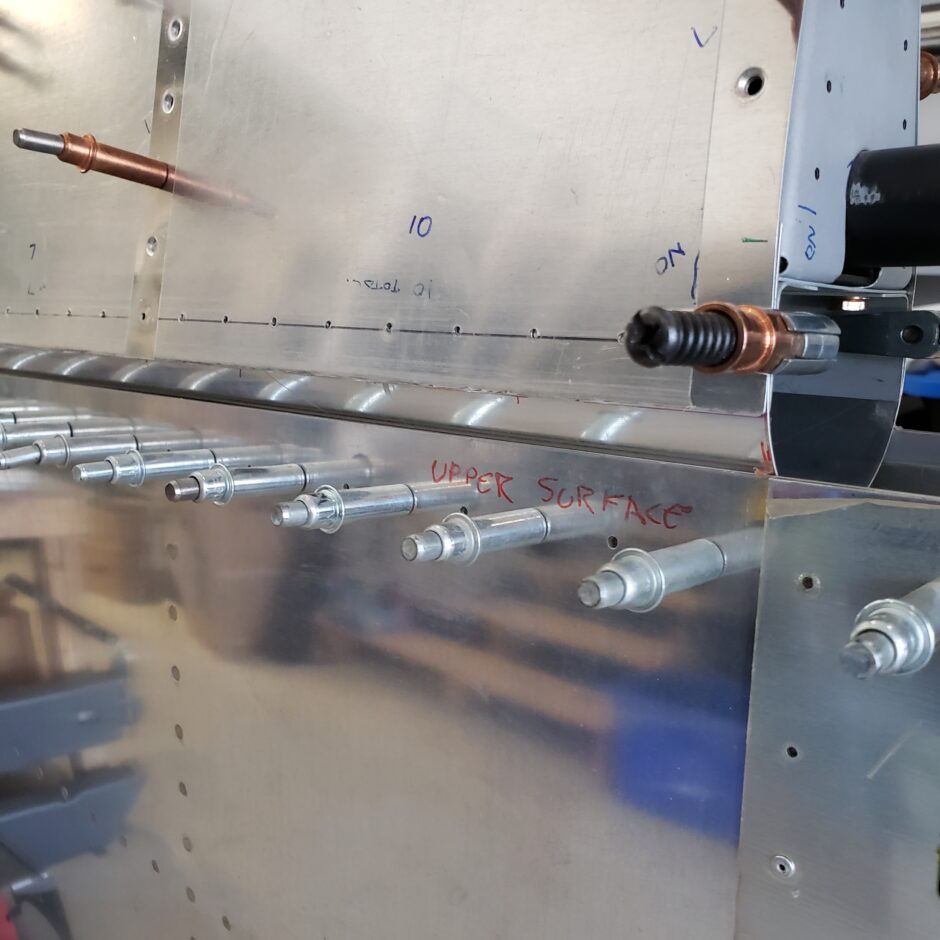
In the picture below, you can see how one of the doublers on the inside of the horizontal stabilizer ends, which is creating a gap in the fitment of the elevator to horizontal stab.
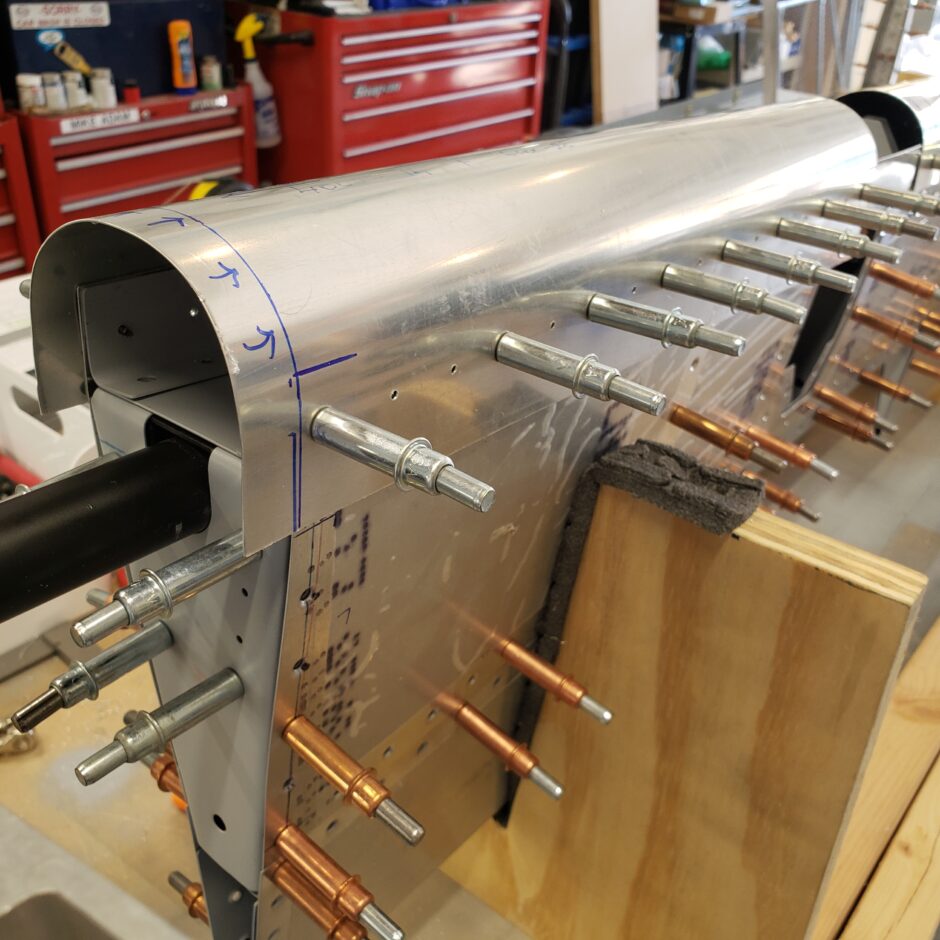
The picture below is the outboard end of the elevator alongside the balance weight assembly.
The next task was to start trimming off the excess material. In the picture below, you can see the cut line is identified. You can also see how oversized the leading edge skins are.
In the picture below you can see that I marked the leading edges for trimming along the spanwise dimension. Here I just marked a proper edge distance for the rivets. No reason to leave more material than that.
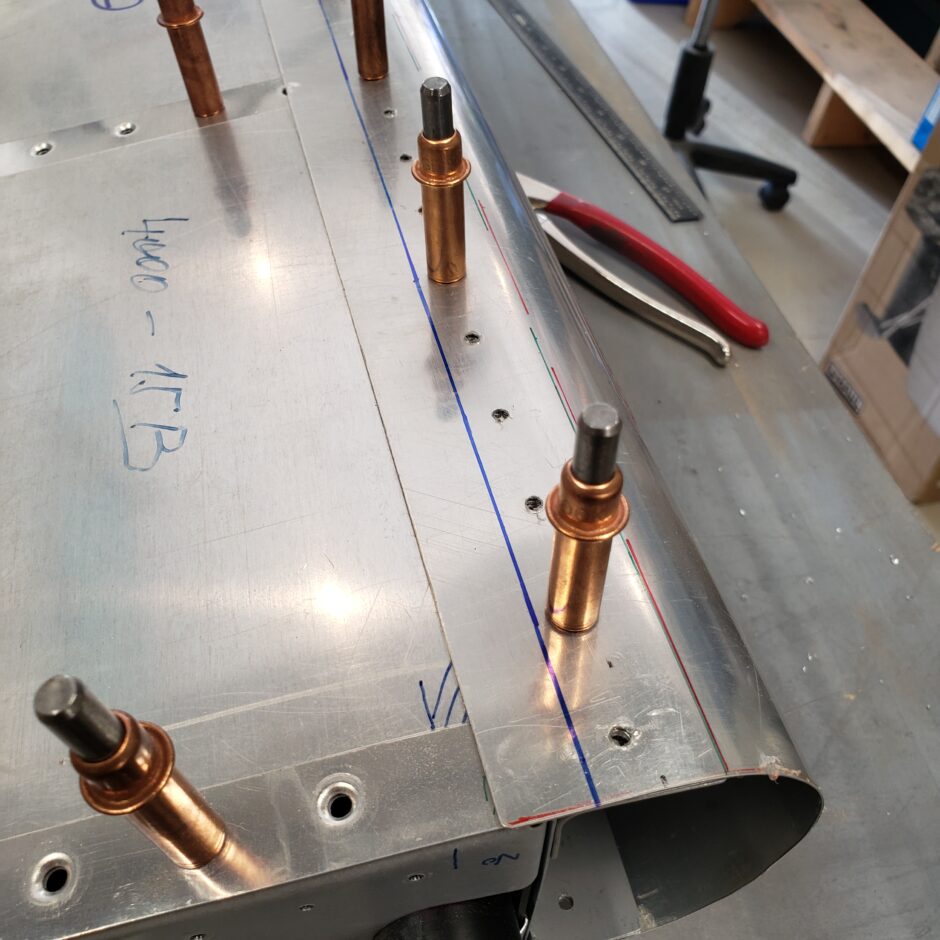
The method I used to mark the trim line was simply taking a scrap piece of paper and using the straight edge to wrap around the skin, then I could follow the edge of the paper with a sharpie marker to identify the cut line.
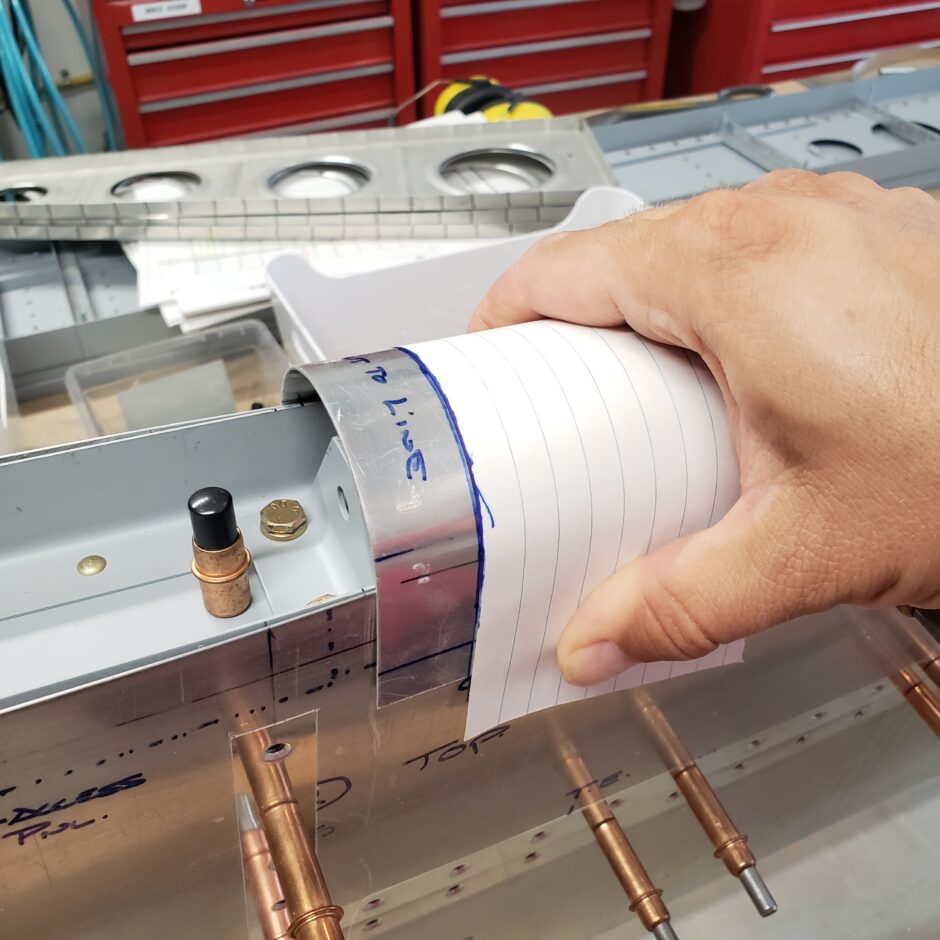
Further inboard at the mid-span hinge I needed to trim the outer segment of the leading edge skin to open up the gap between the leading edge skins for the hinge.
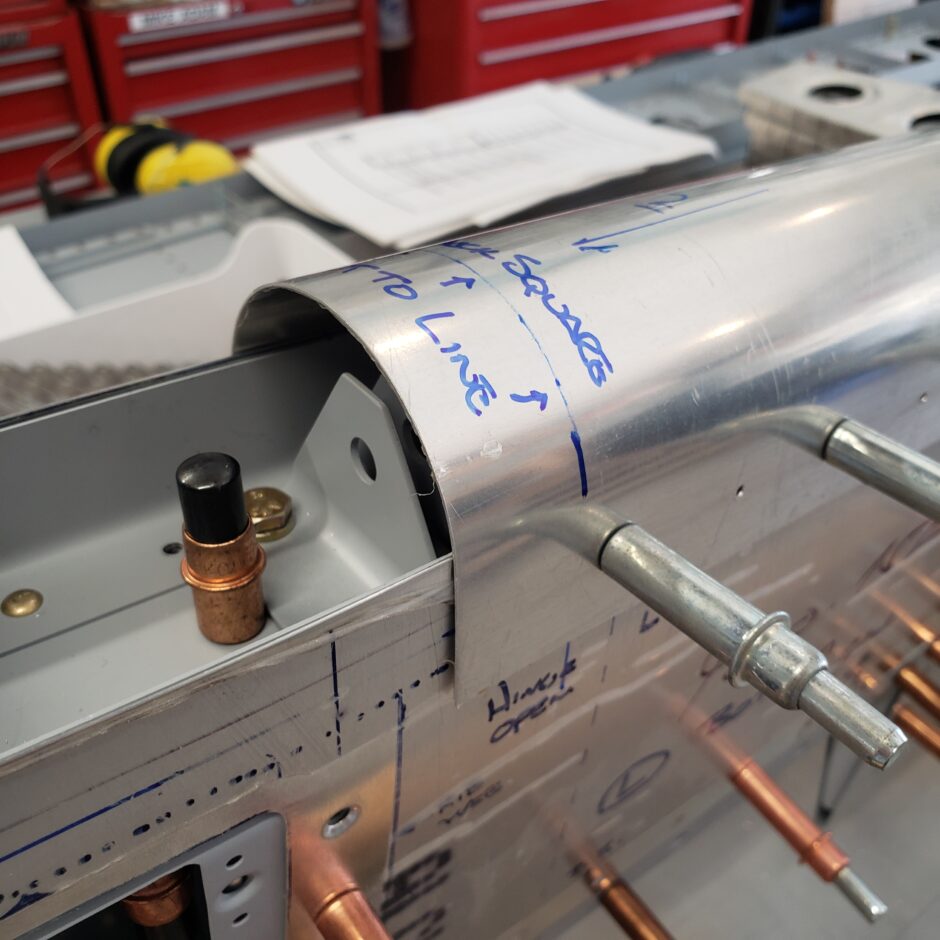
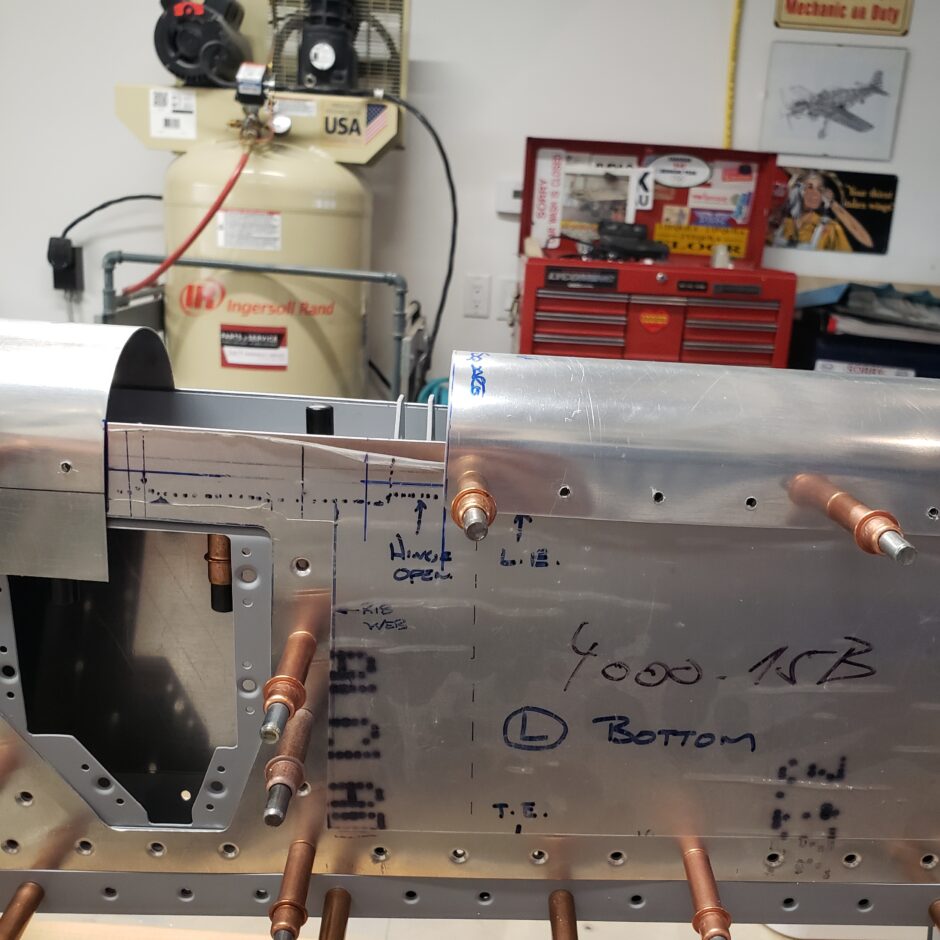
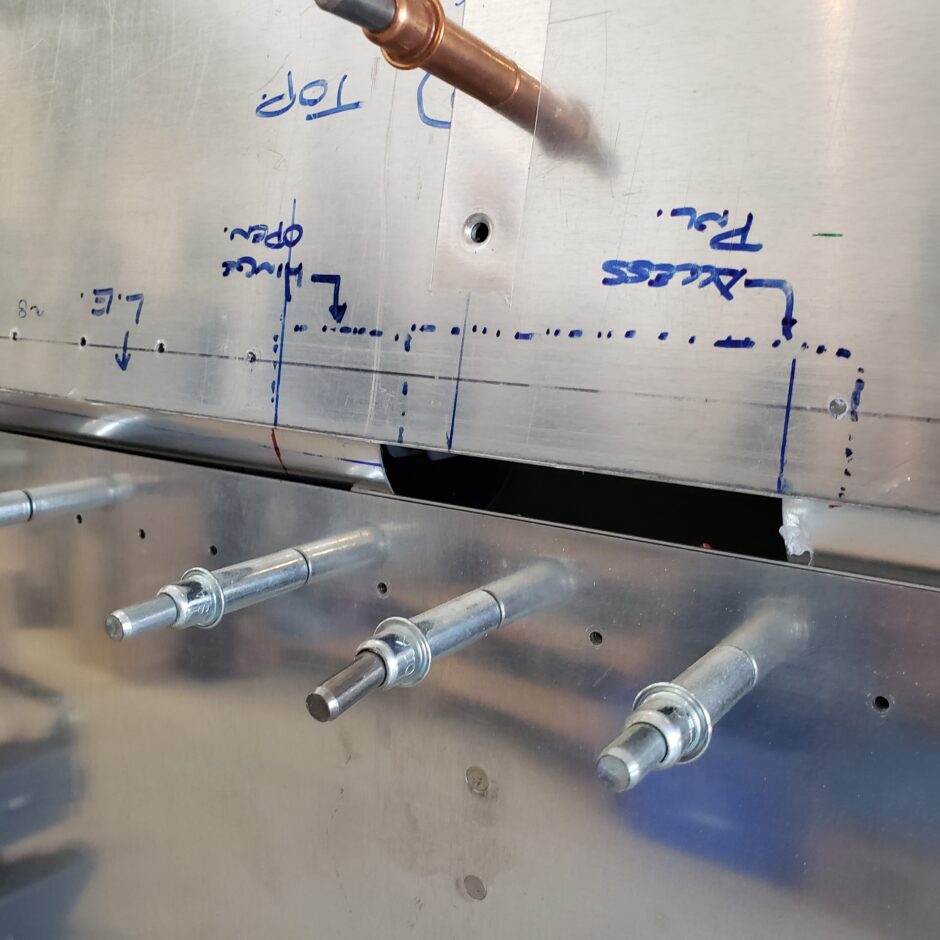
With the leading edge skins properly trimmed, the next step was to add the access panel, to facilitate installation and removal of the mid-span hinge bolt. The following pictures are some detailed photos to show how I located the access panels and fastener holes.
The first step was to clamp it in place. The trick here is to make sure it’s the same curvature as is the leading edge.
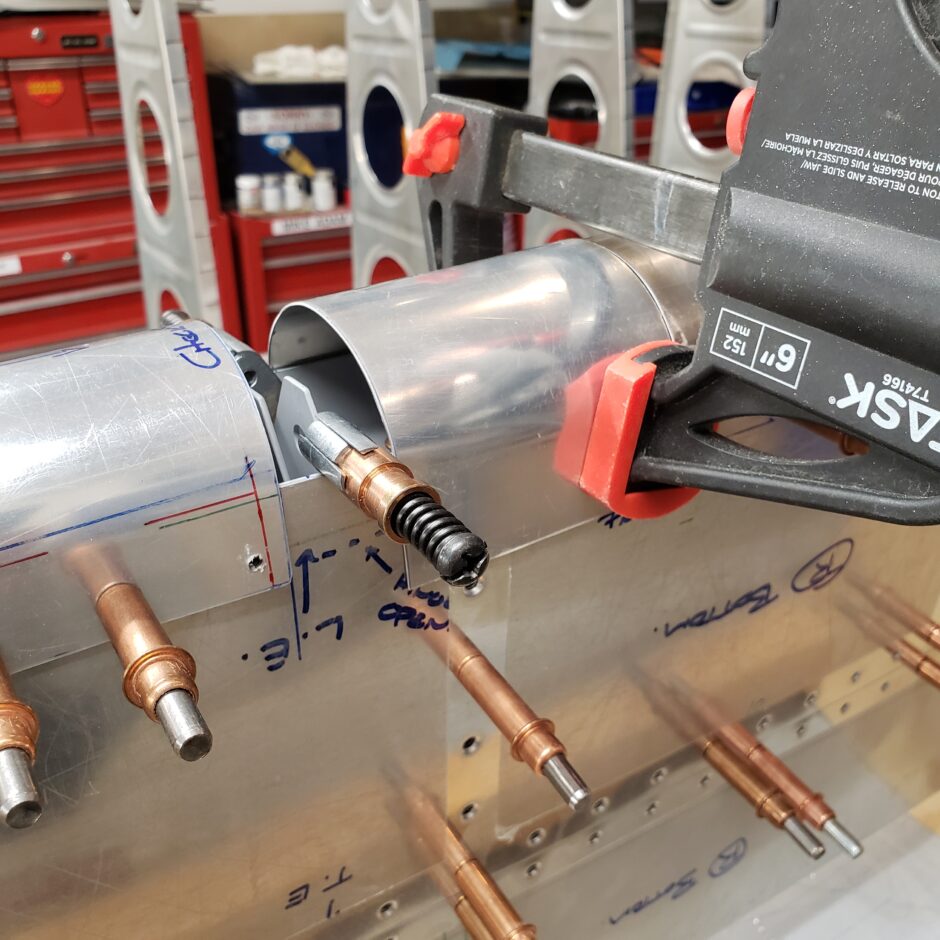
Then make sure it’s securely clamped.

Once it was placed and clamped, I was able to identify where the screws needed to be located.
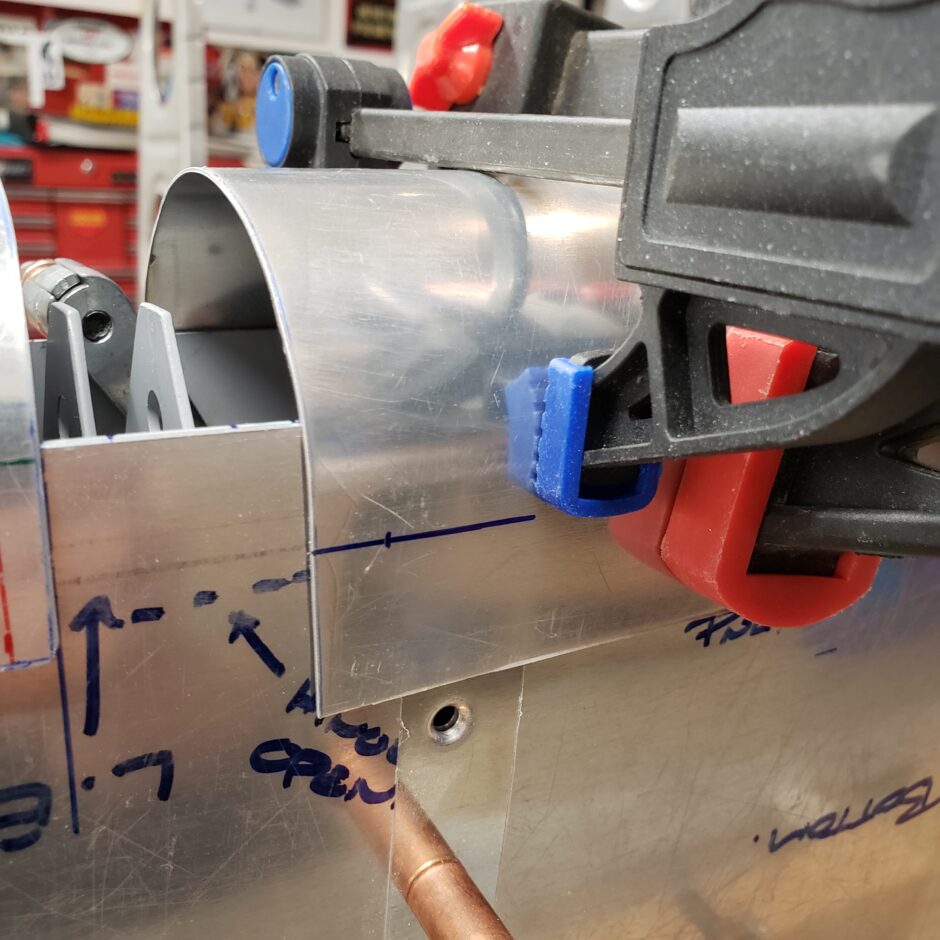
Once the screw locations were found, I was able to drill a pilot hole.
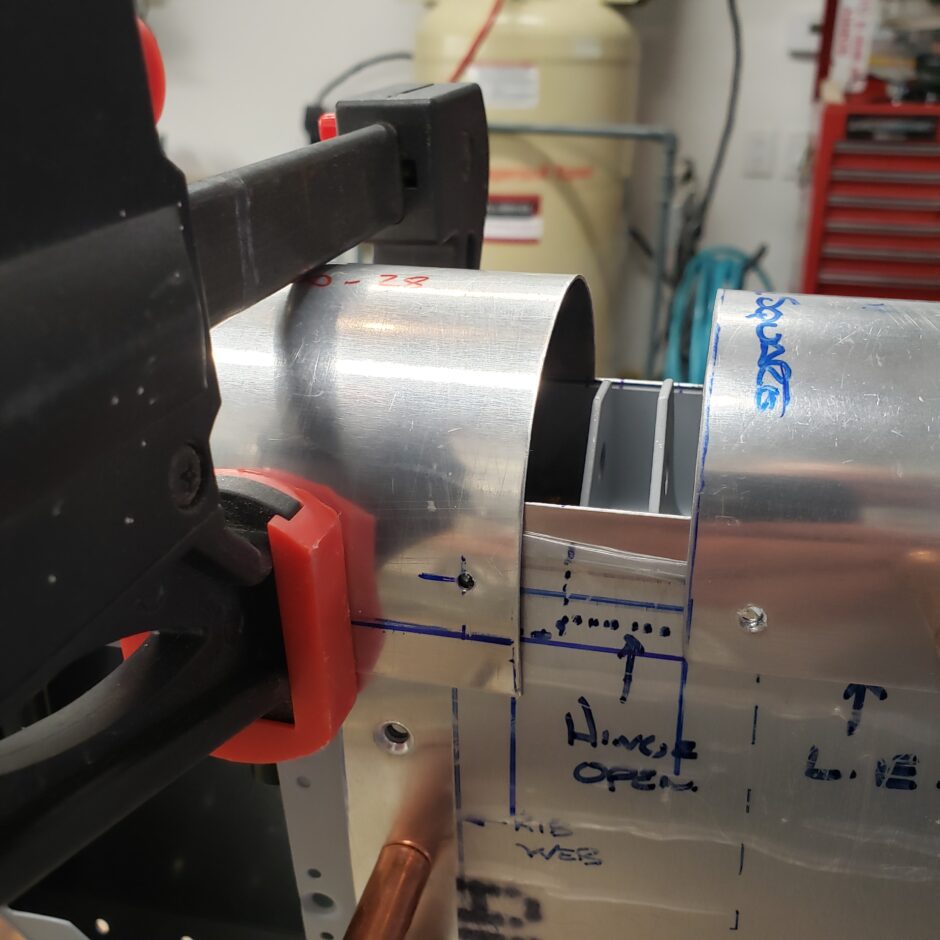
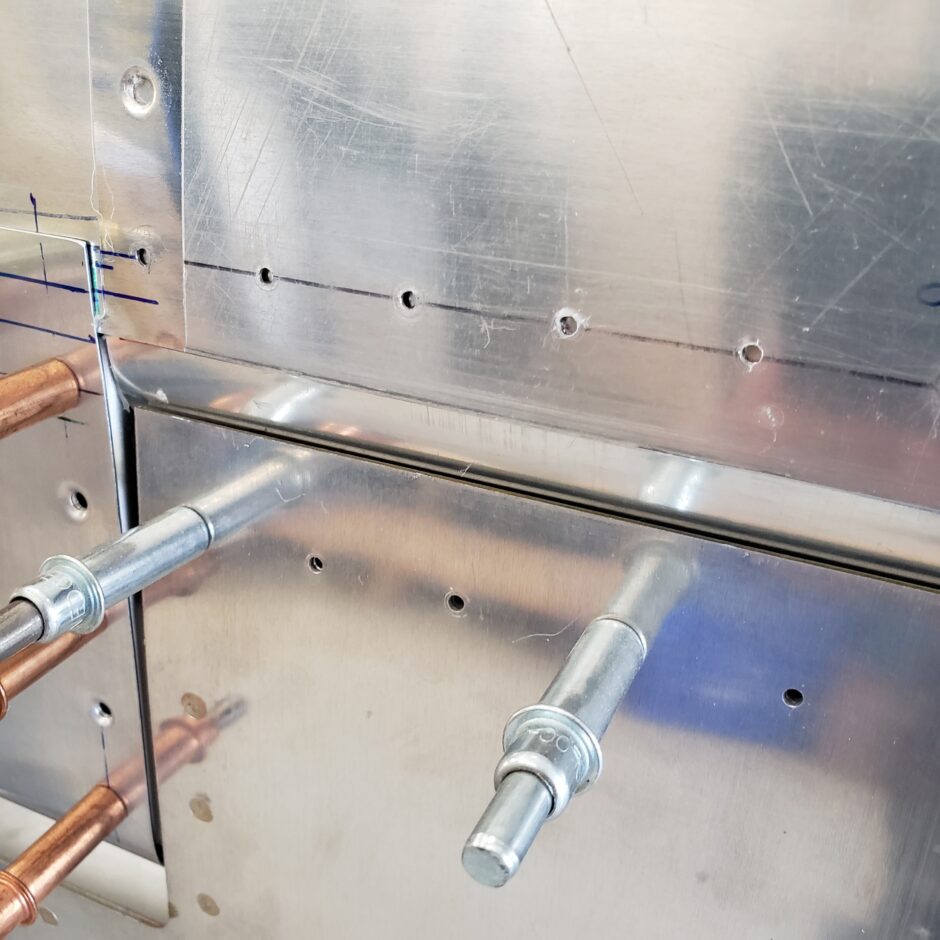
In the picture below you can see how I lined up the screws for the access panel to be in line with the rivet line of the leading edges.
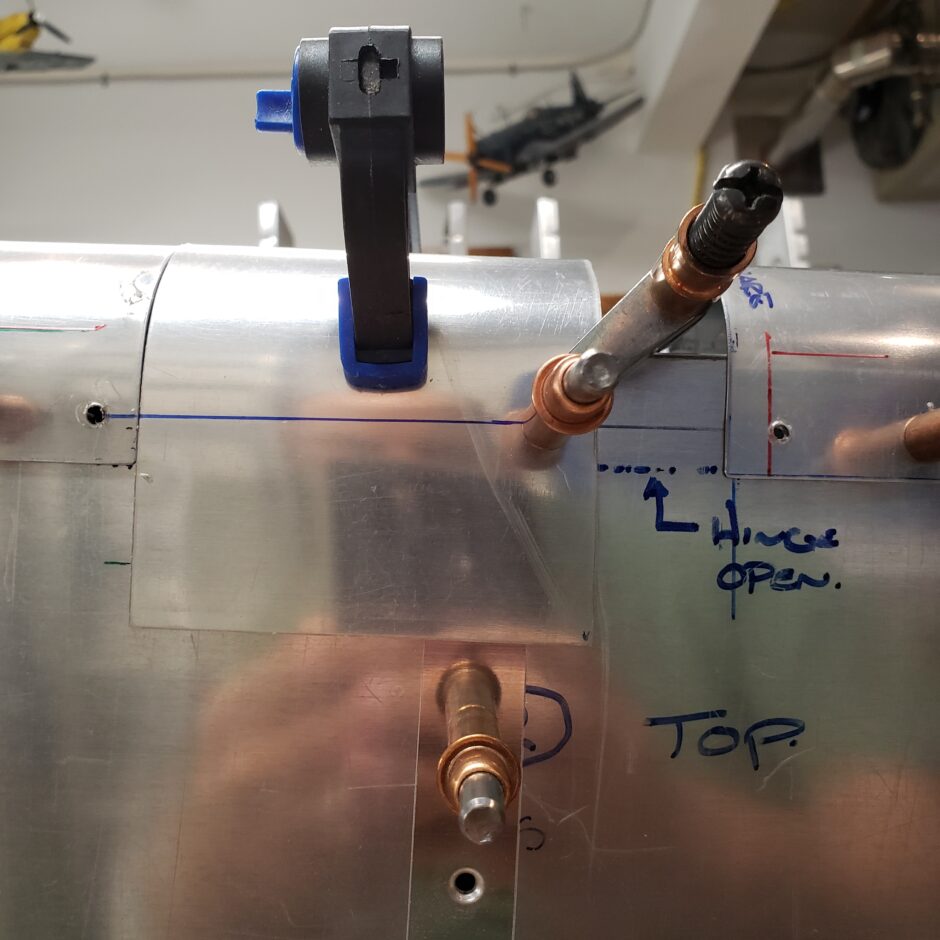
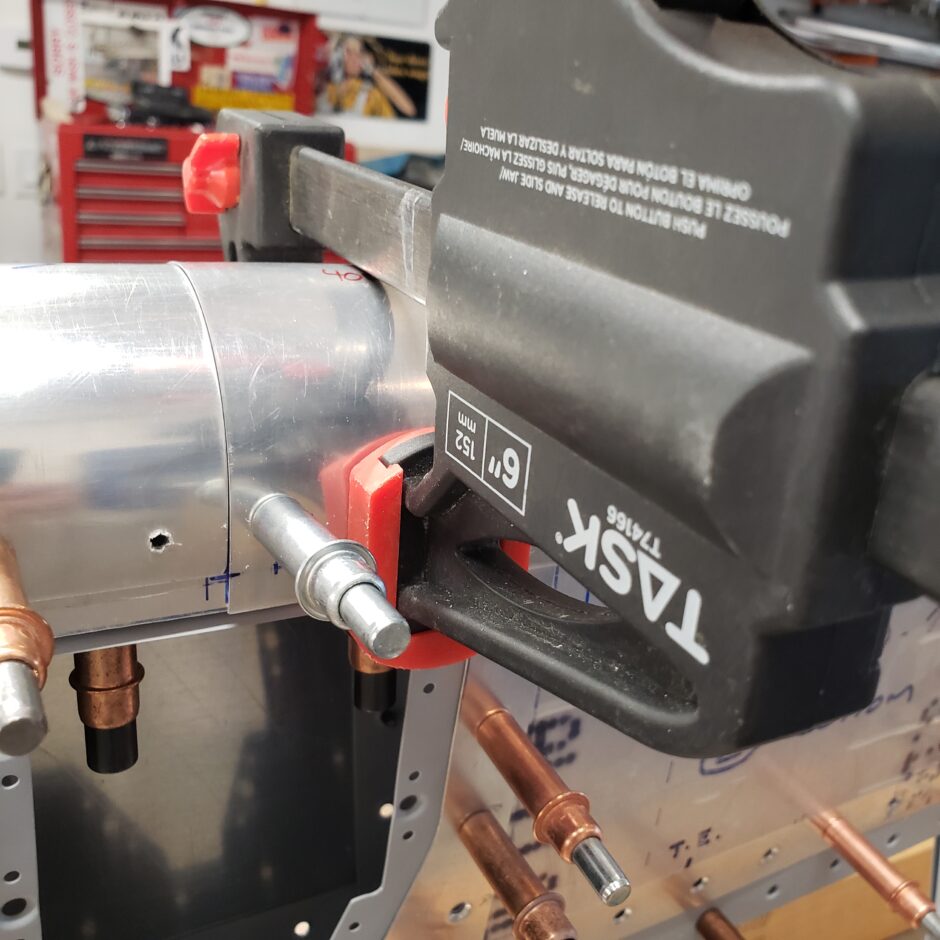
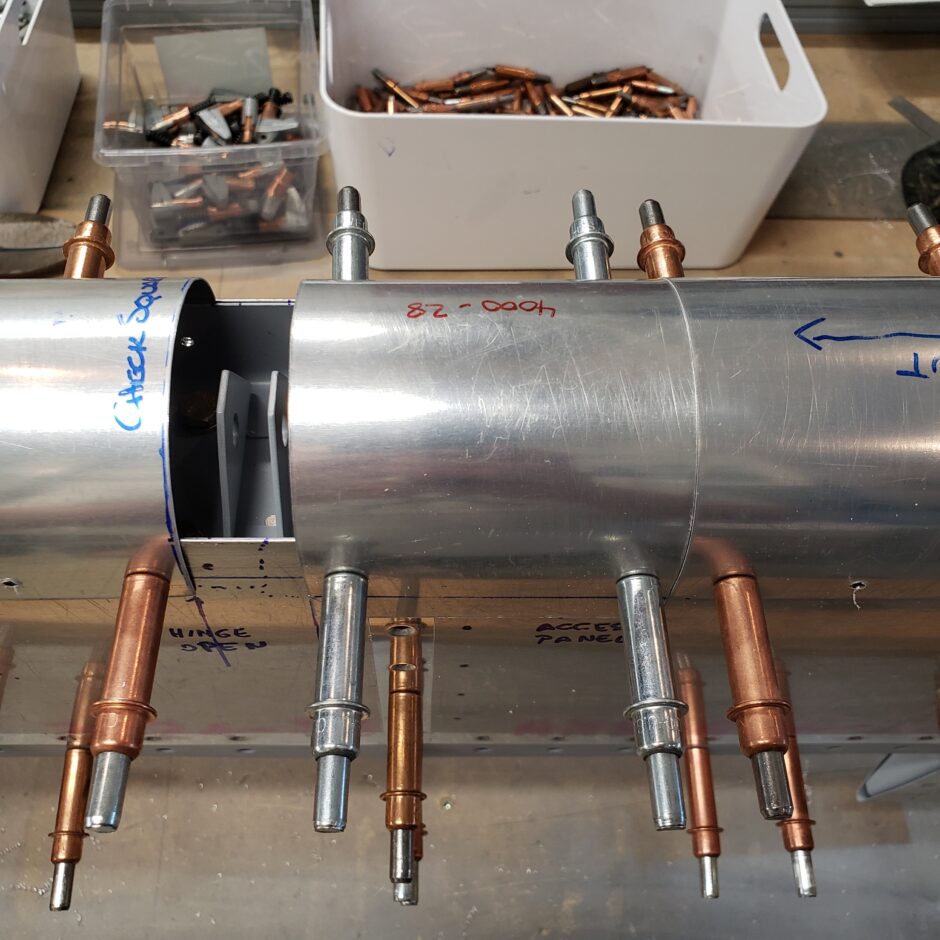

Again, there was lots of excess to be trimmed off.
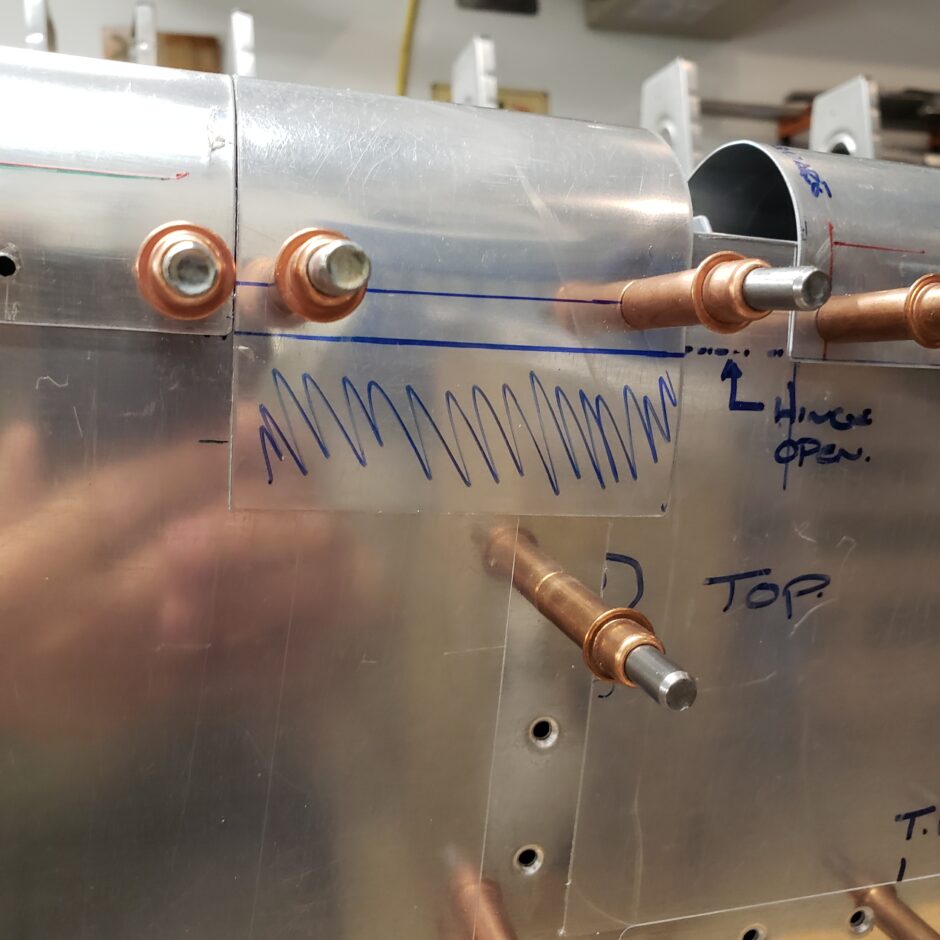
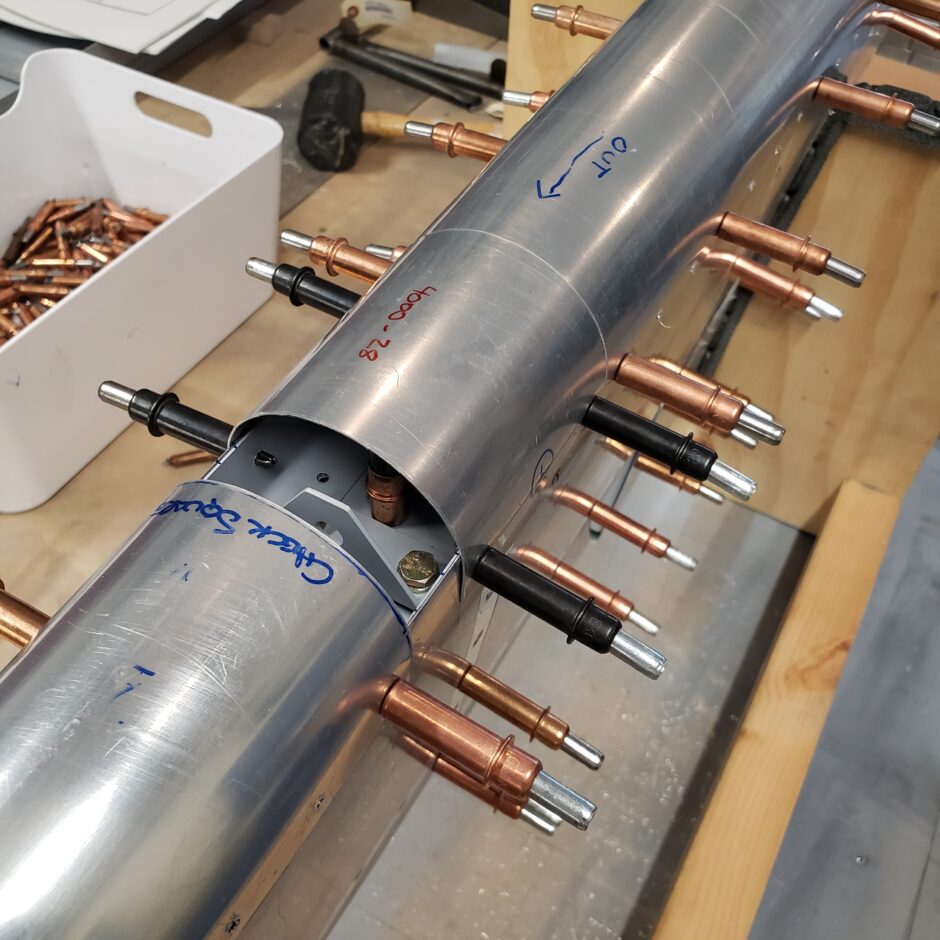
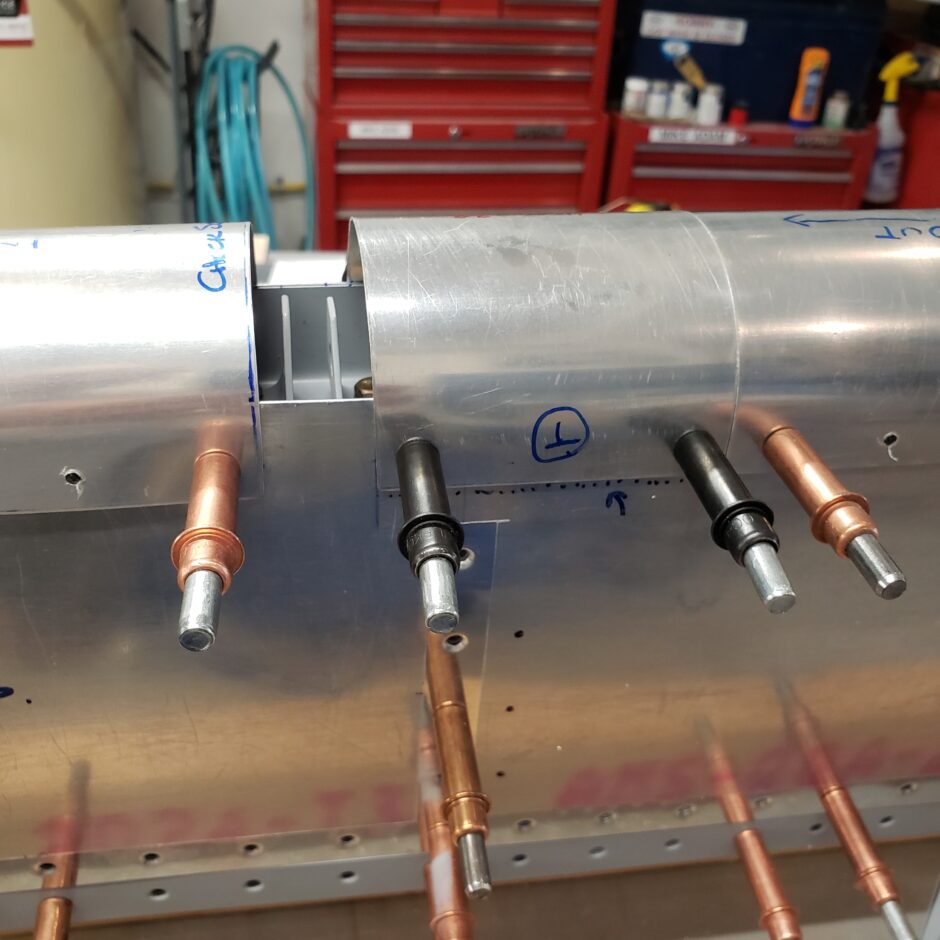
With the skins fitted, trimmed to size and the access panel installed that’s going to be a wrap on these leading edges. There will be a bit more work coming for those access panels, as I need to dimple the skins for screws and install nutplates on the inside. But that can wait for another day.
Please comment. I love to hear from my readers. Thanks again for coming along for this ride, you make my work worthwhile.
Leave a Reply