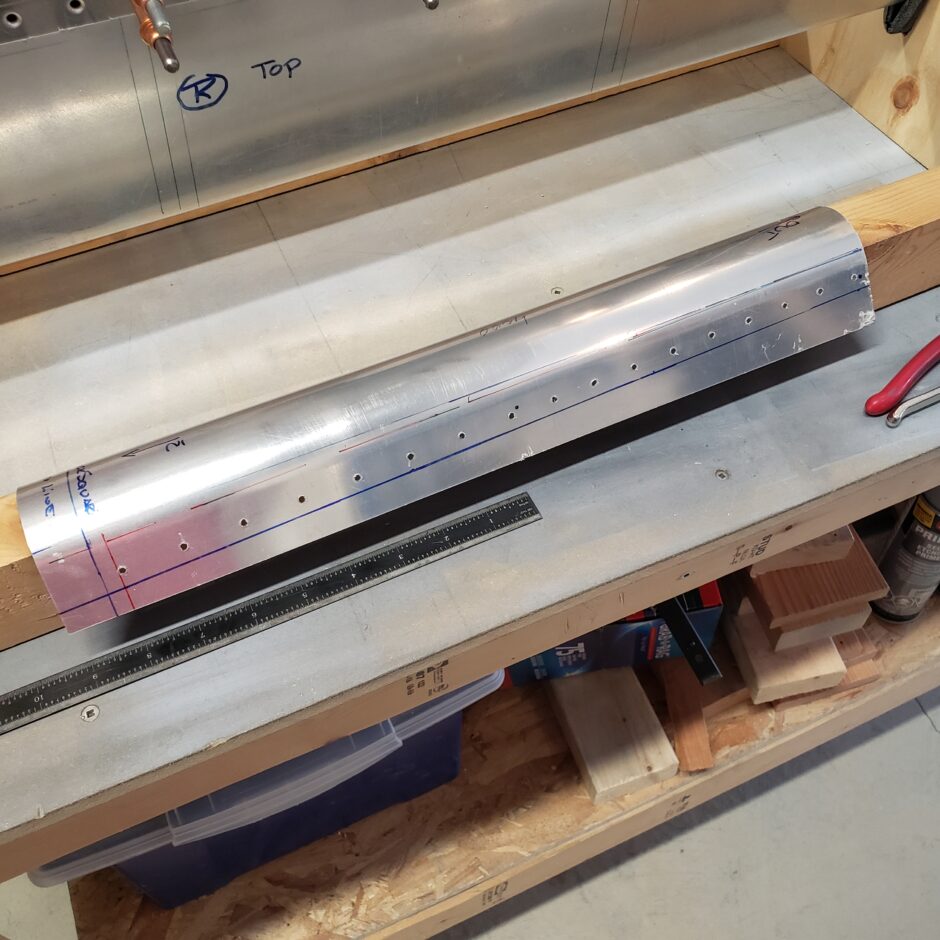
Moving right along with the leading edges, today I began with upsizing the #40 pilot holes to #30 for the final rivet sizing.

In the picture below is one of the leading edge pieces that is ready to be trimmed.
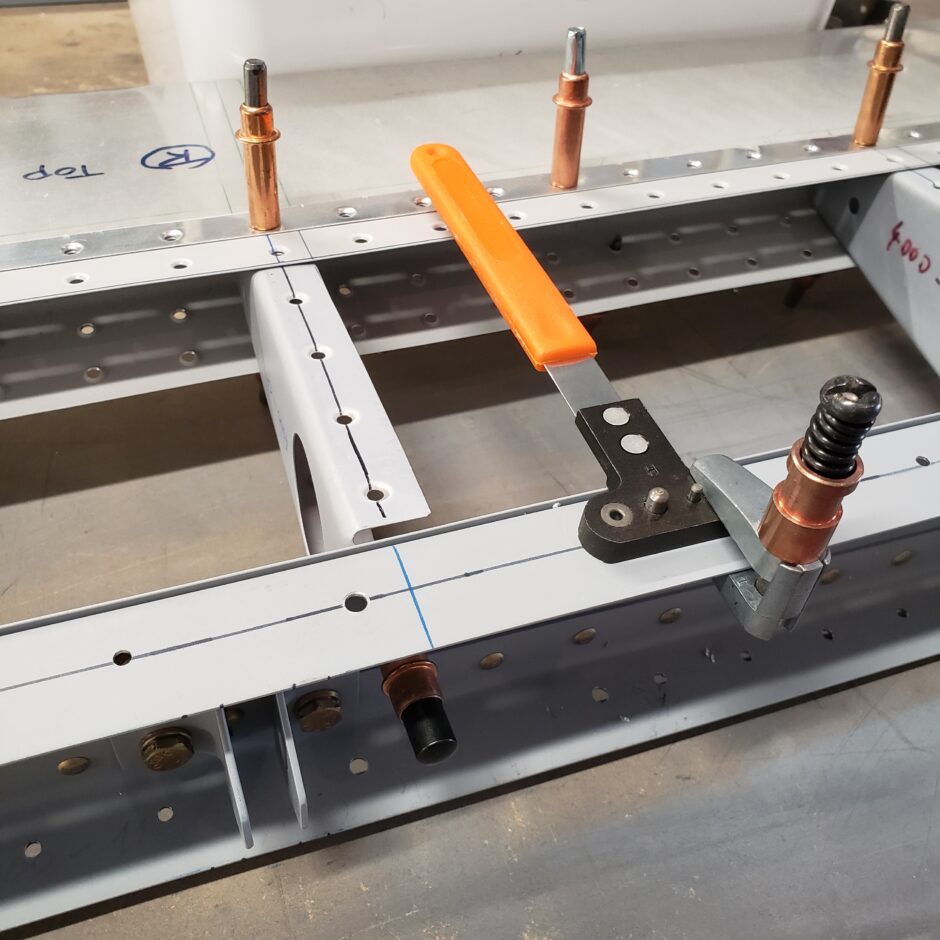
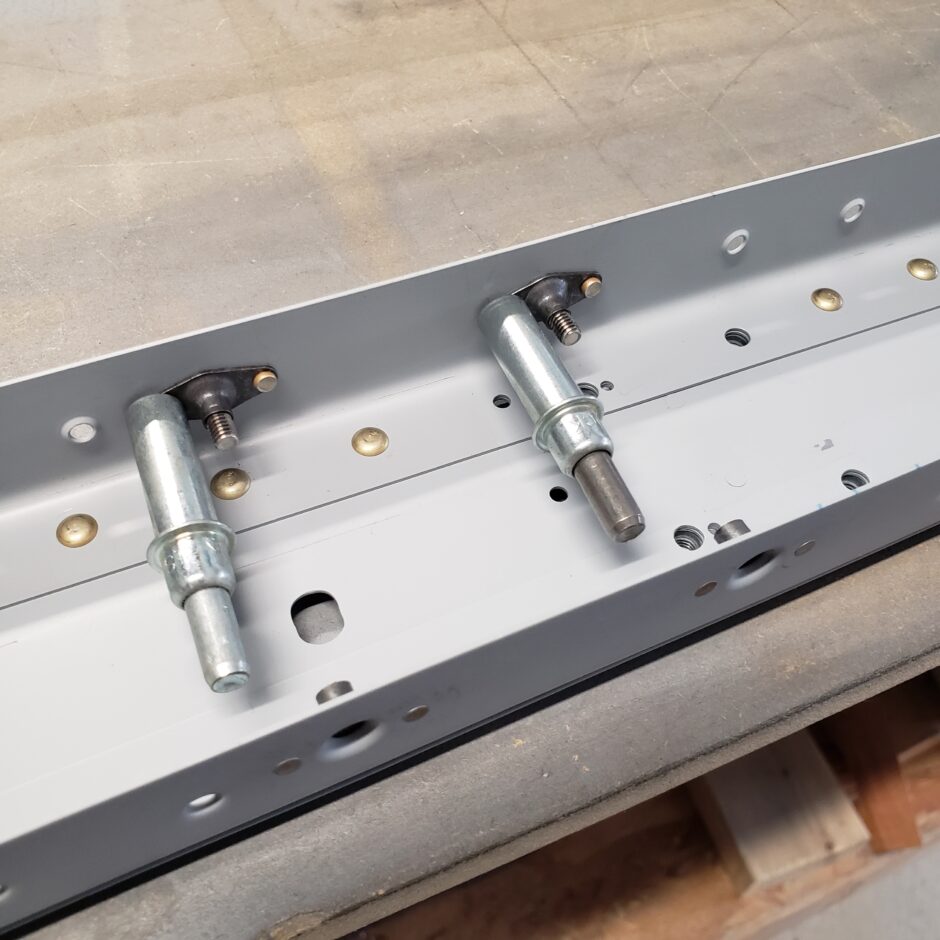
In the picture below, I’m getting the nutplates located for the mid-hinge access panel. These nutplate jigs are really great tools and work well.
While I’m on the theme of nutplates, I figure now is a good a time as any to also add the nutplates to the elevator torque tube assemblies.
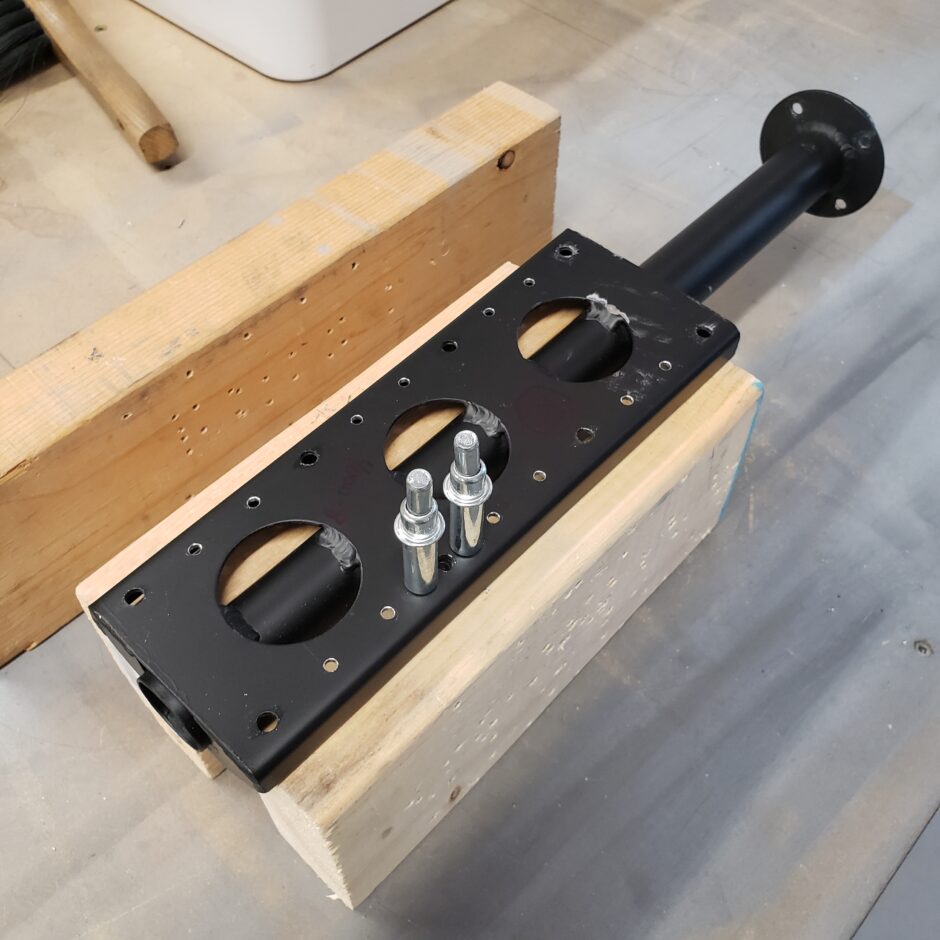
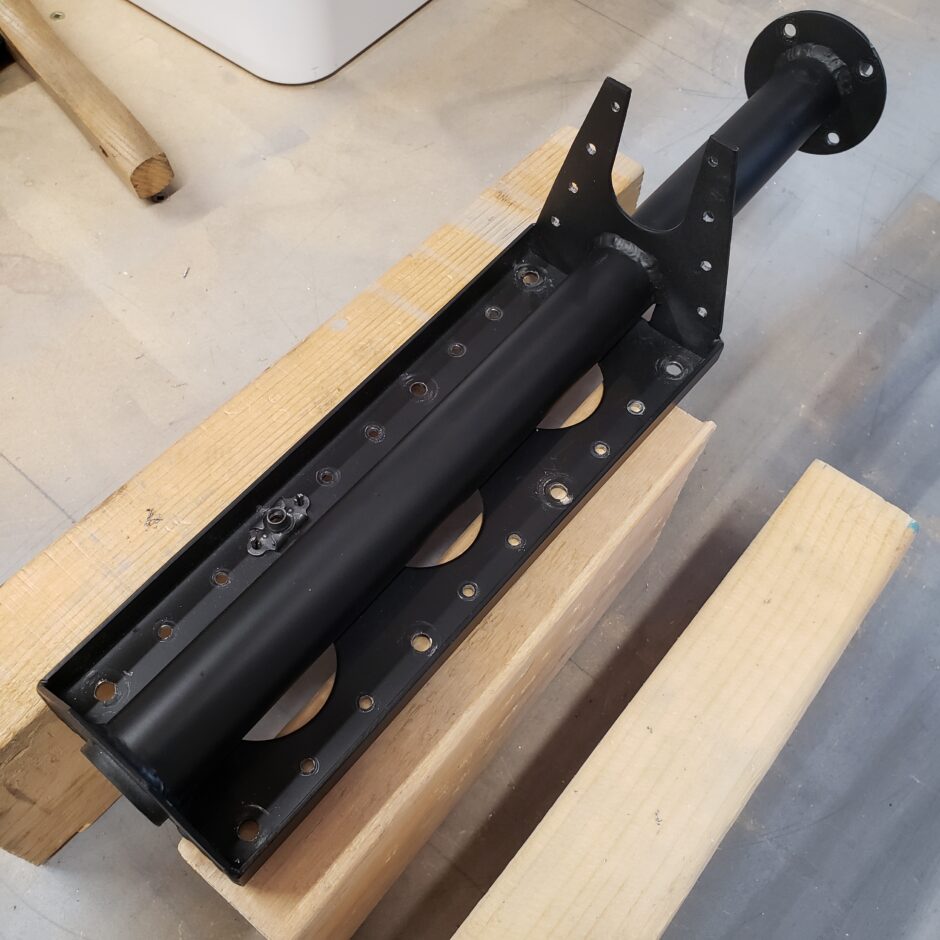
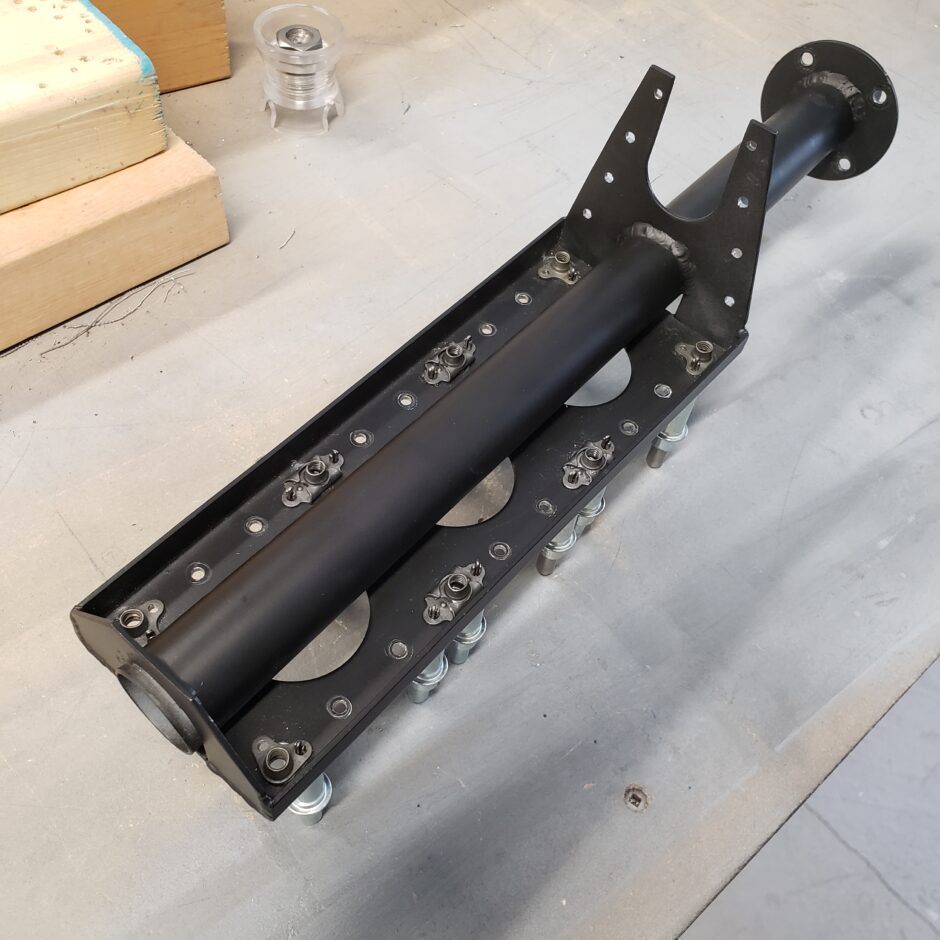
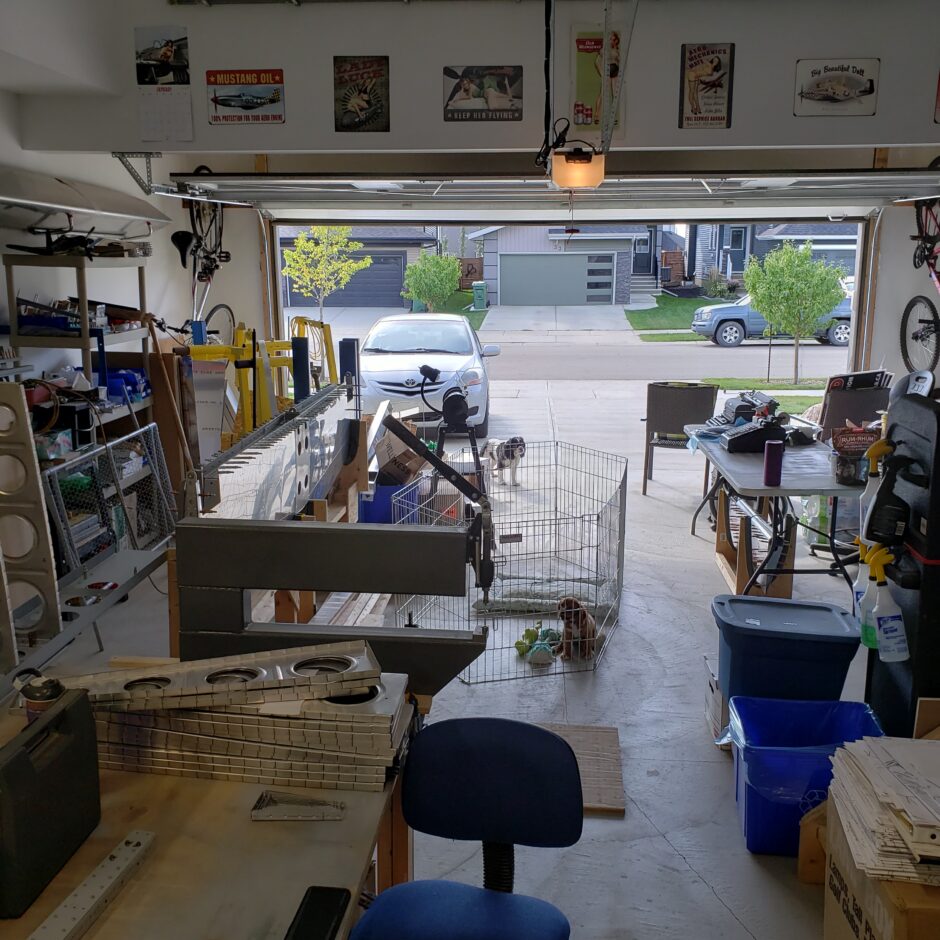
It’s always nice to have a beautiful day to work in the shop. I even have my little helpers with me.
Please comment. I love to hear from my readers. Thanks again for coming along for this ride, you make my work worthwhile.
Leave a Reply