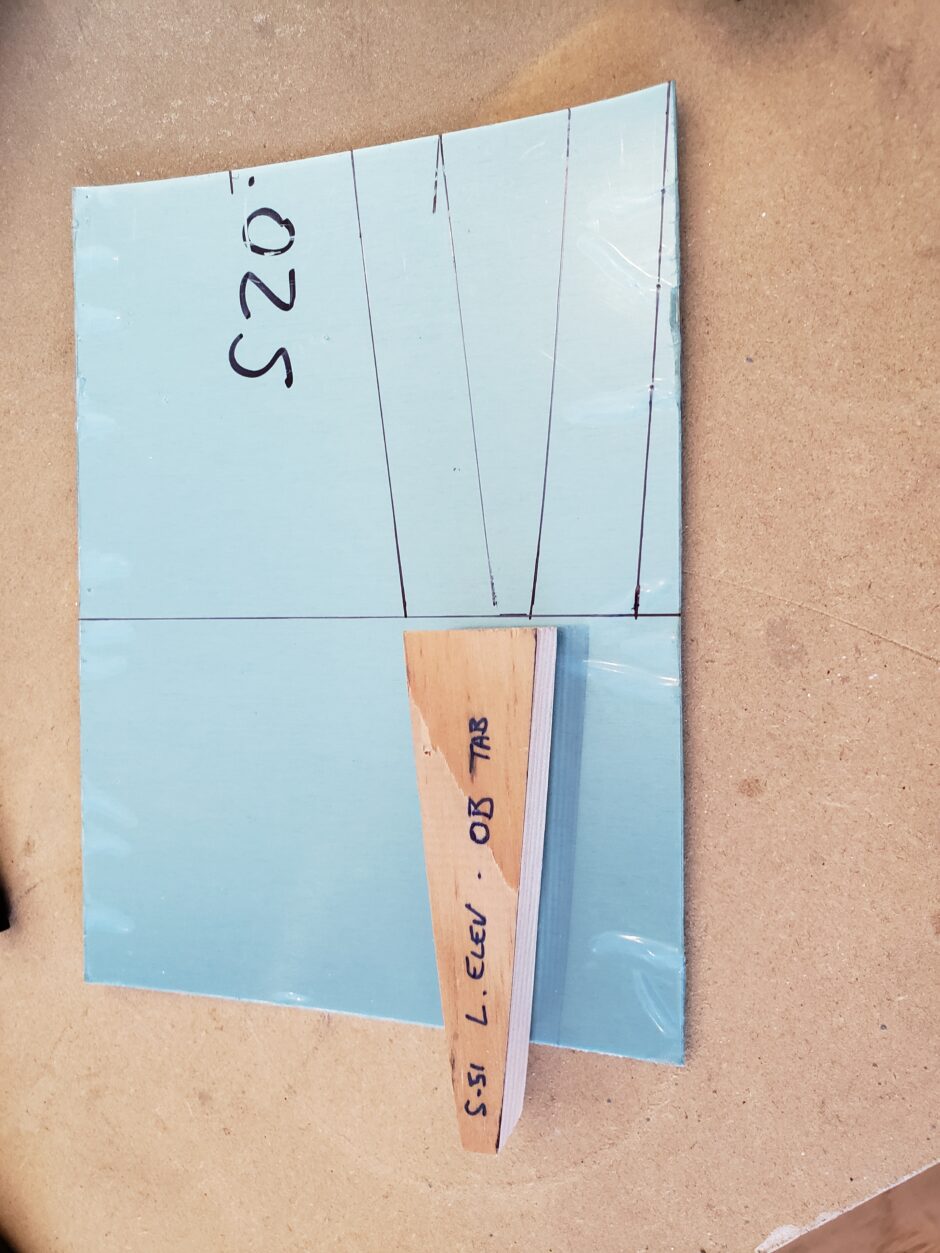
Continuing from the last post, I identifed that there needed to be some ribs to close out the trailing edge skins on either side of the trim tab cut out. The task for today is to make some ribs to close out this area.
Additionally, I will also be making a rib or two to add to the right elevator (the one without the trim tab) because the only support that trailing edge skin has is the rear spar, and the two end close out ribs. It’s too much of a span for no additional supporting ribs, so I’m going to add one or two there as well. This is an area that the S-51 plans don’t cover, but other builders have identified as an issue.
Forming Blocks
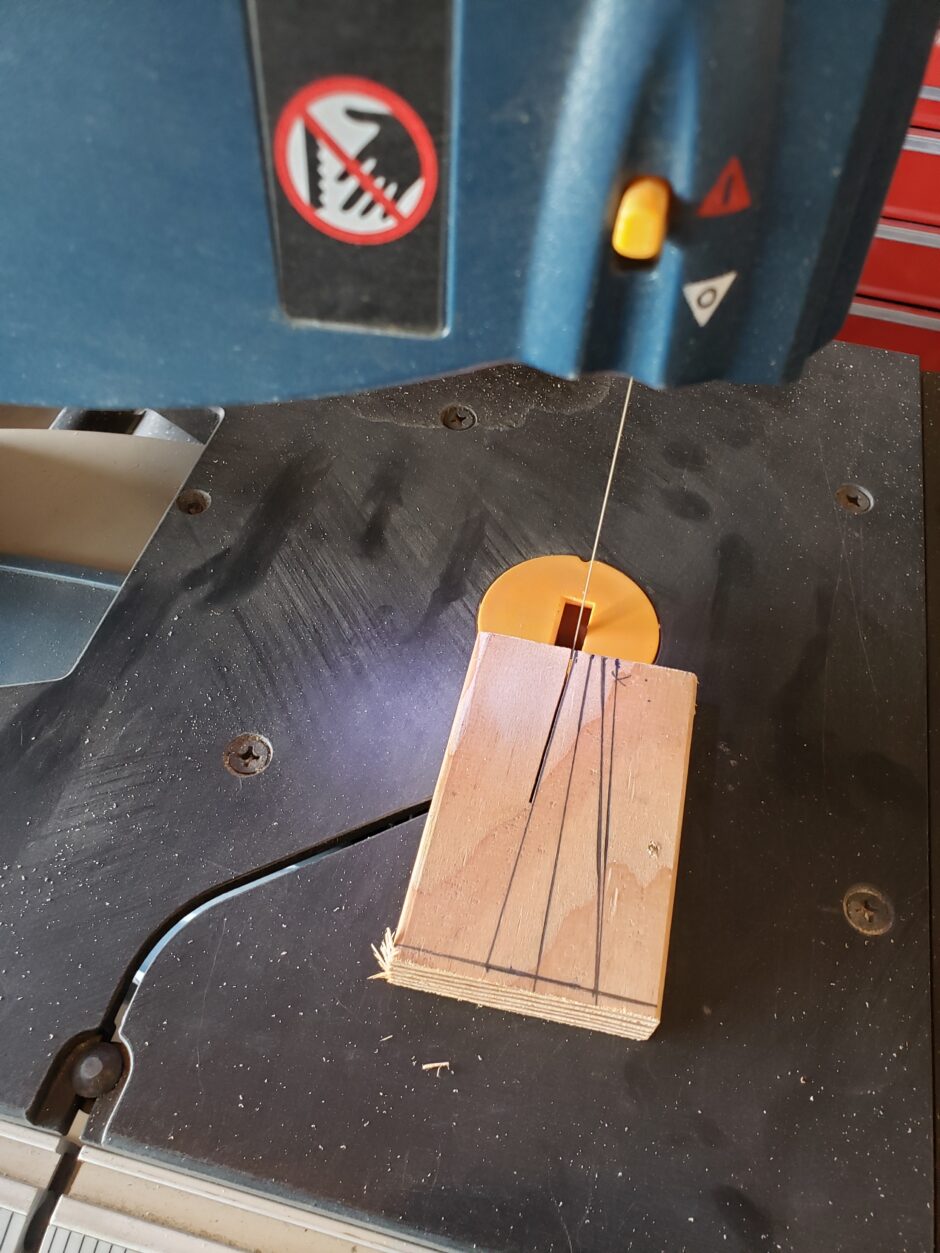
I started by making some forming blocks. I measured the rib opening and then laid out the rib forming block on some hardwood. I then cut it out on the bandsaw.
Once the rough block is cut, it’s just a matter of trial fitting it. Lots of trips back and forth between the part and the sander.
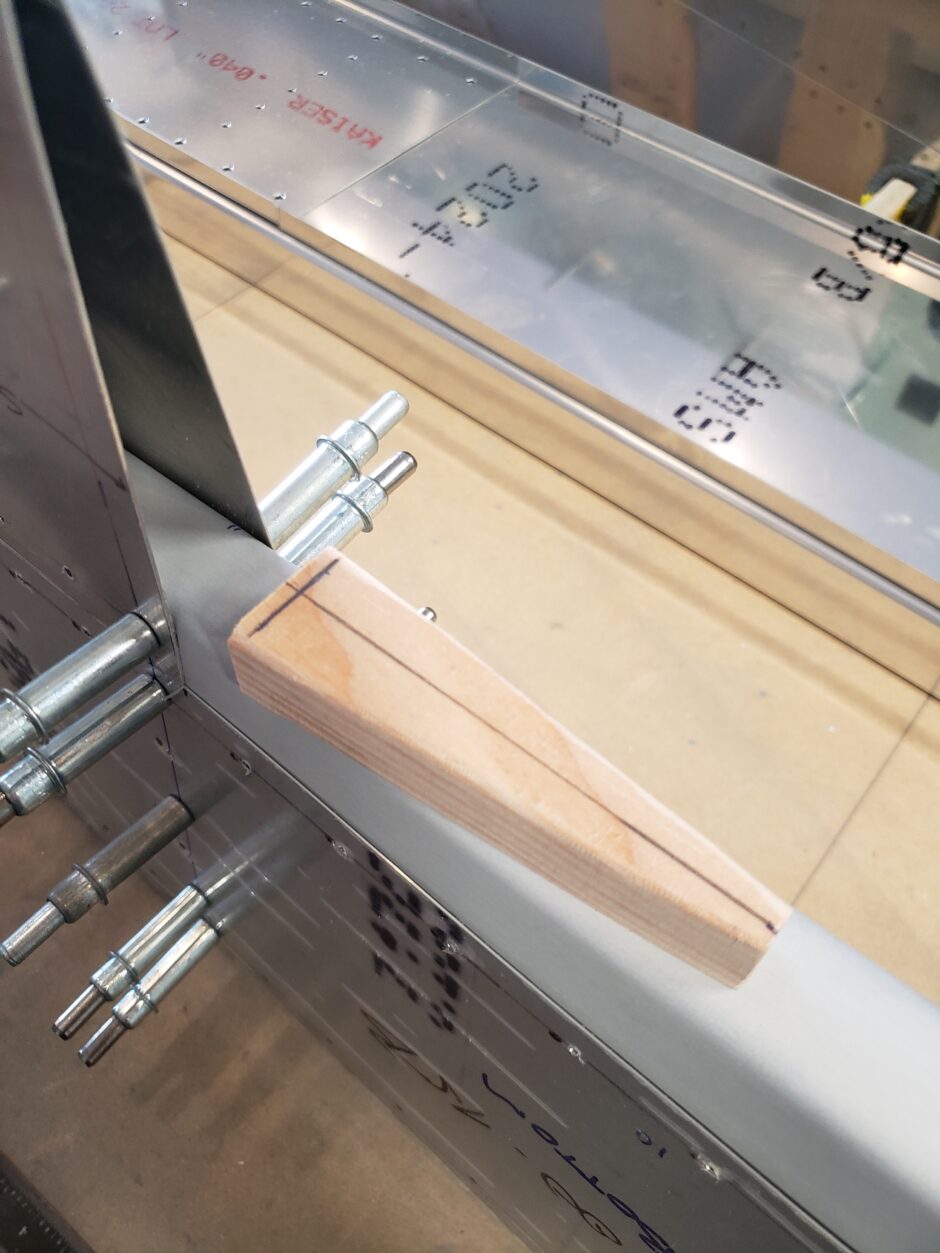
Finally, you get it to fit.
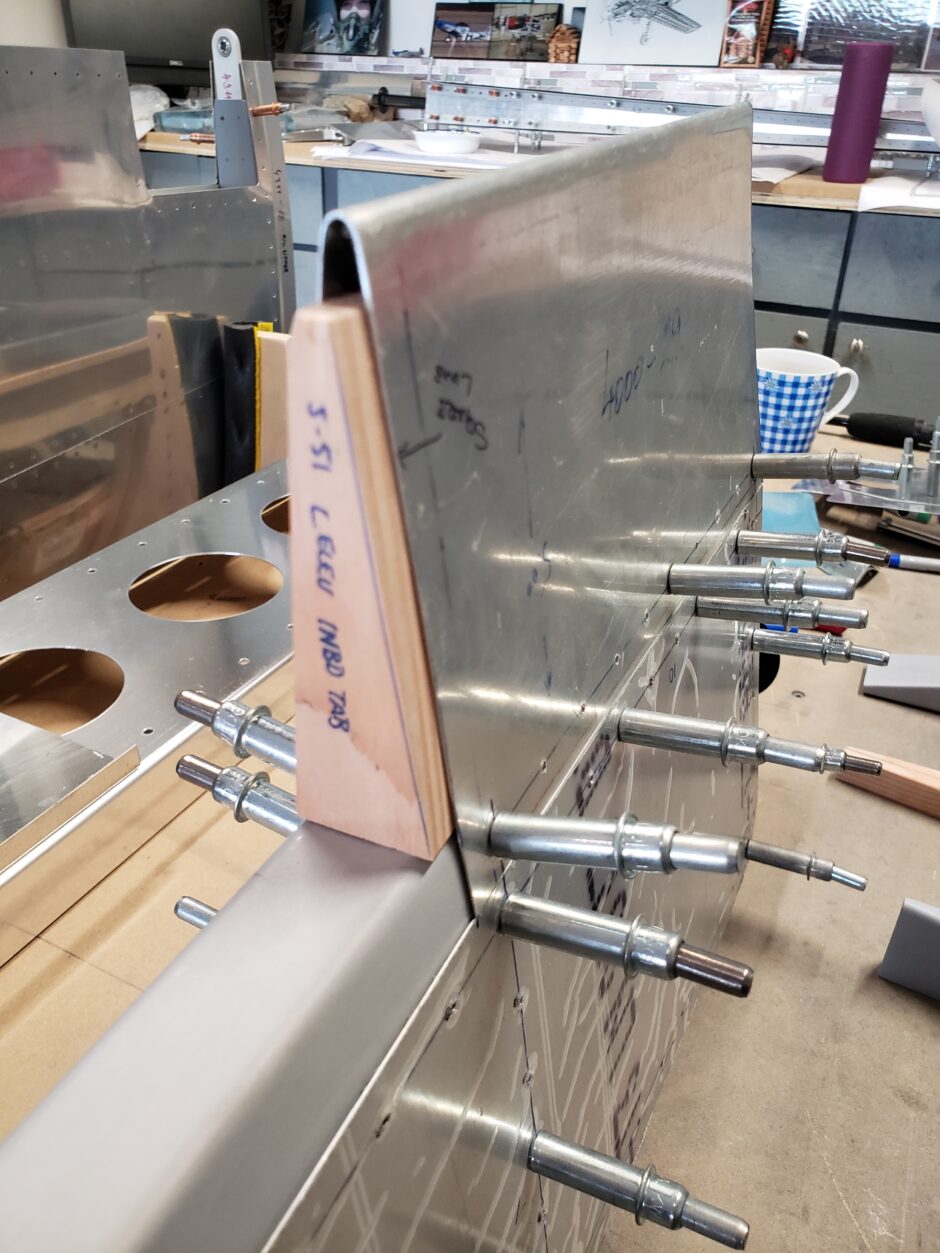
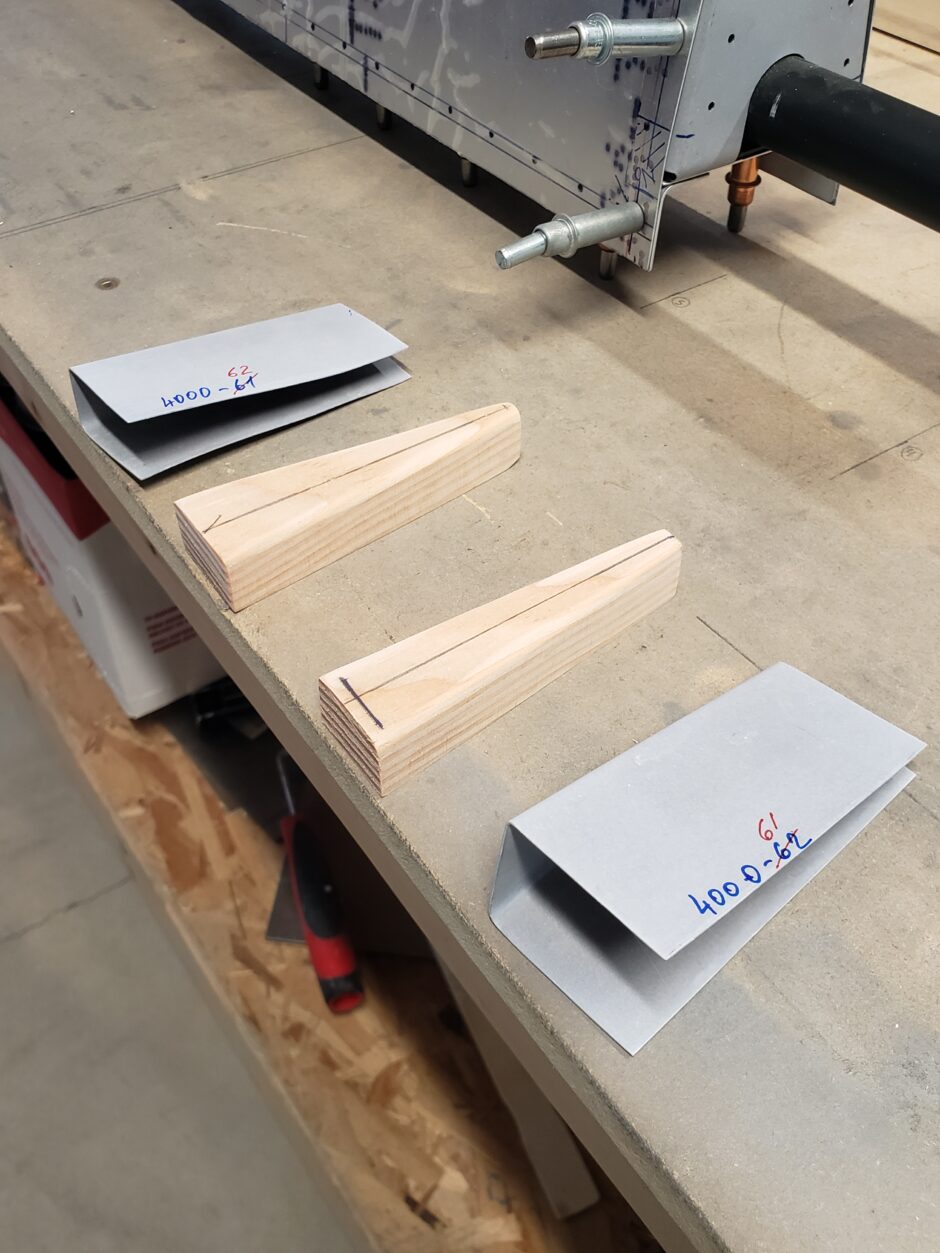
Here are the forming blocks with the end ribs. Now to form the two middle ribs for the trim tab close outs.
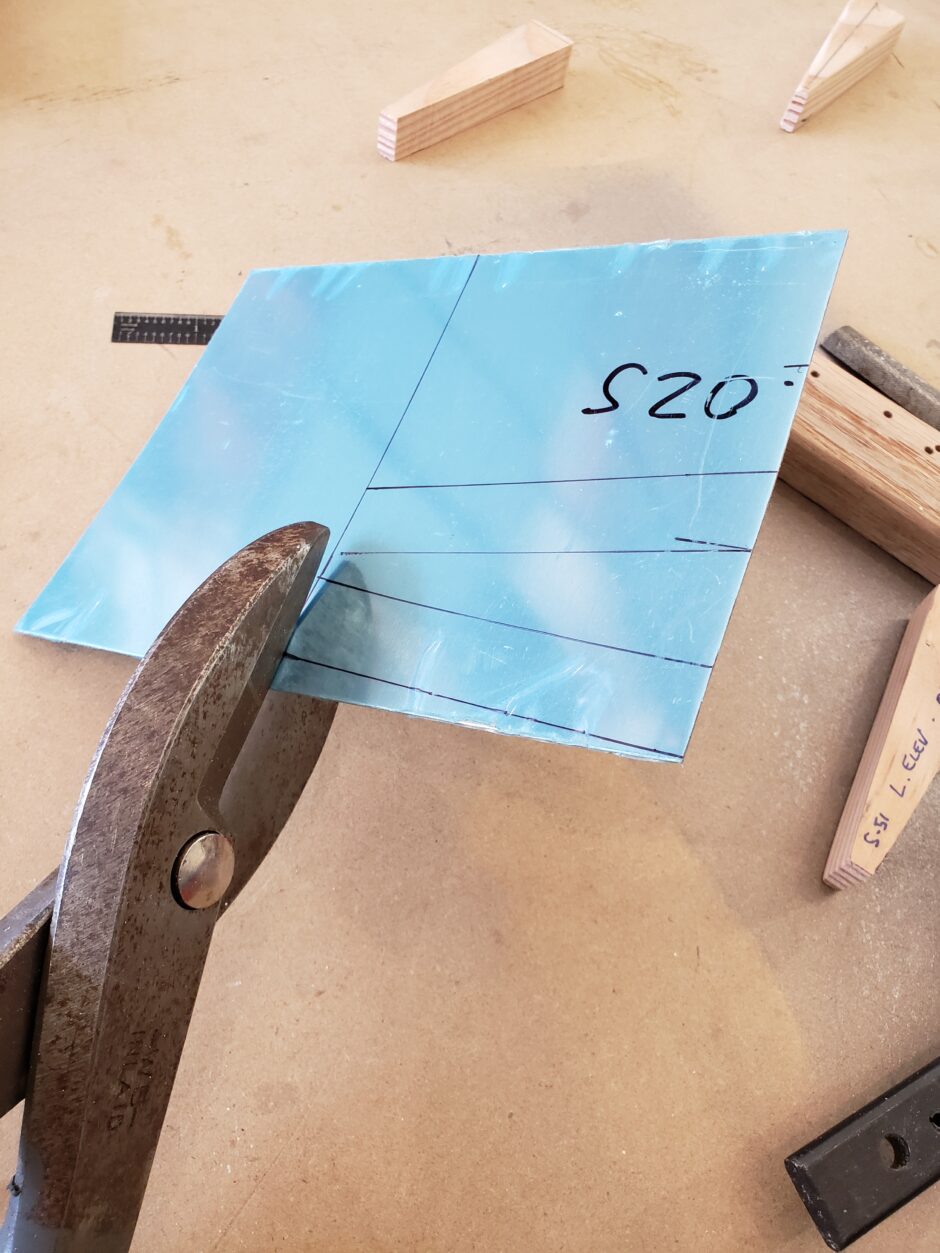
Start by doing the layout on the sheetmetal. Trace the forming block, then add the flanges. Here I did 0.75 inch flanges, so I hav lots of room to work with.
For a small part like this, made from thin material, I find it easiest to use the hand shears to cut out the part.
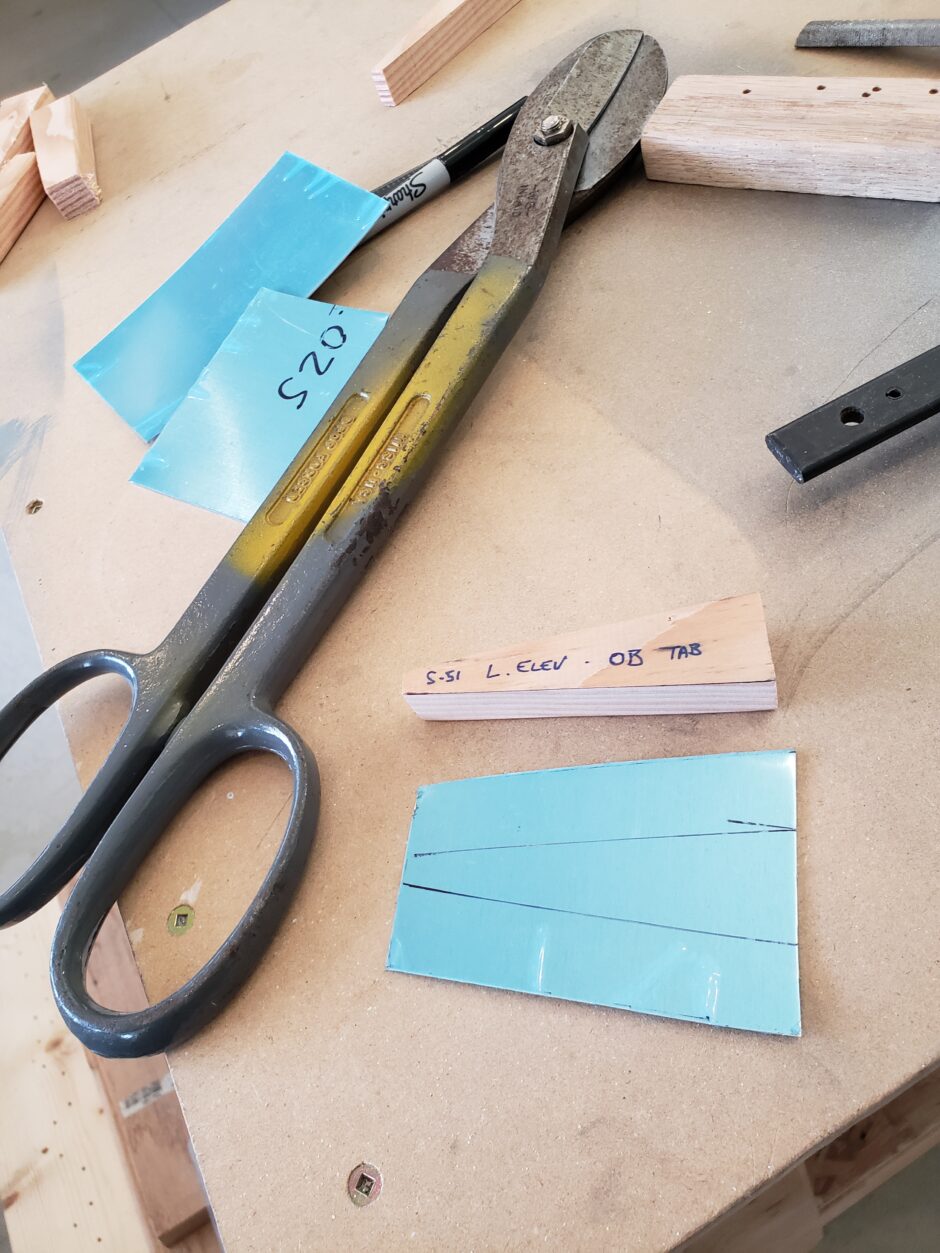
With the part cut out, it’s time to square it up alongside the forming block, and then start bending it. I start by lining up one side of the bend line along the top of the forming block.
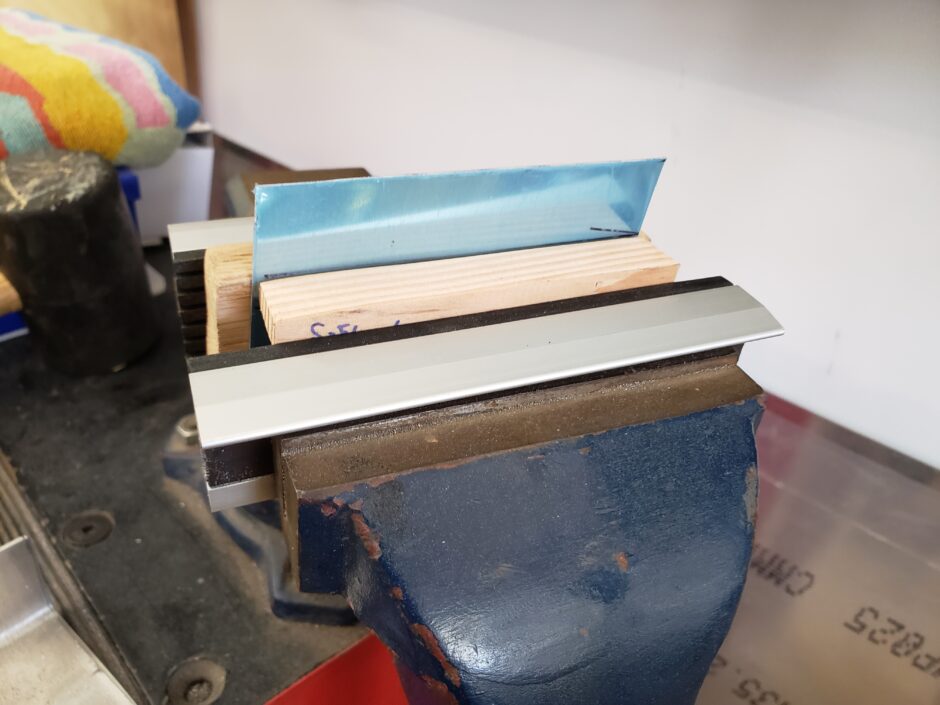
I then use a rubber mallet to hammer the flange down.
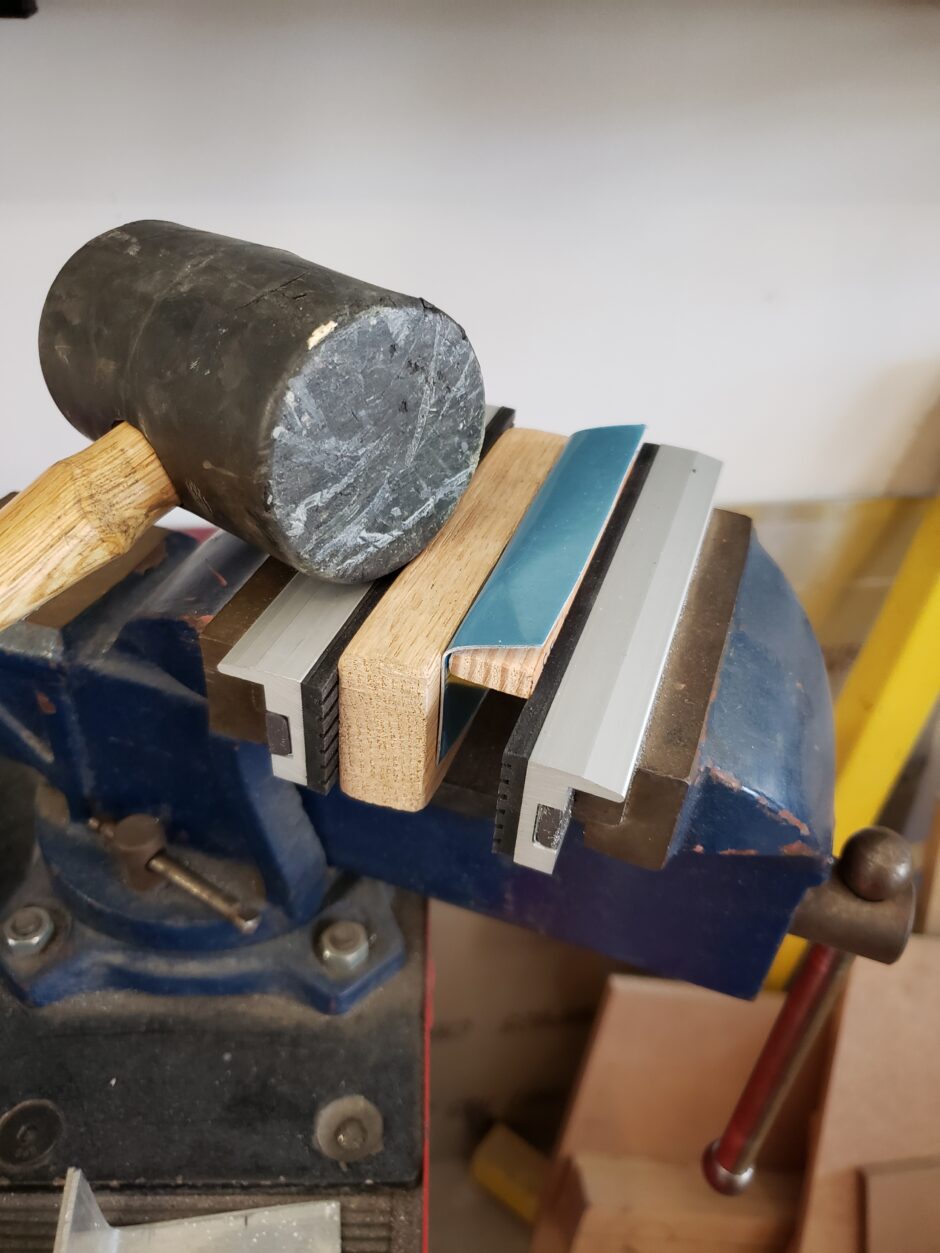
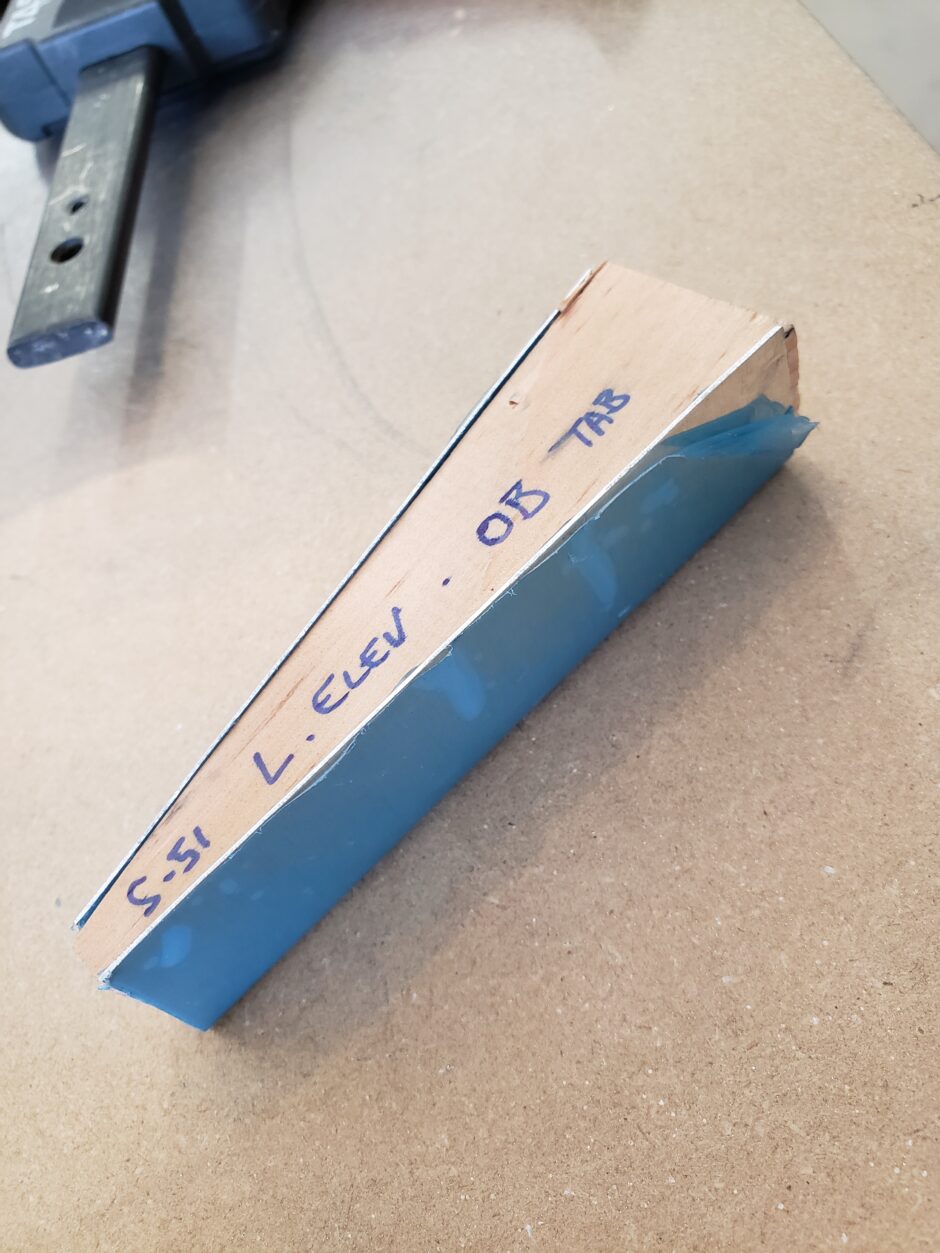
Pretty soon you have a formed part.

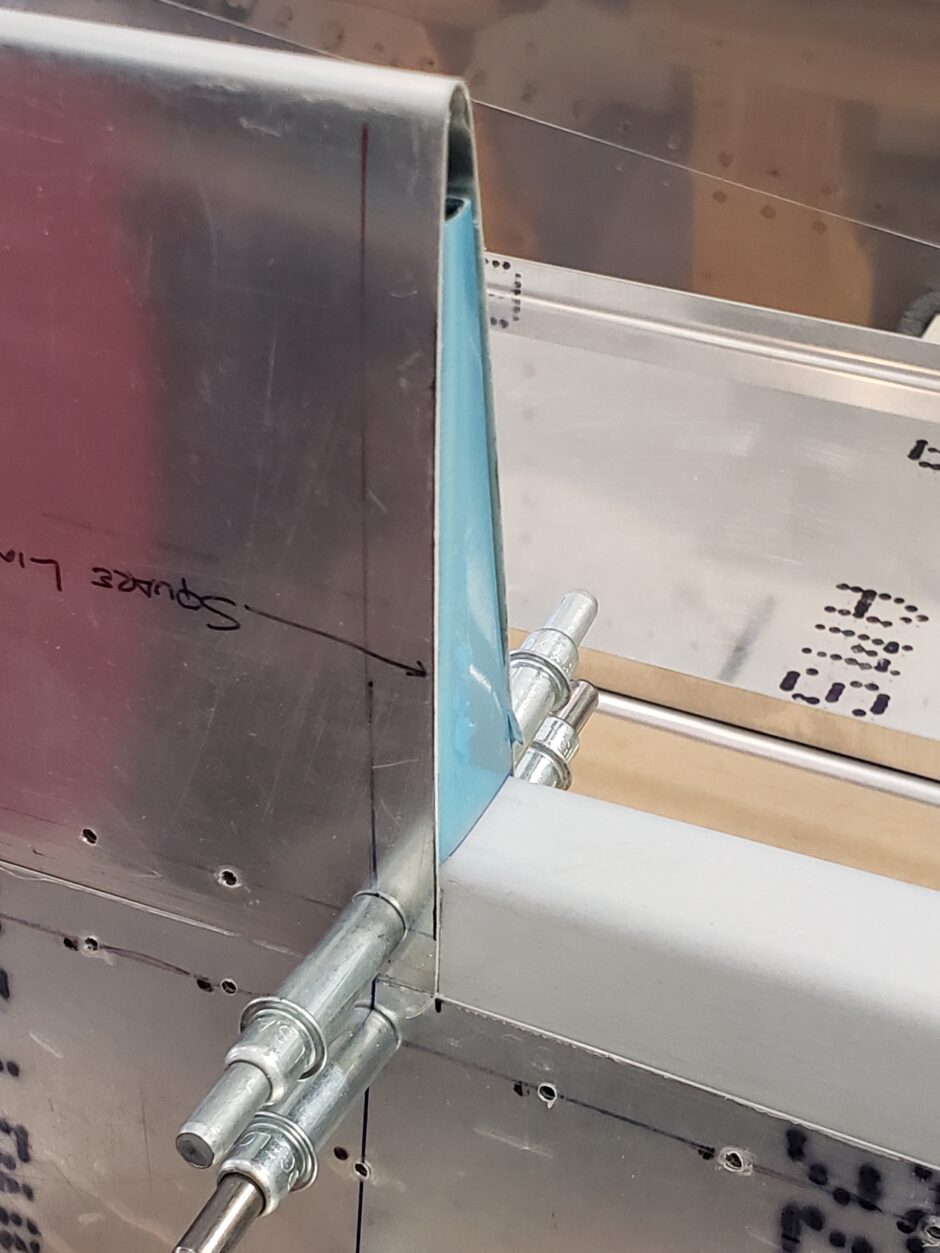
So far so good! Now to give it a test fit on the elevator.
It’s a good fit!
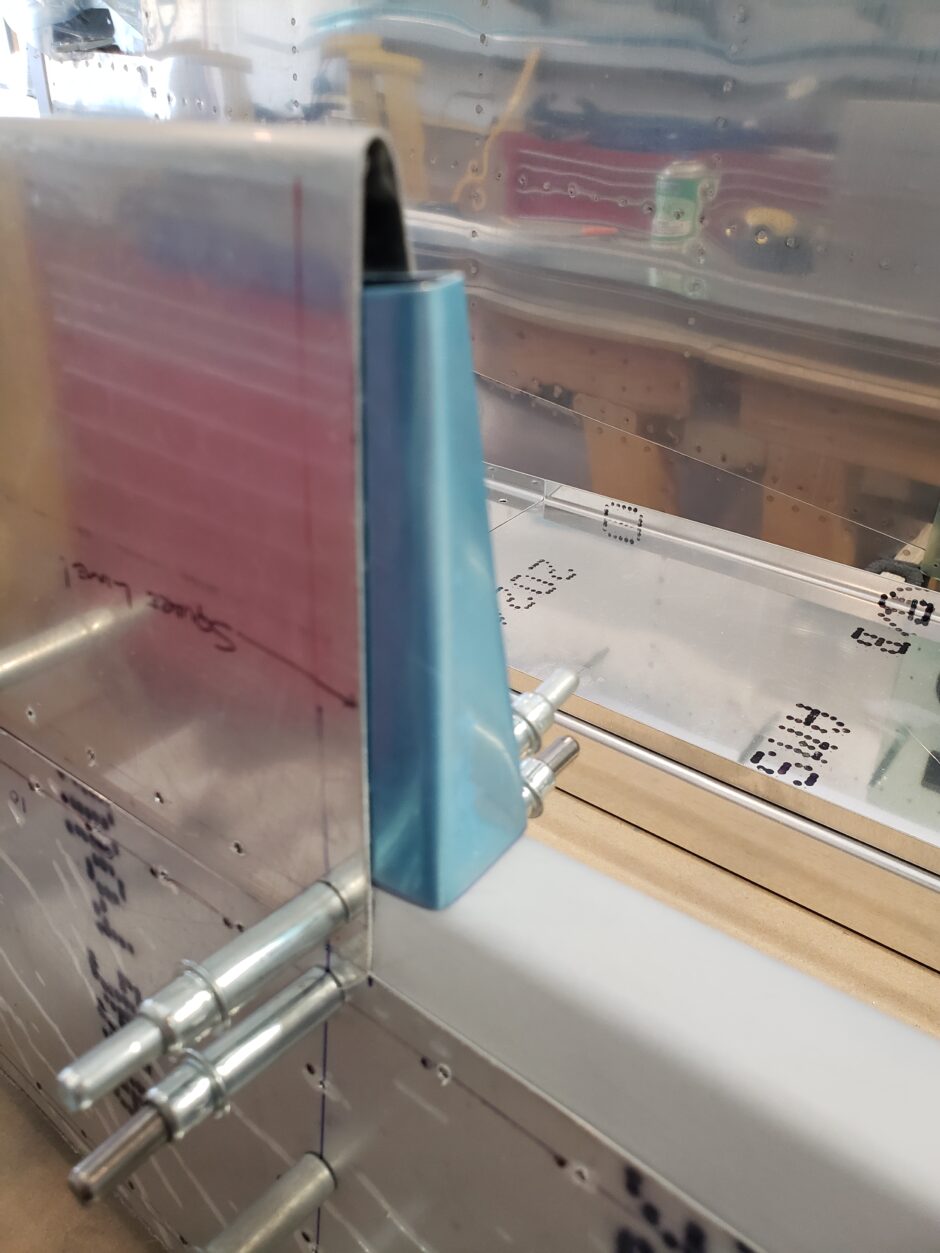
I’m totally impressed! Love it!
I’m super happy with how the rib turned out. I did end up making the others, I just didn’t get pictures of the process. That’s all I have for now. Back soon with more updates!
Please comment. I love to hear from my readers. Thanks again for coming along for this ride, you make my work worthwhile.
Leave a Reply