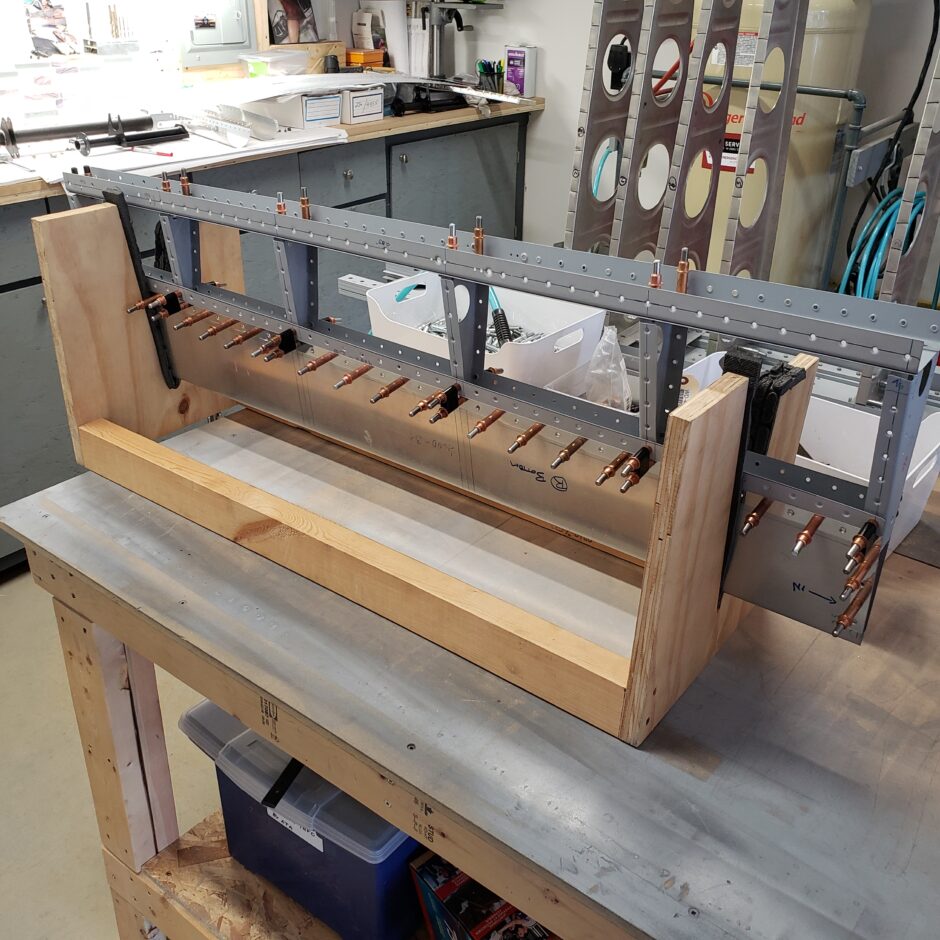
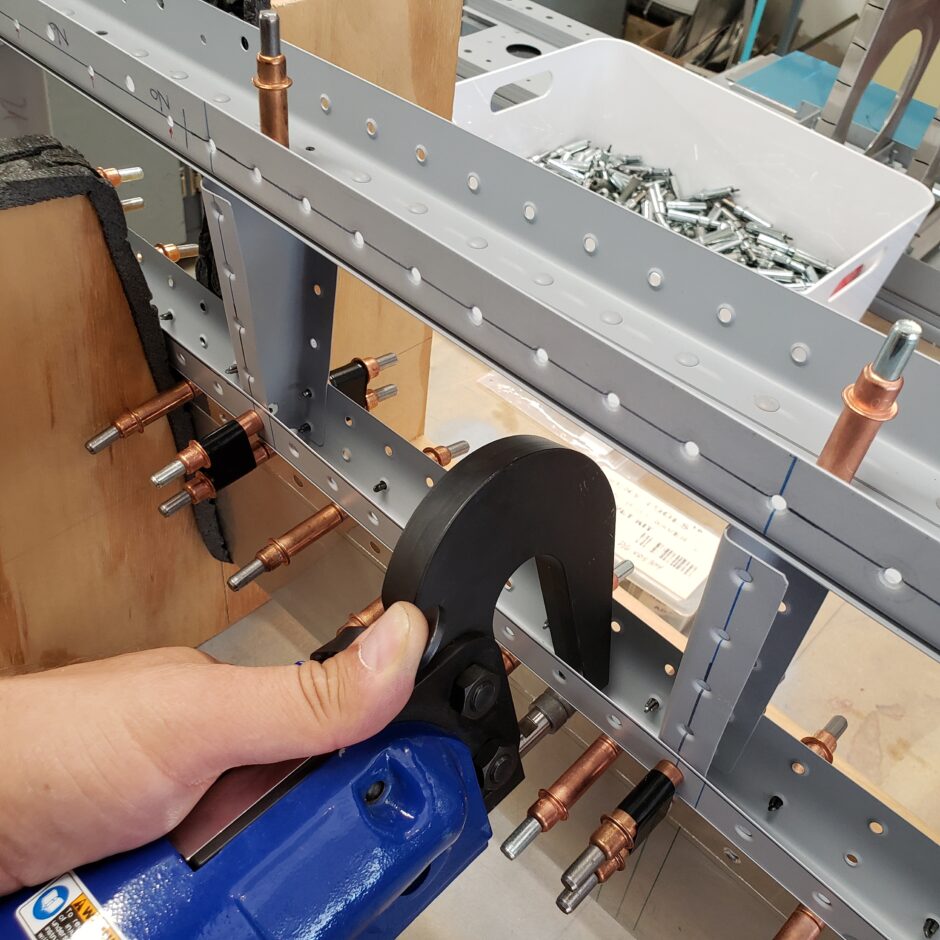
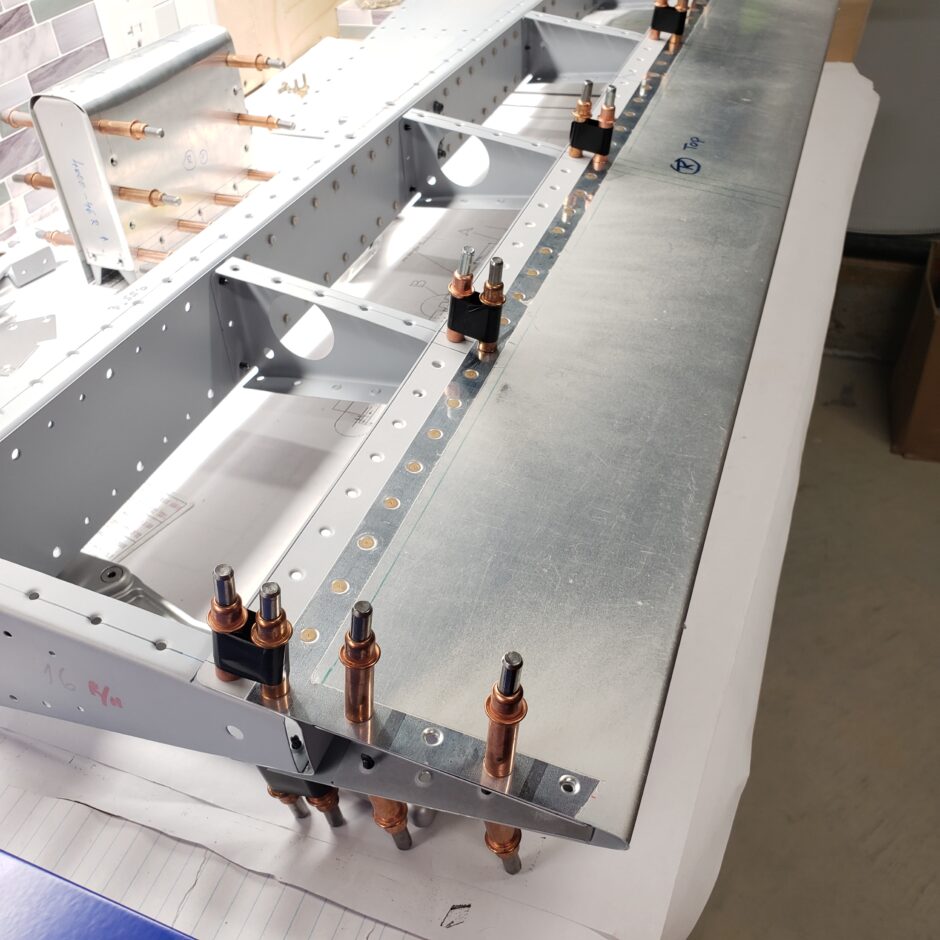
In the build session today I’m finally getting started on riveting the elevators. The elevators are riveted from the trailing edge to the leading edge, where they are then closed out with the leading edge skins. As shown below, I have the trailing edge skin clecoed in place.
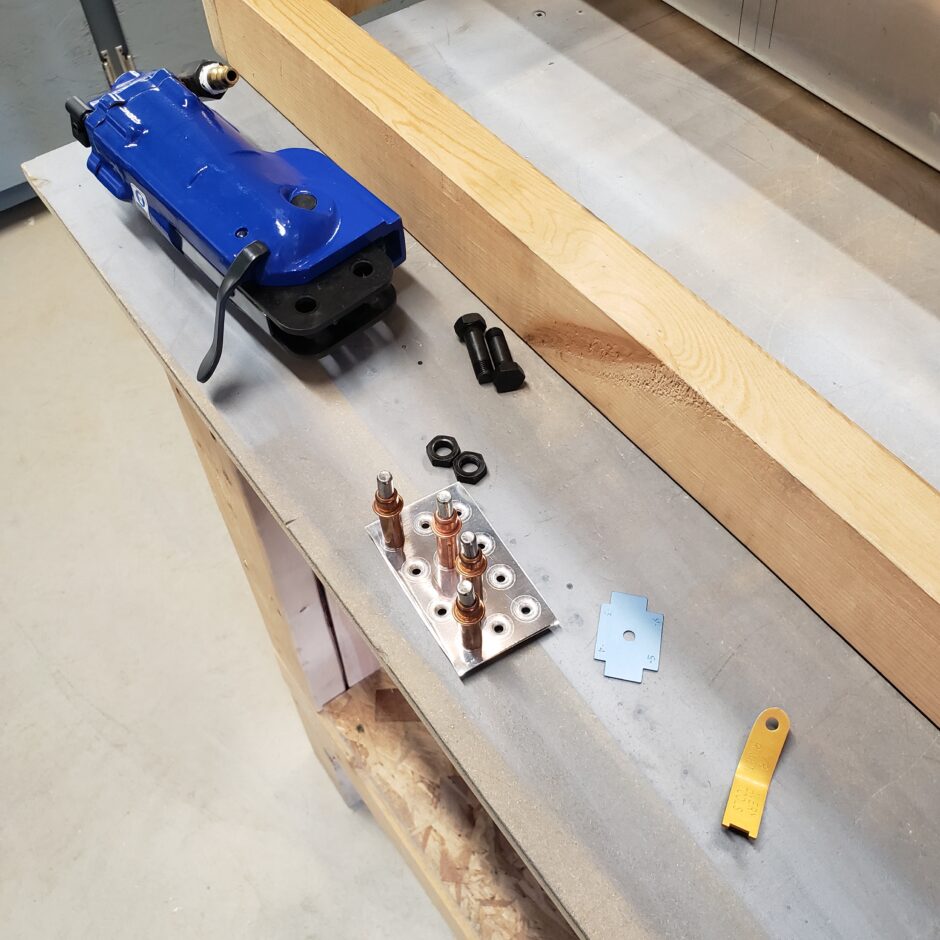
I decided that the riveting to be done here along the trailing edge was a good time for me to start using my pneumatic squeezer. I know, it’s pretty crazy with all the other building on both this plane and the F1 Rocket that I have not ever used my squeezer. Now is a good a time as any.
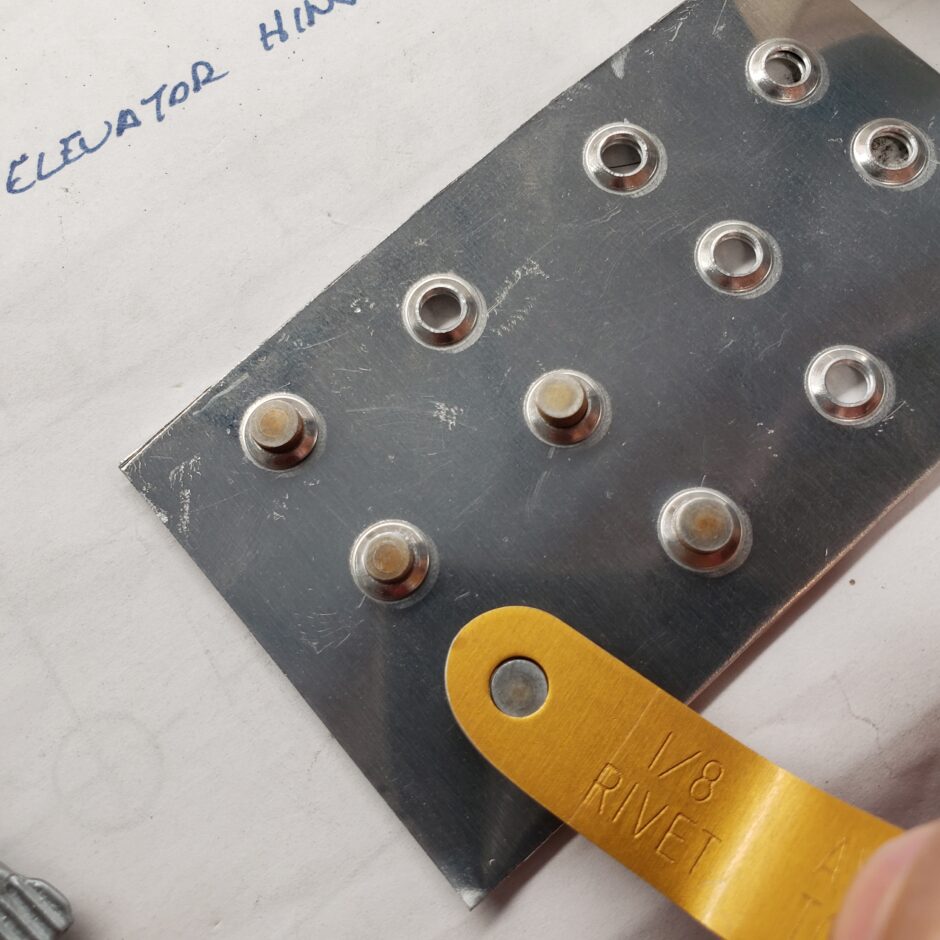
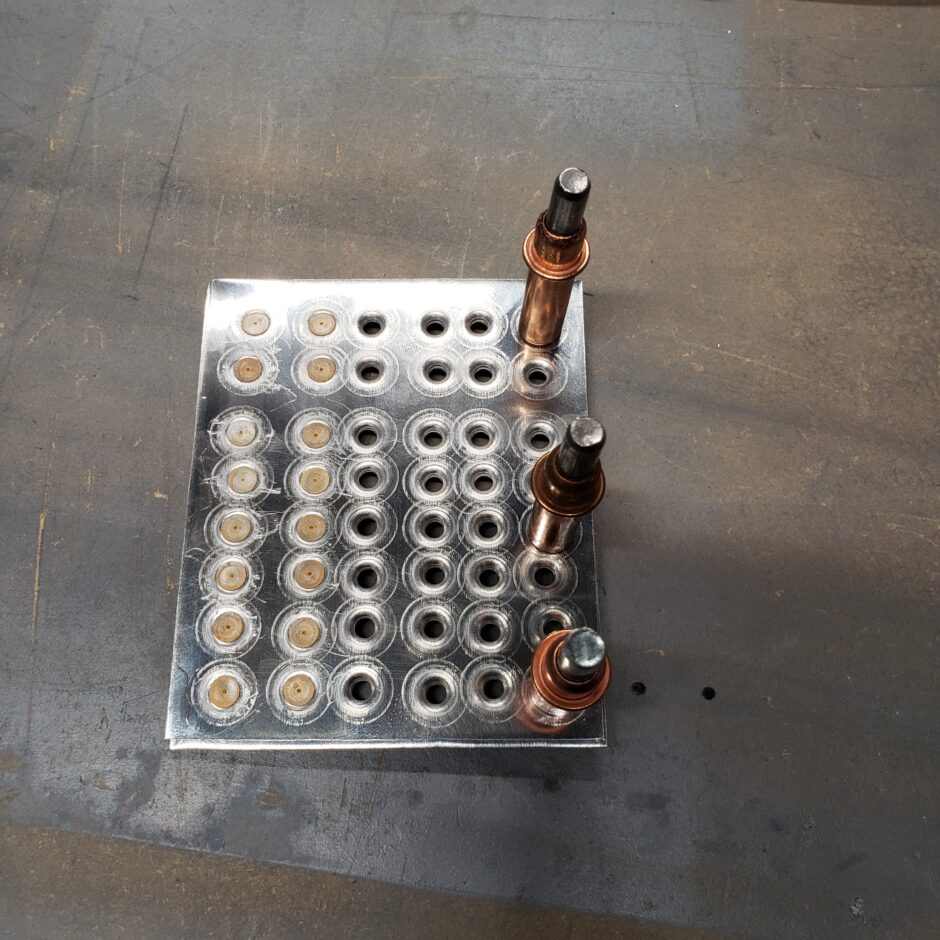
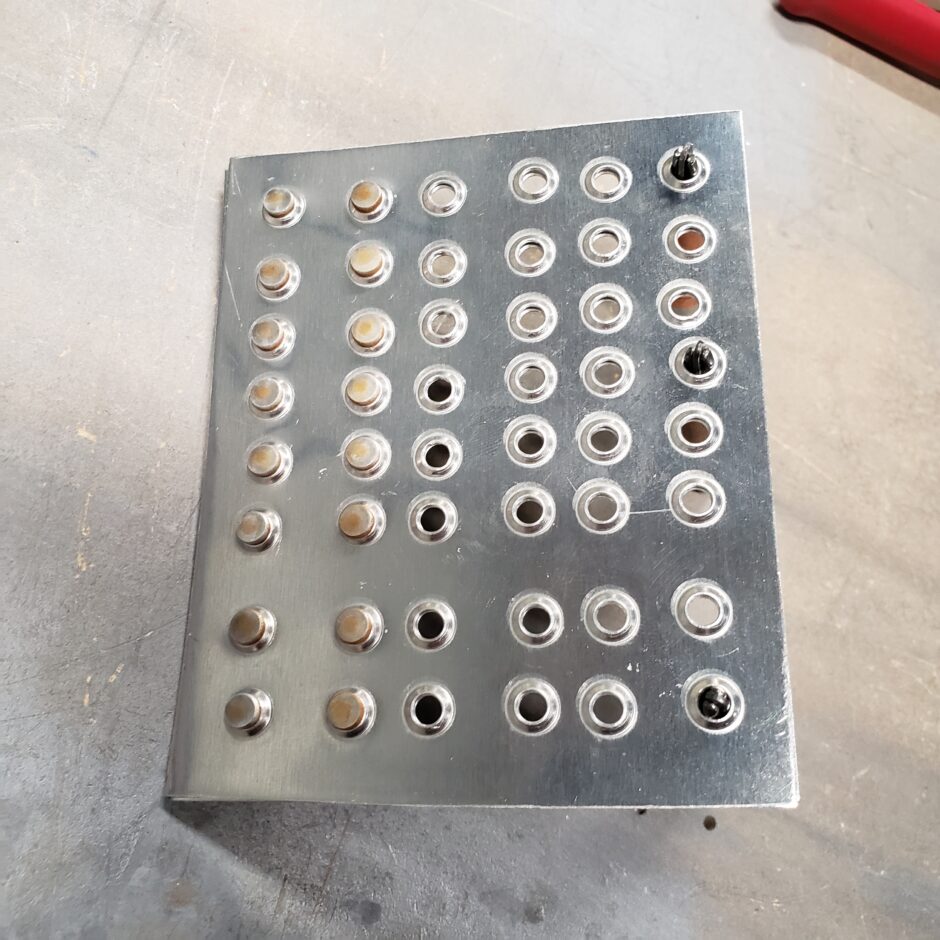
So I started with a small practice piece.
It took a few attempts but I started to get the hang of it.
With my pneumatic squeezer skills built up to make me just proficient enough to be able to damage my parts, I figure now is a good time to actually squeeze some rivets on the elevator.
As the riveting started on the elevator it wasn’t nearly as scary as I made it out to be in my head.
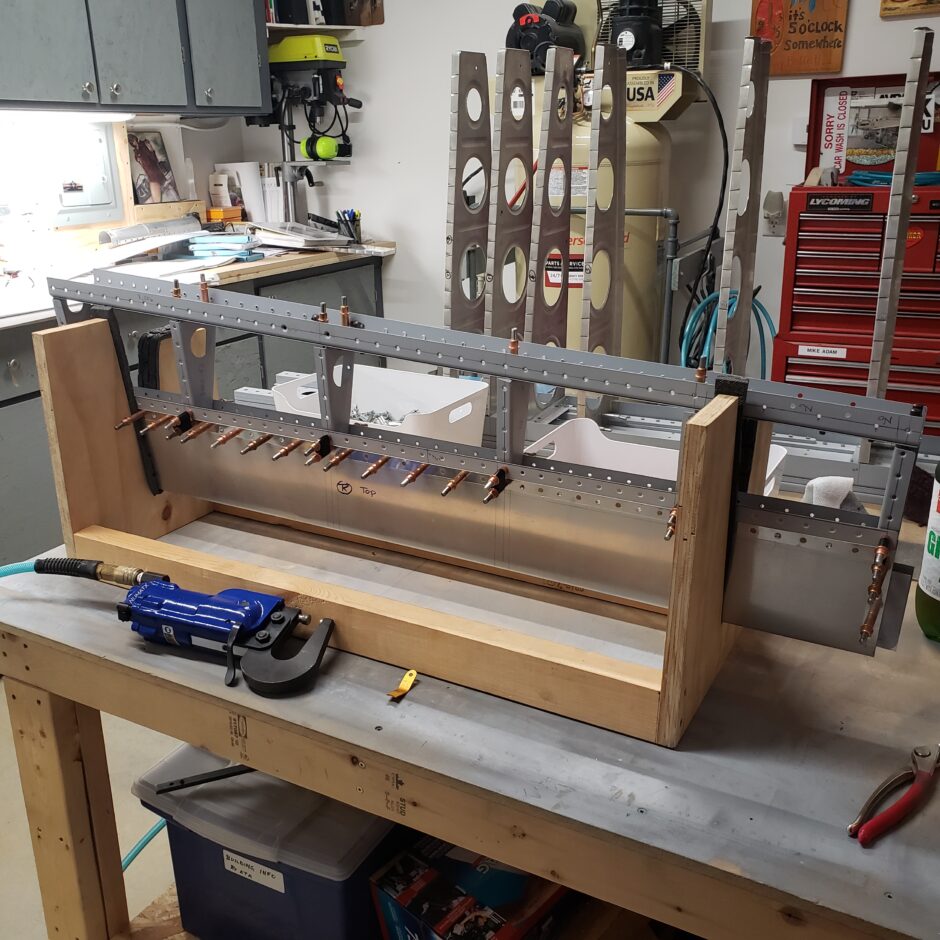
The progress is looking really good!
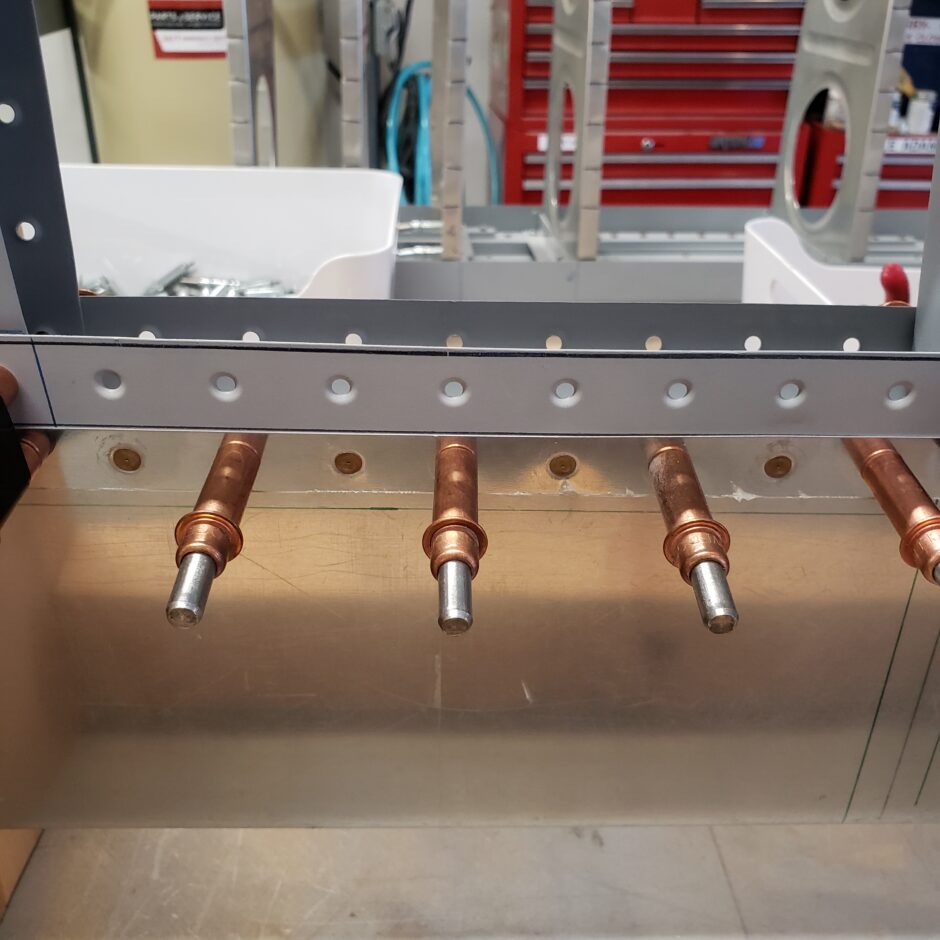
When the trailing edge was riveted I moved on to the small ribs that close out the trailing edge area. I also am leaving the rivets which attach the ribs to the trailing edge spar and trailing edge skins just because they are a different sized rivet and I don’t want to do those right now.
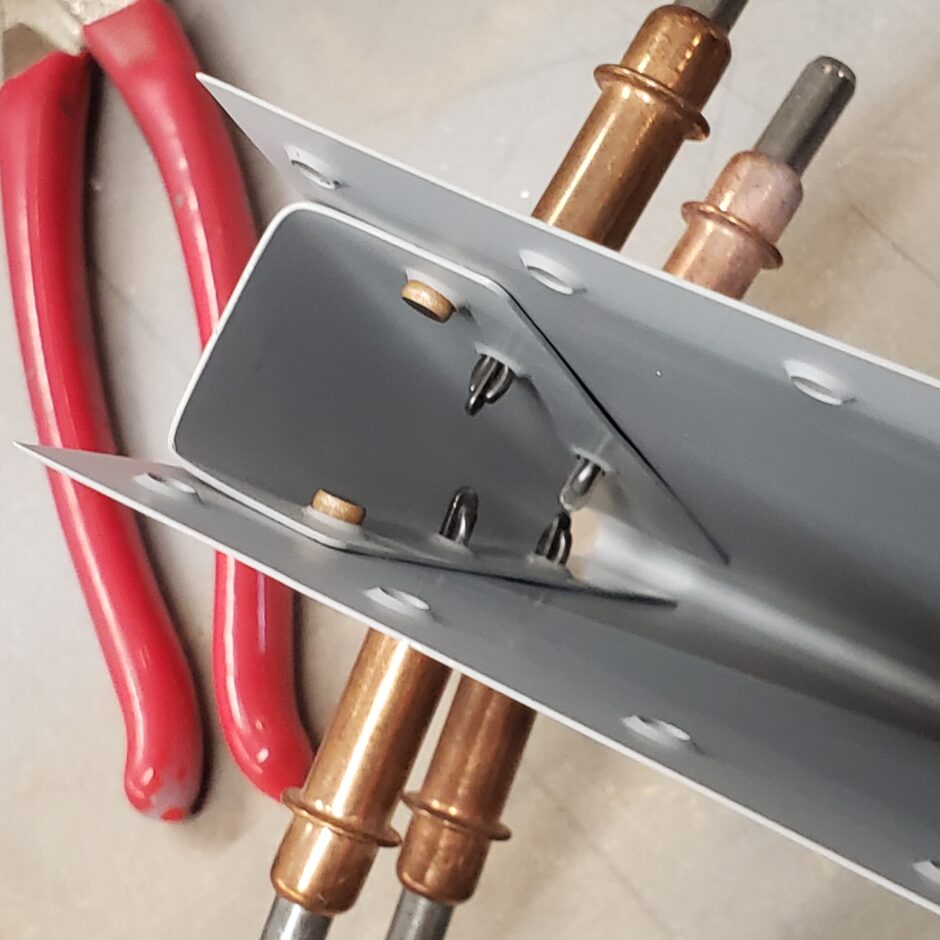
Because the left elevator has the trim tab, there are 2 trailing edge skins that need to be fastened. There are also small ribs that close out the trailing edge skin to form the opening for the trim tab. The space in this area is too tight for me to be able to get any kind of tool in to be able to use solid rivets. I had to resort to using a couple pulled rivets in this area.
In the picture below, you can see just how tight this area is.
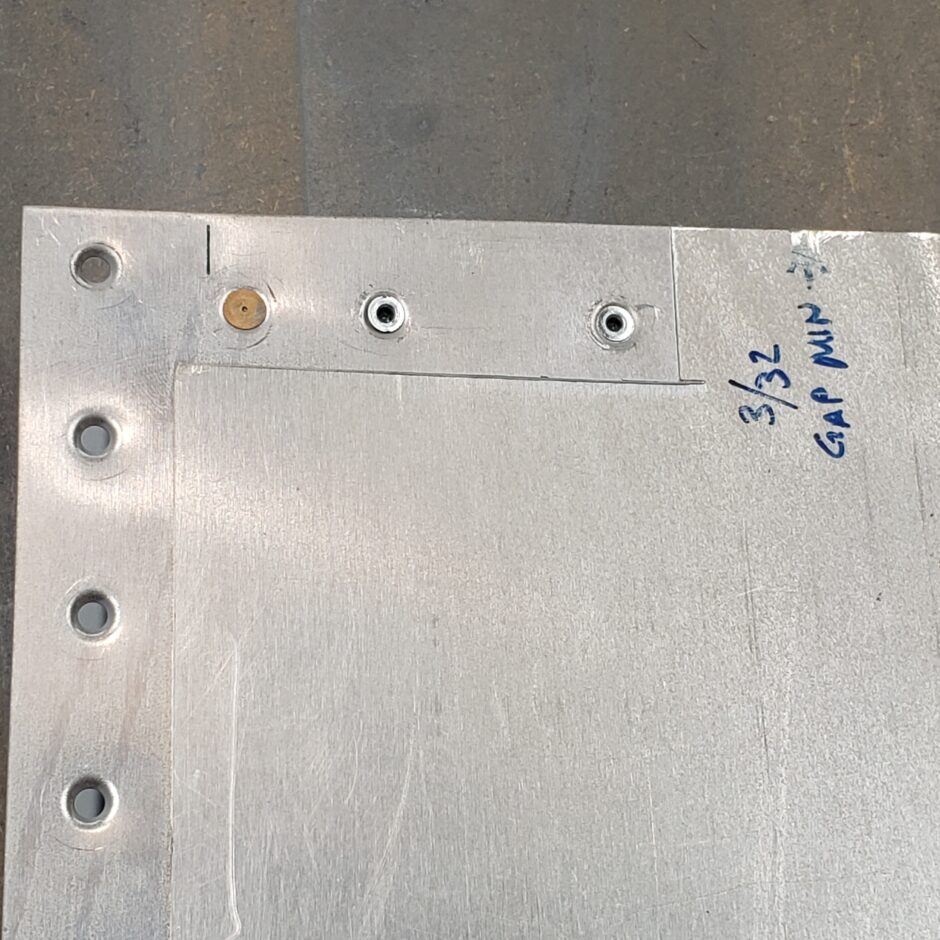
As shown in the picture below, I had a bit of trouble getting the CS-4 rivet to sit flush. After a couple attempts I was happy with the result. It makes me wonder if I should have just used a Cherry Max here. I think they are better rivets than these CS-4 rivets.
That’s enough for this build session. Next time I’ll continue with more riveting.
Please comment. I love to hear from my readers. Thanks again for coming along for this ride, you make my work worthwhile.
Leave a Reply