In this series I’m going to proceed through riveting the elevators. Please note that this didn’t all happen in one afternoon. There were times here where I worked alone and riveted what I could. Then there were also times where you need someone to help. The interior of the elevator is so narrow that as you work towards the trailing edge, you can’t hold the bucking bar solid enough with just the fingertips of one hand. So my buddy Garet and I worked together when things got difficult. One on the gun and the other holding the bucking bar with his fingertips to get this sucker riveted.
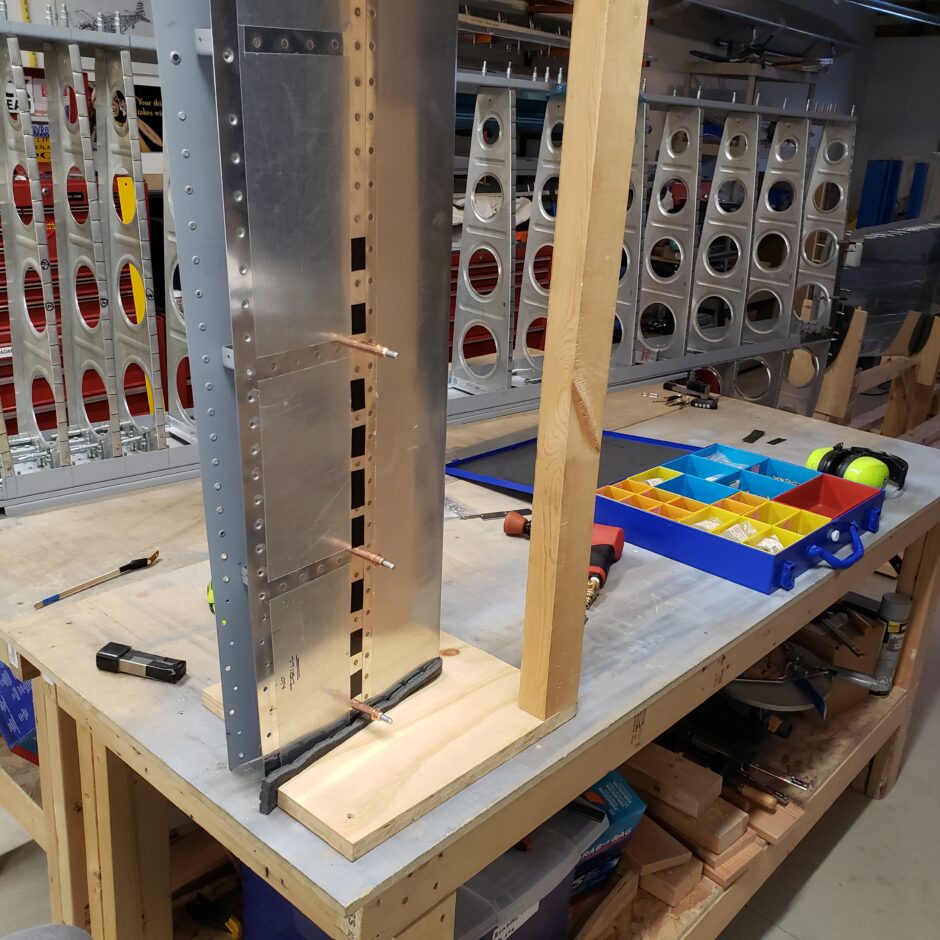
One other challenge here is that the skins are 0.025 which make the difficult to rivet with the -4 rivets. Using the fixture to hold the elevators vertically was a huge help over trying to rivet with the elevators laying flat on the workbench.
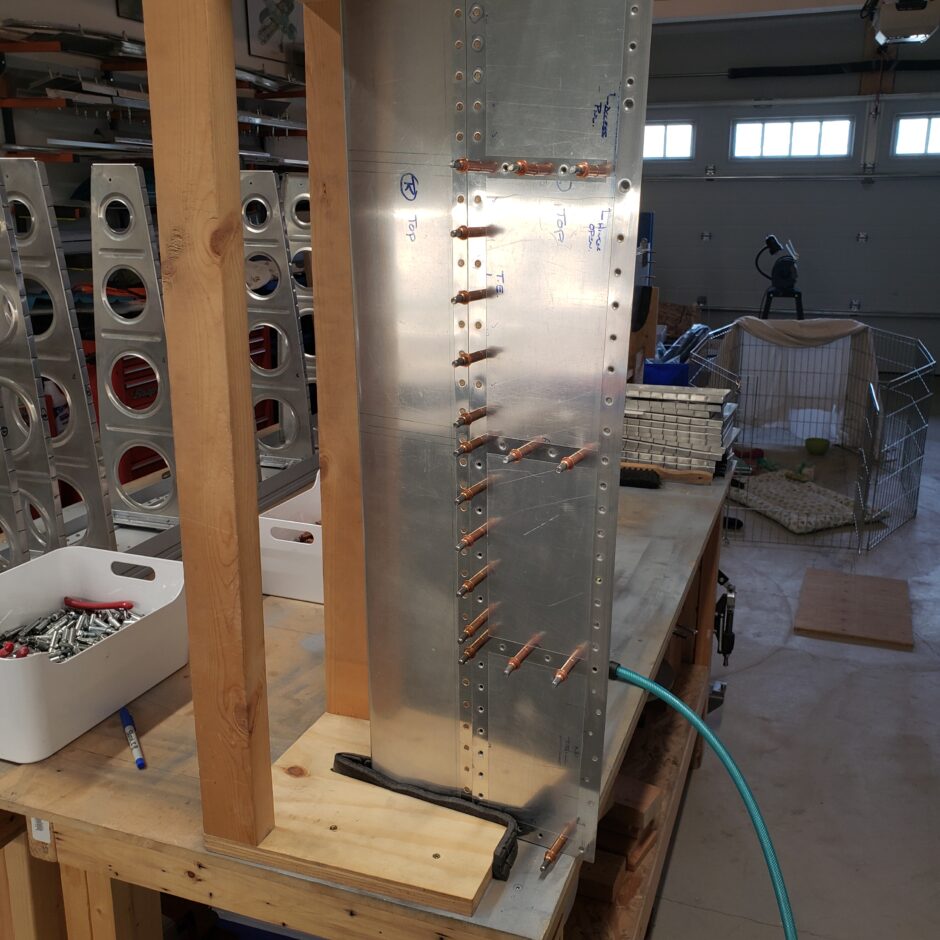
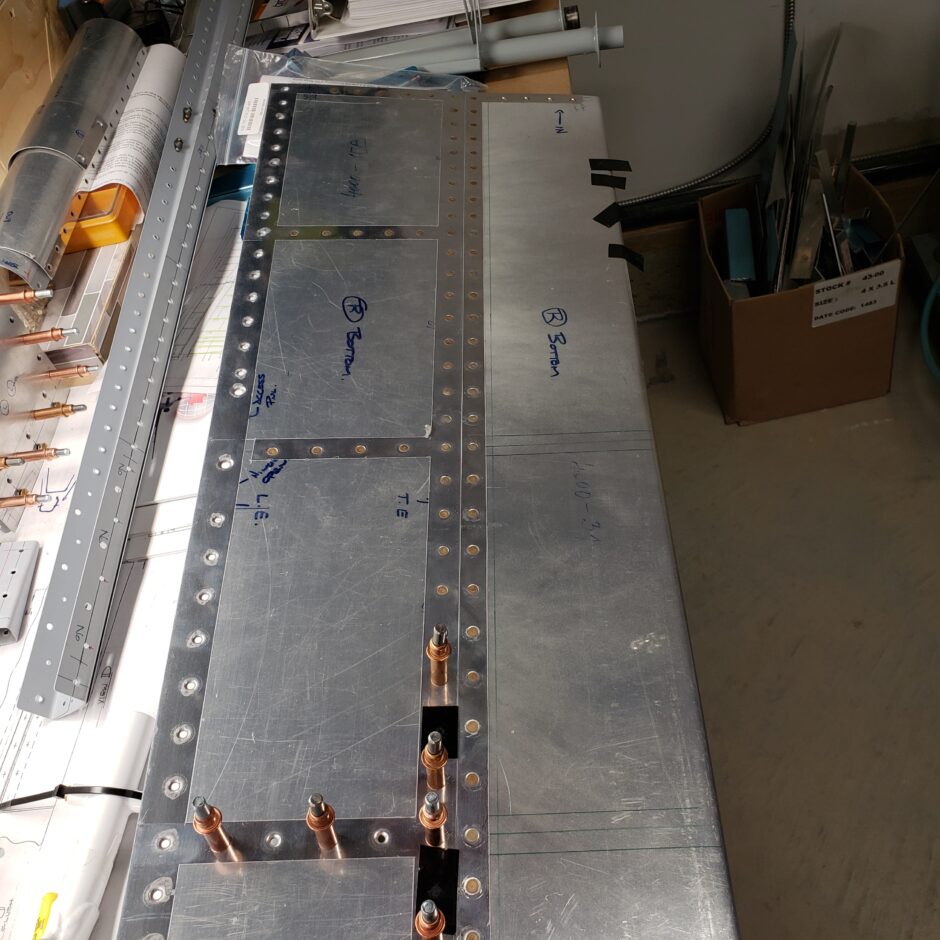
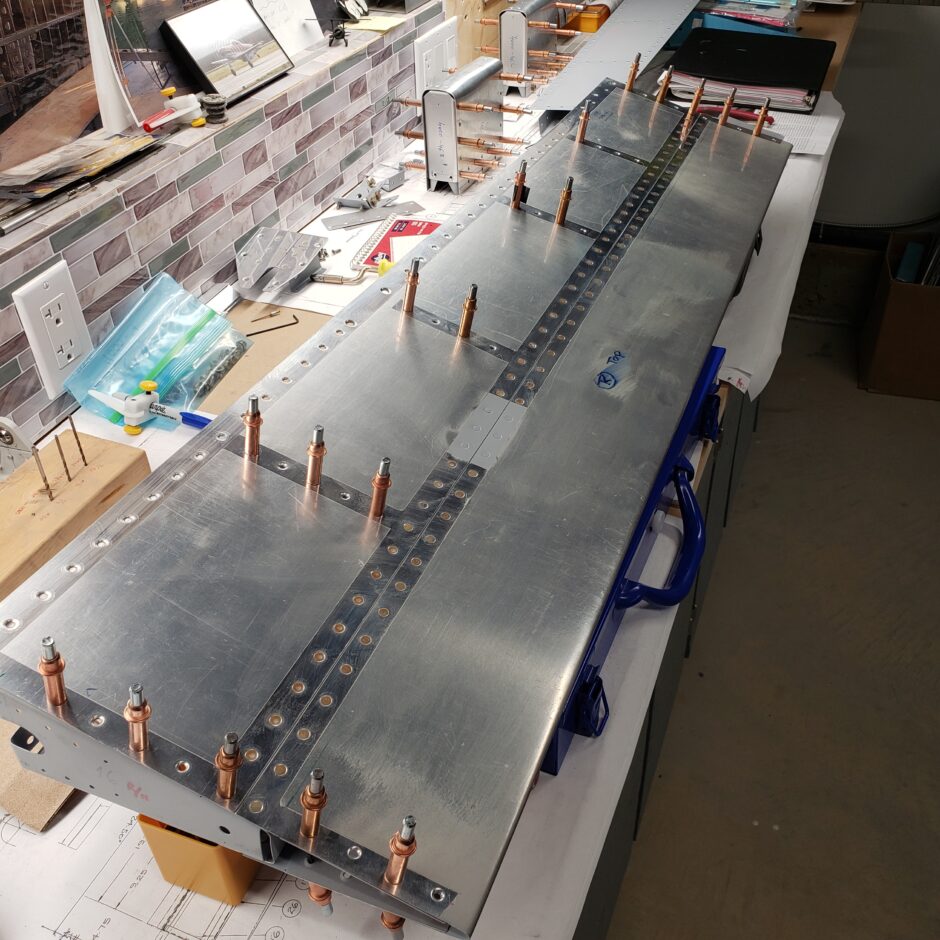
Riveting started with the skin on one side. This was pretty straightforward riveting. Things got challenging once the other skin was added and your available space to work greatly reduced. In the picture below, you can also see the large doubler around the trim motor area.
You’re likely noticing all the electrical tape. I find using it when flush riveting makes for very nicely set rivets. It help hold the rivet in place as you do the initial set. I often do remove the tape for the final hit, this ensures a good set, and ends up being super smooth.
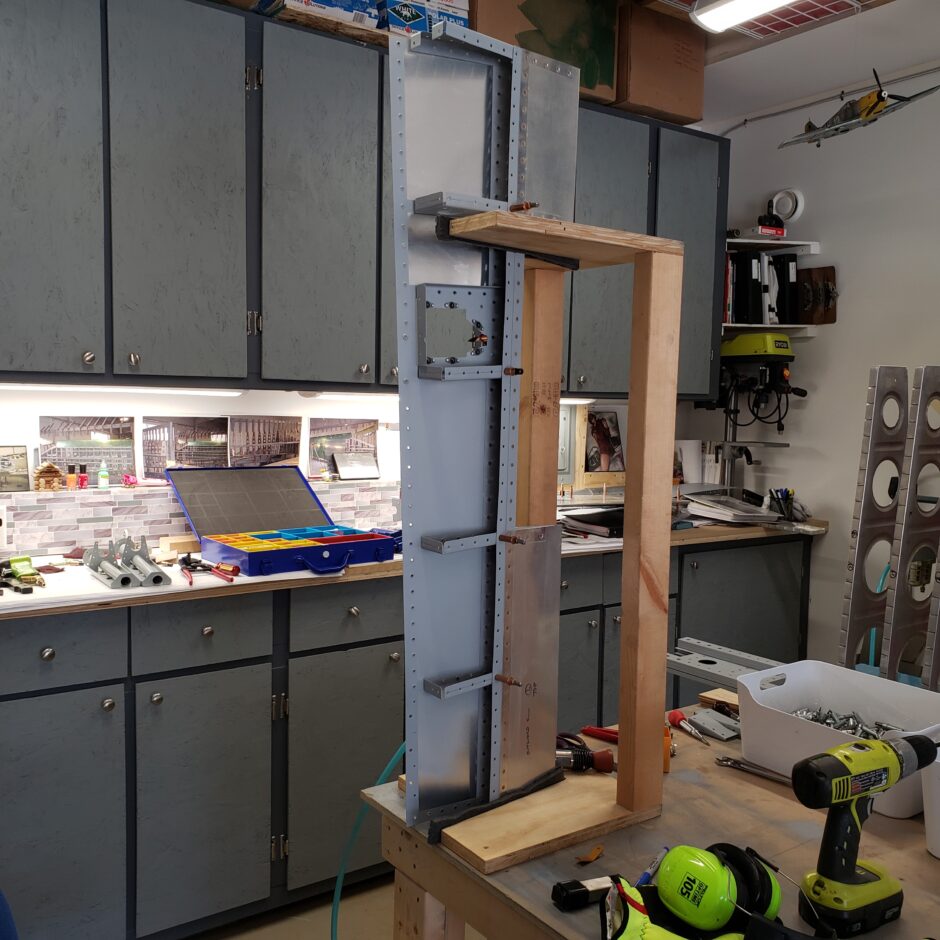
The first elevator is well on it’s way.
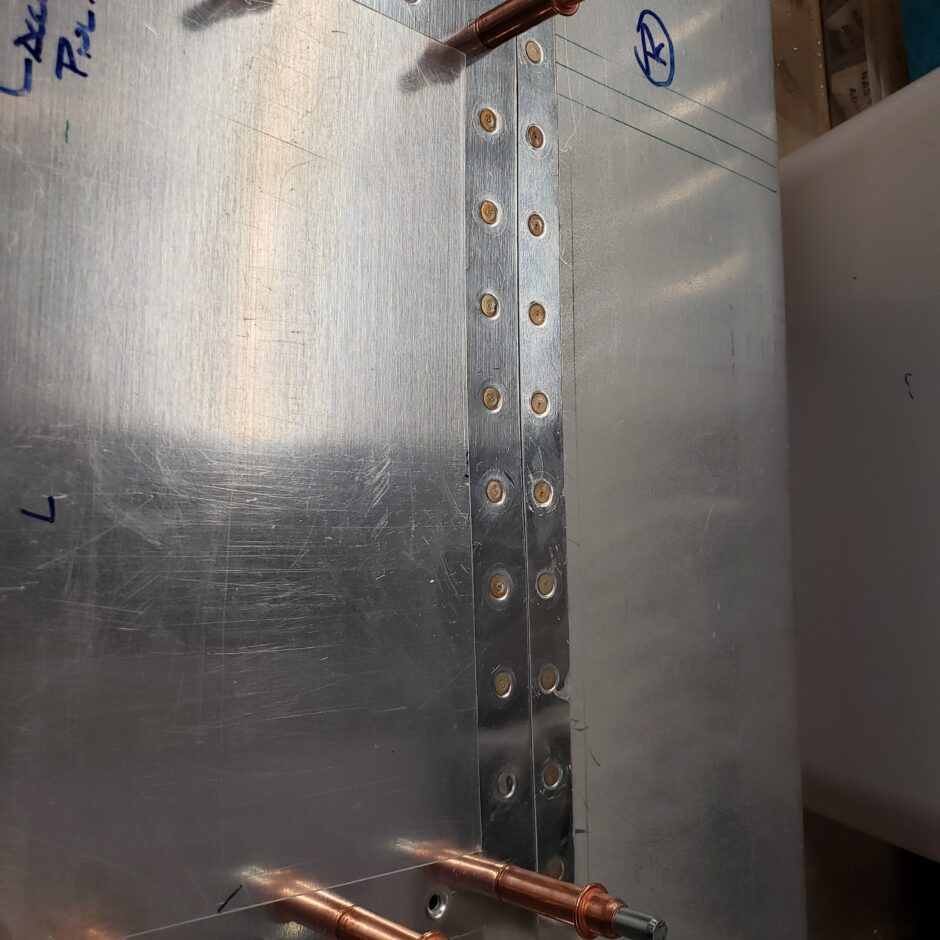
When setting all these rivets, there is always a few that aren’t good on the first attempt. I circle them, then come back to them later. That way I can batch the rivets that need to be dilled and hammered out for replacement.
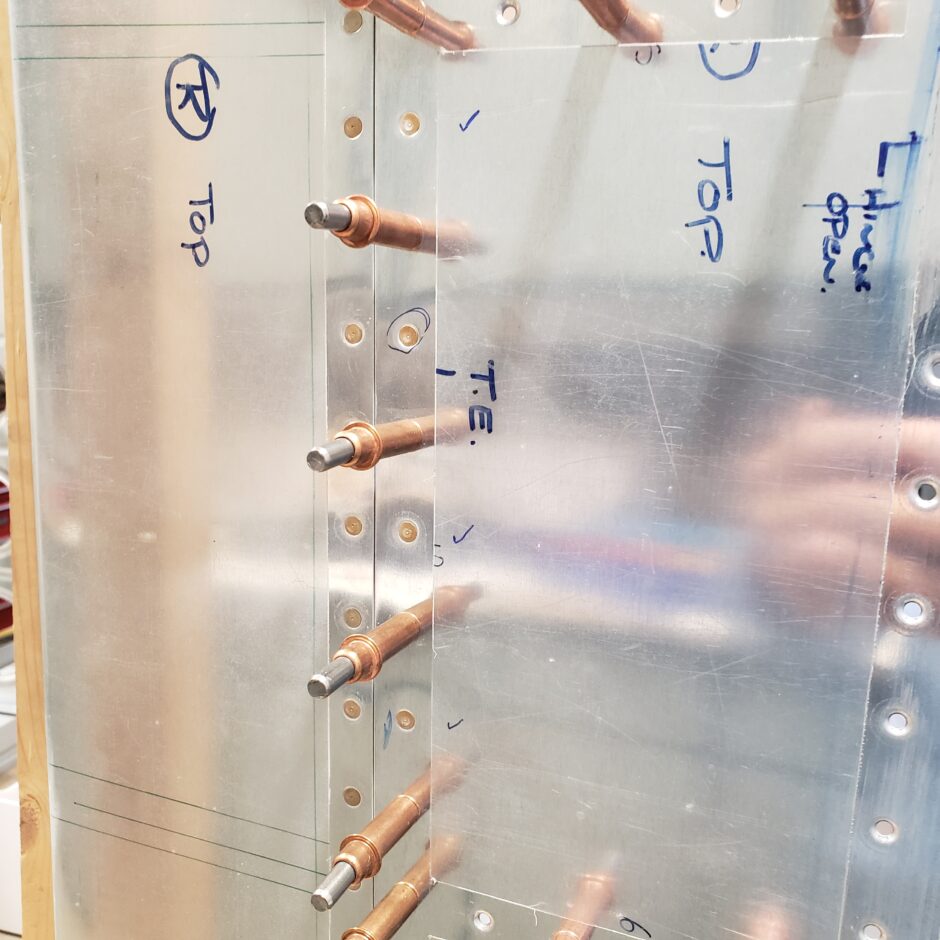
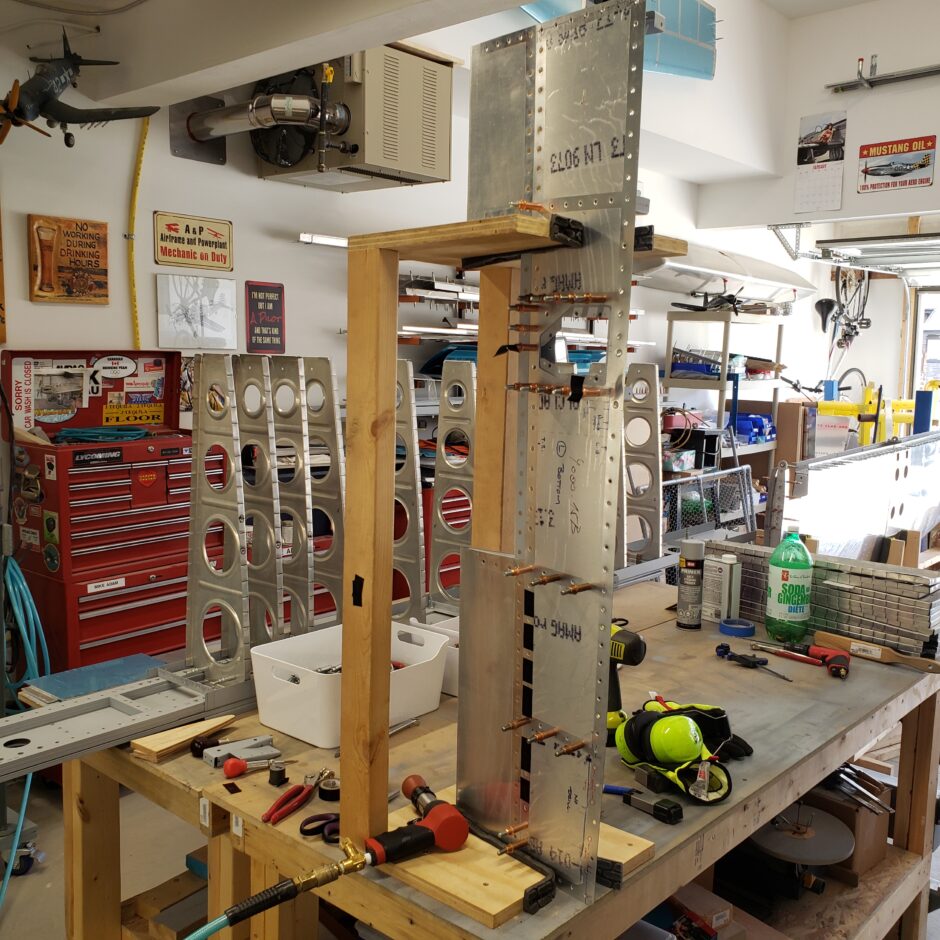
Another tip to future S-51 builders (or aluminum aircraft builders who are working with 0.020 and 0.025 material)… for most riveting you can get away using the 3x gun. But when working with the thin material on these elevators I found using a 2x gun with the pressure lowered to about 70 psi, has given me really good results. In the picture below, the red gun is my 2x.

And the riveting continues…
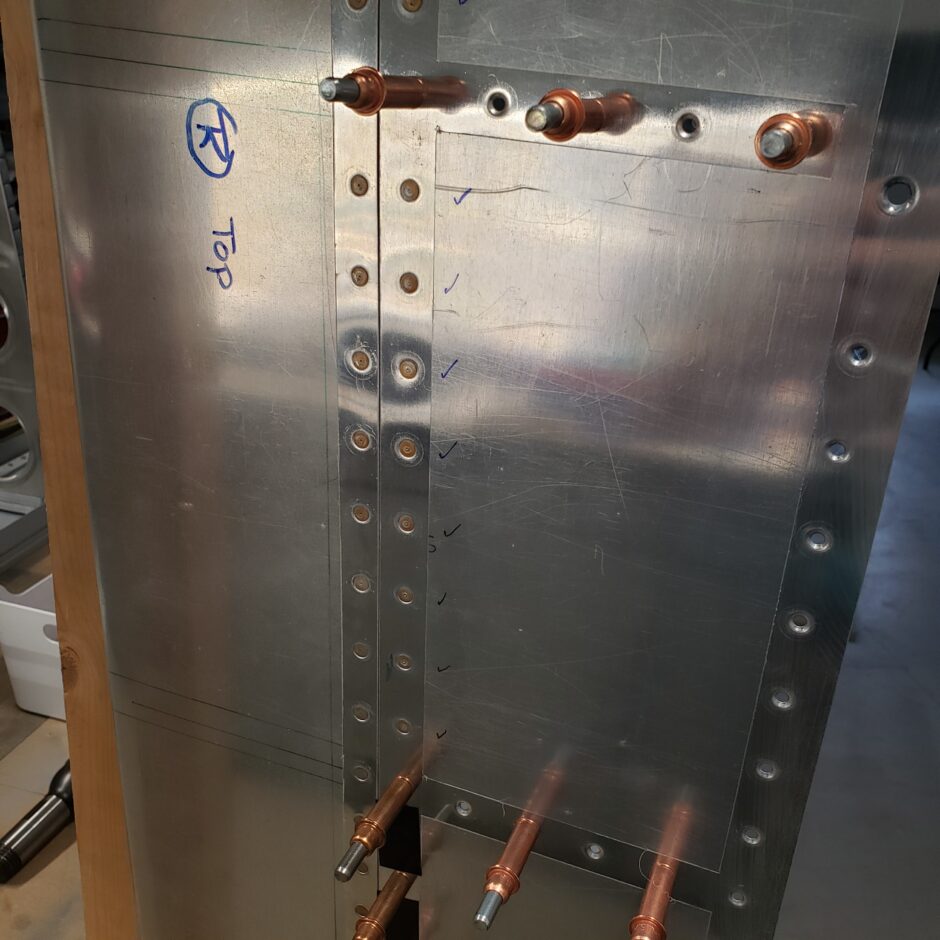
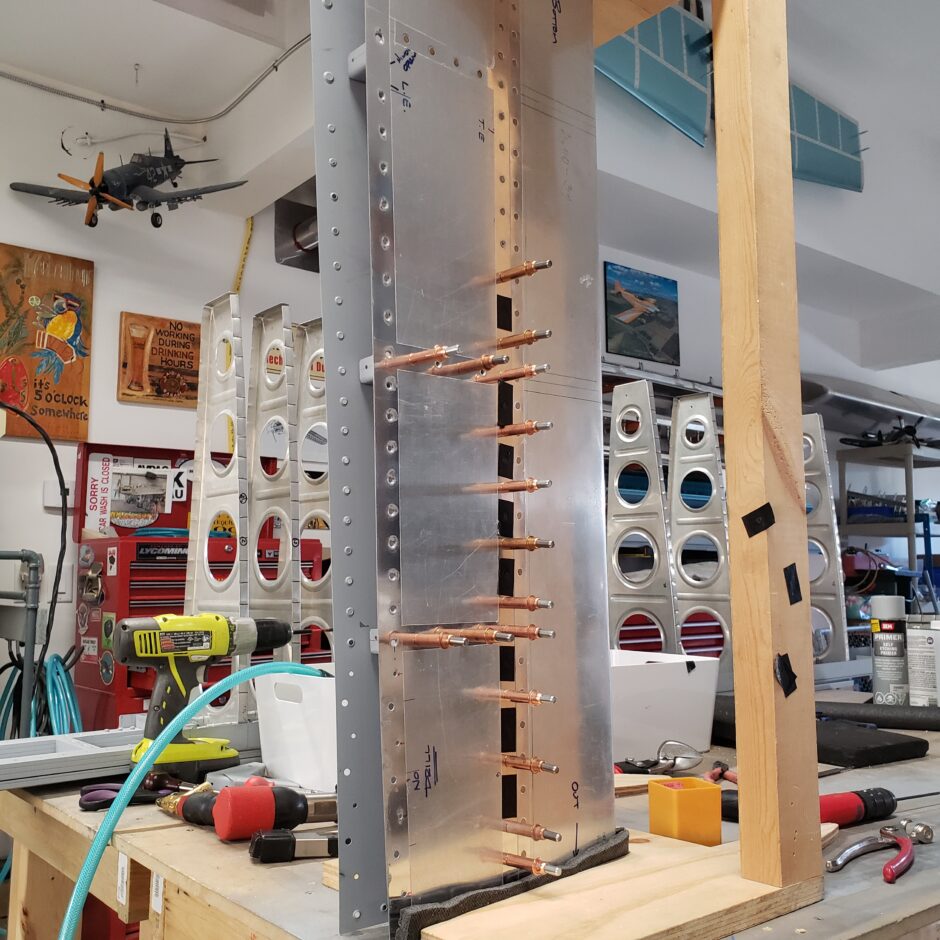
In the picture below, you can see a little patch of primer. I had several rivets here that I struggled a lot with. I just couldn’t get a good set on them, and after the 3rd or 4th time of drilling them out, I ended up leaving them as they were. They were sitting slightly proud, so I polished them a bit with some 3M pads and got them smooth with the skin. After the polishing, I masked off the area and shot it with some primer just to keep it protected.
This is the last of the riveting. I’ll definitely be happy this job is done. It’s pretty stressful riveting these thin skins.
Please comment. I love to hear from my readers. Thanks again for coming along for this ride, you make my work worthwhile.
Hello Mike, you have a great web site. I’ve worked in aviation my entire life, soon to retire. I flew for the airlines the first part of my career then worked in aviation maintenance the second part. I’m hoping to start a home built P51 project soon. I don’t have the resources to do a P51 kit project. I think a scratch built project would be more interesting anyway. Have you started on your fuselage yet? I like the stewart S51 but I think I would like to build the fuselage a little bit bigger perhaps 75 or 80 percent scale. Have you considered this possibility. I believe the S51 has a 70 percent wing with a 66 percent fuselage.
Hi Joe, Thanks for reaching out. I haven’t started on the fuselage yet but am getting close to building the fuselage jig. I just need to get the F1 Rocket wings finished so I can get back to doing some more S-51 work. More space is always better, however as I already have all the S-51 fuselage parts, I have no plans to make any changes in that regard. That would just be way too much work, and the S-51 is already A LOT of work! As I’ve learned on the F1, with the changes I’ve made there (such as the long range tanks, capacitance fuel sender system and fuel tank bay access panels) that every change adds at least 100 hours of additional building time. My advice is to find a design out there that suits your needs and just build according to the plans. That would be the most efficient use of your time. I hope that helps!