Continuing with building up the elevators, today I’m going to focus on getting the trim tab hinge aligned and positioned.
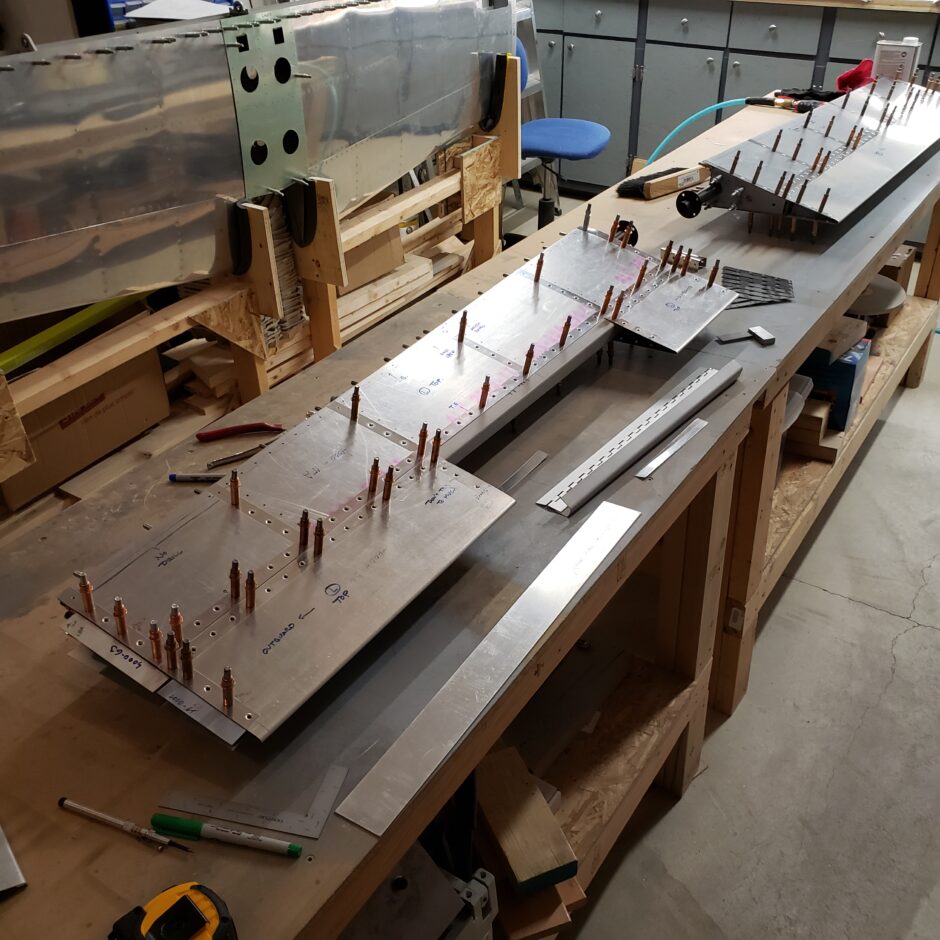
To begin, I used a scrap metal strip to simulate the skin. I wanted to make sure the trim tab skin is in alignment with the elevator skin surface.
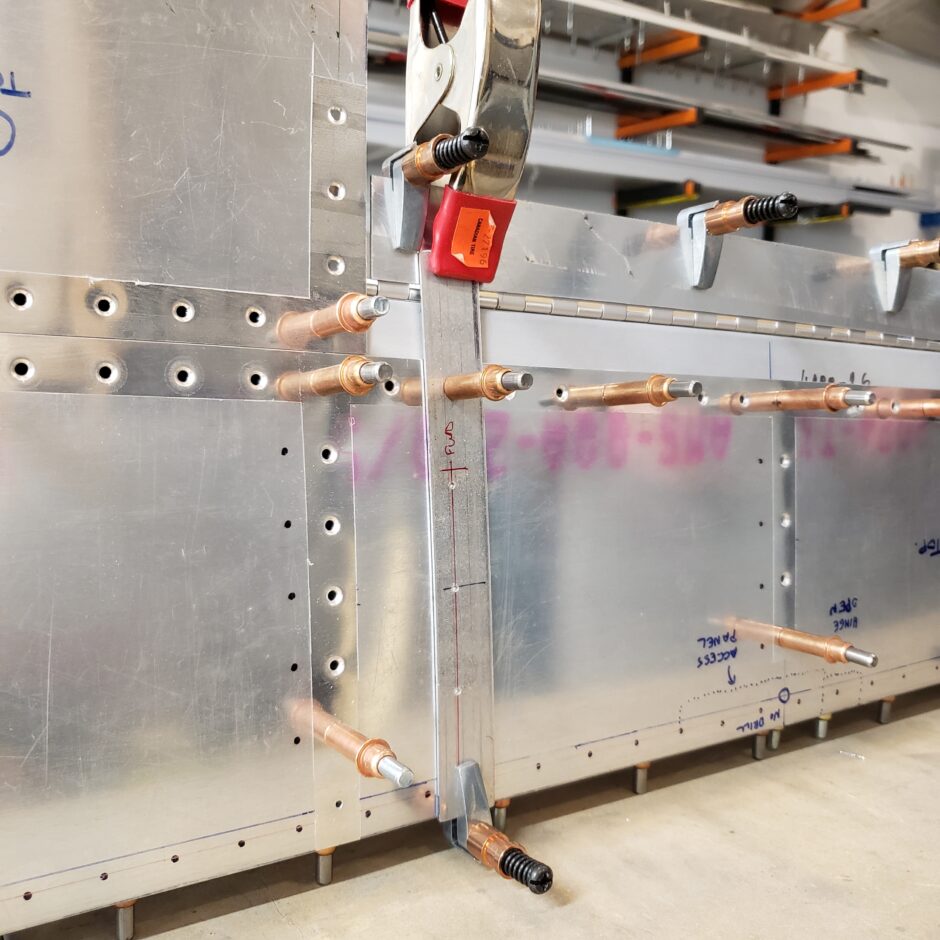
Below is a picture from the back side. Here you can see how the trim tab hinge is positioned at about 90-degrees, with the forward side of the hinge against the rear spar of the elevator. This is where it will eventually get riveted. The top side of the hinge is then riveted to the trim tab upper surface.
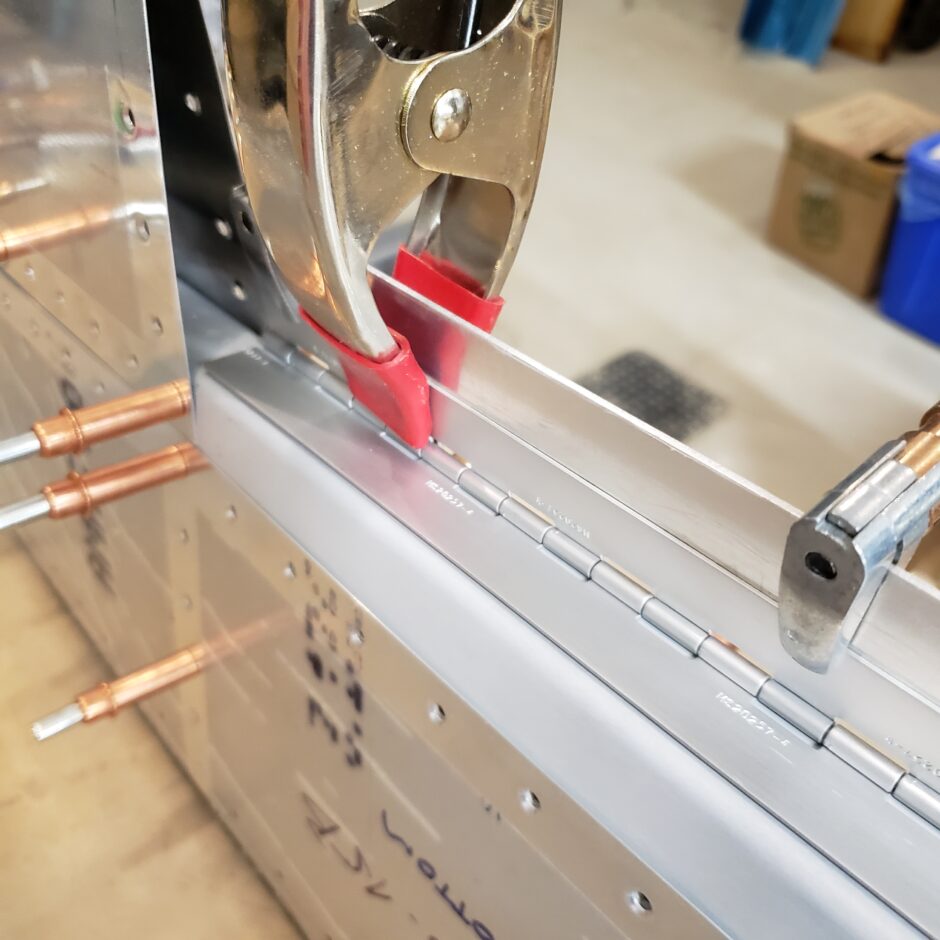
The next step of the progression was to locate the hinge. With the simulated skin pieces on the outer surface and everything clamped. It was time to pilot drill the hinge, which then can be match drilled to the rear elevator spar.
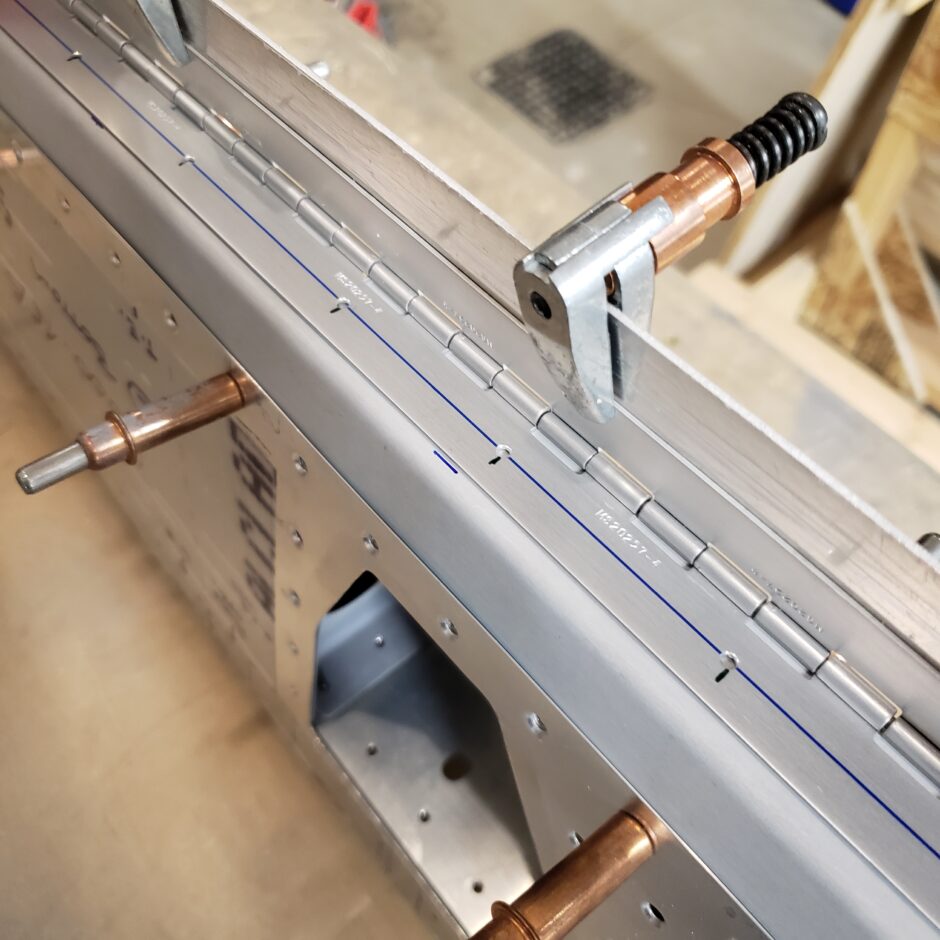
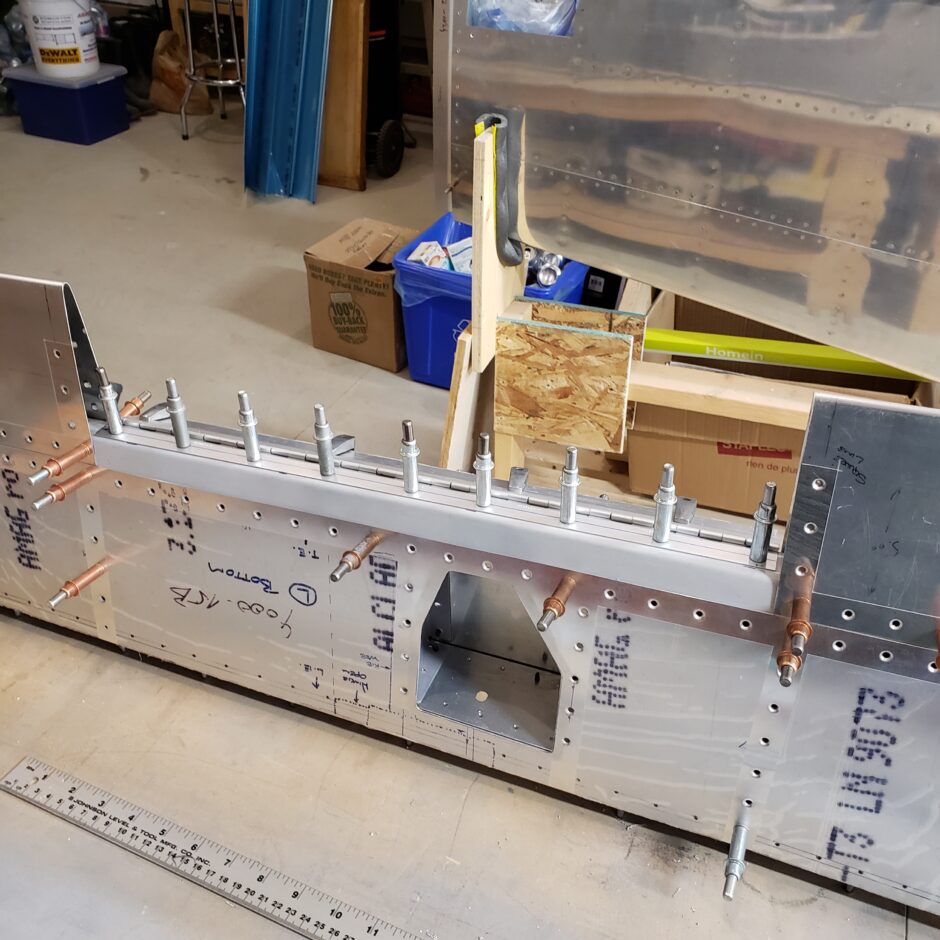
Now with the hinge clecoed to the rear elevator spar, I can now start working on getting the trim tab spar positioned on the hinge, so I can start to build up the trim tab itself.
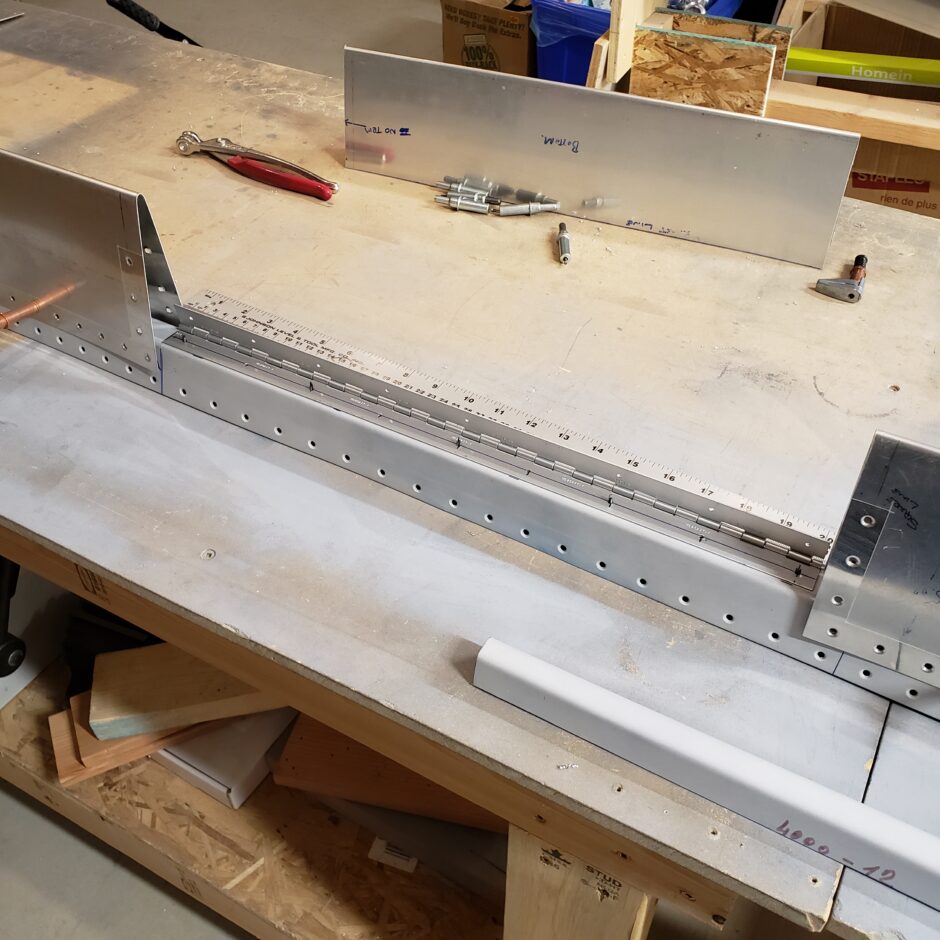
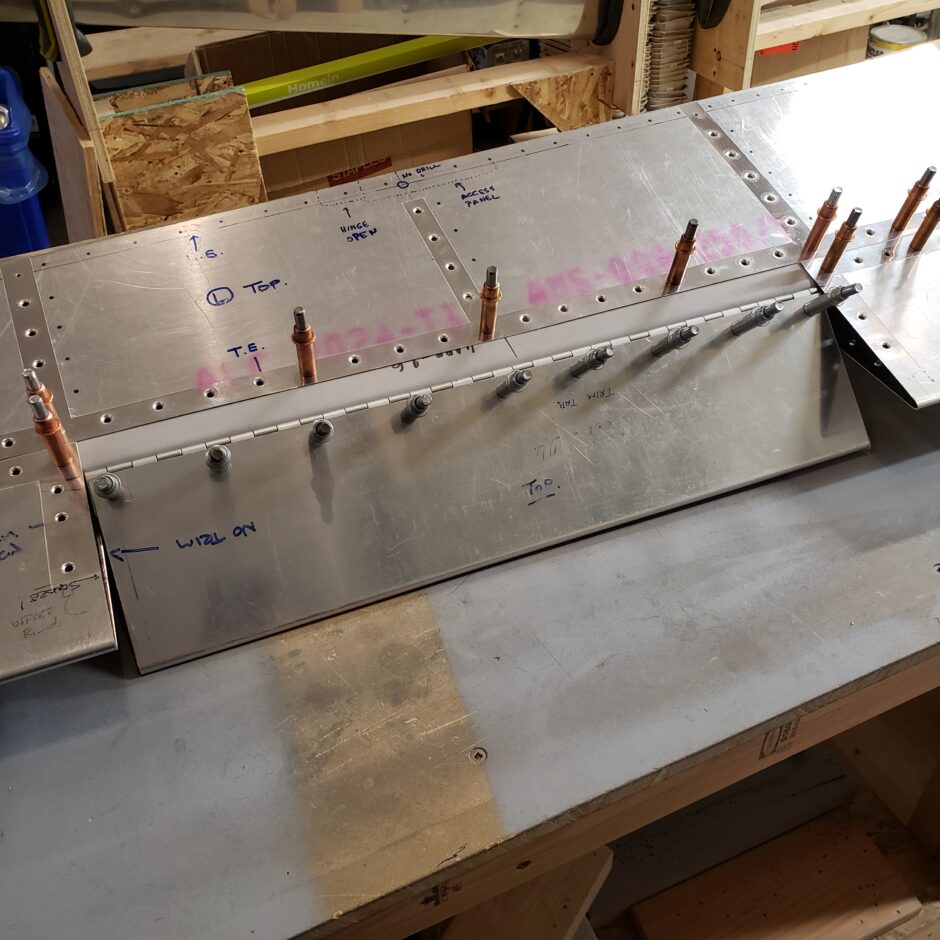
As shown in the picture below, one of the most important things about building up the trim tab is getting it so that the trailing edge of the tab in aligned with the elevator trailing edge skins. The picture below shows the final result after getting the tab skin drilled to the hinge.
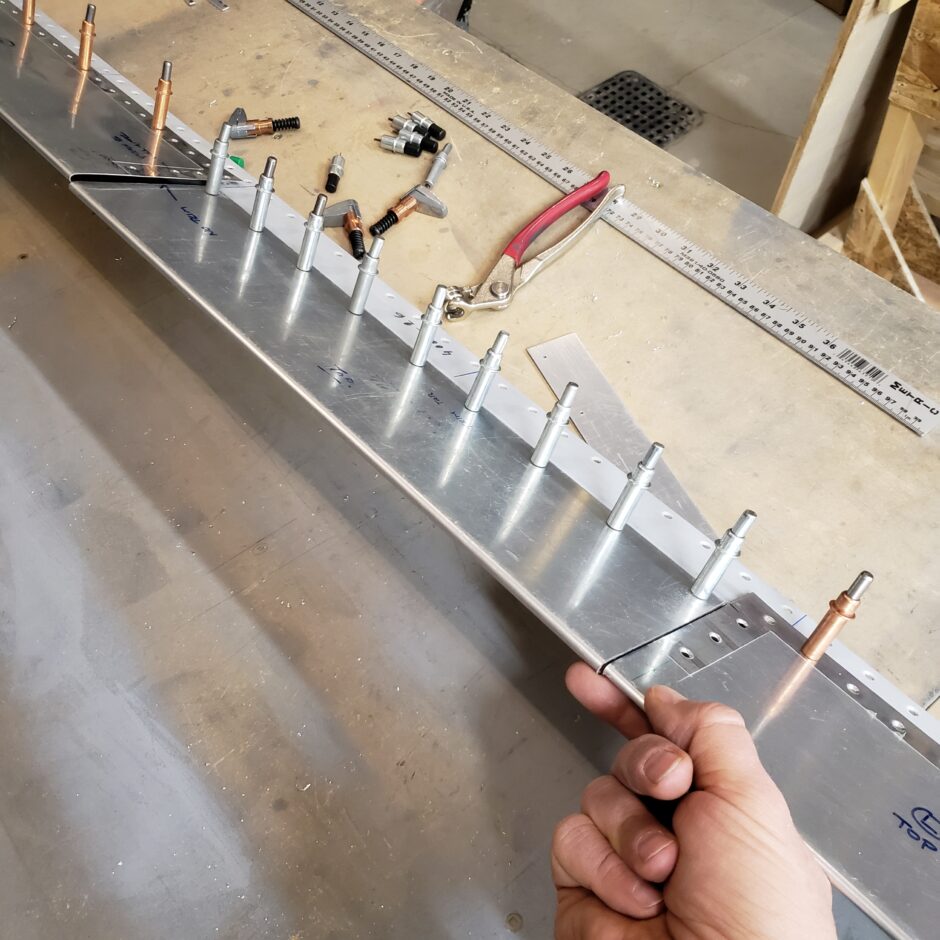
The next task will be trimming the lower side of the skin. As you can see the trim tab lower surface skin is quite long and needs quite a bit of trimming to allow the tab to move. There will also be a bit of trimming along the sides of the tab for clearance as well.
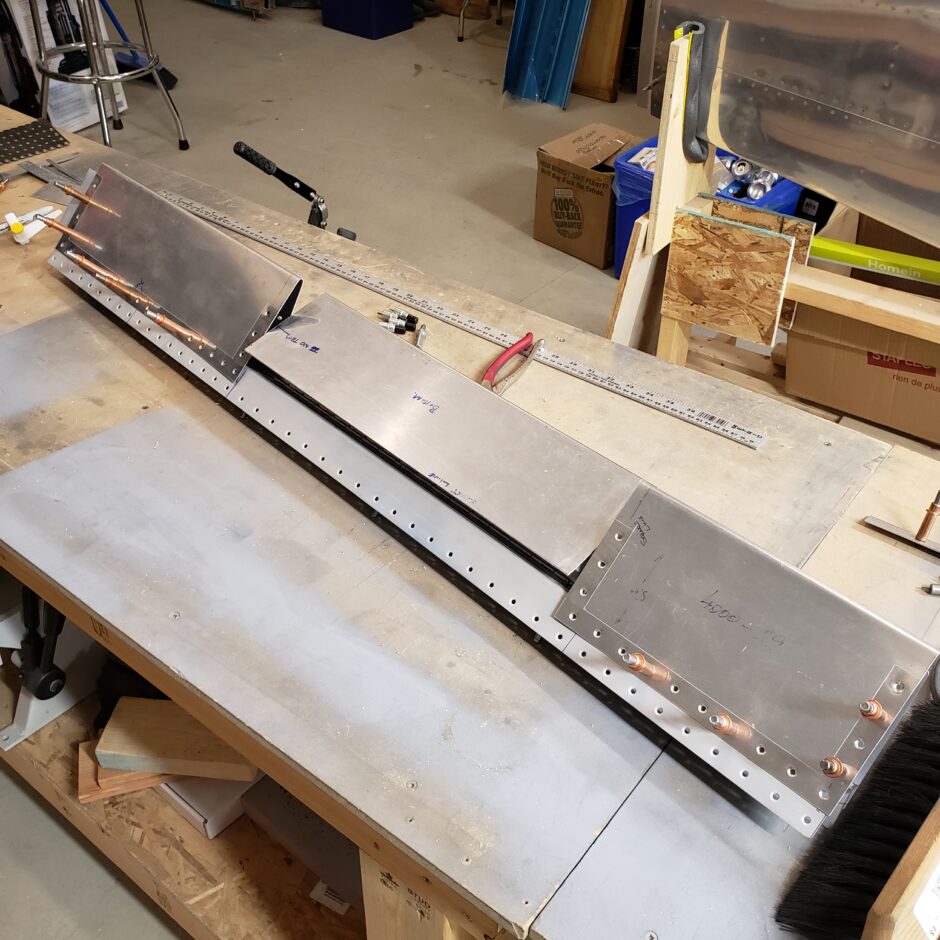
I’m happy with the progress on the trim tab for today.
Please comment. I love to hear from my readers. Thanks again for coming along for this ride, you make my work worthwhile.
Leave a Reply