This evening was spent with continuing to get the horizontal stabilizer hinges in alignment. This task is critical to ensuring that the elevators work properly, a lot of time is taken to get it right. This work is very slow going. Accuracy is key.
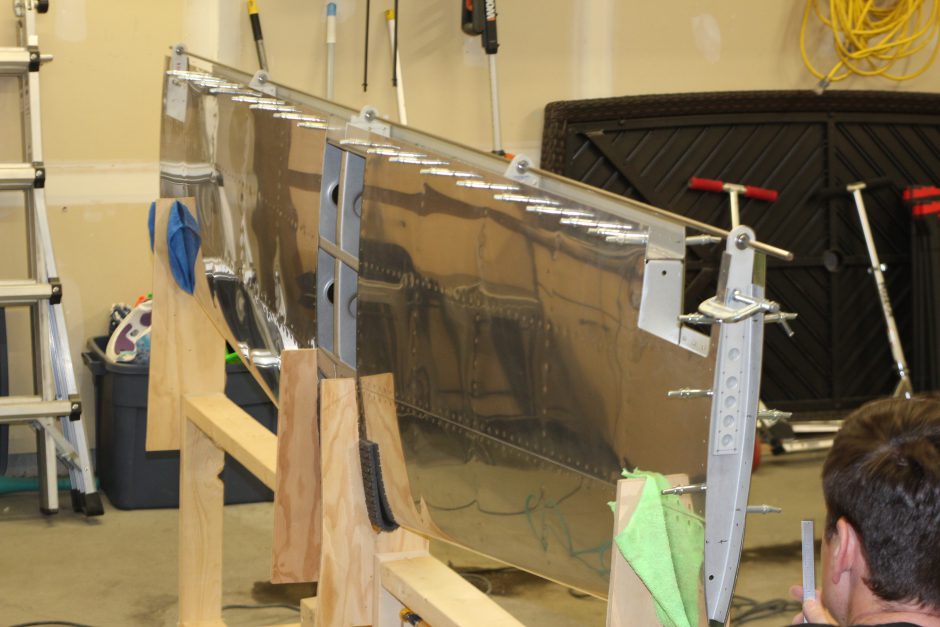
In the image below you can see how the horizontal stabilizer is in a fixture to hold it trailing edge up. This allows for easy access to the hinges. I also have a steel rod that assists in the hinge bearing alignment. At this point we already have the center and mid-hinges in place. Working from the center hinge outward we are now to the point of the outer / end hinges. These hinges are now roughly clamped in place.
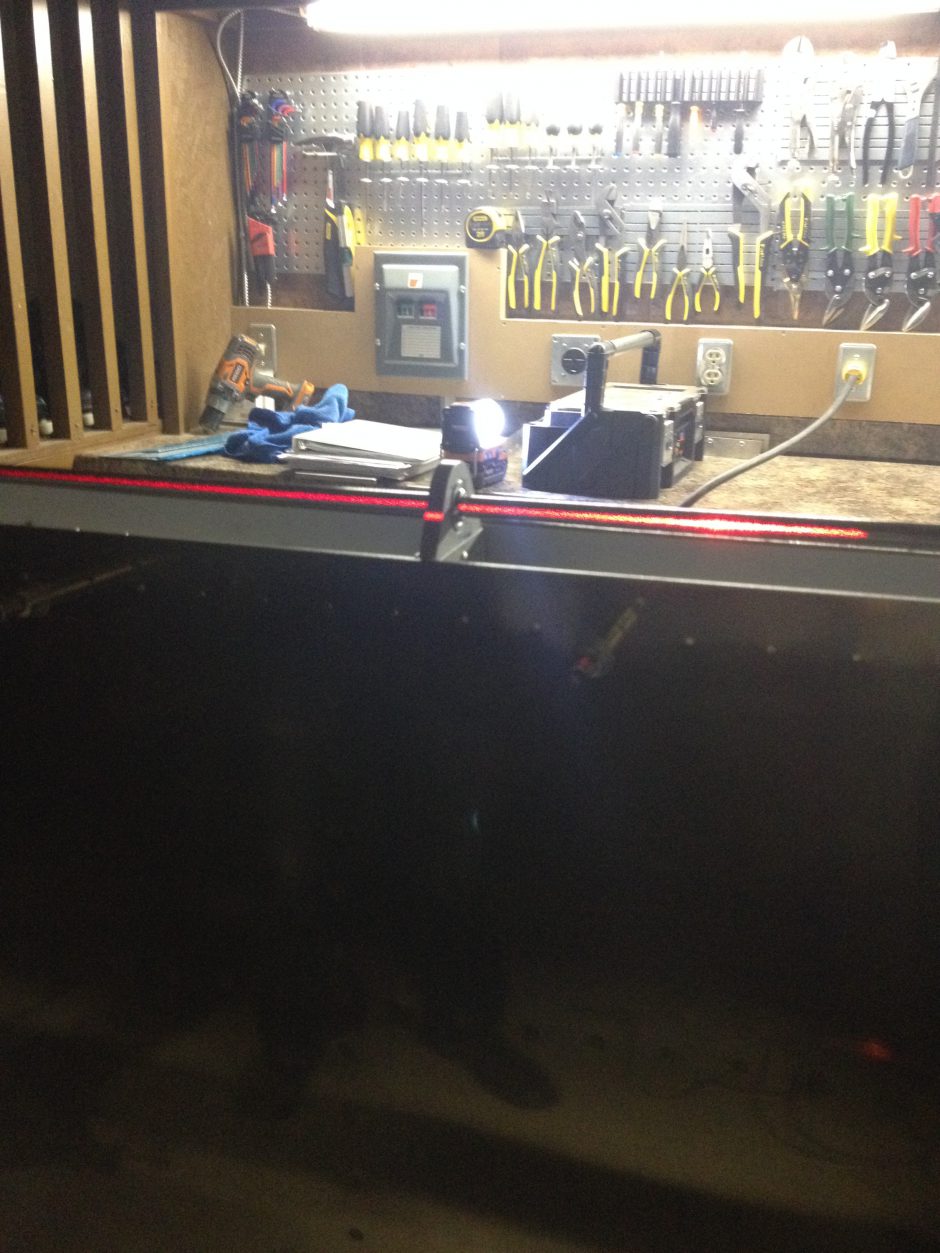
Using a laser level, the hinge alignment (vertically, as viewed) was accomplished. I wouldn’t want to imaging doing this task without the use of a laser level. What a remarkable tool. It definitely makes the alignment process much easier.
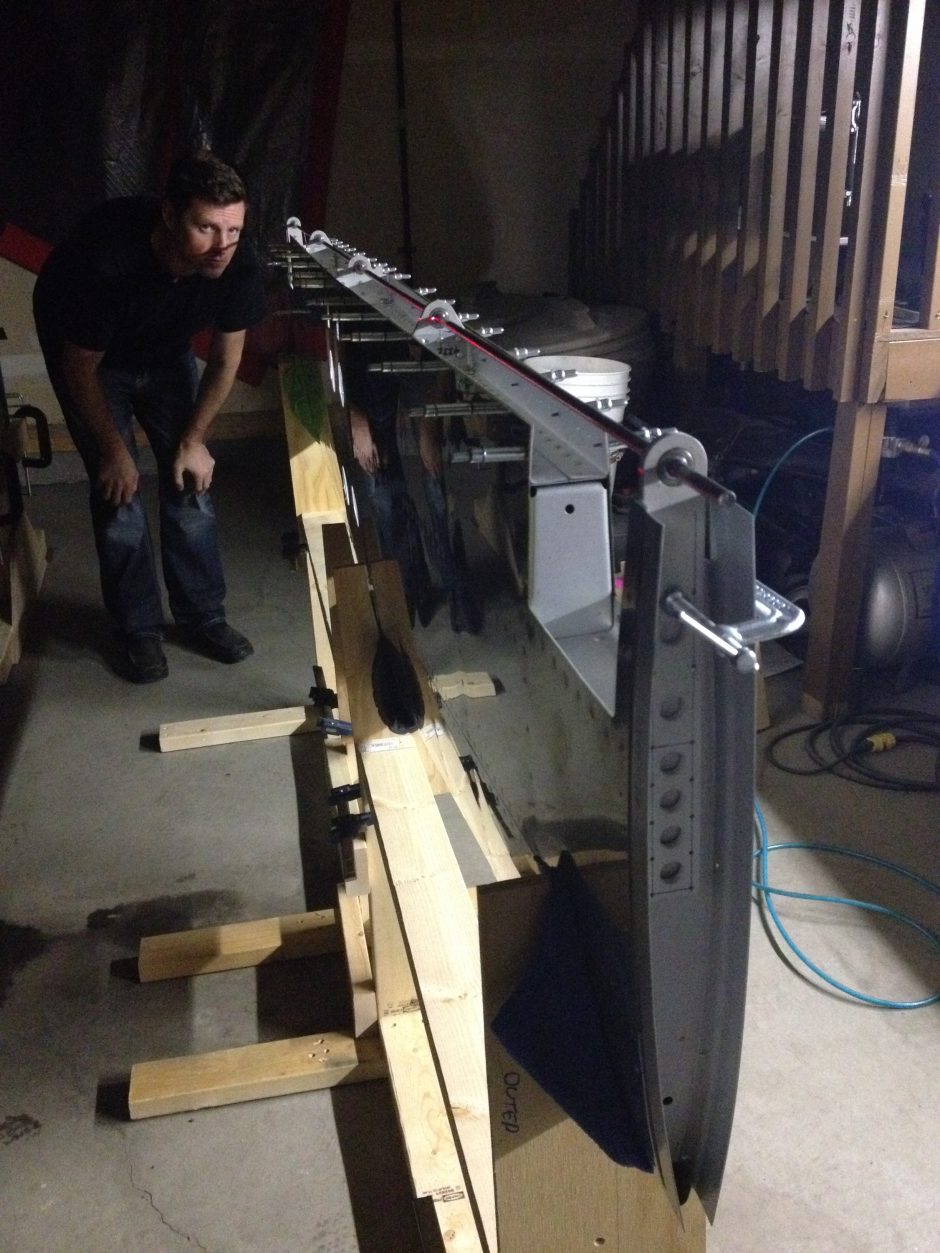
Here is another picture of our setup. My buddy Garet is verifying the alignment with the good’ol Mark I, Mod. Zero, standard issue eyeball!
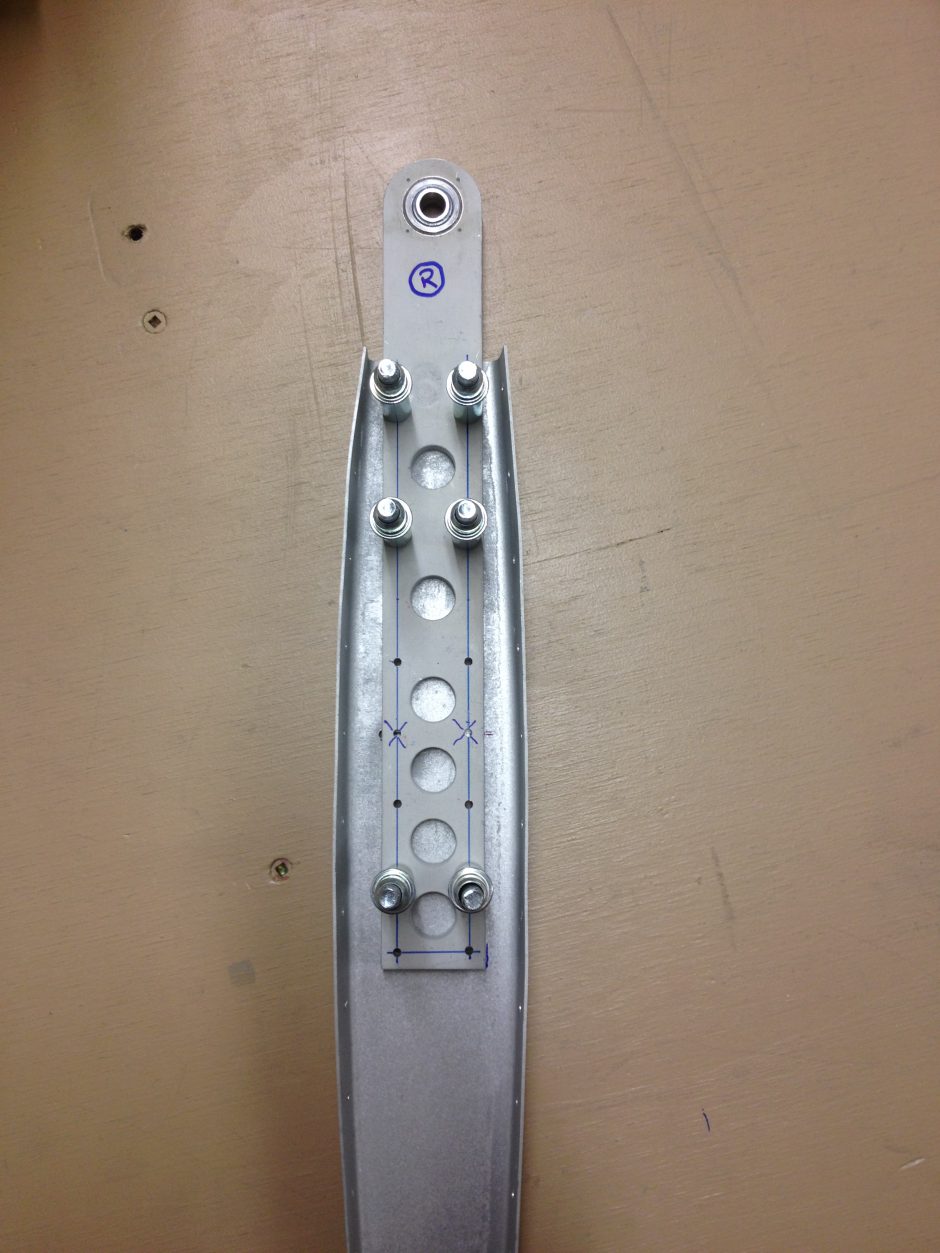
Once we were both happy with the setup (I guess that here is a good place to also mention that we did one side first: Set in place, pilot drilled and clecoed, before moving on to the other side), we began to drill and cleco the pilot holes. These holes were already made in the hinge brackets themselves prior to this (as you can see in the photo) so we are just match drilling these hinge bracket holes to the end rib.
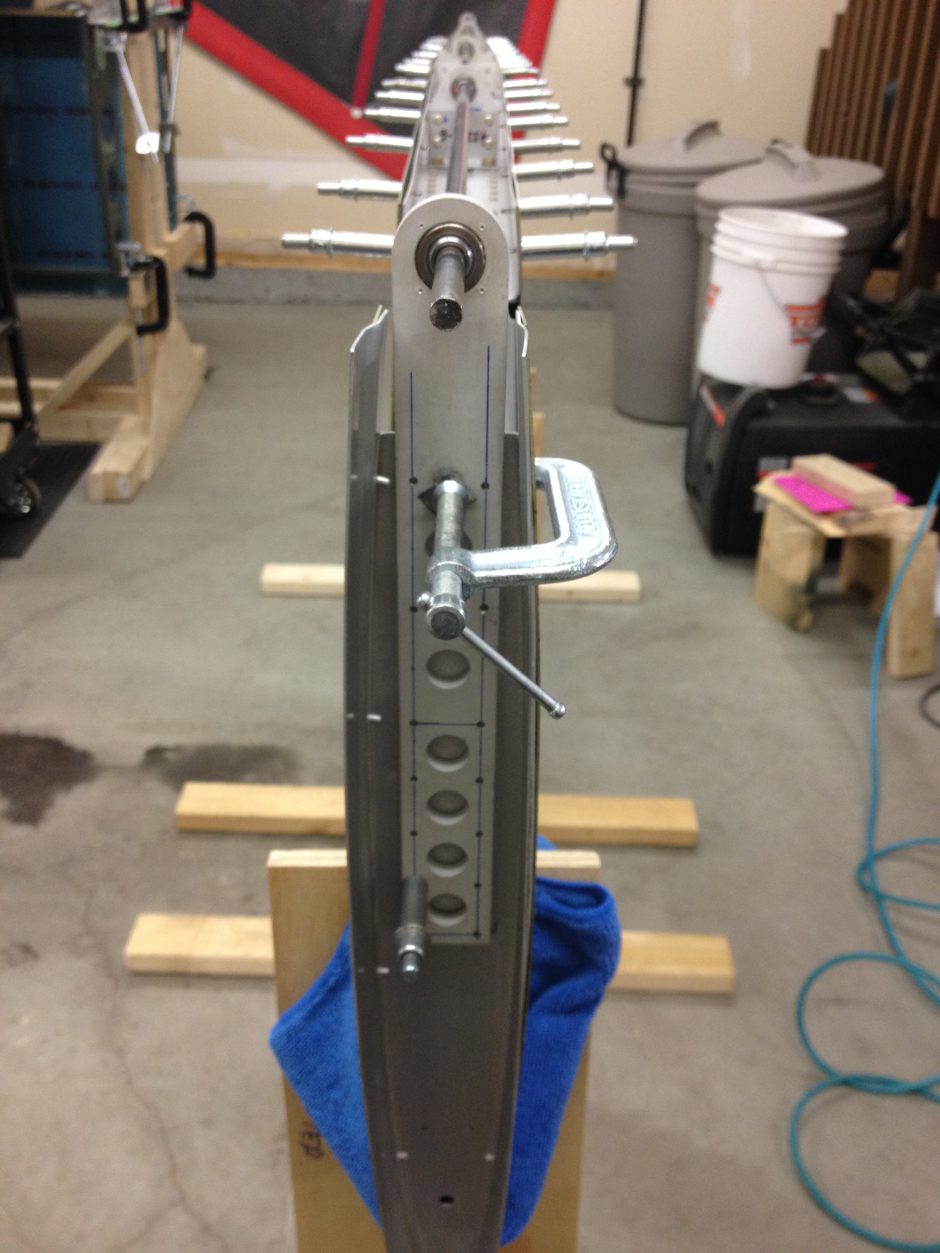
The match drilling progressed very well…until we ran into a wee bit of a snag. There were two holes drilled in the end rib (this happened on both sides) where High Performance Aircraft (HPAI) in the Czech Rep. who manufactured this quick build horizontal stab, drilled two holes in the end rib to attach it to a clip on the inside which joins the end rib to the stringers. These holes are in the exact area where the outer hinge attaches.
In the image below you can see these two holes (marked with a ‘X’ on the hinge bracket). On the left side you can see one of these mis-drilled holes peeking out.
This next photo shows the back side of the end rib, and you can clearly see these troublesome holes, being spaced just a little too far apart.
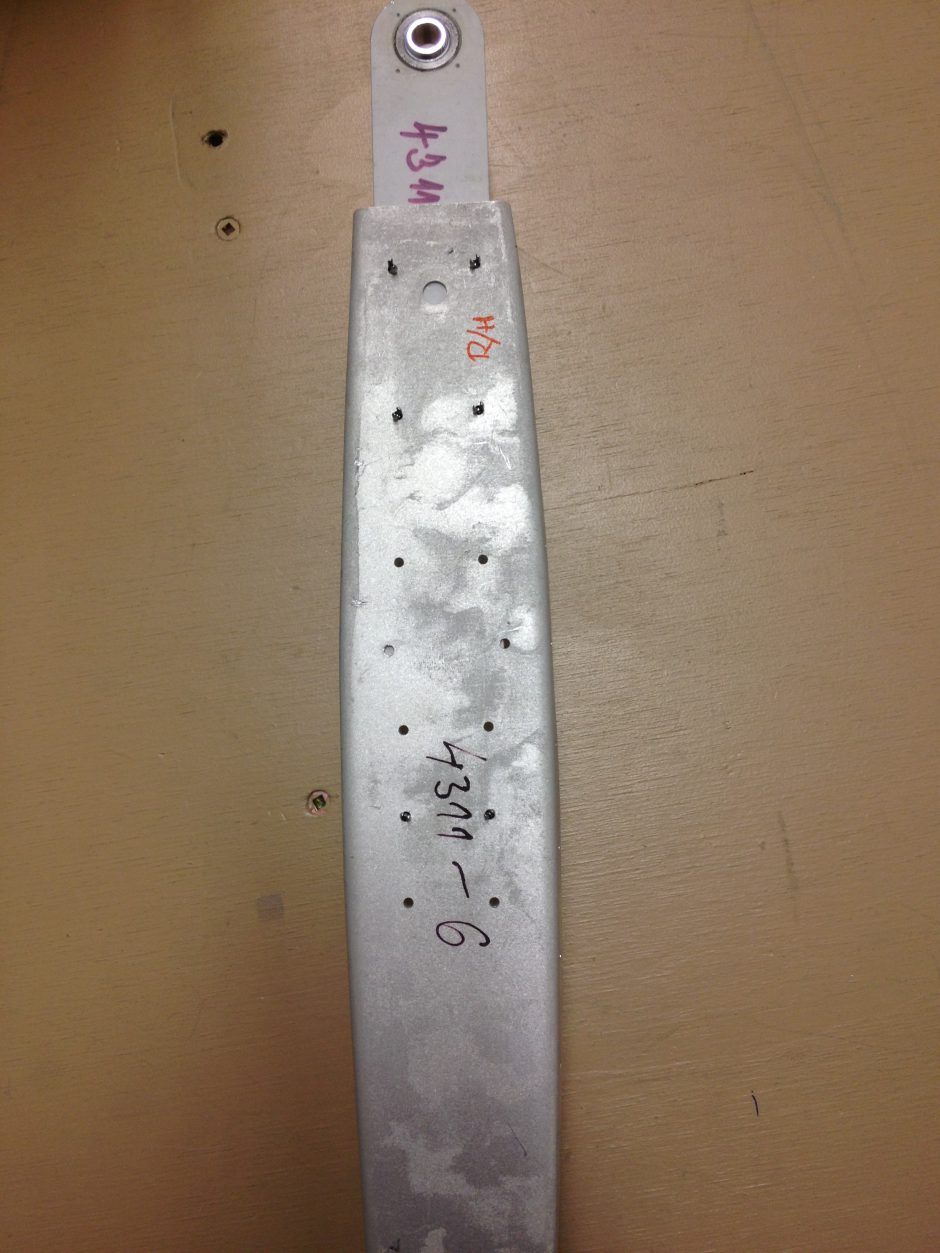
We continued to proceed with drilling out these two holes as the hinge bracket will need to be attached regardless.
Remember that these holes are all just pilot holes (#40) and they will be increased for the -4 rivets that will be used for the final assembly. This edge distance between these holes is way too close.
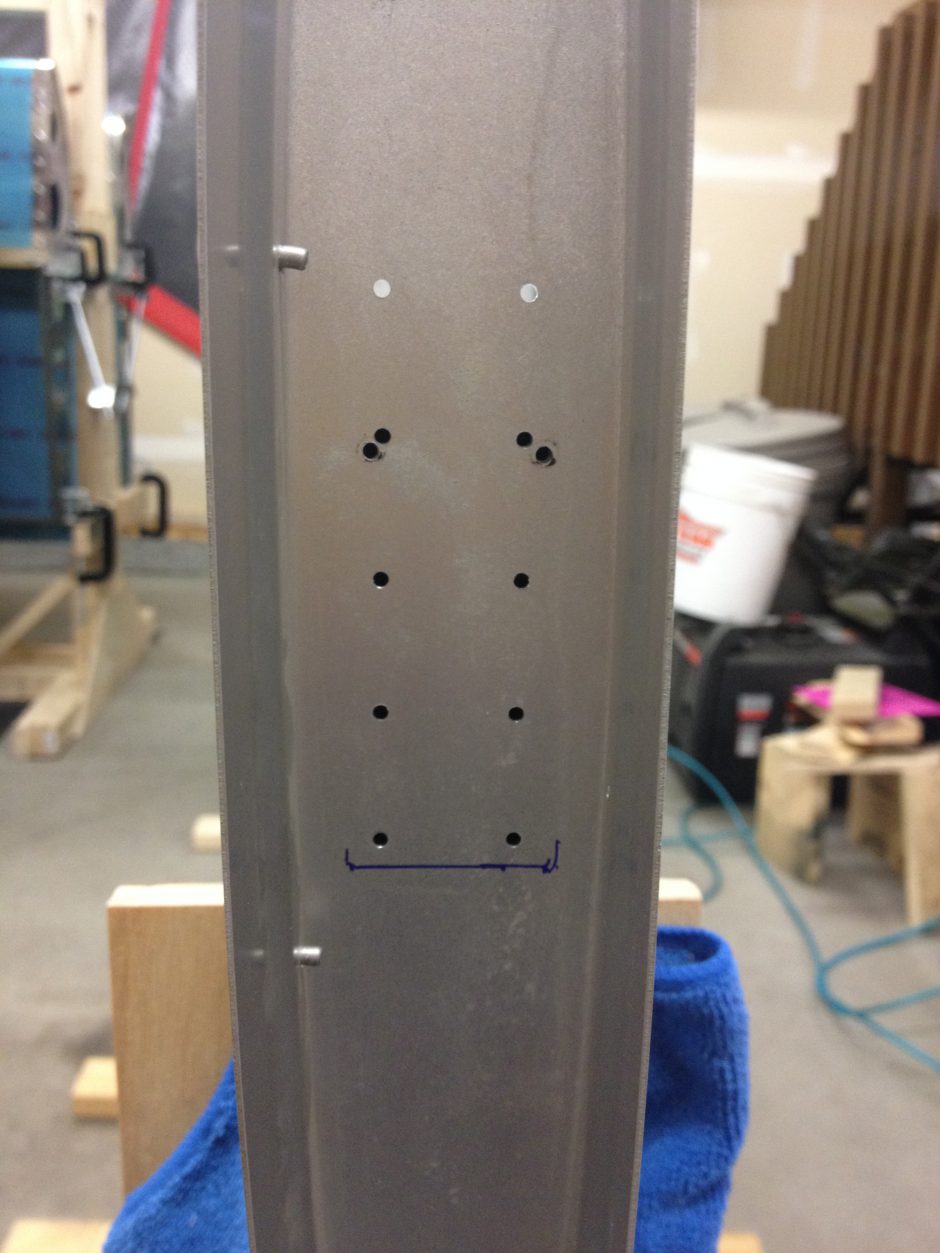
For now this is as far as we can proceed tonight. A little research in the coming few days will be needed to see how to deal with this. My initial thoughts about this…aside from “Ah S#@t!” is that I don’t want to have to make a new rib.
Please comment, I love to hear from my readers. Thanks again for coming along for this ride, you make my work worthwhile.
Mr. Mike.
I am sorry, but I have not seen your friendly invitation before now! We are so few people doing this, so of course we must become “Stewart S51 builder brothers”! I would like to call you, so if yu please could give me your phone number, I could try later thease evening.
We are GMT + 1 hour, or actually two when it is summertime.
Thank you.