Today I’m continuing with the assembly of the left elevator. Before I get to riveting there is a bit of work that is still required on this elevator. Most notably is building the trim tab, however before I get there I need to do some more work to final size all the rivet holes and adding nutplates for the hinge attach brackets.
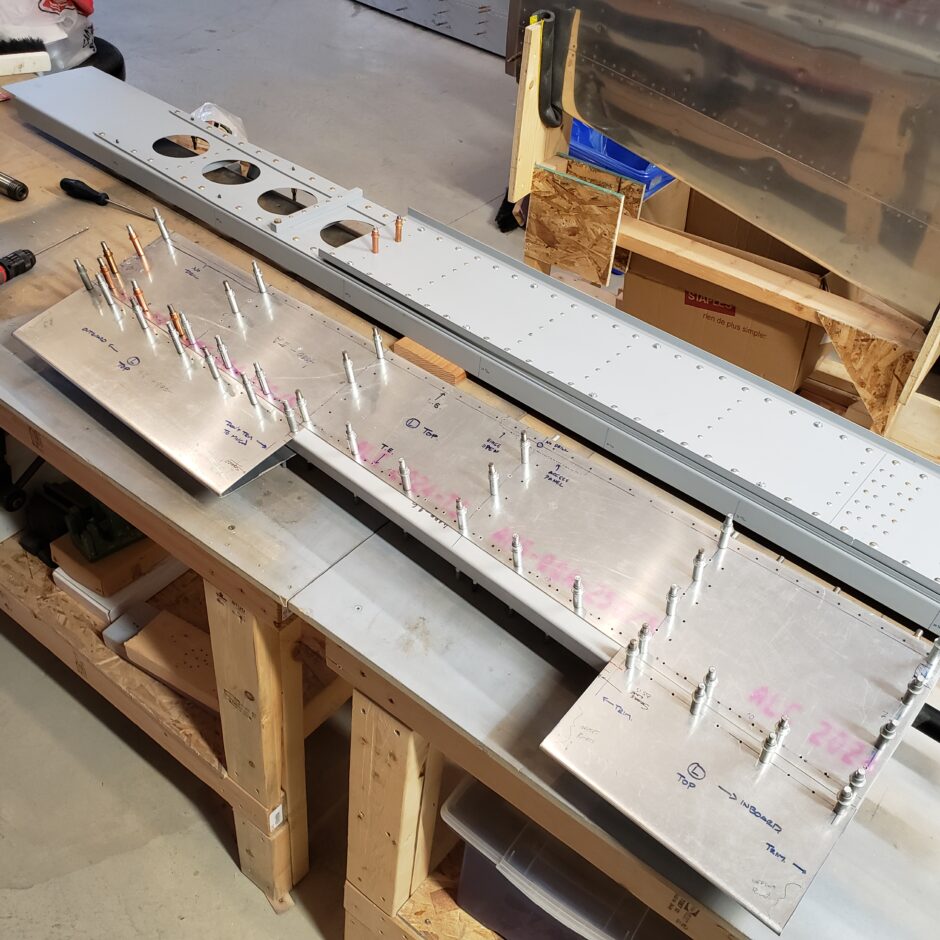
The photos below show the upper and lower surfaces being drilled from the #40 pilot holes up to the #30 holes for the -4 rivets.
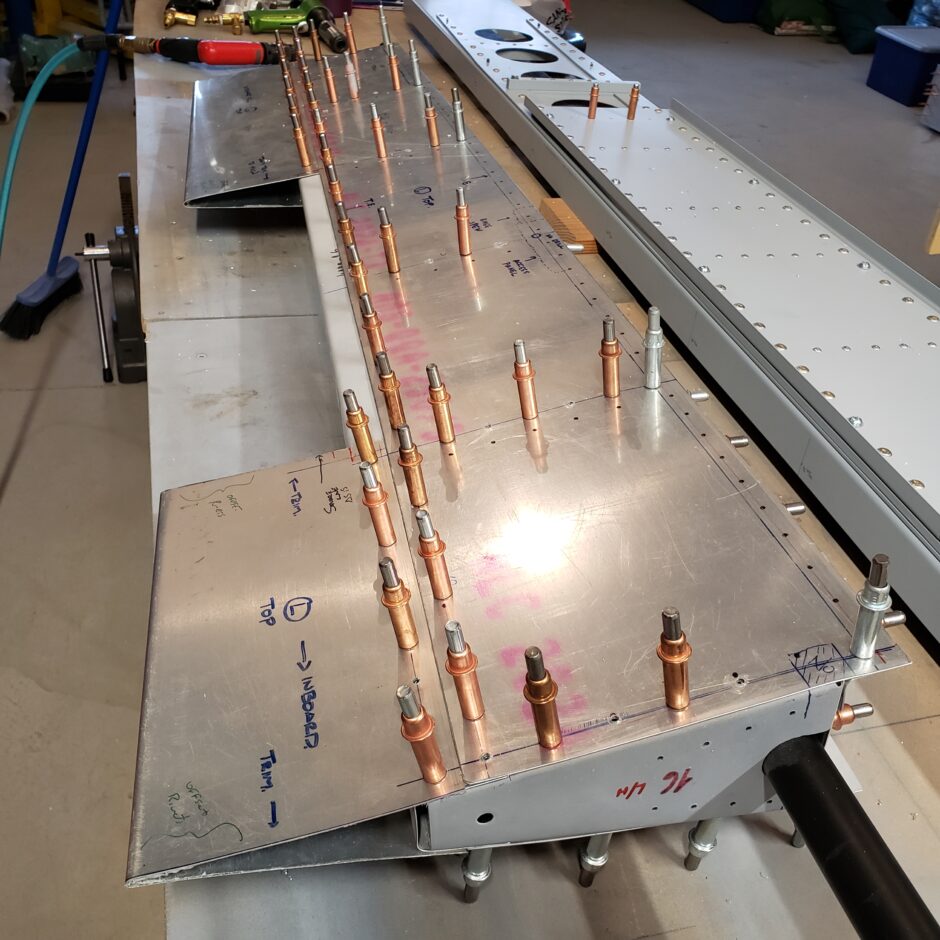
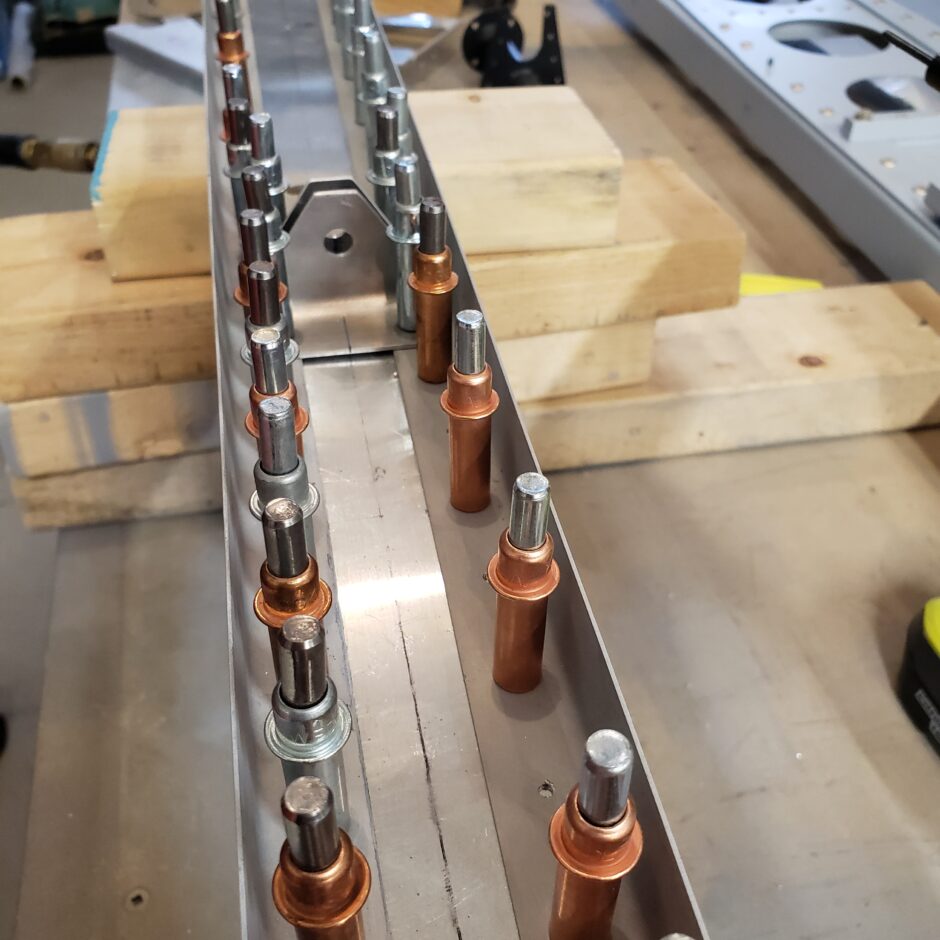
After drilling the elevator skins, I removed the skins to get access to the spar. The image below is taken while drilling drilling the spar pilot holes up to #30 for the -4 rivets.
While drilling the spar, I alternated holes while drilling to be able to keep even cleco tension on the spar during the drilling process. I also have the ribs and hinge brackets in place so I don’t accidentally drill the wrong hole location. I’ve been burned by that before, so my approach now is to get all the parts located with pilot holes, then by sections (or segments) I drill the items to final size (such as spar webs, hinges, ribs as separate segments or tasks).
Elevator Hinge Assembly
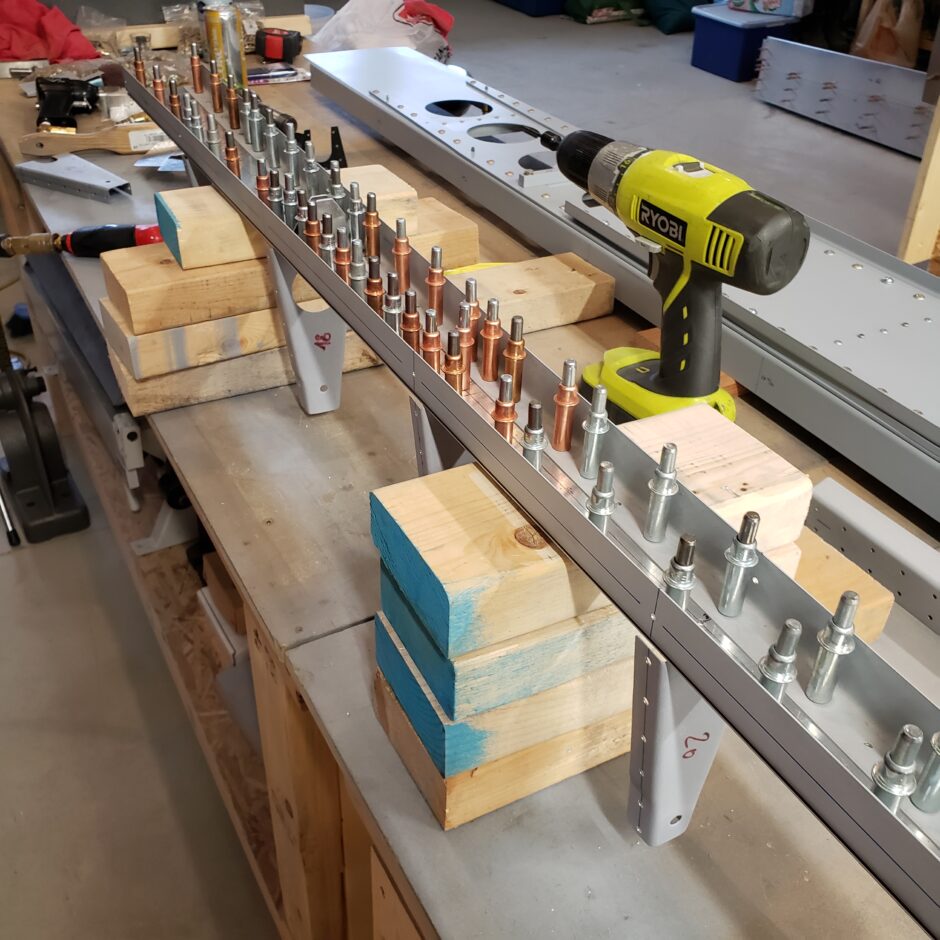
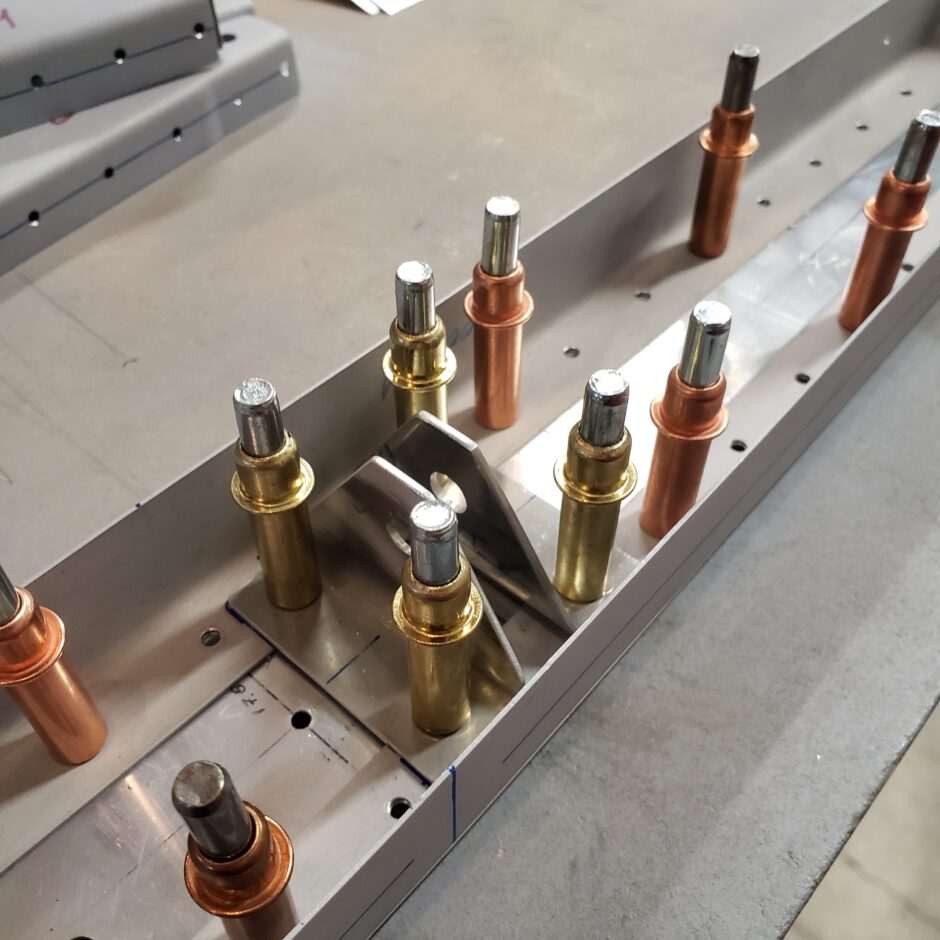
Again, I started by having the elevator hinge brackets located by #40 pilot holes. In the picture below, I began to upsize the pilot holes on the mid-span hinge. I started with going up to a #30 hole, then a #21, then finally to #11 for the 3/16 bolt hole.
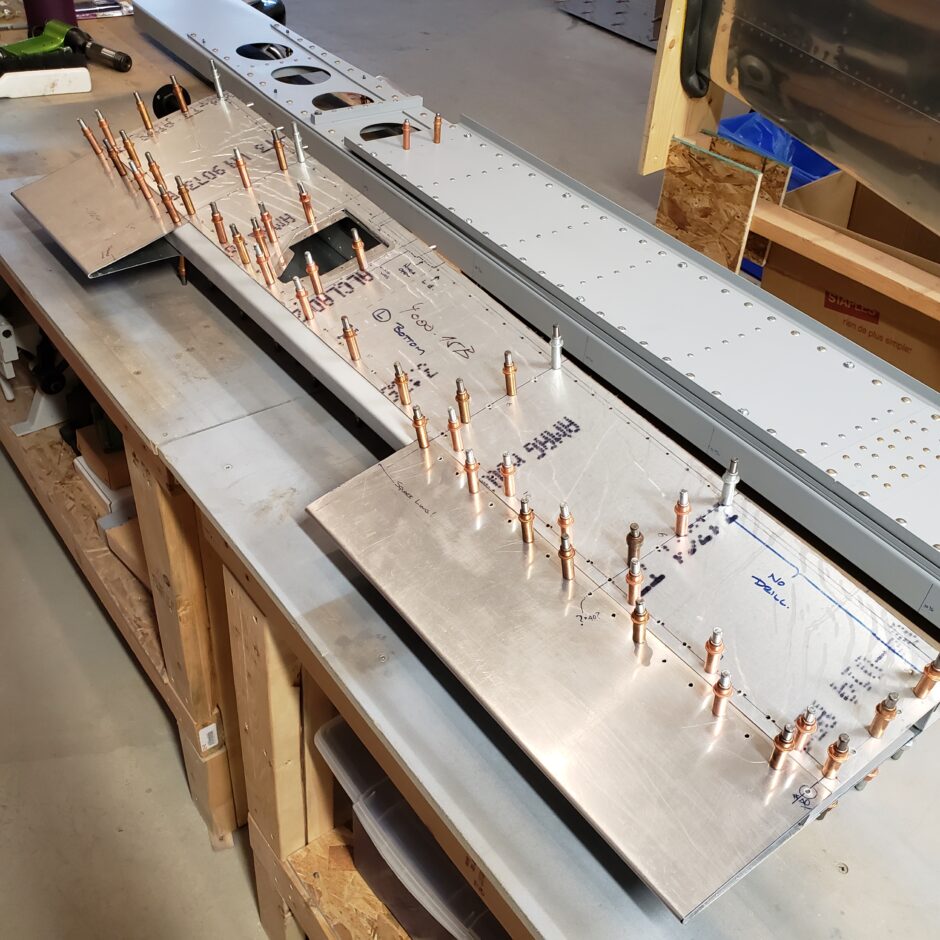
The picture below shows the outboard elevator hinge, and for this I will install nutplates for attach bolts on the inboard hinge bracket, however the outboard will only be drilled to #30 as that bracket is riveted to the outboard elevator tip rib.

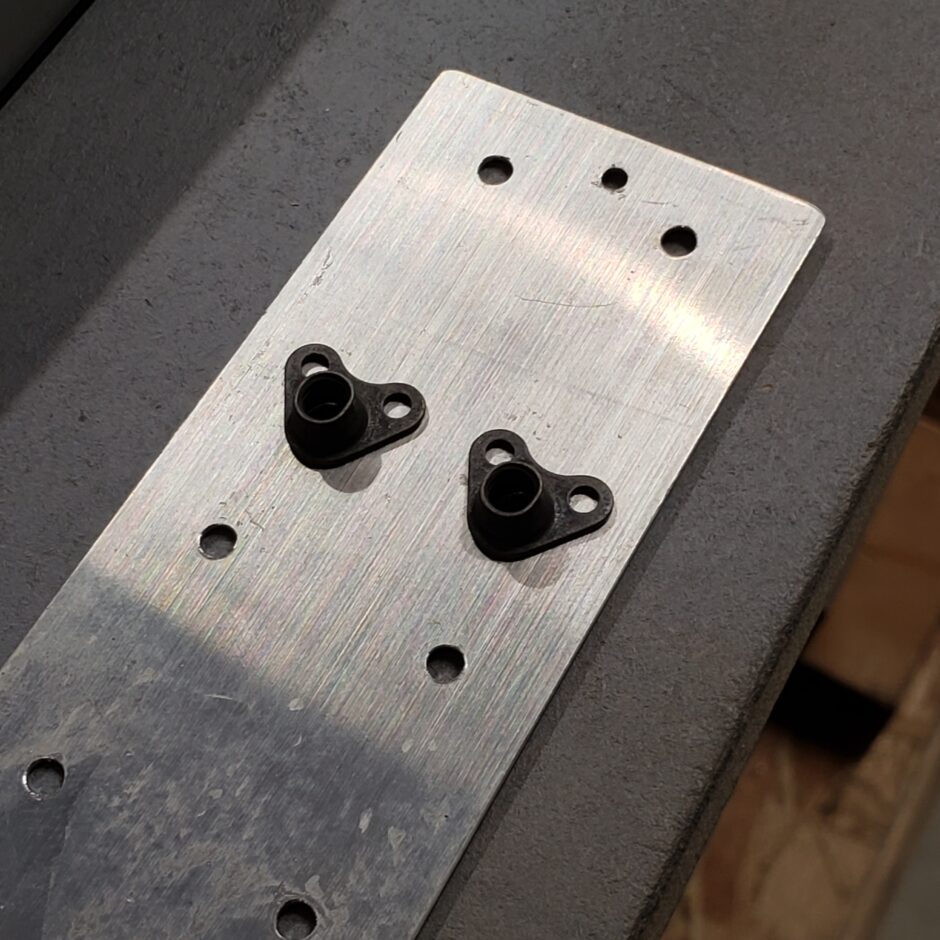
On the mid-span hinges, there isn’t a lot of room to be able to fit nutplate. So I had to get a bit creative with a variety of nutplates to make it work as the hinge mounting on the left side of the picture is mounted right close to one of the elevator ribs.

Locating the nutplates for the outboard hinge bracket was also a bit difficult as there really isn’t a lot of excess room to work with to fit in the nutplates. So again, I had to use special corner nutplates.
I ended off the evening with installing the trailing edge end rib. The end rib had lots of excess that will be trimmed off.

Please comment. I love to hear from my readers. Thanks again for coming along for this ride, you make my work worthwhile.
Leave a Reply