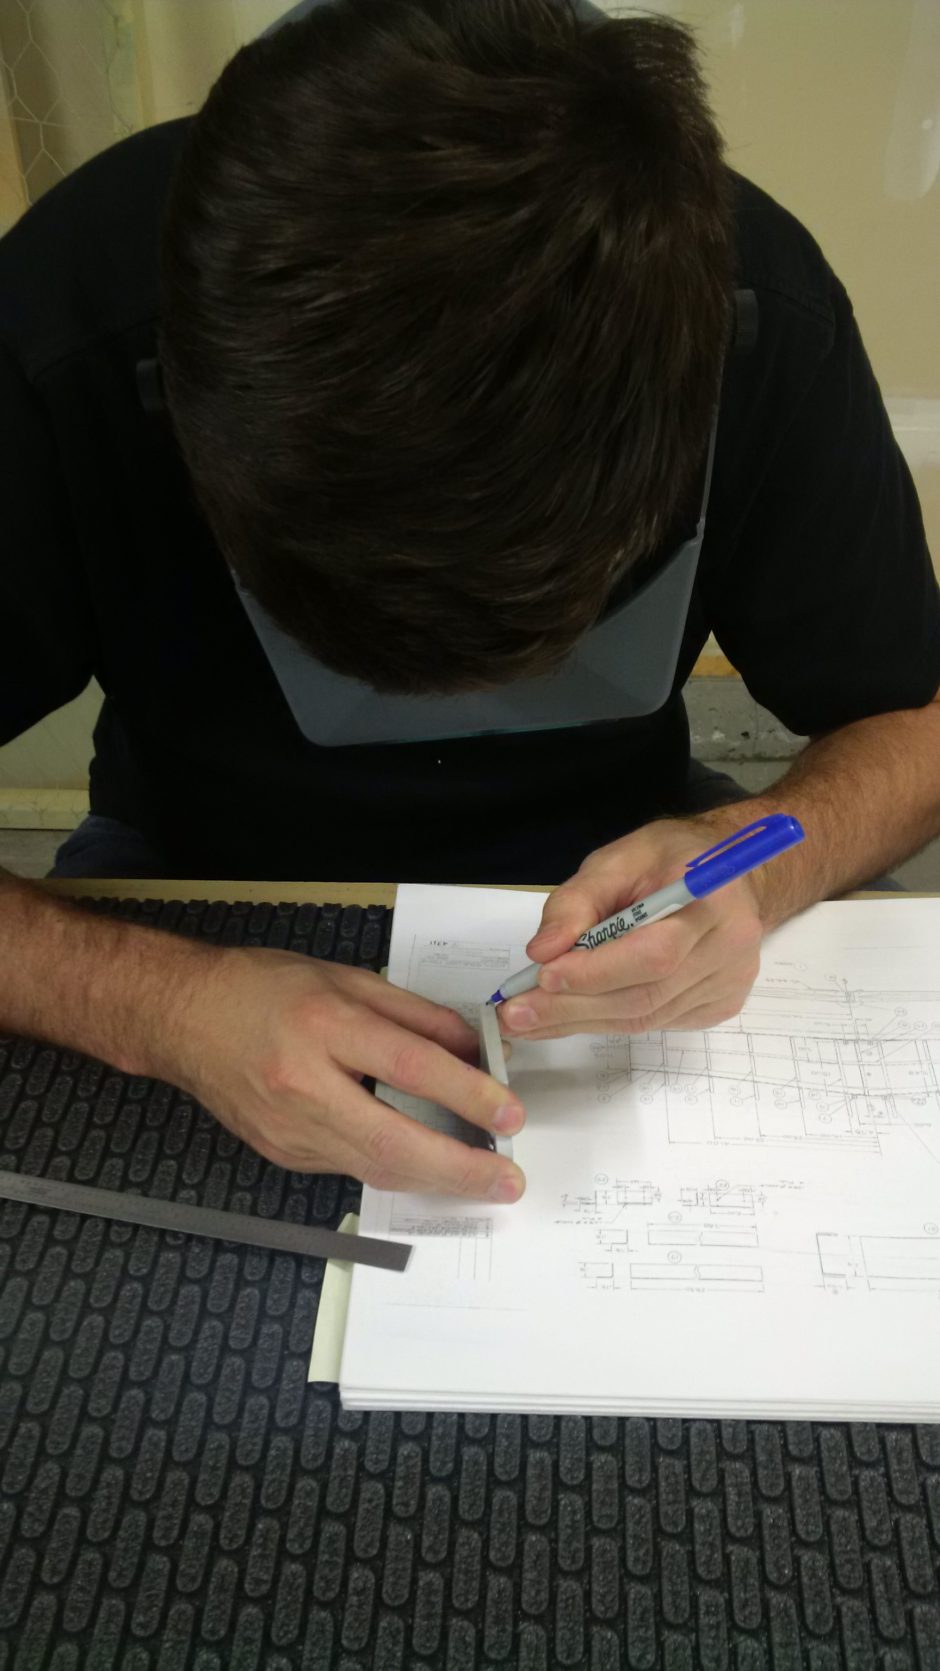
Here we go…making hinges for the horizontal stabilizer. Well, starting with the center hinge assembly. My buddy Garet has his magnification goggles on because me (in my infinite wisdom) forgot to bring the large drawing sheets, so tonight we are struggling to work with the small 11″ x 17″ prints I have.
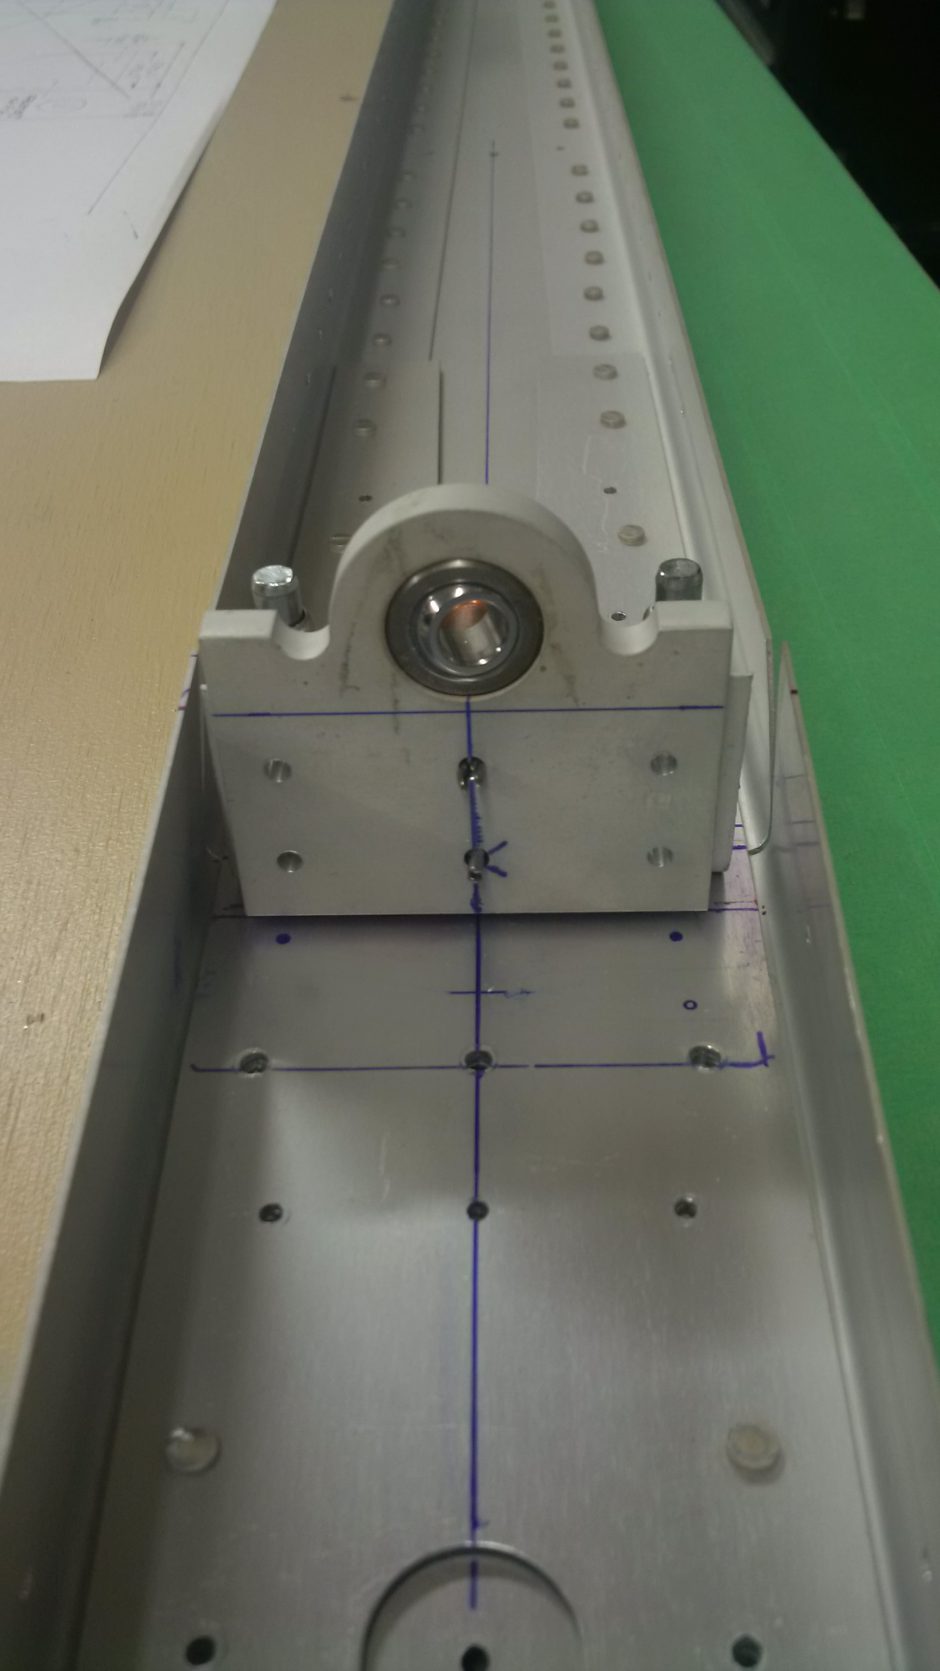
In the photo below Garet is working hard to mark the center line of the hinge plate. This line is important because that is what we’ll use to get the hinge centered.
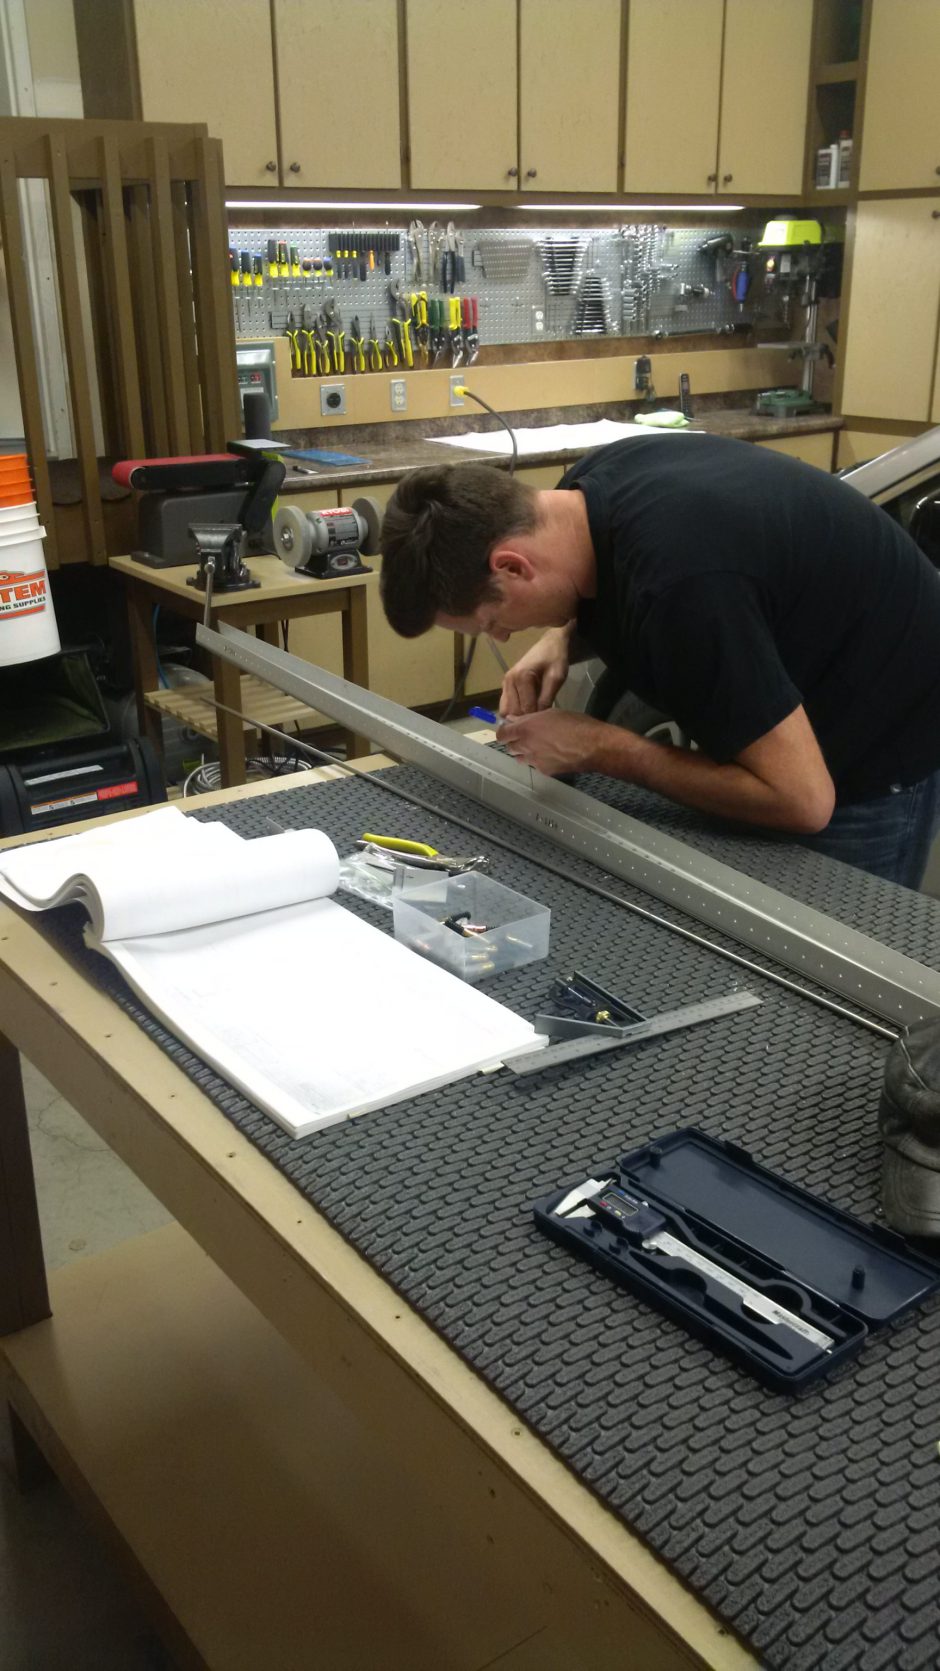
In addition to marking out the center line of the hinge bracket, we also need to ensure we have all out measurements properly laid out for the placement of the hinge. The hinge is offset to the left of the centerline of the horizontal stabilizer span. They key take-away for this is ensuring proper orientation.
We start by using cleco clamps to roughly hold the hinge assembly together. We also used a clamp to line up the center line of the clamp with the appropriate line we laid out on the face of the spar.
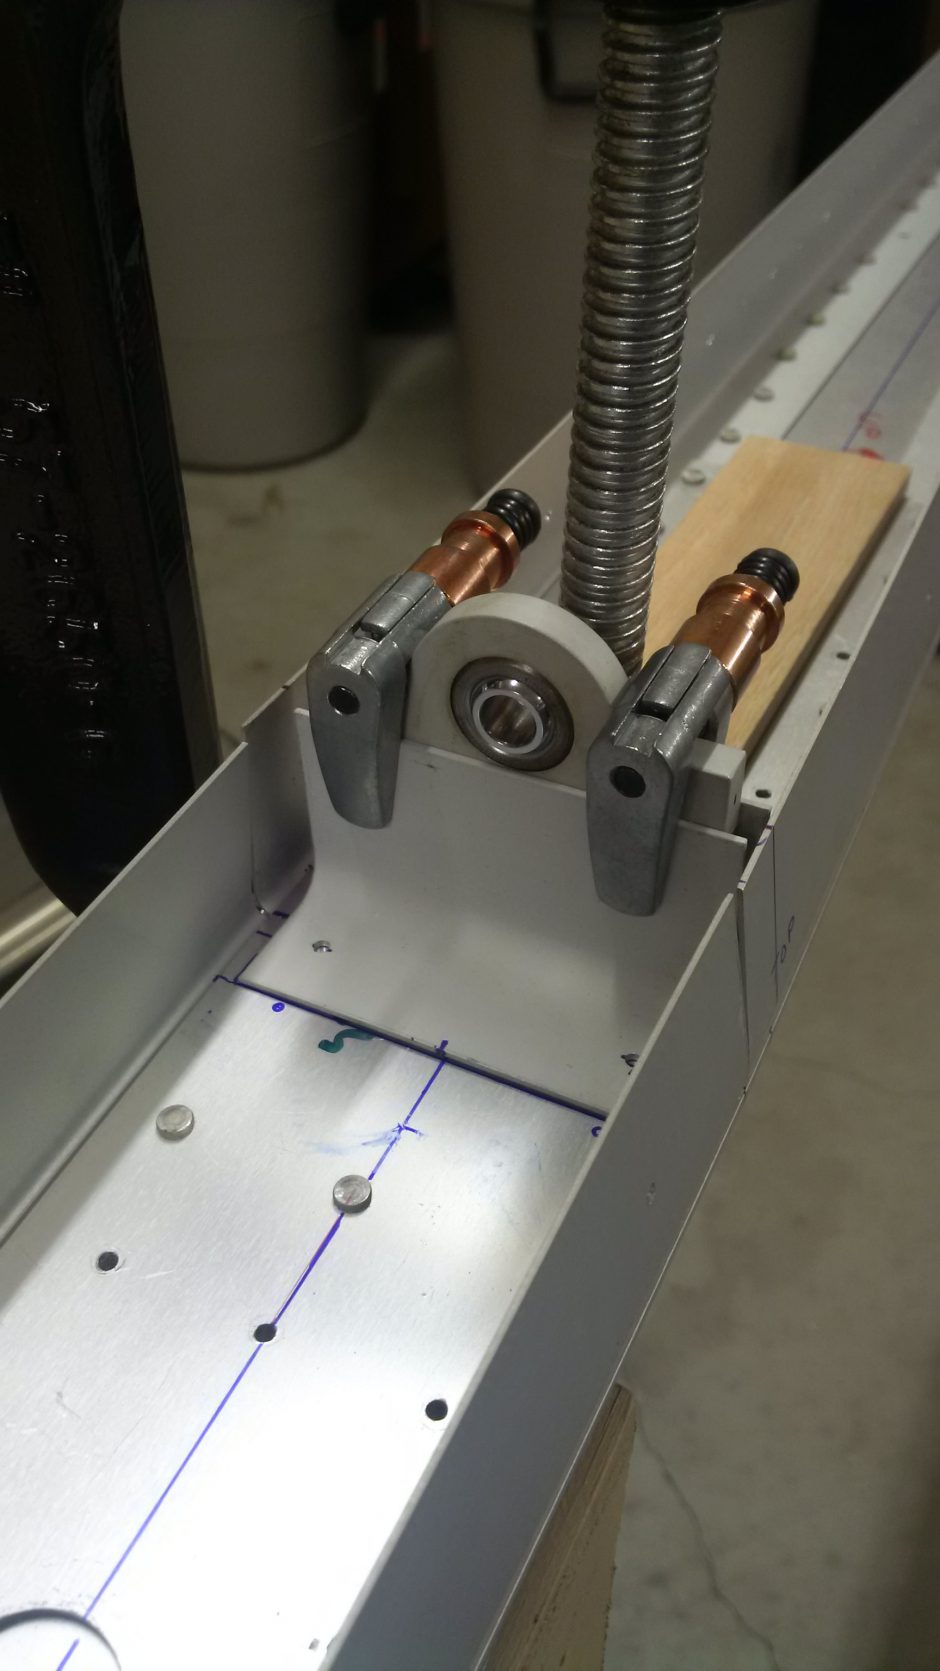
With having the hinge in place (centered on the center line and vertically) we drilled the #40 pilot holes.
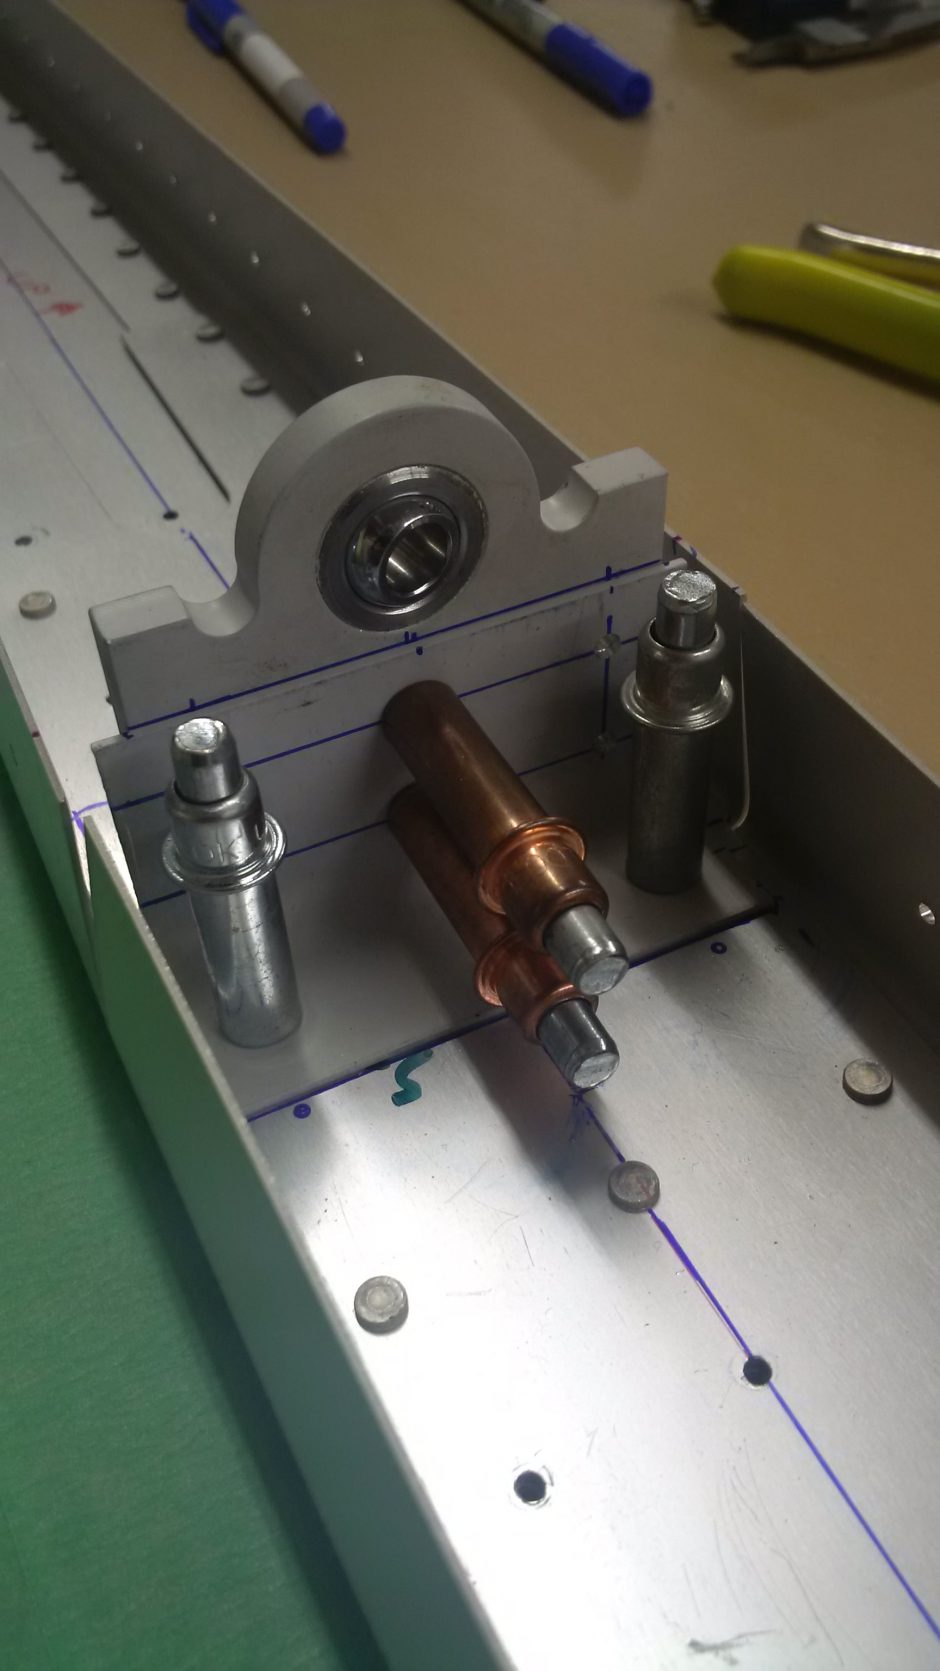
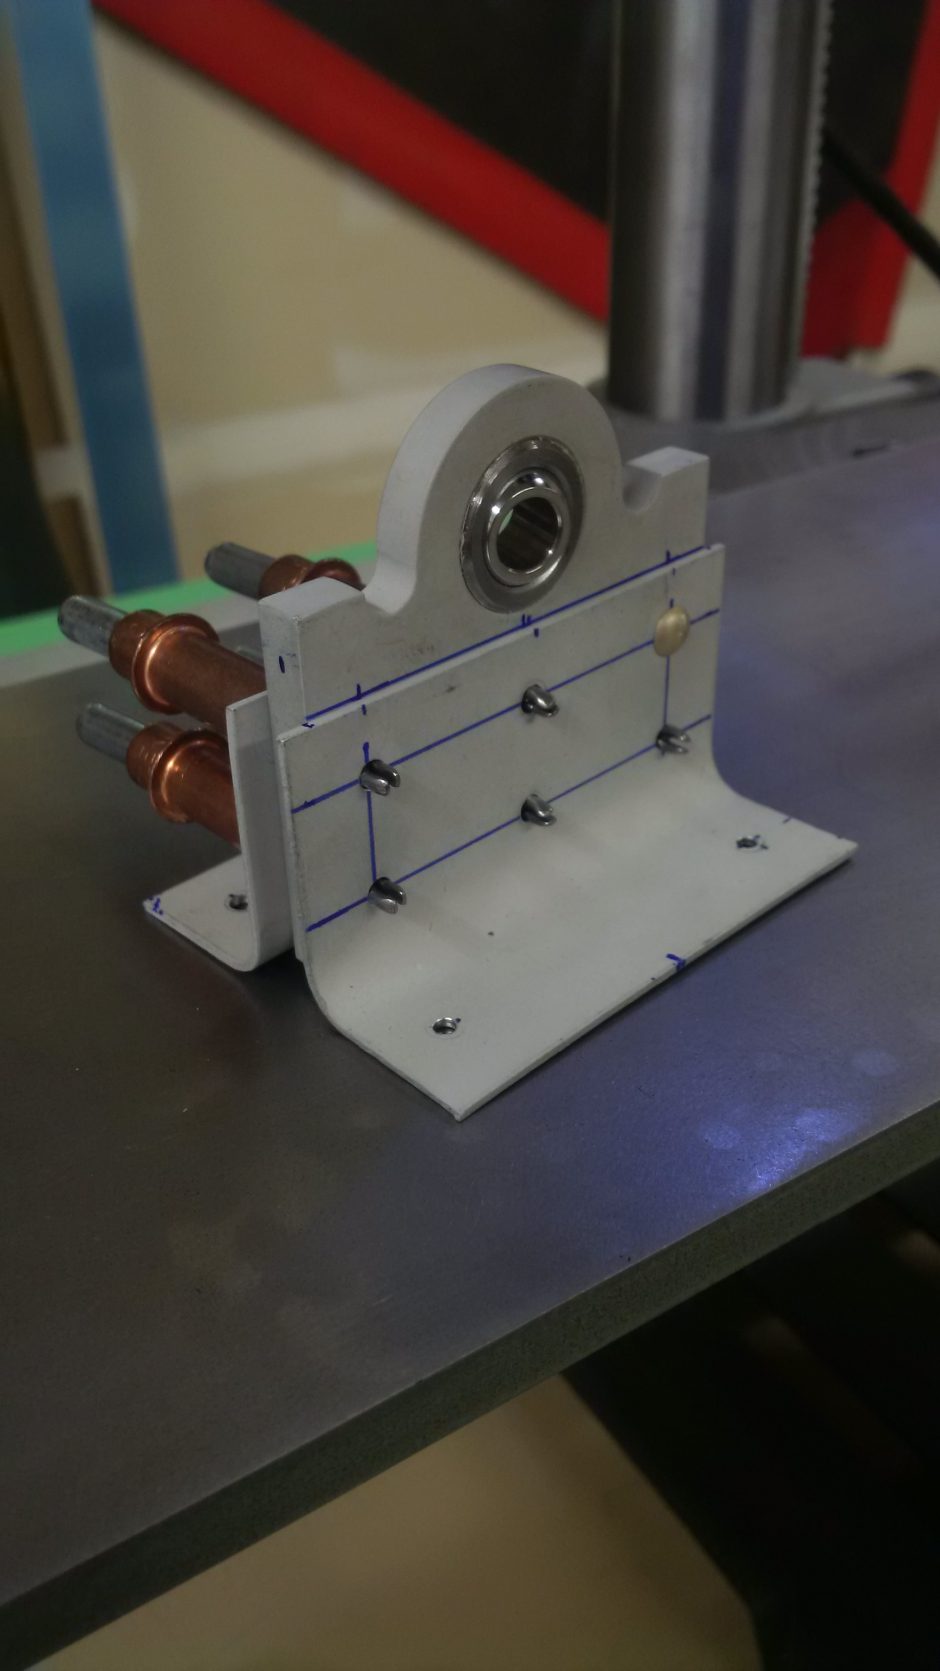
When we had the hinge brackets pilot drilled, we adjusted for the proper / necessary height measurement. Once this was determined we completed the layout for the rivets and then drilled. In between the last picture and the one shown below, what isn’t shown is lots of clamping and drilling on the drill press.
Continuing with the assembly, once the main hinge bracket was drilled to the one side bracket, the other side bracket was match drilled. In the image below we have the first rivet all set to go.
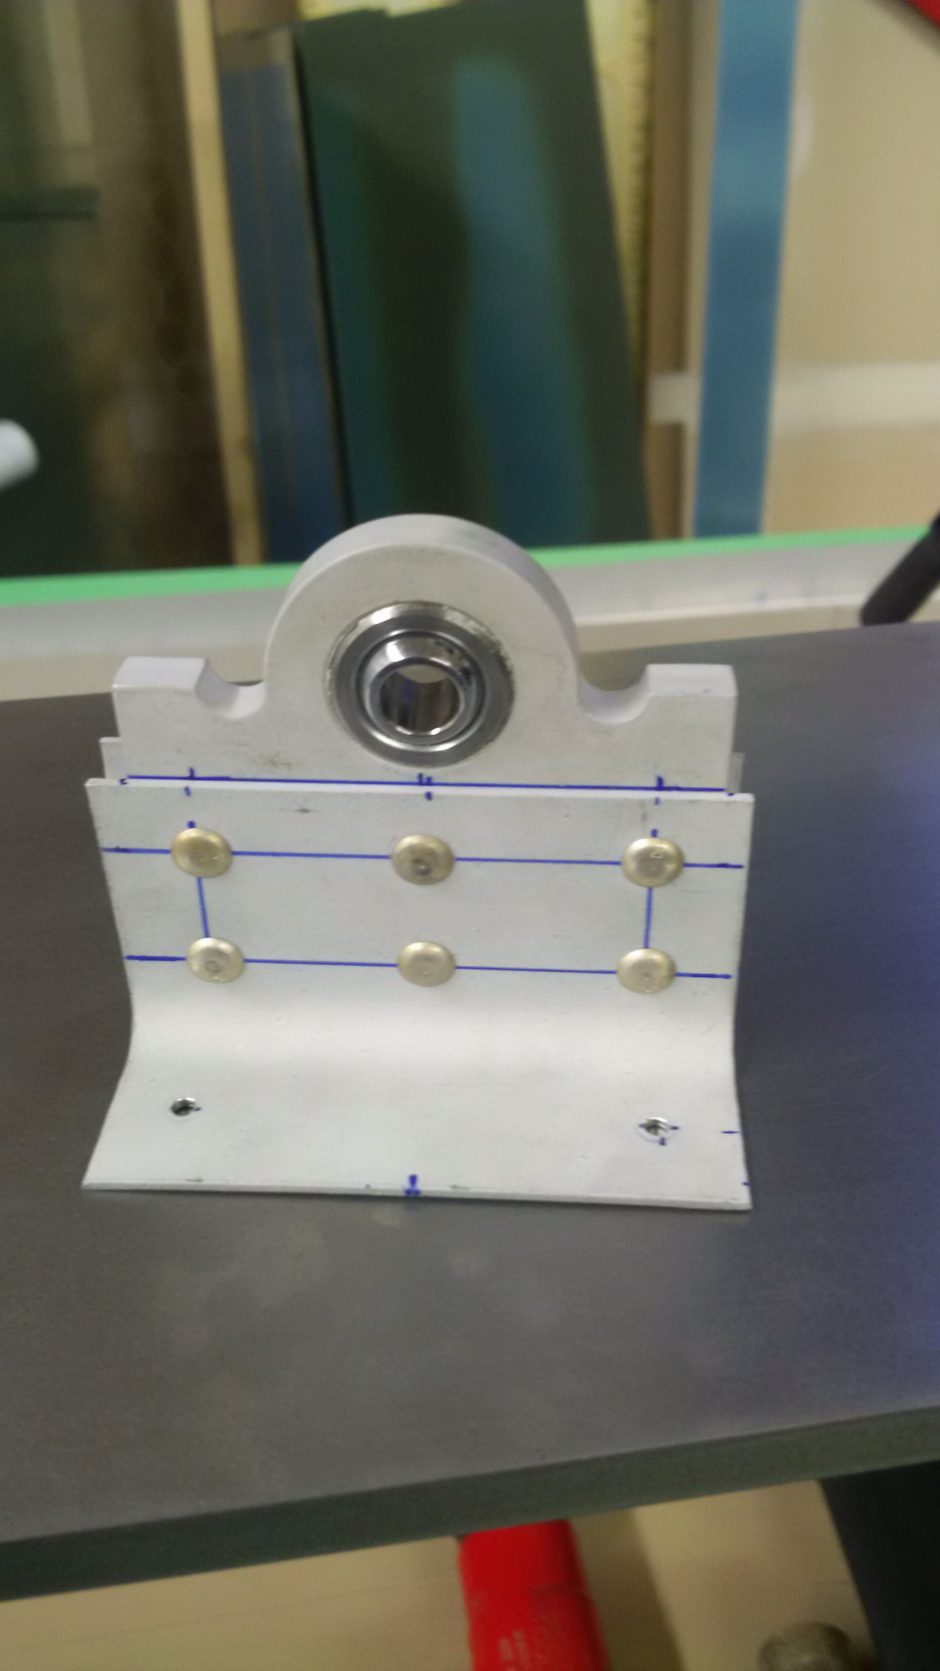
In the photo below is a good ideal of the tools we used tonight to get this hinge bracket made. Hours worked, approximately 4. Progress is good and we are very happy with our outcome.

Here is a closer picture of our completed work for this evening. My apologies for not posting an image of the rivet shop heads, but I’m happy with how they turned out and they are perfect when using the rivet gauge for verifying the heads. In the coming posts I’ll try and post a picture of the back side.
Please comment, I love to hear from my readers. Thanks again for coming along for this ride, you make my work worthwhile.
Leave a Reply