Continuing on from my last post of my router table rehab, and tying up loose ends. The rudder has been another loose end that has been dragging on for many many years too long. If you go back in previous posts in the build log, you’ll find where I screwed up the rudder ribs trying to get them riveted.
I also some years ago, attempted to make new ribs…and that attempt was unsuccessful, as the trailing edges were too wide. During that previous attempt, I didn’t go to the effort of making wooden forming blocks and just tried to bend up the ribs on a box-and-pan brake. I got close, but the ribs weren’t good enough.
So this time, I’m doing it right. No more cutting corners. So here we go.
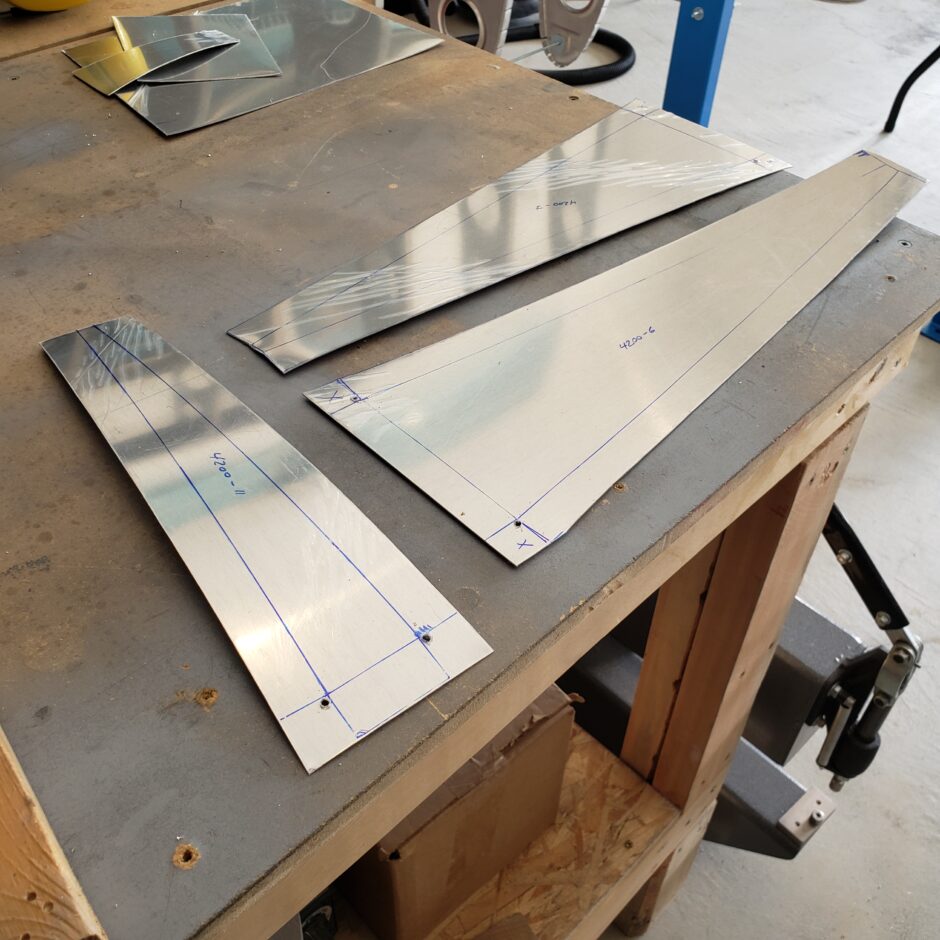
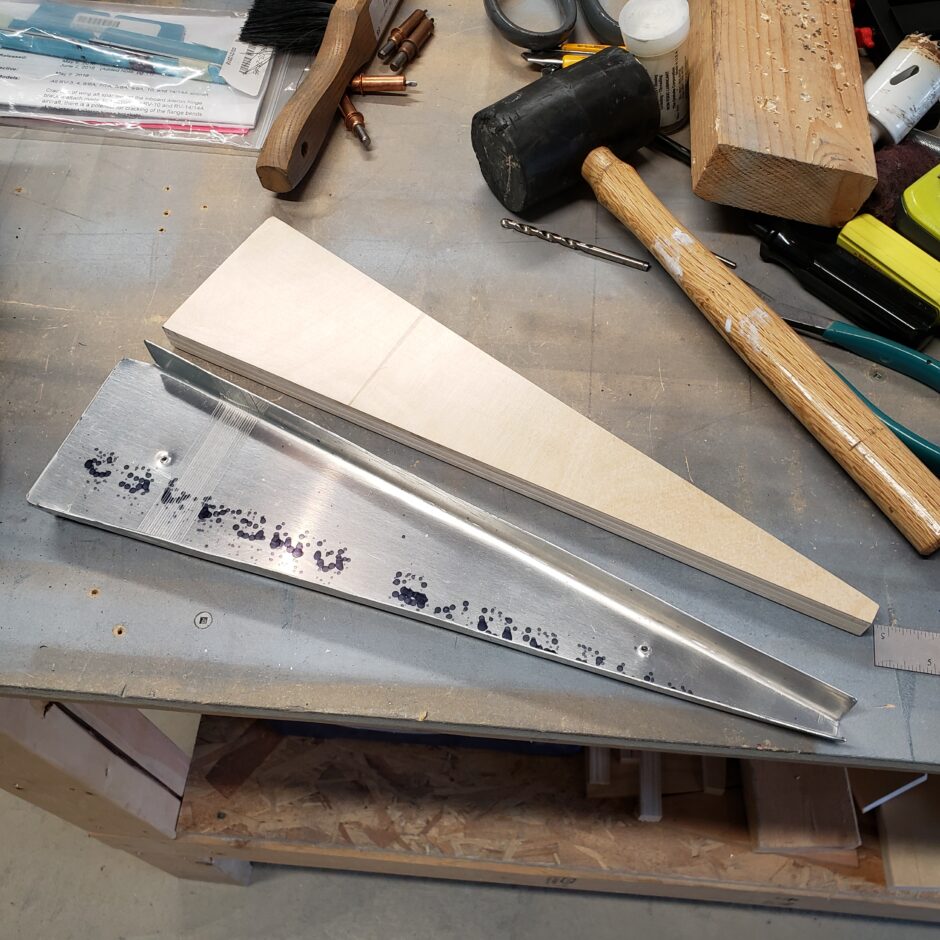
In the picture below, you can that I’m using the forming block to layout the aluminum blanks for the new rudder ribs. I’m not measuring the layout because I put a lot of effort into making the forming blocks to be as close to the required dimensions as possible. So the layout of the blanks is going pretty quickly.
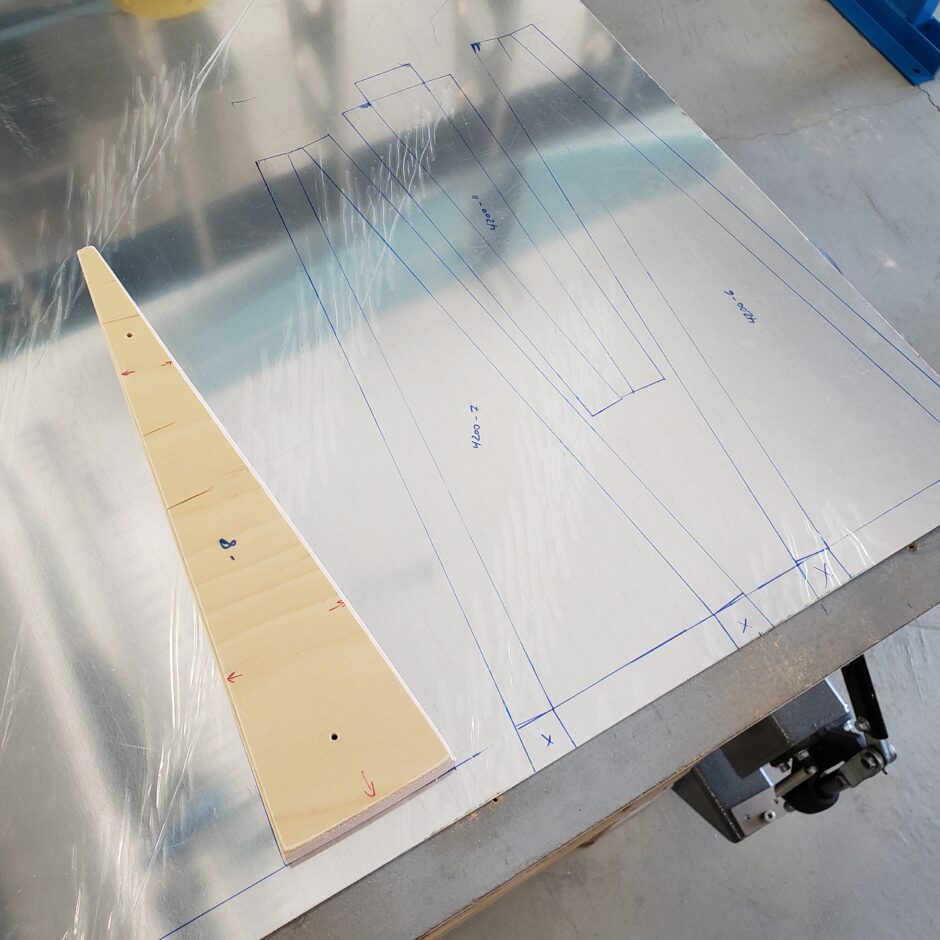
With the blanks cut out, I drilled the corners and then cut out the corner tabs of excess material. Drilling the corners is extremely important, as it provides a good radius when forming the ribs to prevent cracks from forming at the compound areas. Builder tip: File and polish these radius corners really well as that too helps prevent cracks from forming!
The next step is to center the metal blank on the forming block. Clamp it securely in the vise, and slowly work the flange over with a rubber mallet. I work from one end to the other. Back and forth a few times until it looks good.
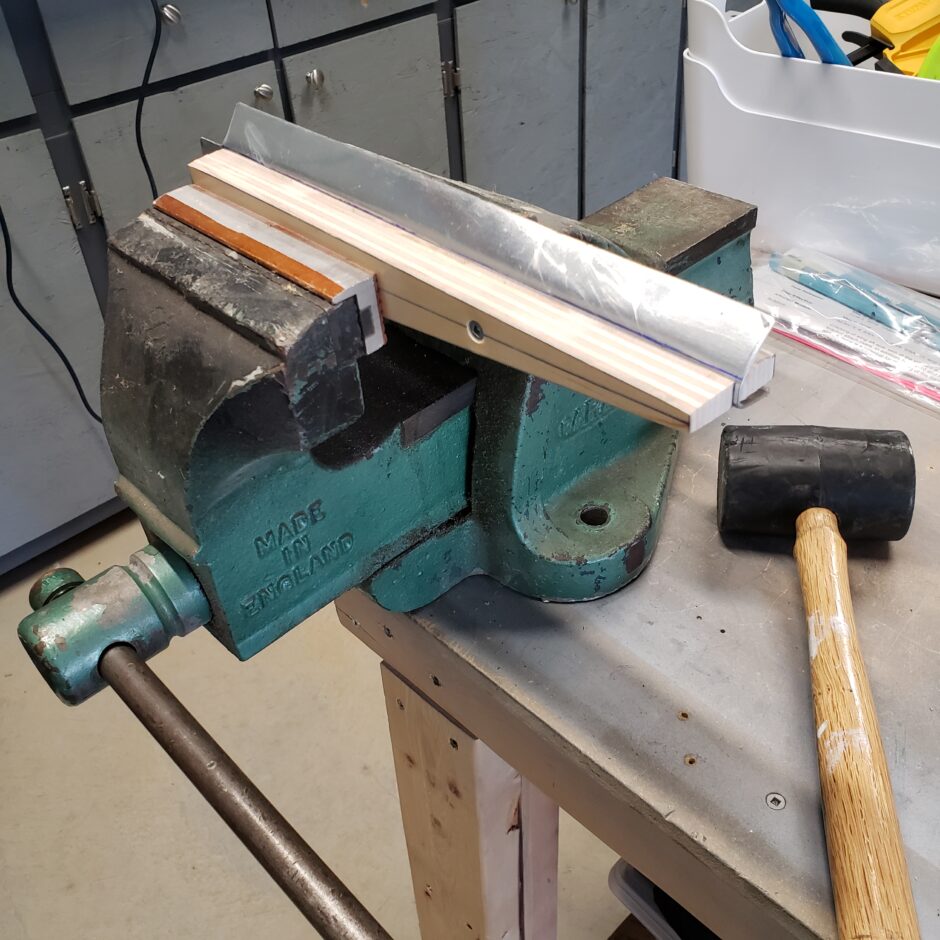
In the picture below, you can see the two large flanges are bent. This is about as good as it gets in the forming block. At this point, it’s not perfect, but you can always tighten up the bends with a hand seamer when you take the rib out of the forming blocks. I also use the hand seamer to bend the forward flange. I get the forward flange started around the forming block, but mostly just to locate the bend line. Then I finish it with the hand seamer.
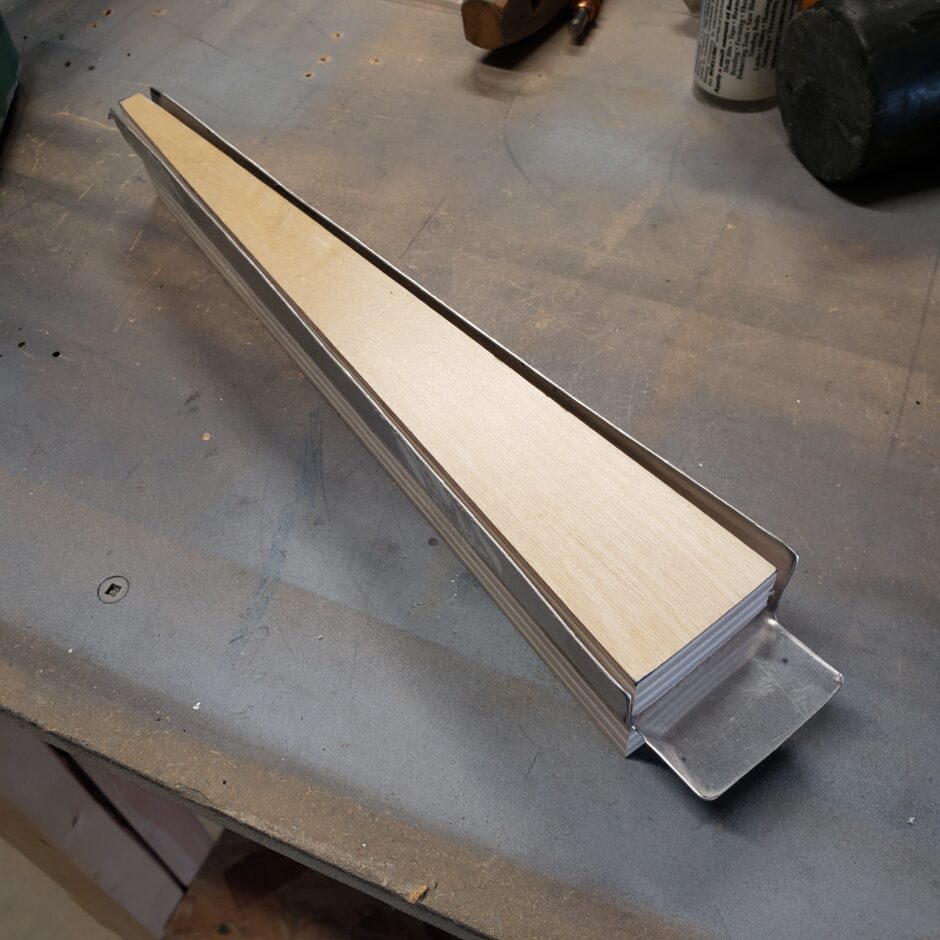
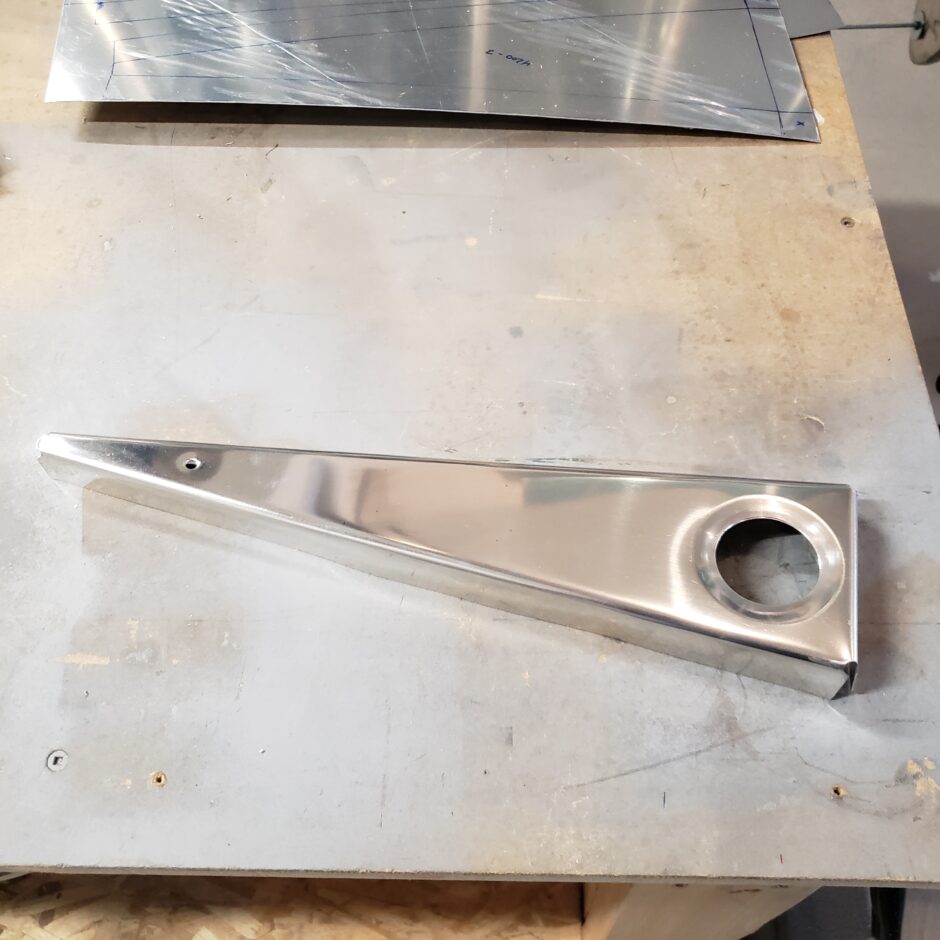
In the picture below, is how the rib looks just as it’s removed from the forming blocks.
The next step, in making some of the rudder ribs, is to cut a lightening hole, and flange it. I didn’t get any pictures of cutting the lightening holes, I just used a hole saw. After cleaning up the cut edges, I use a hole flanging tool to form the flange.
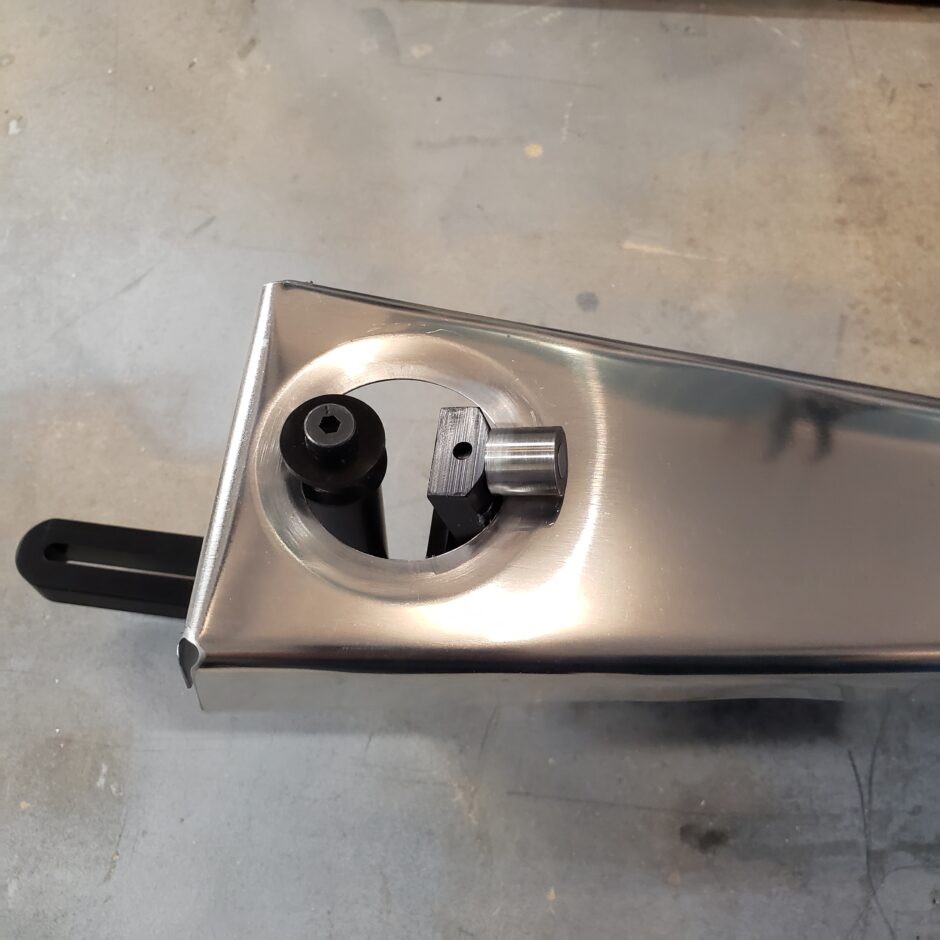
The flanging tool I use is made by a company called Noah Corp. The Flanger-360 is a really nice tool to use, and works really well. It’s not a cheap (inexpensive) tool. It’s available from Noah Corp and from Aircraft Spruce.
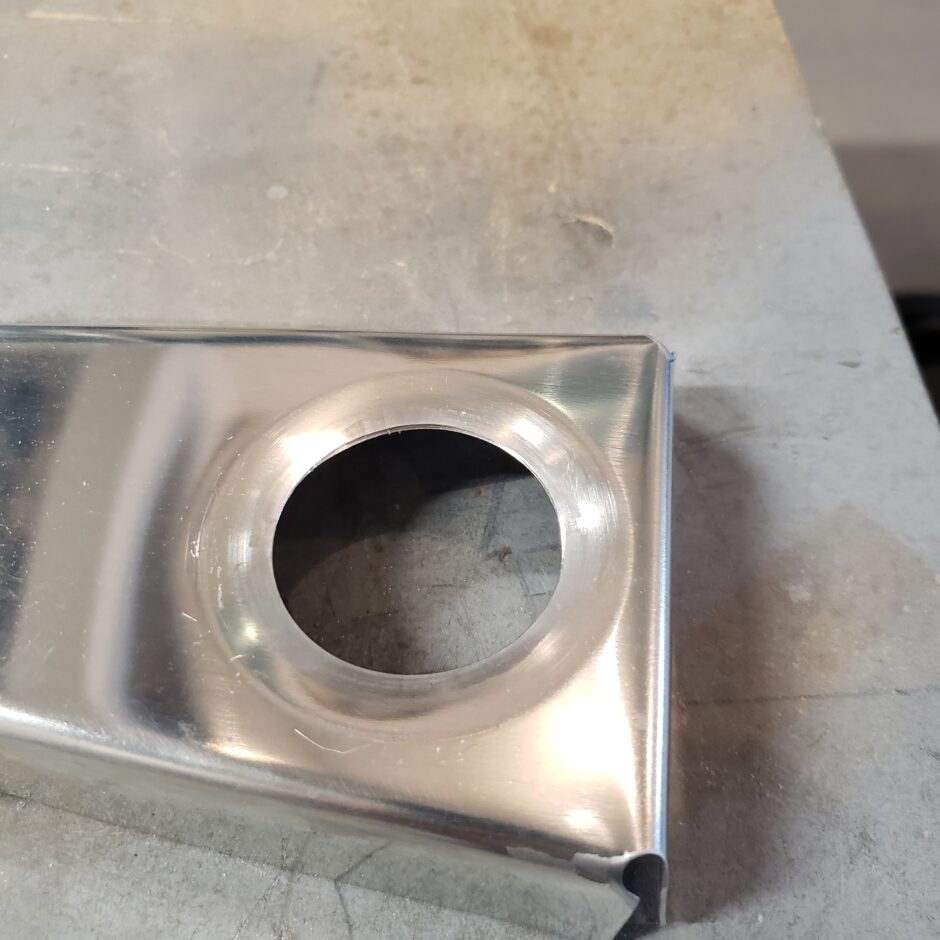
In the following pictures, you can see how well the flanging tool works.
Here’s a closer shot of the top side of the rib. This picture also demonstrates why it’s so important to drill the corners of the metal blank to have a generous radius before you form the flanges. This is an area of lots of stress, so again, don’t be afraid to have lots of radius.
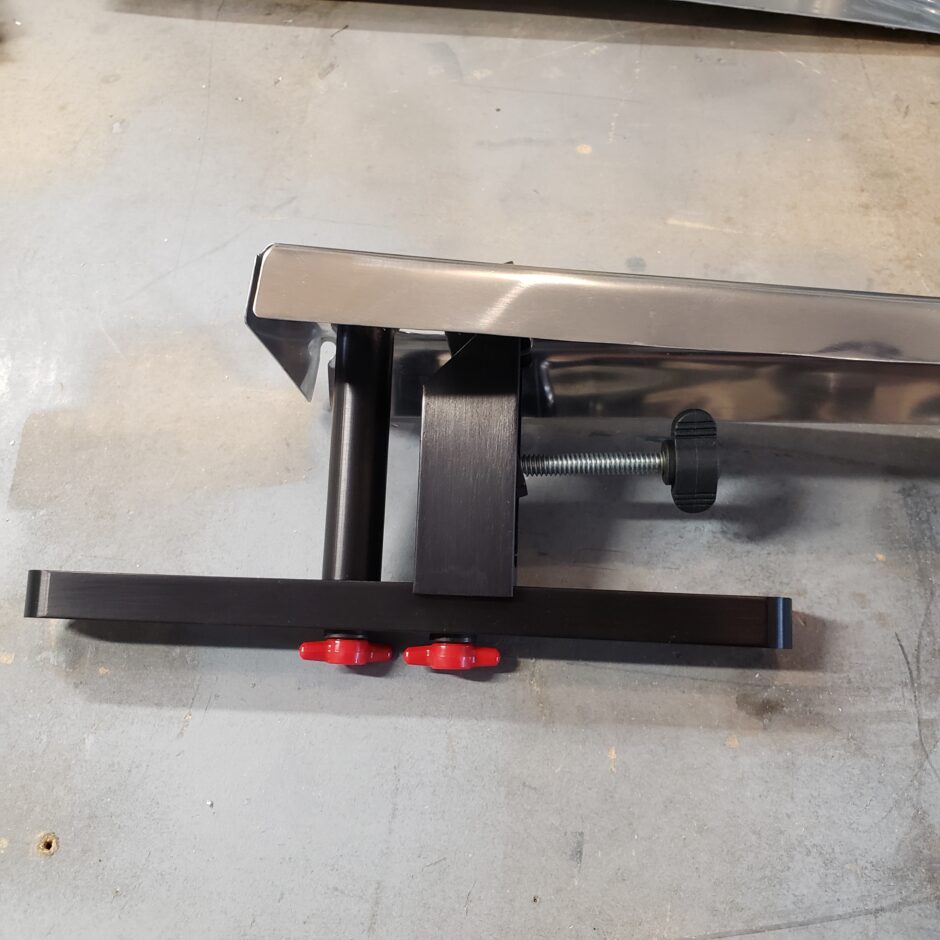
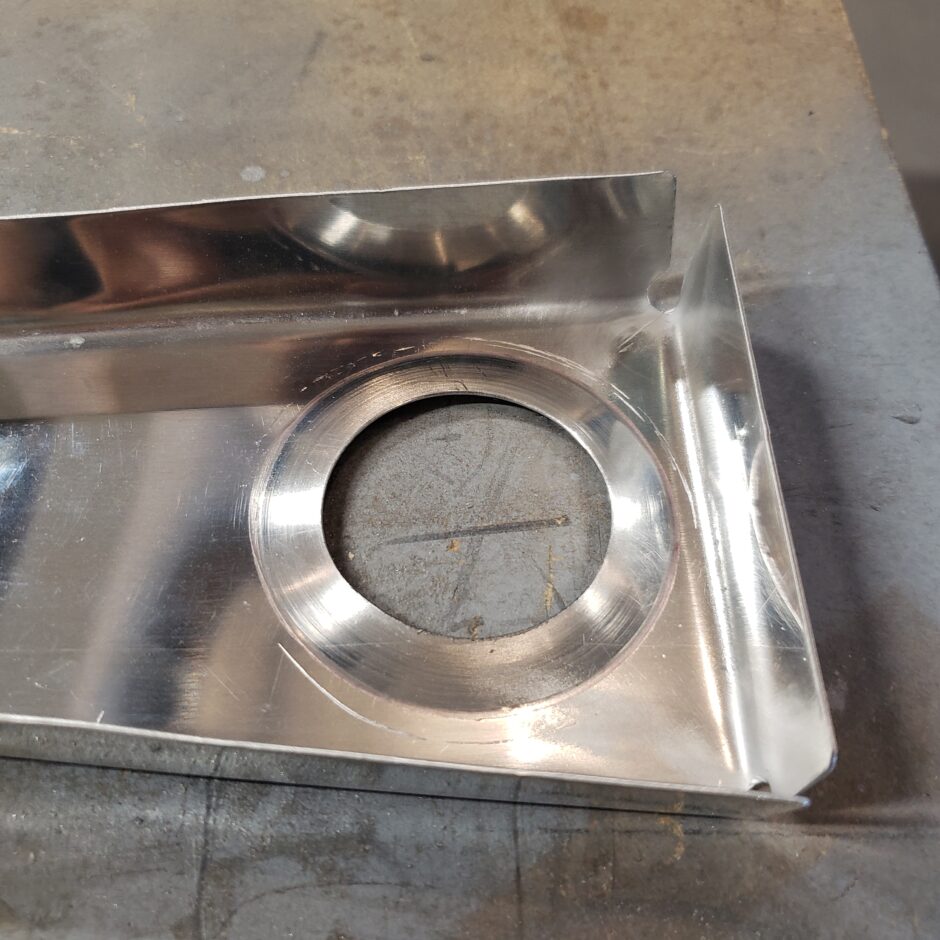
Here’s the underside of the flange. You can see there are some scratches from the flanging tool. As these ribs pretty small, it was a tight fit to get the tool to fit. These scratches will be polished out when I’m prepping the ribs for primer.
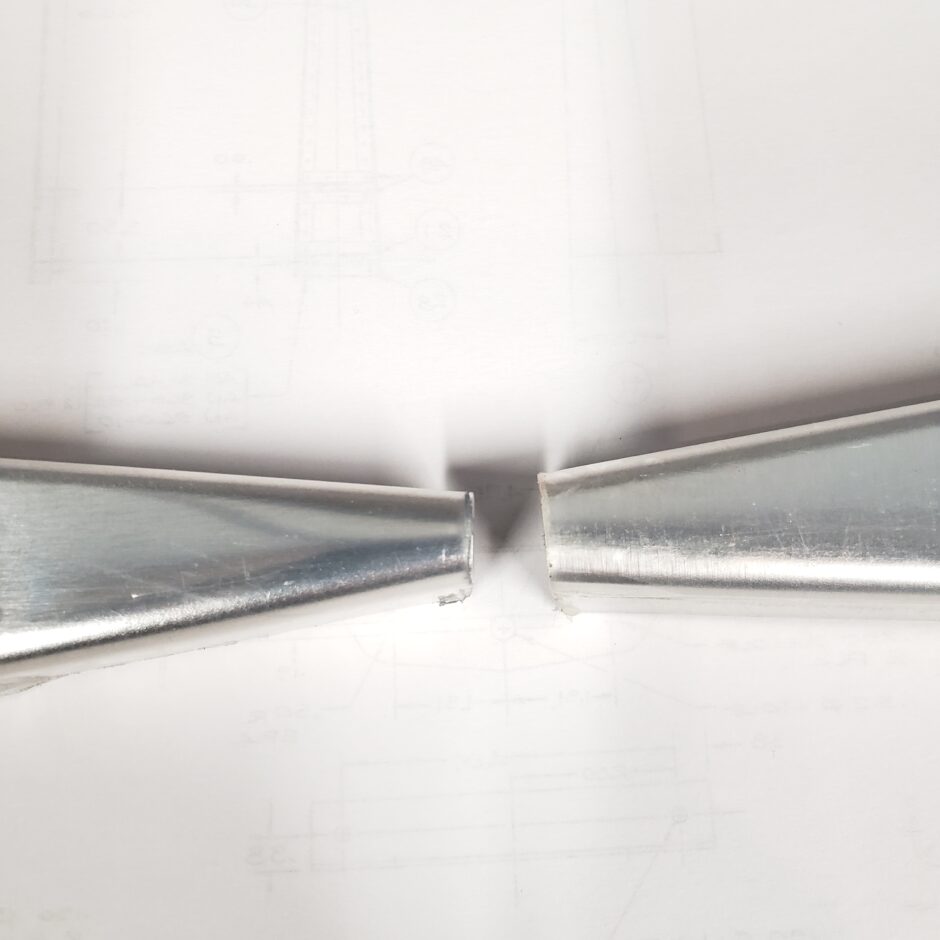
In this final picture, not the best picture…, but it’s all I have. I’m trying to demonstrate the new rib (left) vs. the previous attempt (right). The plans call for the tip of the rib to be 0.38 inch. The left rib is pretty darn close to that after using the forming block. The rib on the right is quite a bit thicker, and all in all, was too wide for the trailing edge cap to properly fit over.
Please comment. I love to hear from my readers. Thanks again for coming along for this ride, you make my work worthwhile.
Leave a Reply