Over the summer of 2023 I had been going back and forth with another S-51 builder from Australia who had some spare (used) S-51 parts. Long story short, he had a bunch of stuff that I needed so we agreed to meet up at the Reno Air Races, as a centralized place to meet, which didn’t take too much convincing.
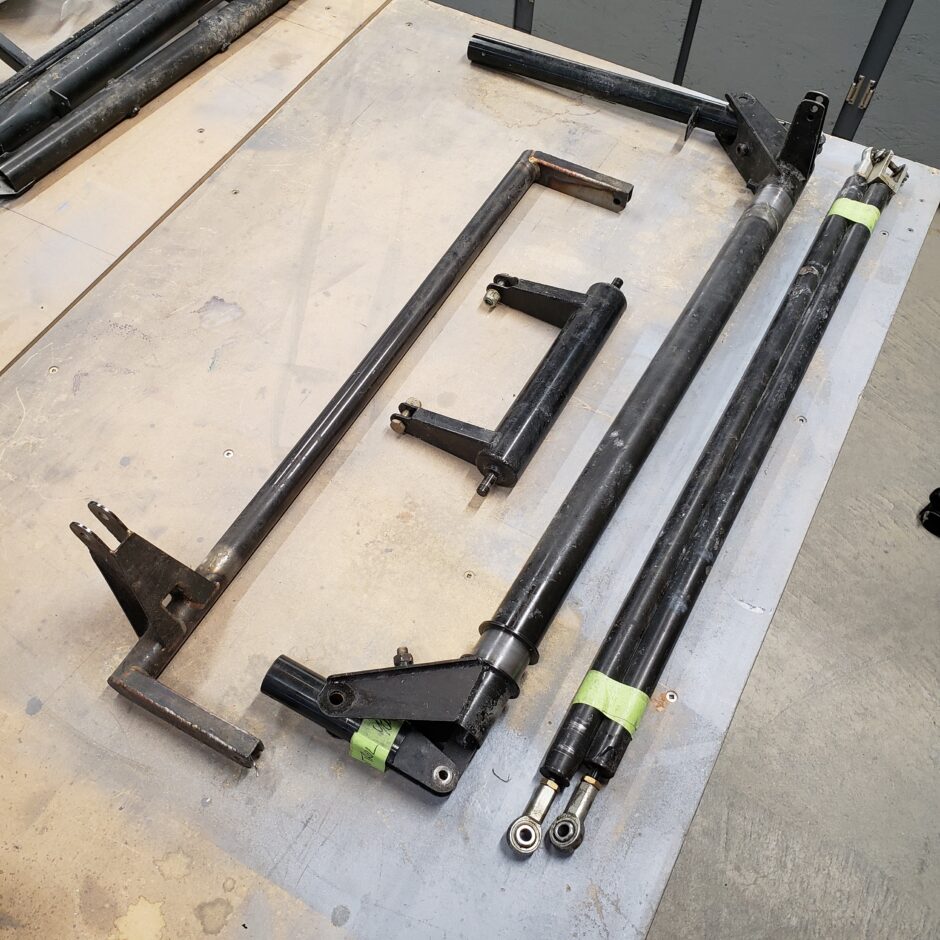
Here’s a quick run down of what I was able to get. To begin, I was able to get most of the flight control column, sticks and elevator pushrod system including one of the bellcranks shown below. I actually have all these parts as received from HPAI in the Czech Rep., but it’s all the tubing and metal pieces which are just cut, but not welded. In my next post when I talk about getting some parts ready for welding, you’ll understand better. So to eliminate some of the welding fabrication cost, I’m happy to use these parts. My plan is to get these cleaned up, inspected and then send them out for powder coating so they’re ready to go when I need them. The flap torque tube on the left side of the picture is a part that I already had. I’m just working on updating my inventory of parts I have vs anything else outstanding.
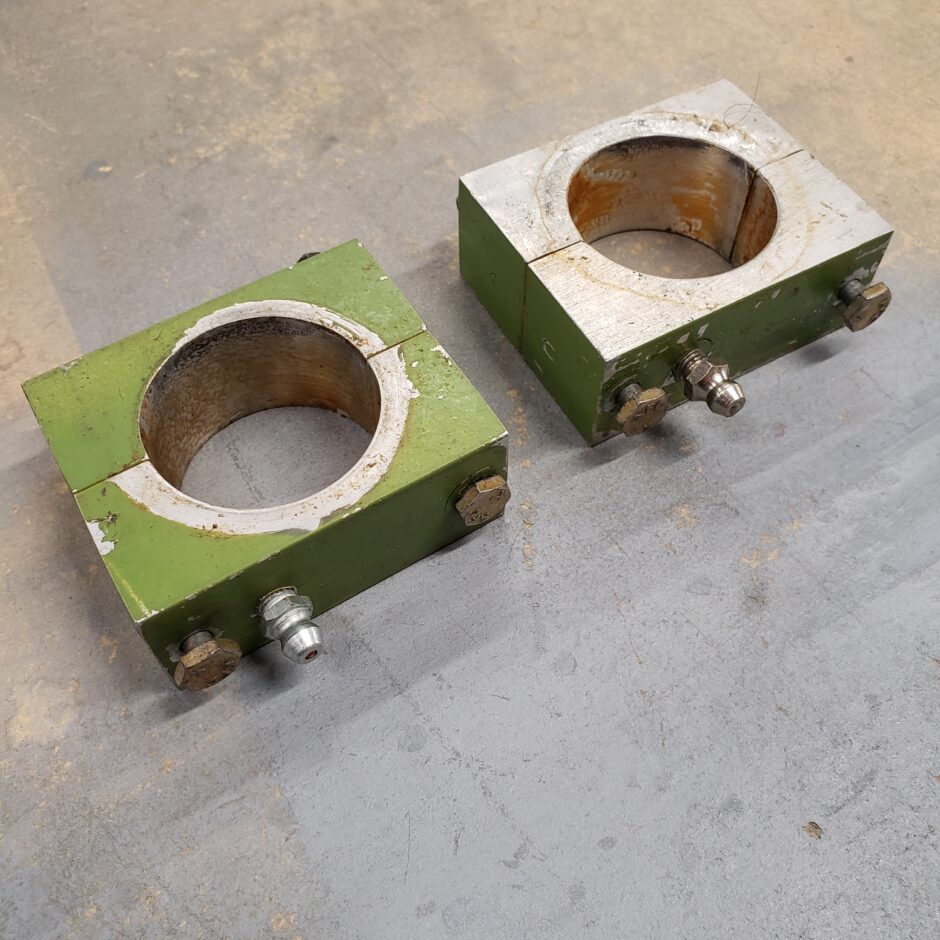
In addition to the control column, I also got the mounting blocks.
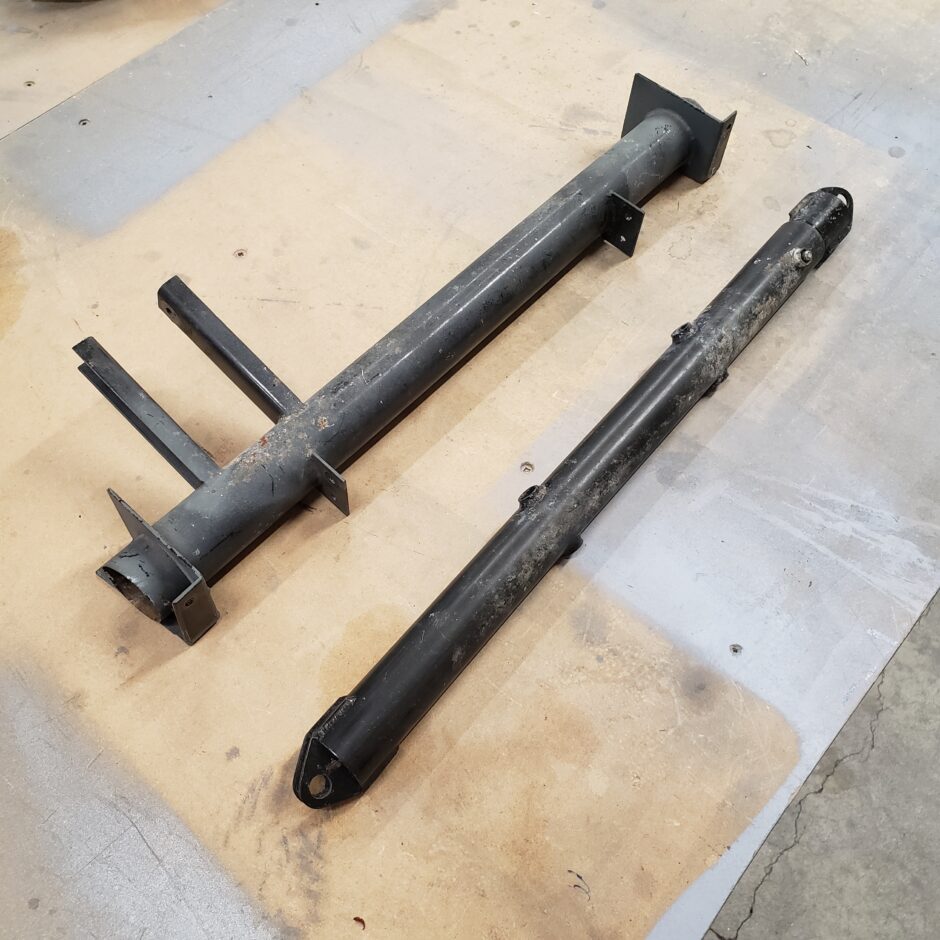
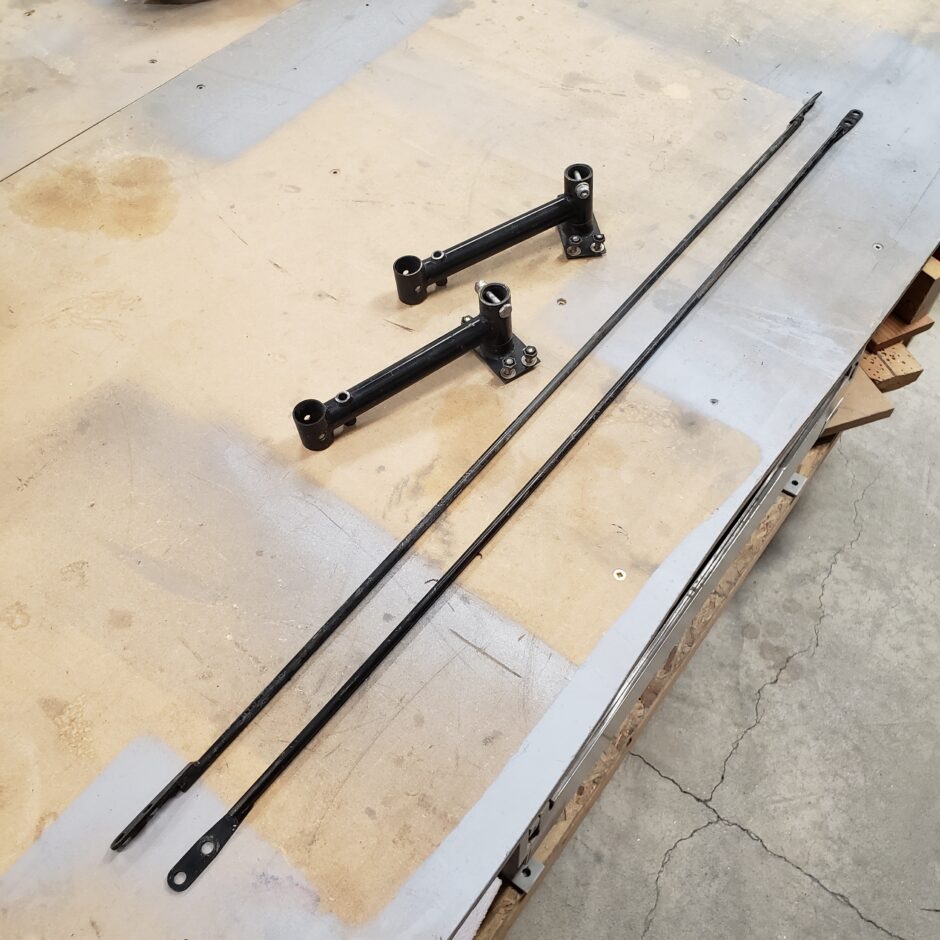
Following up on the elevator control system, in the picture below, the item on the left is the aft fuselage hoist tube, which is used for lifting the tail up, or when securing down. The arms on this tube assembly is also used to mount another one of the elevator bellcranks. The other rod in the picture is the seat back support for the rear seat. It spans across the cockpit and not only supports the seat back but is also where the rear seat shoulder seat belts attach to. The front seat has the same setup, however the rod is slightly longer.
While we’re on the topic of flight control system components, I also was able to get the rudder pedal assembly. Again, I have all these individual parts, but the need to be welded and I’m equipped or setup for that kind of fabrication (nor do I have those skills).
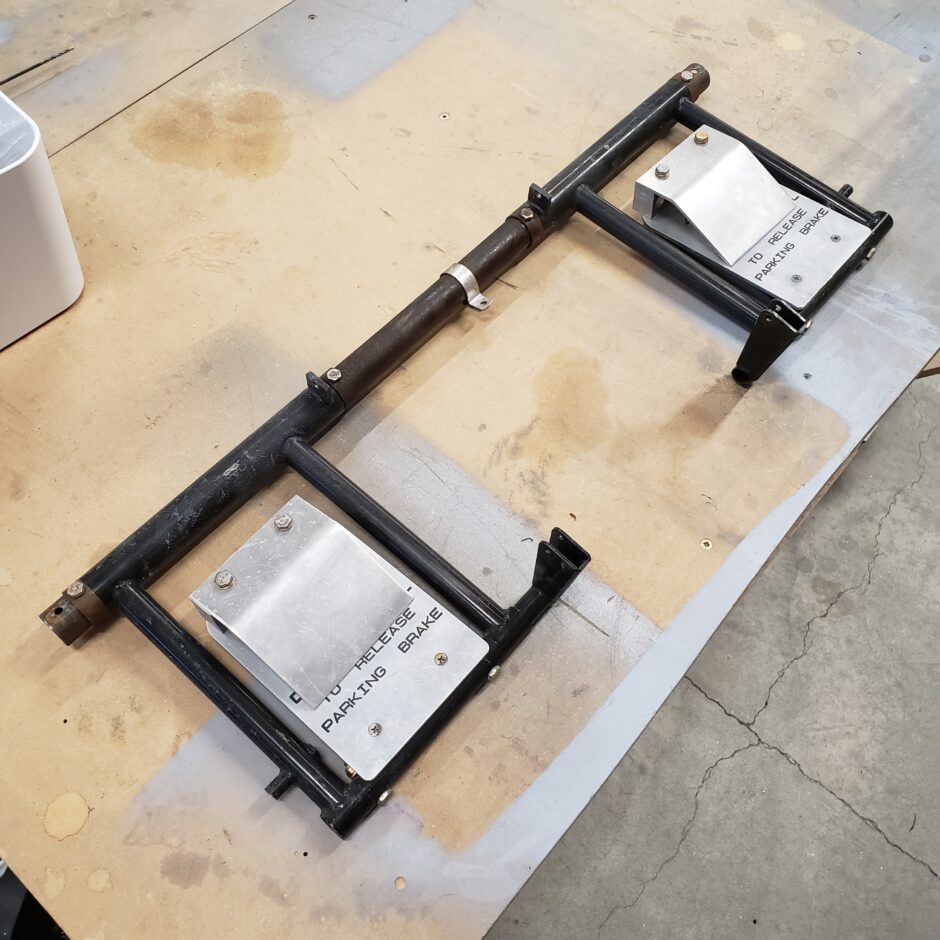
Here’s a closer shot of what the rudder pedal assembly looks like.
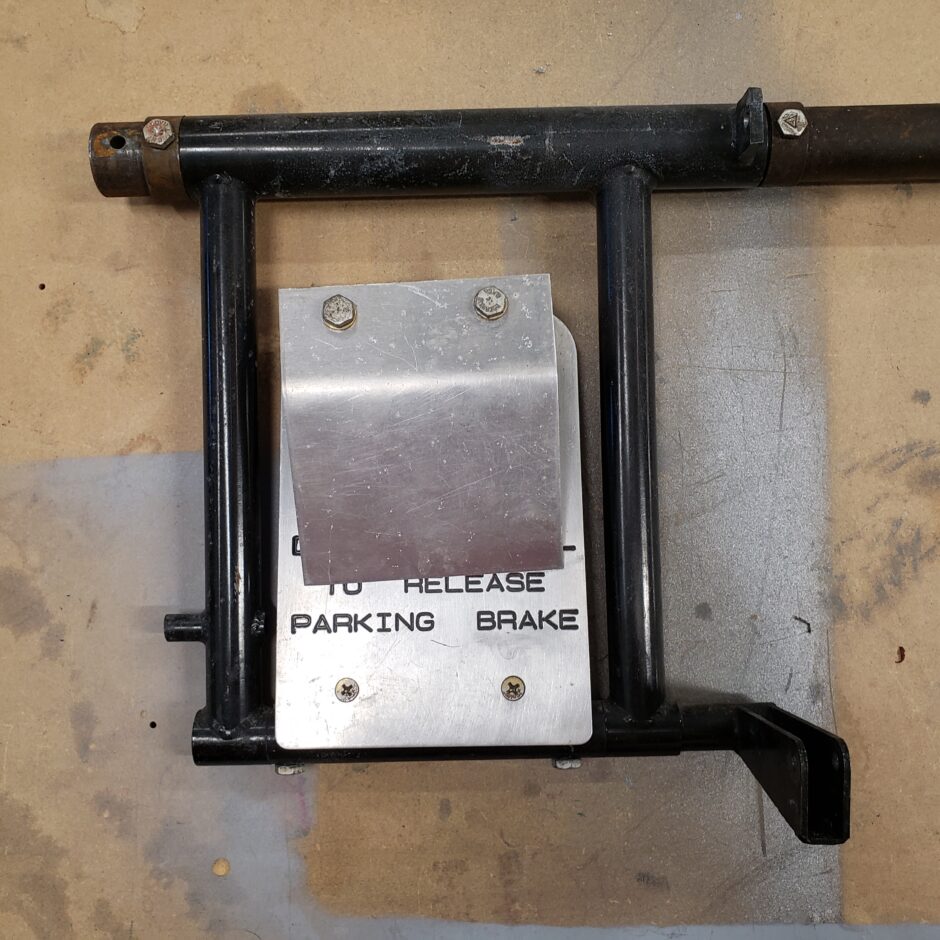
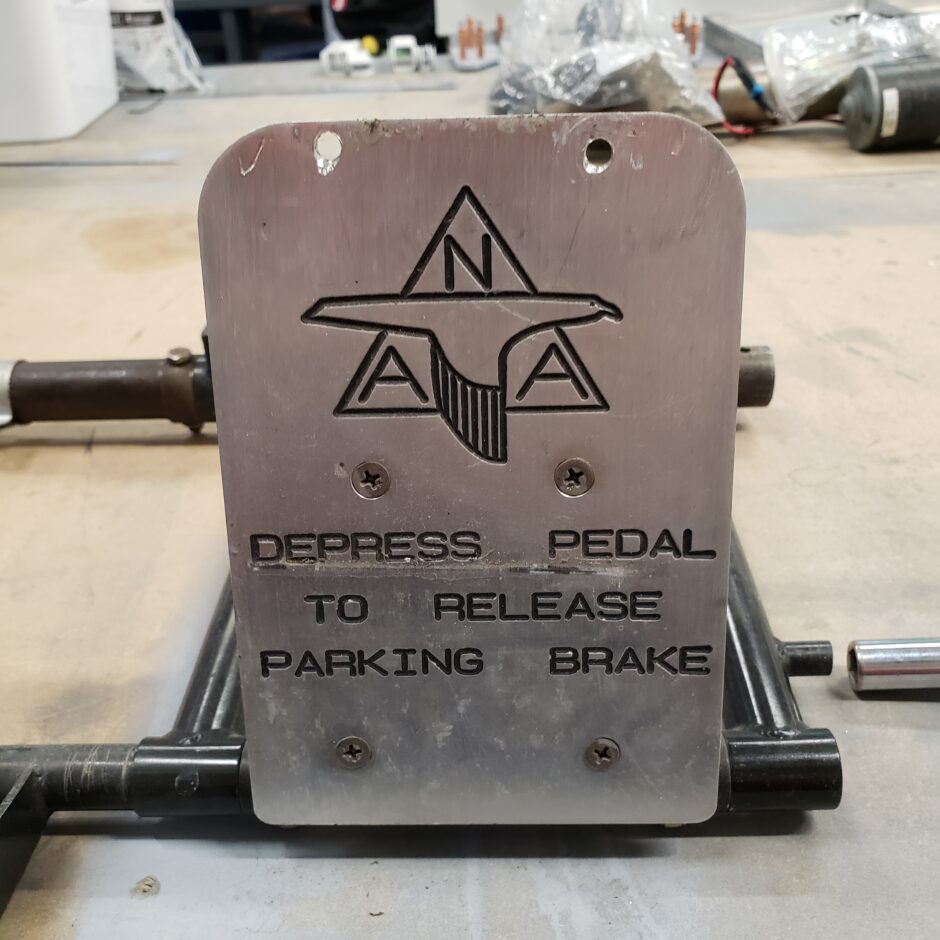
It’s unfortunate that someone added these spacer blocks to the top of the pedal, although it was likely out of necessity, as under these blocks the pedal was engraved similar to that of the North American Aviation pedals found on the big P-51.
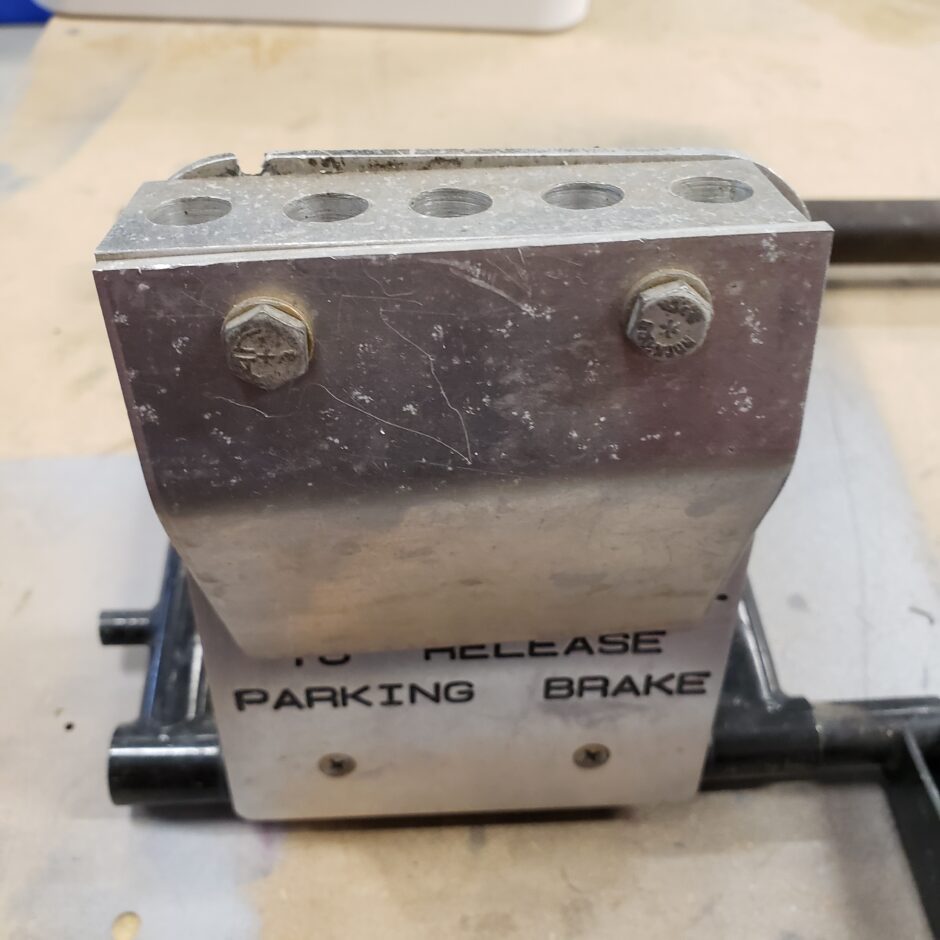
It’s not the end of the world, this part can fairly easily be refabricated. It’s a pretty cool detail that these S-51s have.
While on the topic of rudder pedals, these are the rear rudder pedal assemblies and rods that connect them to the front pedals.
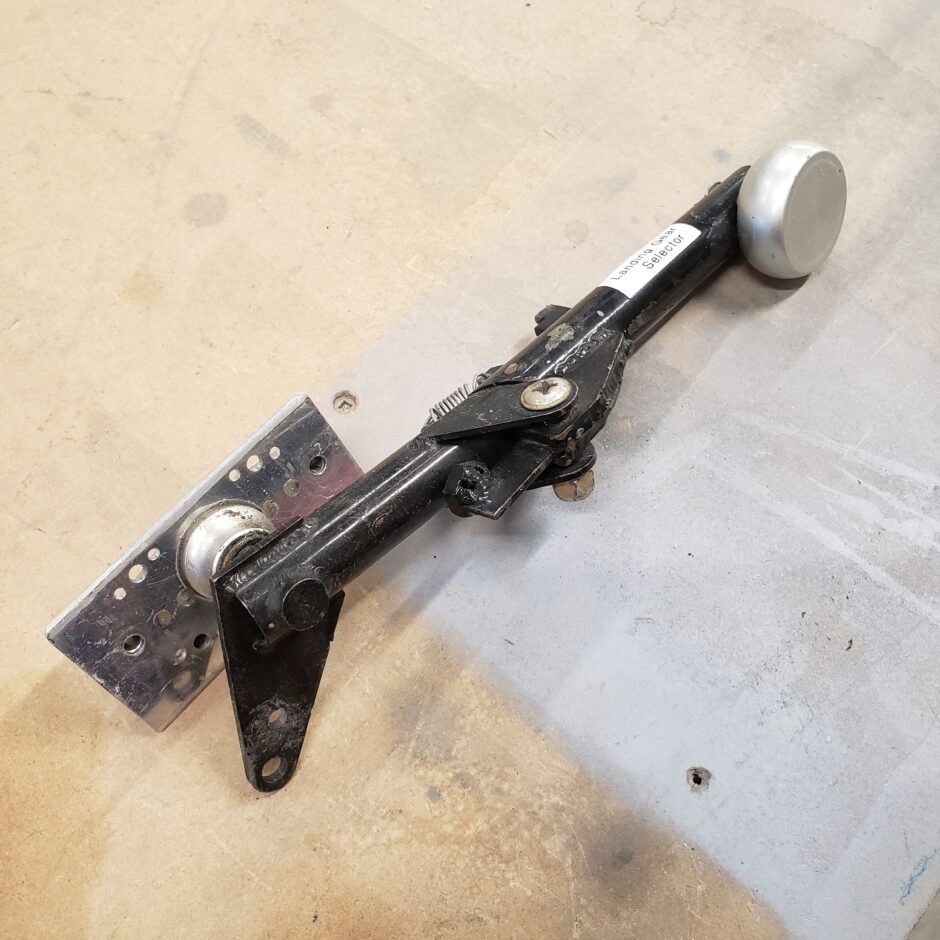
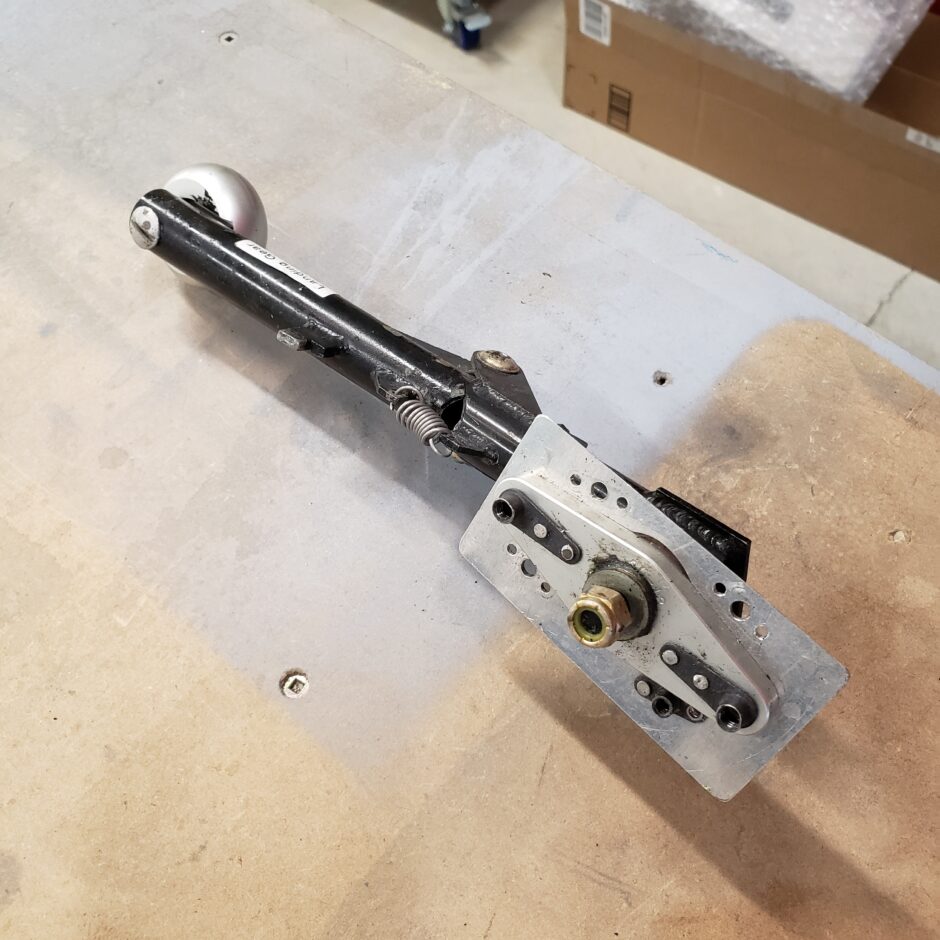
This is the landing gear selector handle.
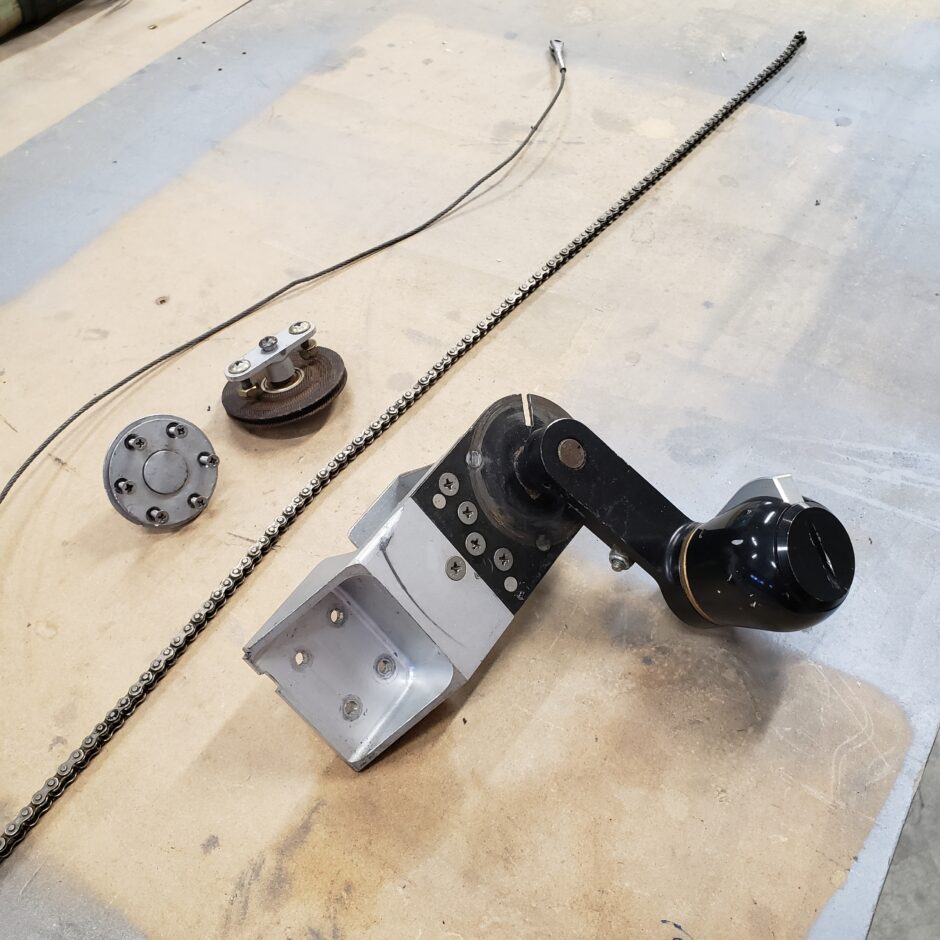
This is the canopy crank assembly. The round button assembly shown beside the pulley is what is used to unlock the canopy crank from outside, allowing you to push the canopy back far enough to be able to reach in to grab the canopy crank handle. This assembly is a bit bent and worn on the black steel plate with the locking notch cut into it. Also the aluminum mounting bracket has a ton of fastener holes cut into it. I don’t know what their struggle with getting it mounted was but this is looking pretty crude. Thankfully I have new parts that I can replace those items with.
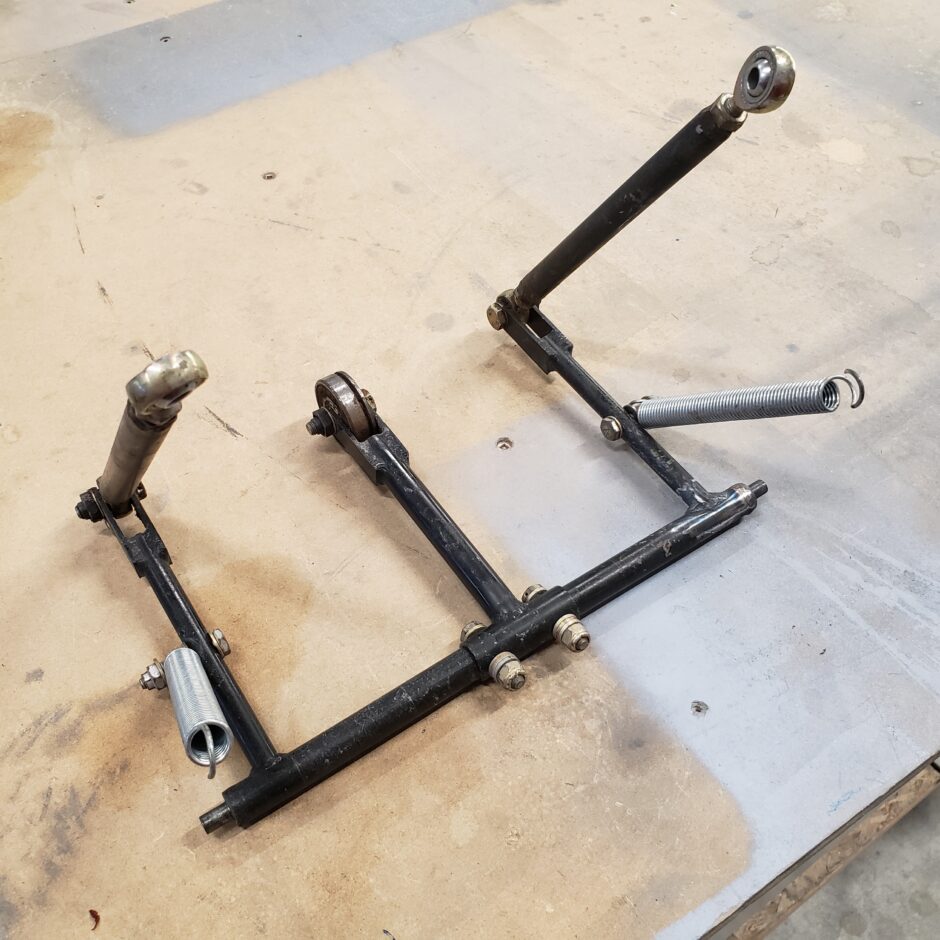
This assembly below is what is used to open and close the tailwheel doors upon gear extension and retraction. The outer rods are attached to the gear doors, and the arm in the middle with the bearing is what the tail wheel comes up against during retraction and the assembly then pulls the doors closed. A simple system.
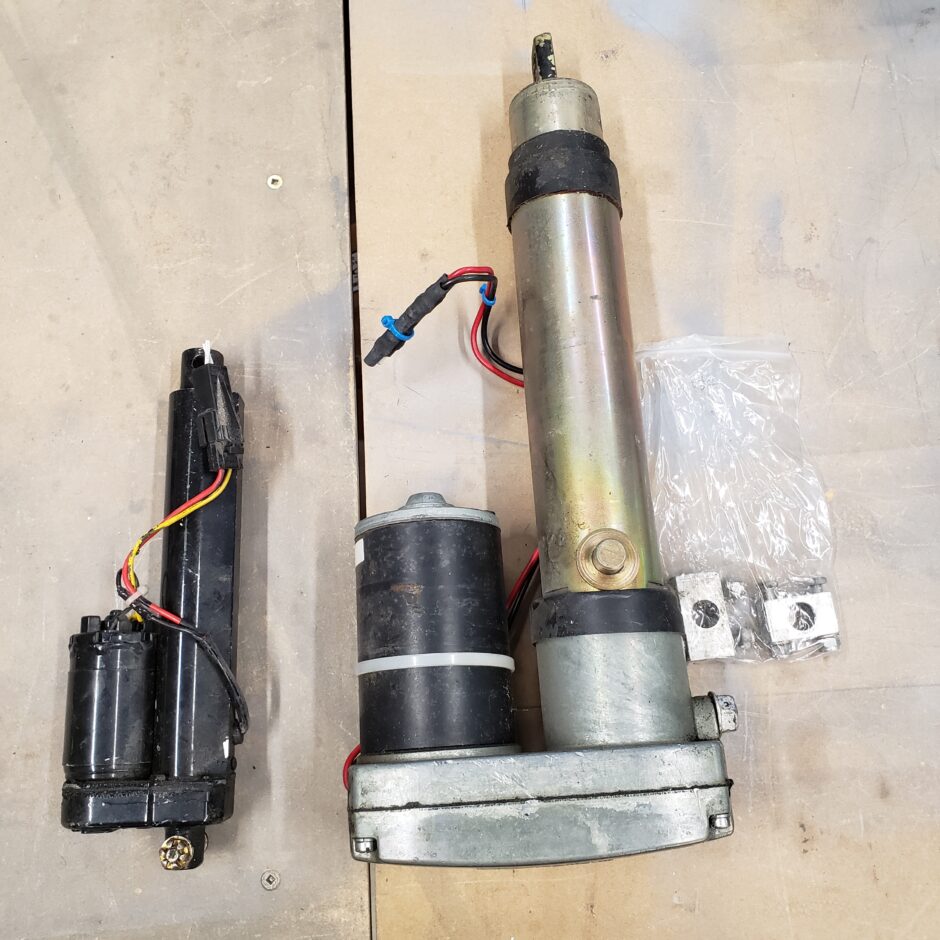
Below the big actuator is the flap actuator and the smaller unit is the actuator for the belly scoop cooling door.
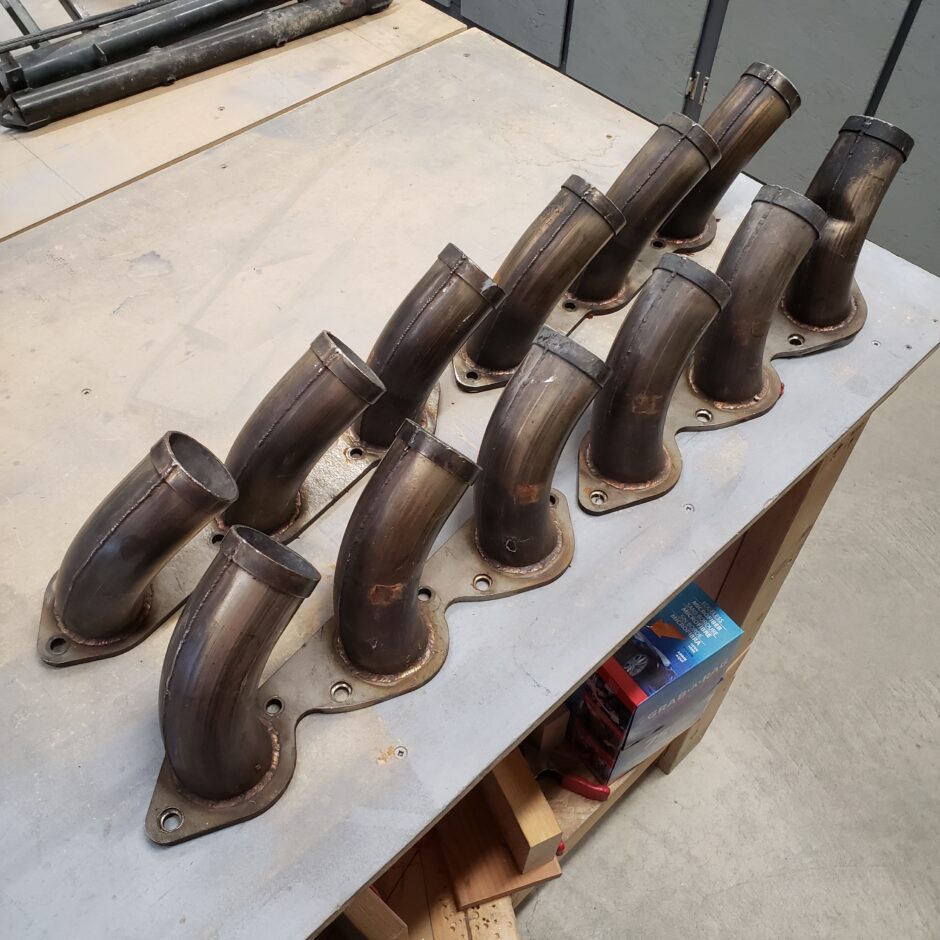
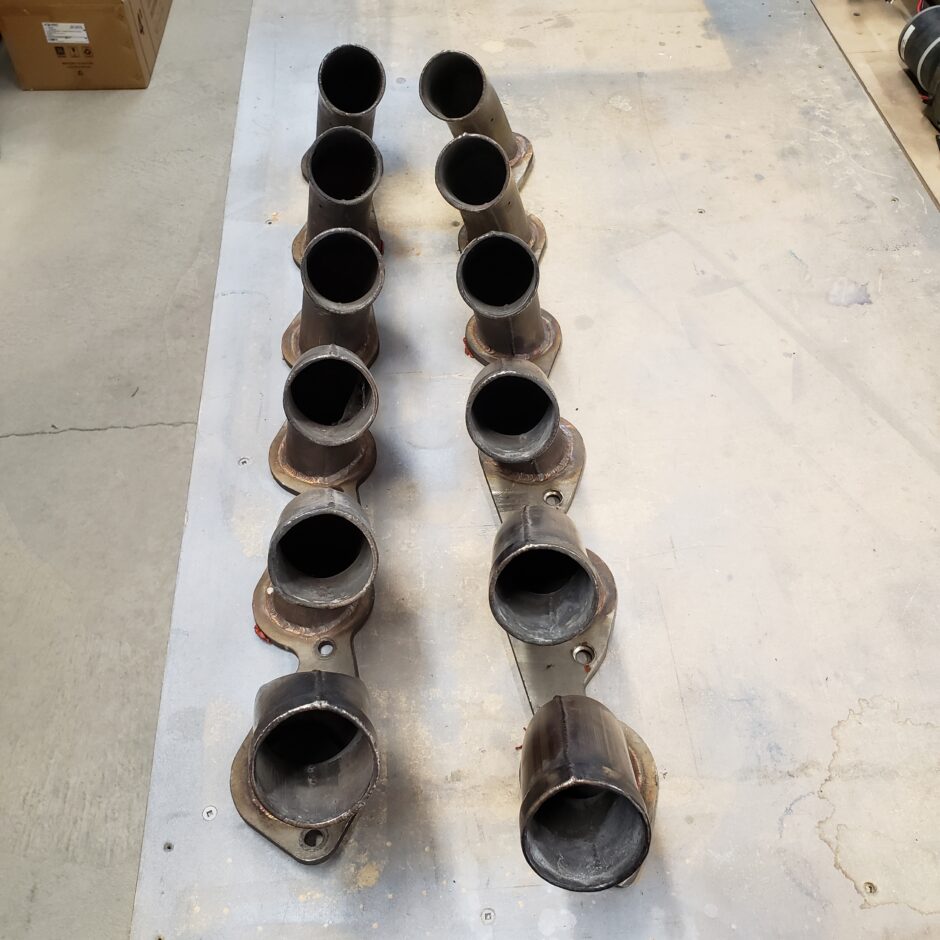
And the last parts of the bunch are a set of exhaust stacks. These are really awesome to see. If you look closely you’ll see that one of the stacks have a dent in them, but that shouldn’t be too difficult to replace it with a new stack tube. Also, you’ll note that each side is has 2 stack sets. The reason for this is because the S-51 is powered by a Chevy V-8 Big Block engine, but we want to give the outward image of it having a V-12 like the big P-51. By having 2 stack sets per side, we then have 2 unused tubes per side. Obviously these 2 would eventually look new and unused compared to the other tubes. To avoid this, the builder can swap these 2 stack sets so that all the tubes eventually get used. Another attention to detail item on these stacks is the weld seam along the length of the tube. This is purely cosmetic, again to make it look like that of the big P-51.
That’s all for today folks! Please comment. I love to hear from my readers. Thanks again for coming along for this ride, you make my work worthwhile.
Leave a Reply