The task for today is to finish the final drilling of the right elevator. The final drilling is for the elevator hinge attach bolts and also drilling the nutplates that will fasten the bolts as the internal structure of the elevator will not be accessible once riveted together.
Up to this point, the elevator spar had only been pilot drilled (#40), so I started by drilling all the holes to final size (#30).
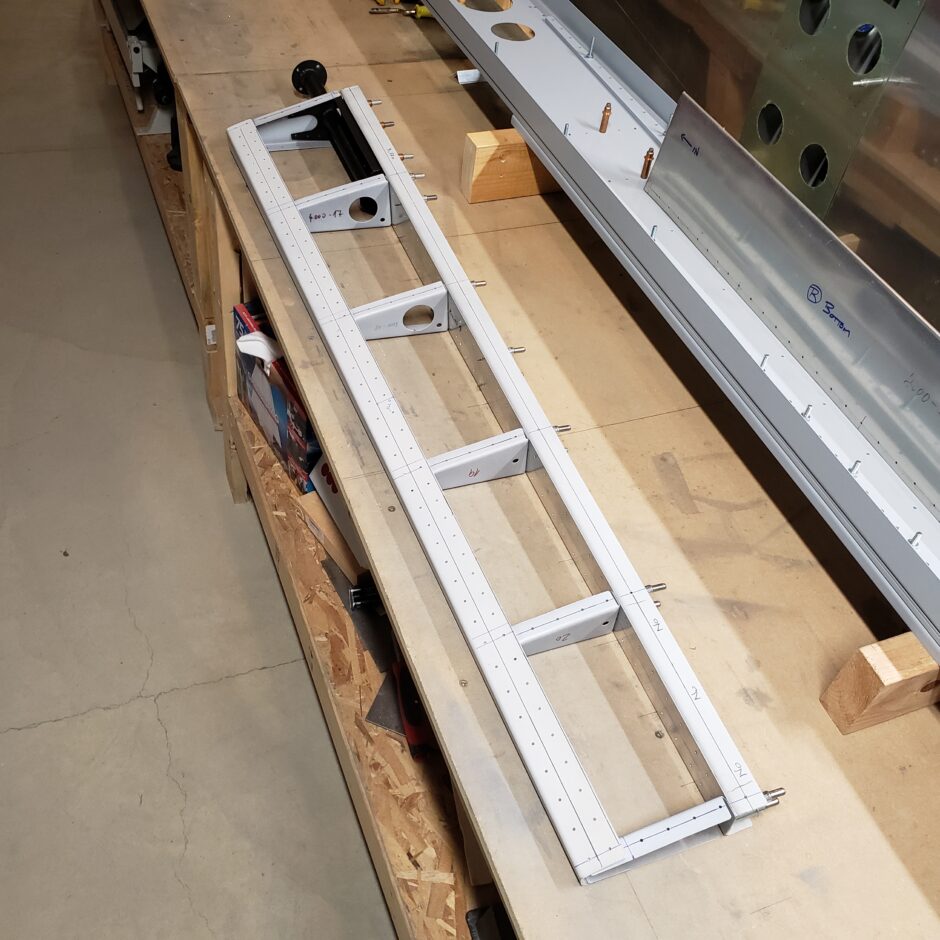
While drilling the spar web rivet holes to size, I alternated holes in order to keep lots of clecos in place. This process worked well.
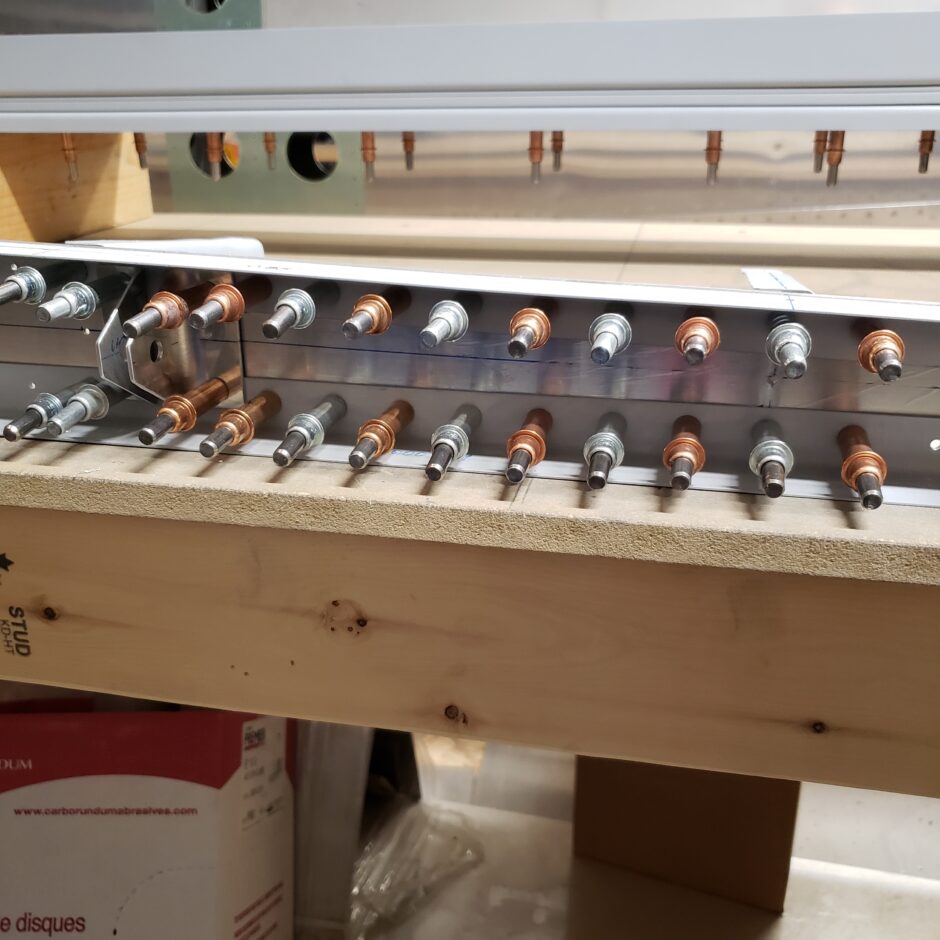
Once I had all the rivet holes drilled, I moved on to drilling the hinge bracket bolt holes.
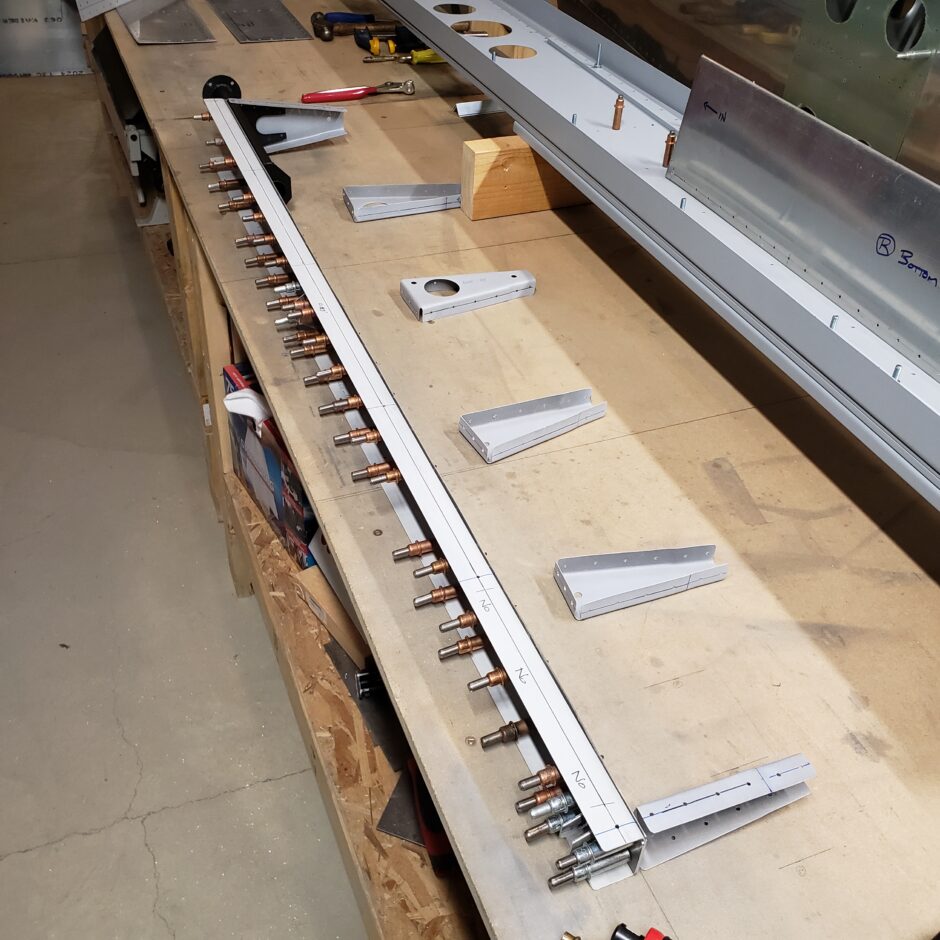
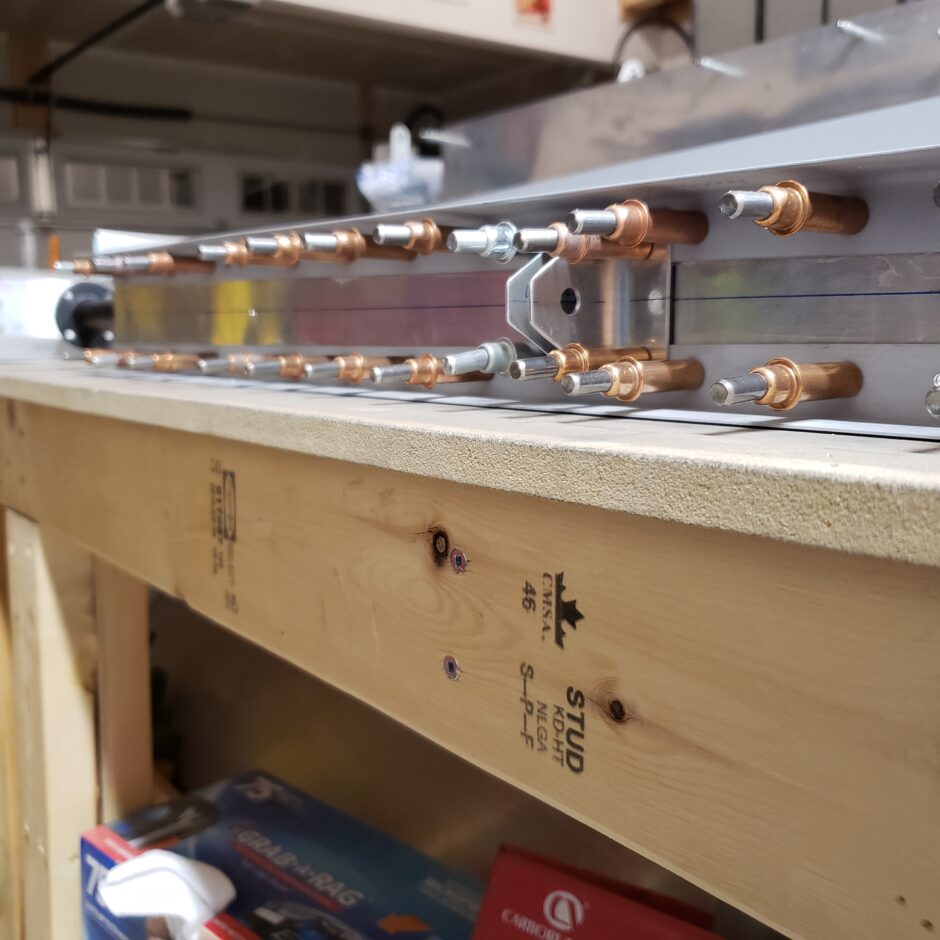
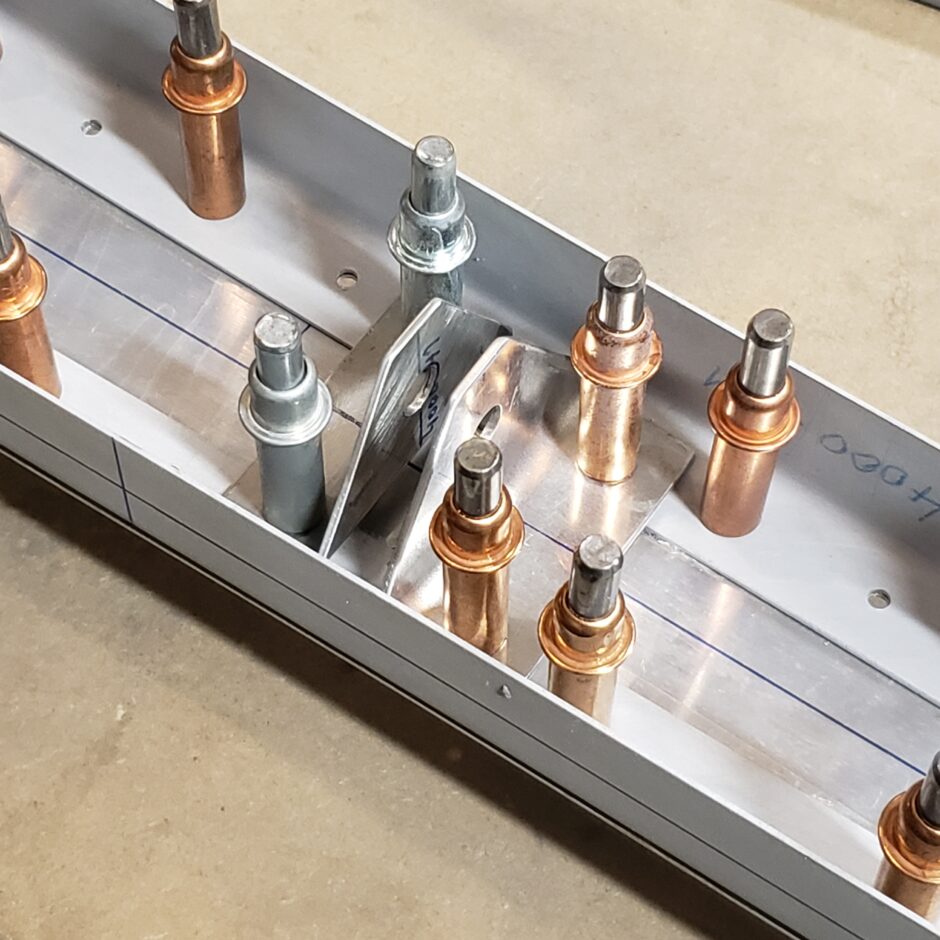
The hinge brackets are attached by AN3-4 bolts. In the picture below, on the left I started with the #40 pilot holes, and on the right side I’ve upsized to #30 before doing the final drilling to the 3/16 inch bolt hole.
When drilling the hinges to the spar, I did this on the drill press to make the holes as accurate as possible. It took a bit of jimmying to get everything securely clamped. It’s not the prettiest clamping job, but it did the trick. I used a 1/4 inch transfer punch clamped between the hinge assembly to keep it square while I drilled, because one cleco per side is definitely not enough to hole the bracket while drilling.
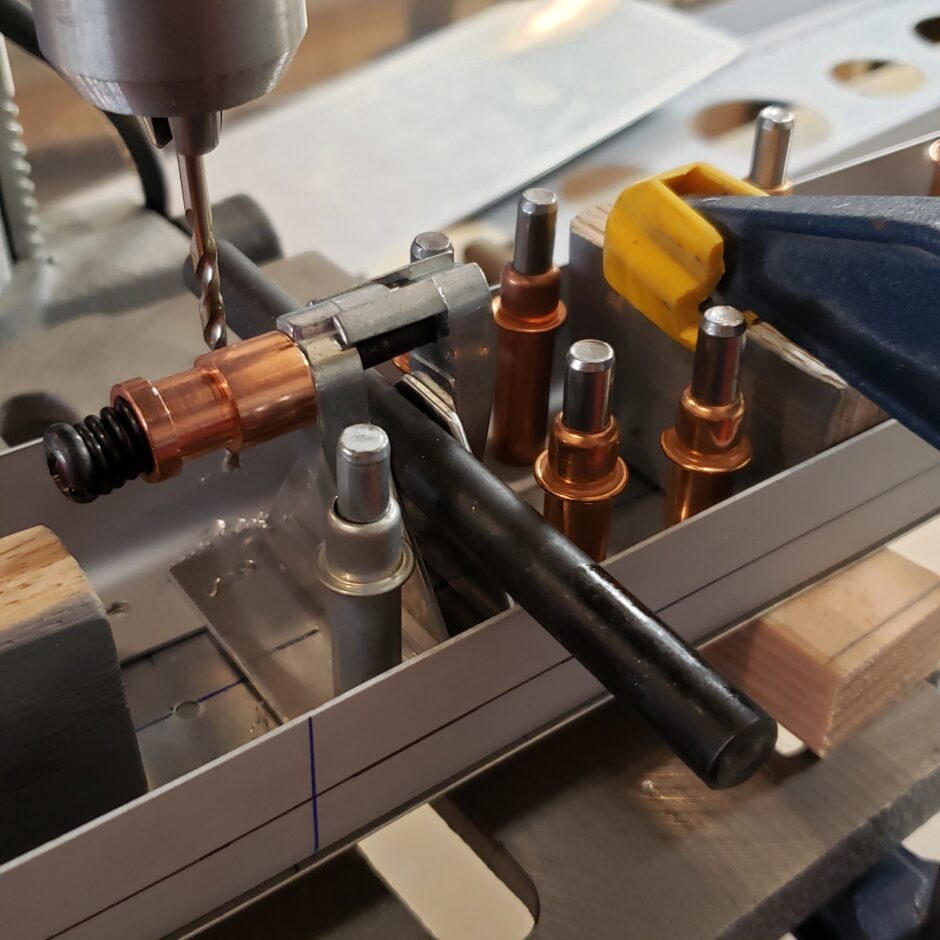
When drilling holes for 3/16 bolts, I like to oversize the hole slightly to make it easier for the bolt to fit, so I usually drill these holes to a final size of # 11 or #12.
Below, is one nicely drilled hinge attach bracket!
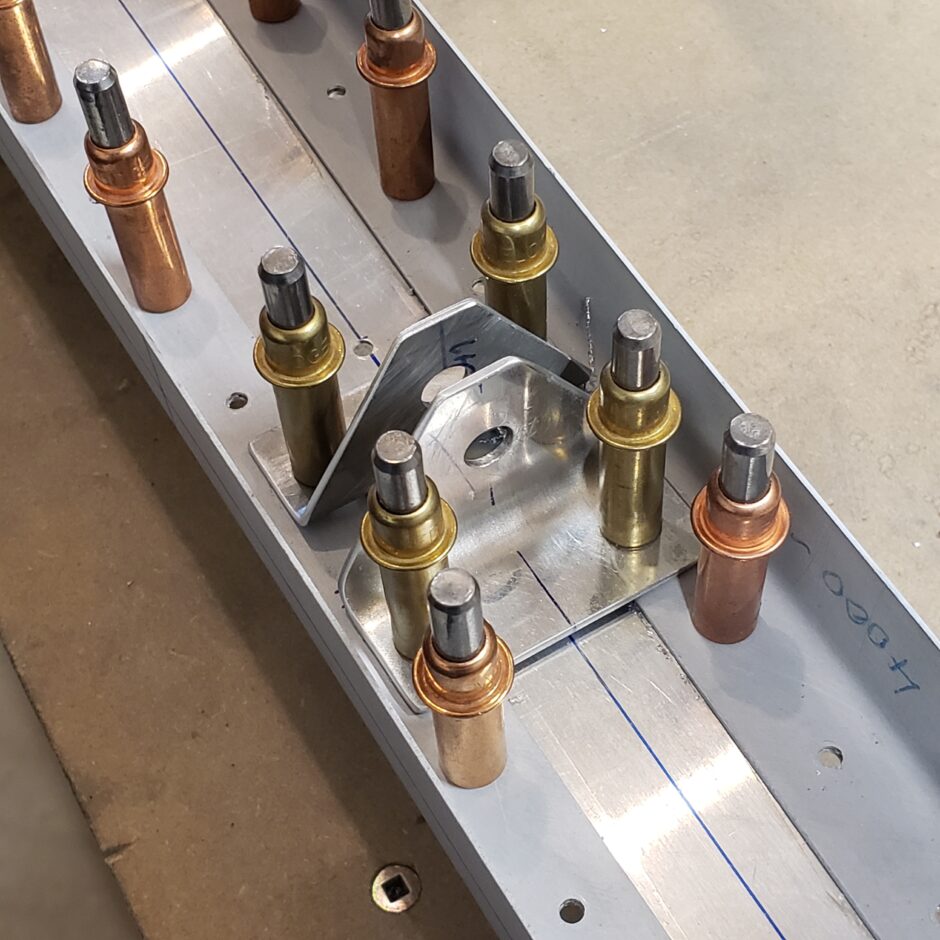
After the mid-span hinge was drilled I moved to the tip hinge assembly. On this outer hinge, only the inboard side get drilled for the attach bolts. As for the out side of the hinge, it is directly opposite the outer elevator rib, so I feel the best course of action for this is to rivet the outer hinge bracket and outer rib together. As I will need to keep the elevator spar removable until the Canadian Regulatory Pre-Cover inspection is complete, this outer hinge will be dealt with at a later date.
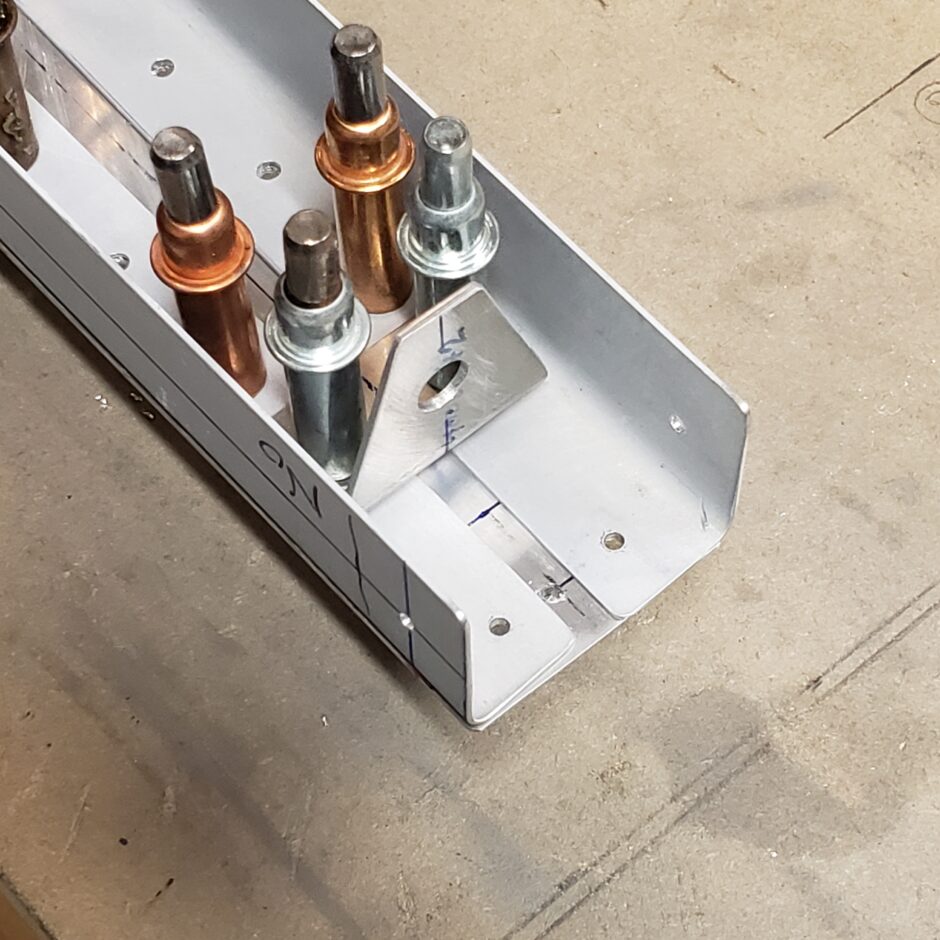
Drilling Nutplates
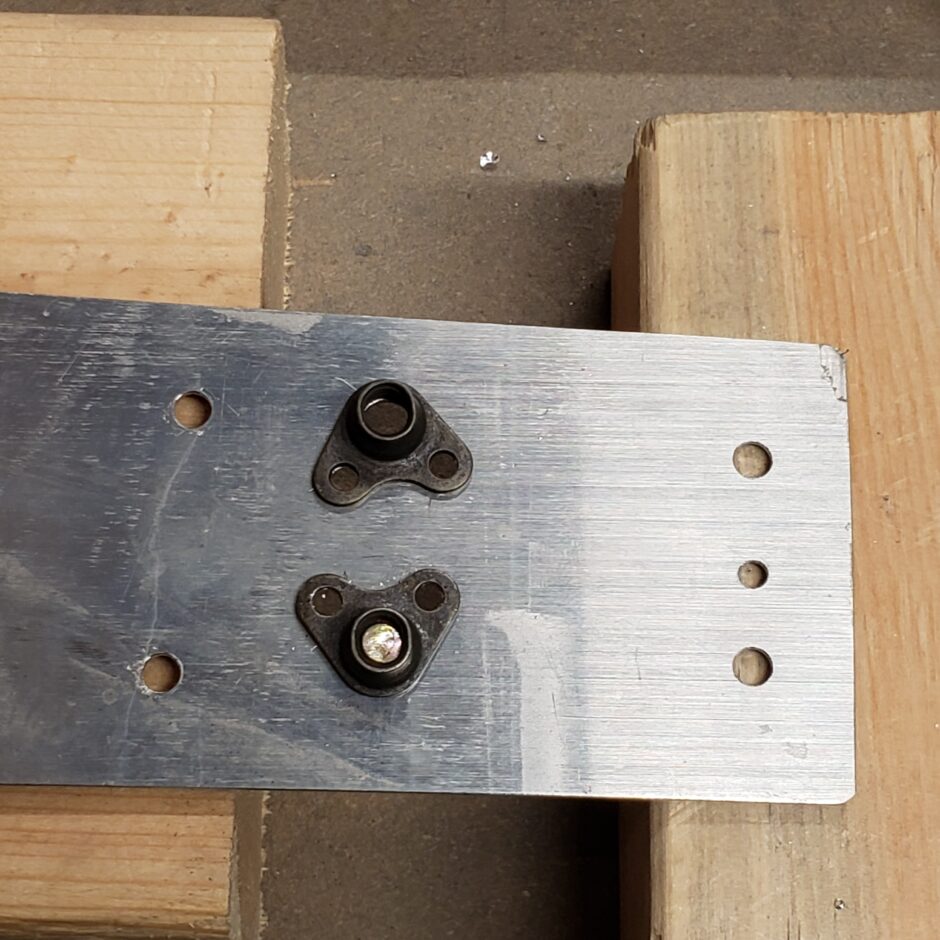
As the elevator spar is quite narrow, this doesn’t leave me a bunch of room to install the nutplates. I decided to offset the nutplates on an angle to best maintain the edge distance.
In the picture below, you can see that I have a pretty nifty drill jig for the nutplates. This tool is so easy and awesome to use!
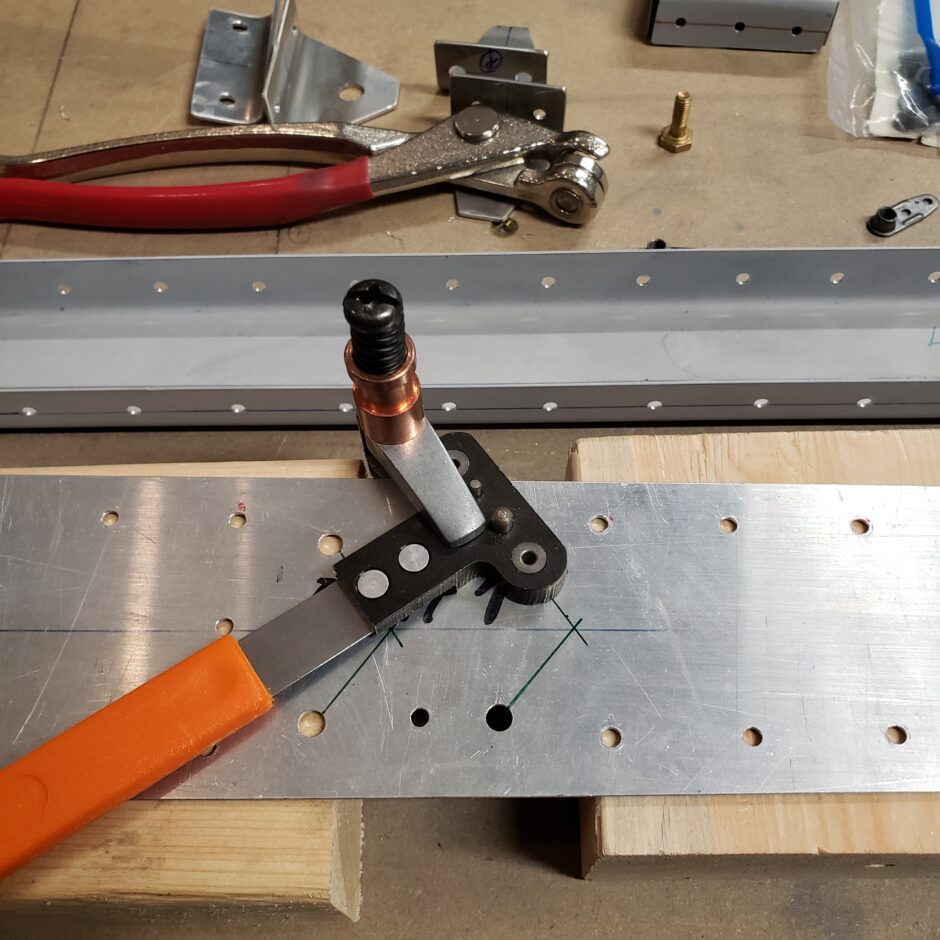
The tool has a pilot pin that fits inside the bolt hole. The one side of the drill jig is flat, with one drill guide, that will drill your first hole, as shown below (just right of the arrow). Flipping the tool over, the other side has 2 pilots, one for the bolt hole and the other for the rivet hole just drilled. This aligns everything very nicely to drill the second rivet hole.
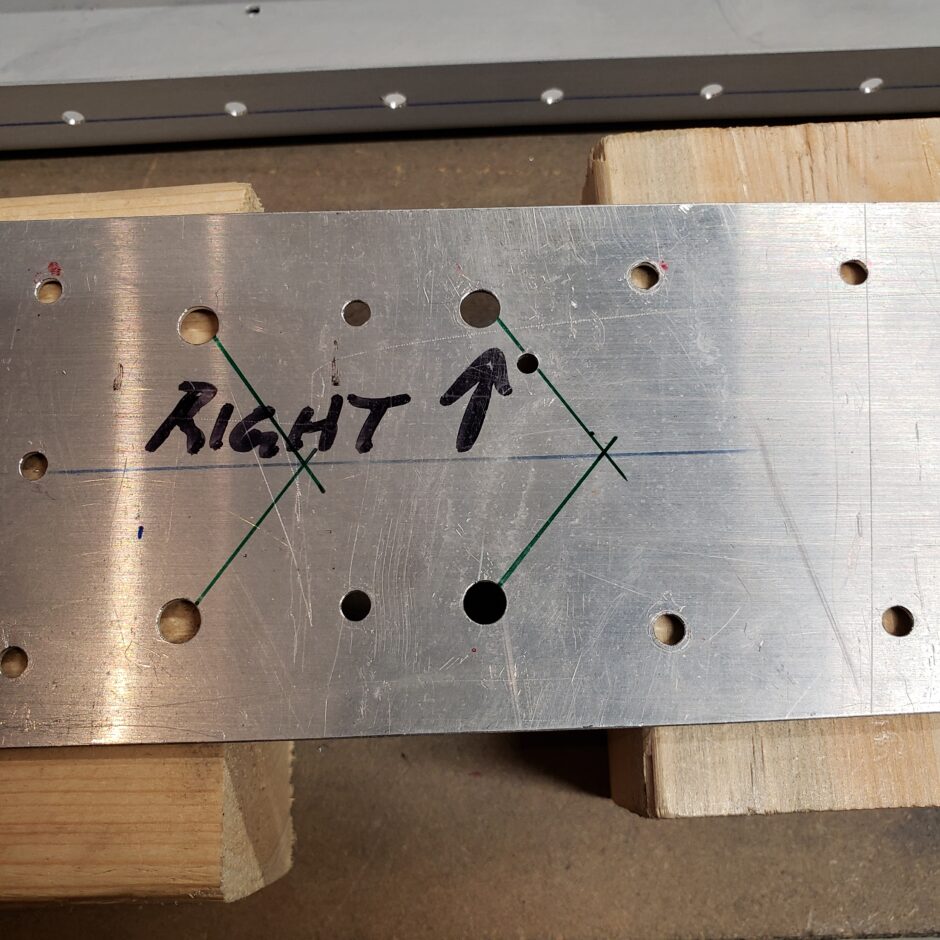
Below, I have 2 of the 4 nutplates drilled.
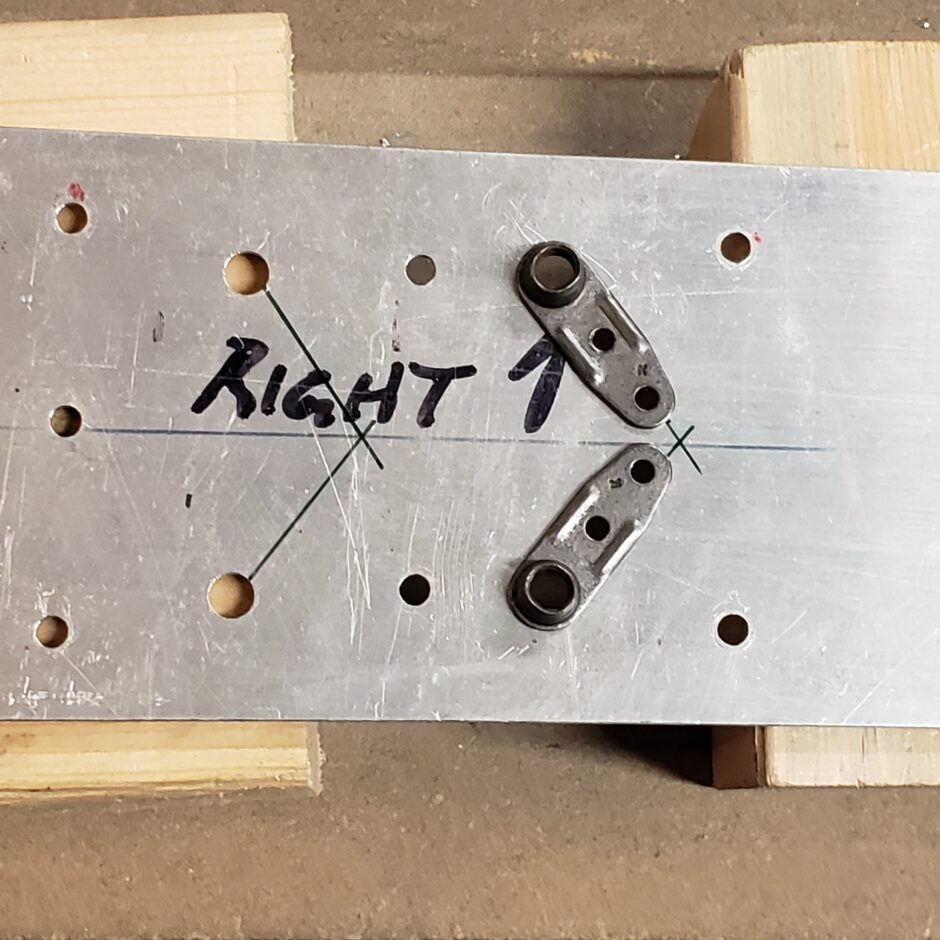
When it comes time to rivet the nutplates, that is a bit more tricky. As you can see with the image below, once clecoed, there isn’t much room left for getting your squeezer in there. For this job, I found it easiest to use my hand squeezer.
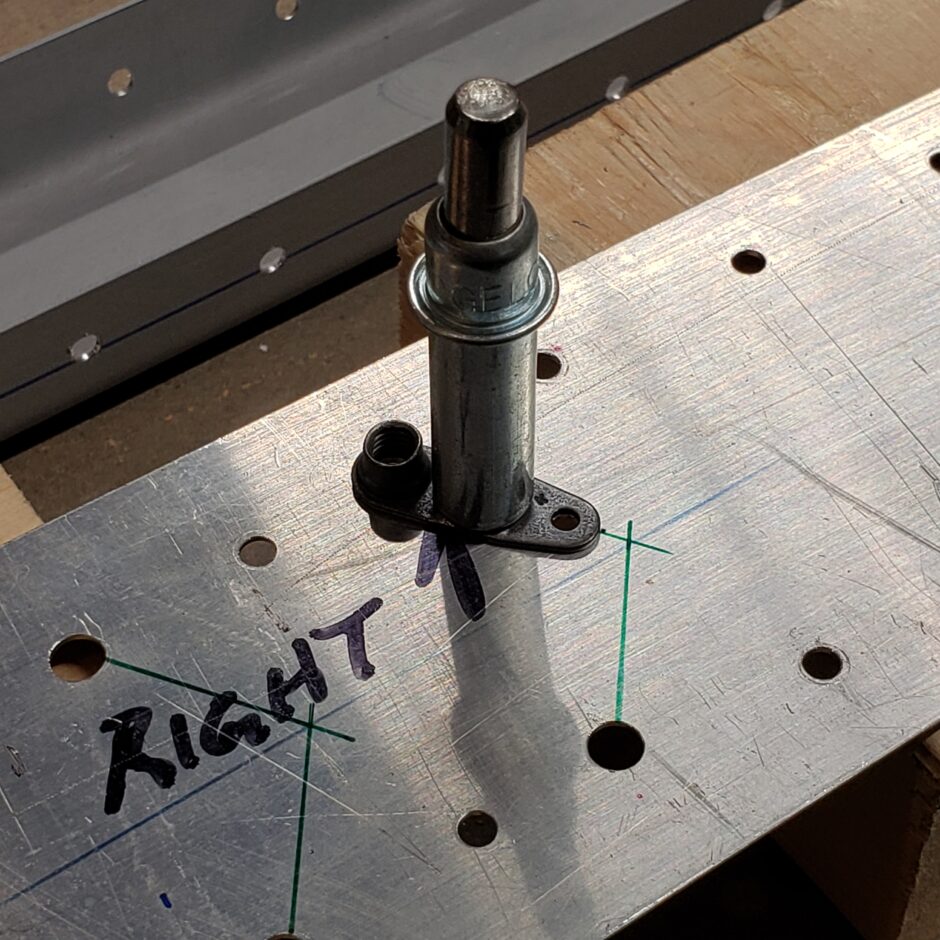
At the outer end of the spar, for the outer hinge I had to use some tight fitting corner nutplates. There just isn’t a lot of room to work with here.
That’s all for tonight. Please comment. I love to hear from my readers. Thanks again for coming along for this ride, you make my work worthwhile.
Loved this nutplate work!! Awesome!! Thanks for this forum!!
Thanks so much for your comment and support! I’m really happy you find it helpful.