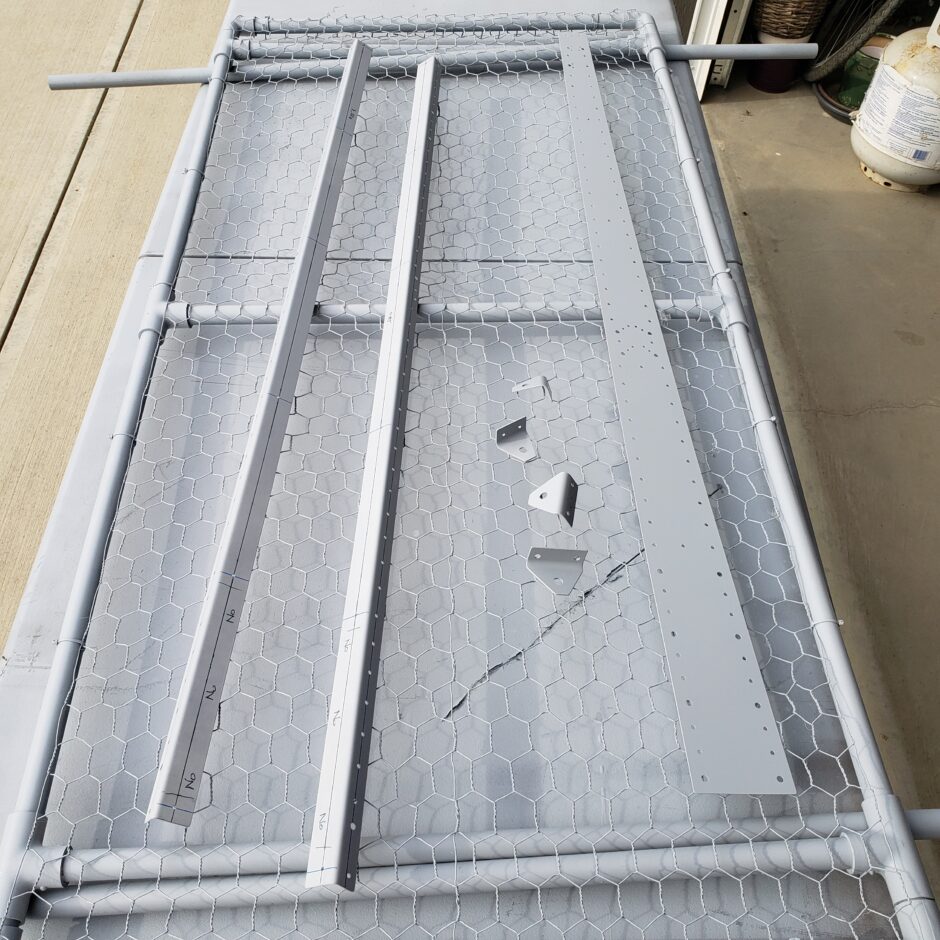
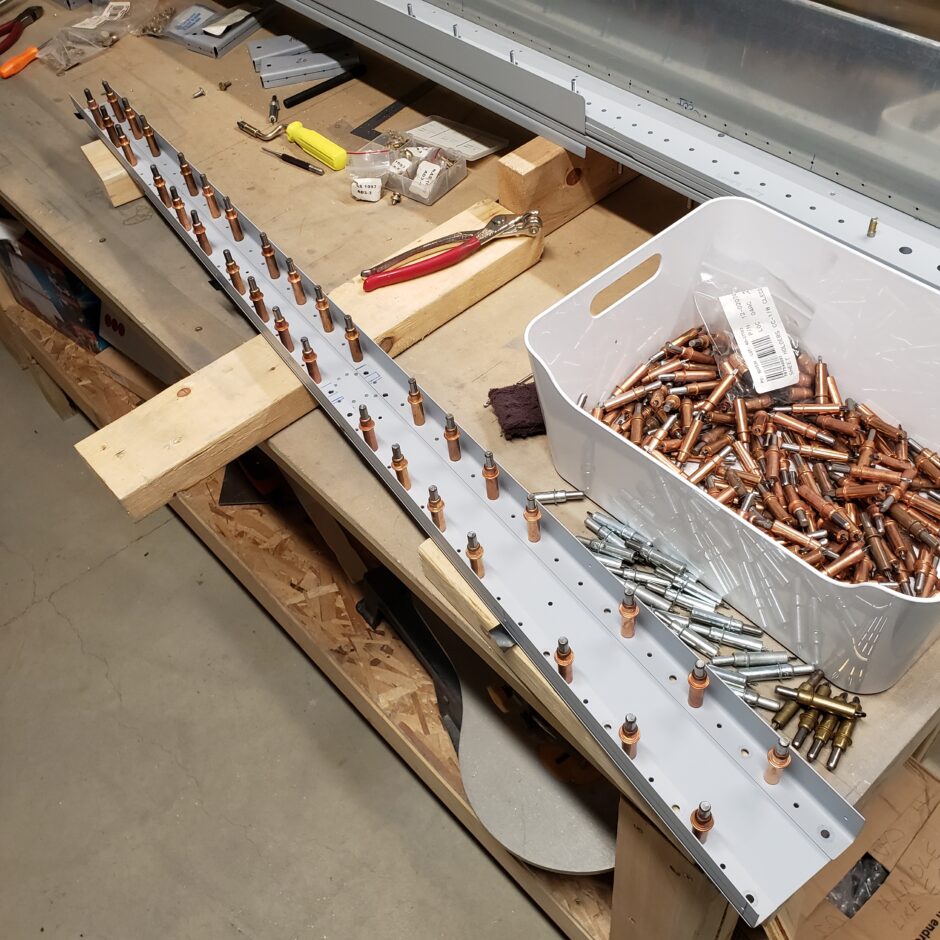
Finally I’m starting to get some visual progress on the right elevator. Today I began by prepping and priming the elevator spar parts.
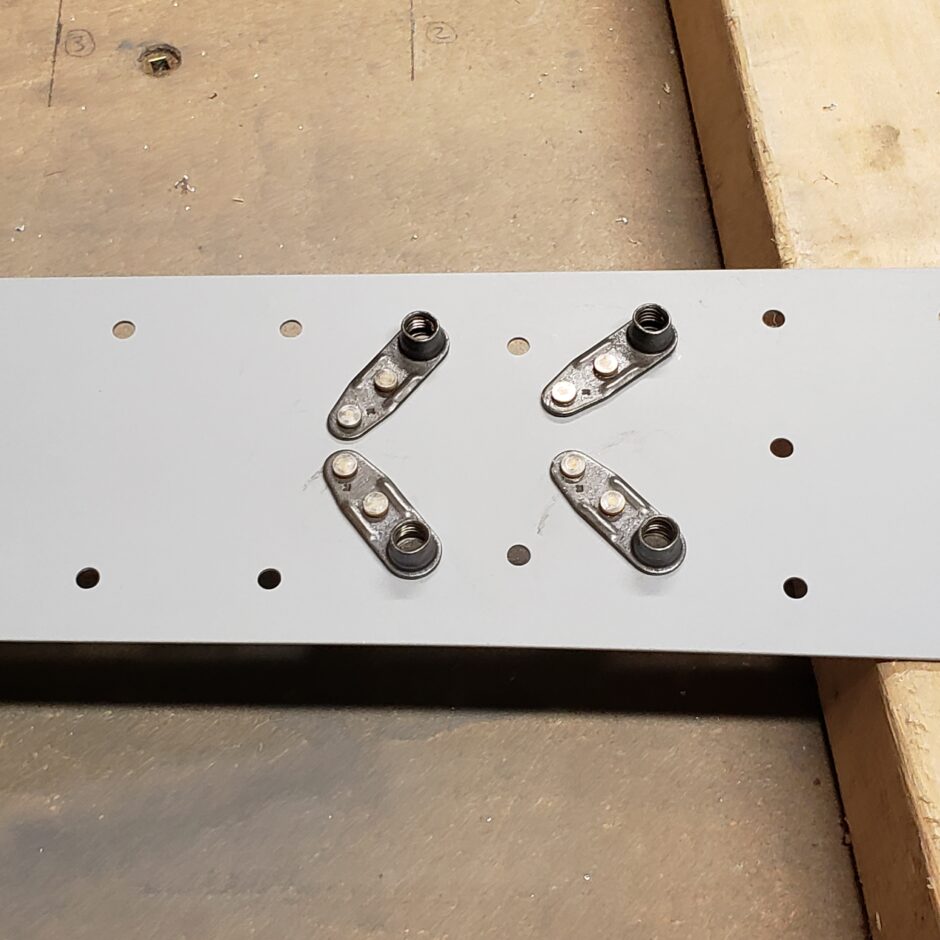
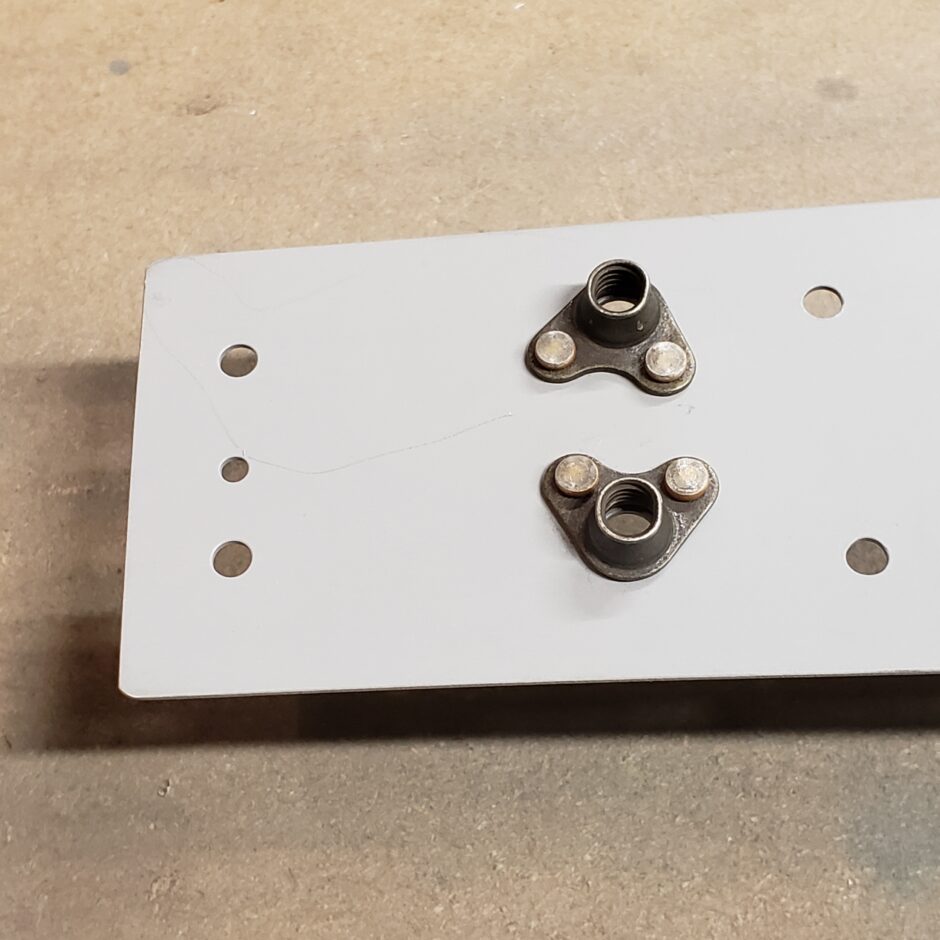
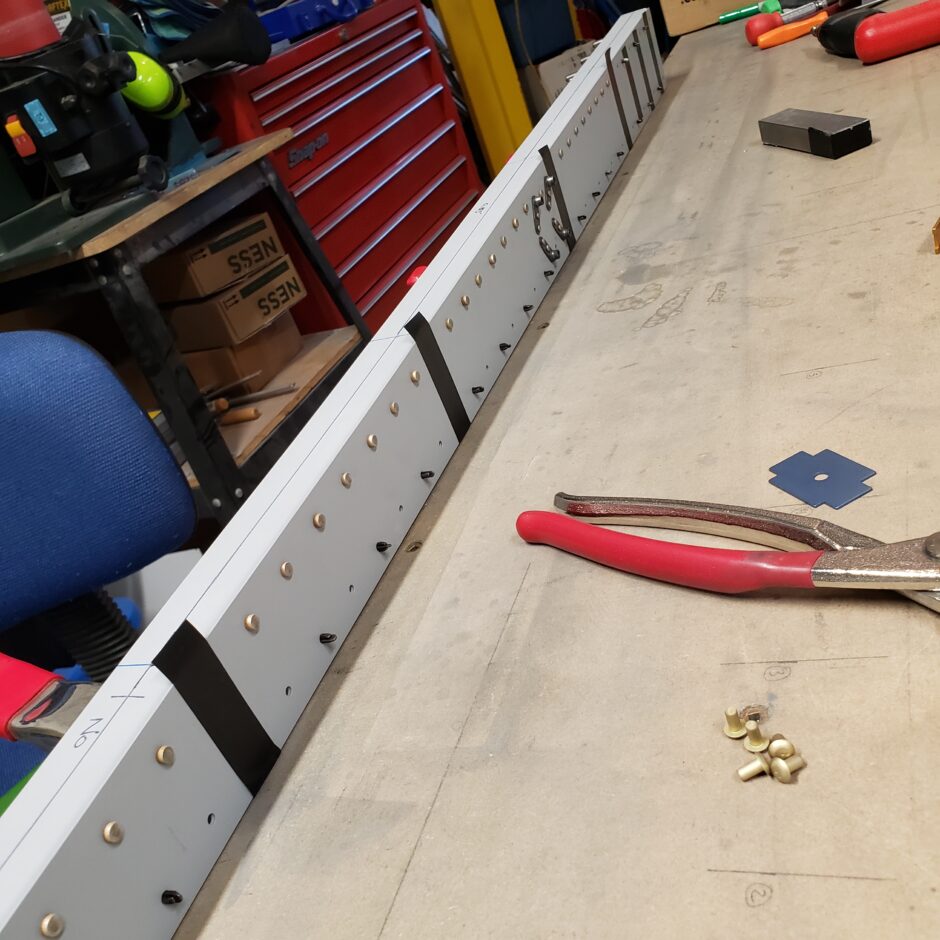
After priming I riveted the nutplates.
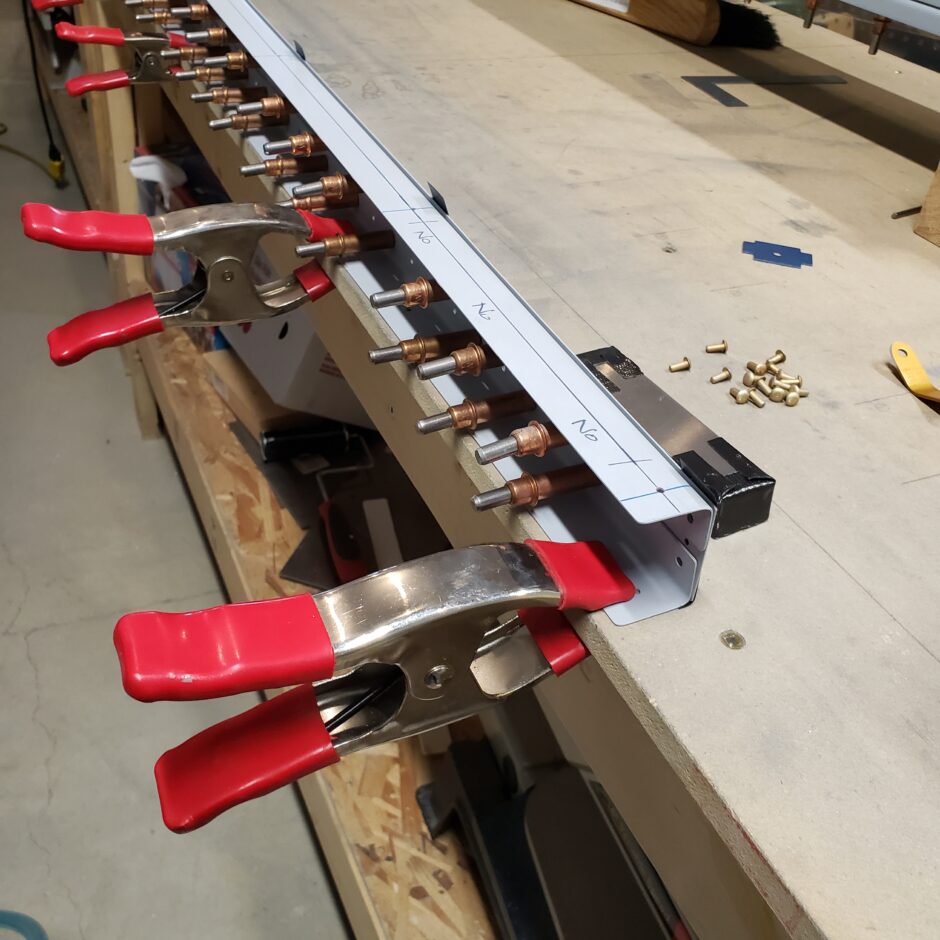
Before I started riveting, I placed a strip of electrical tape at each of the rib locations. These won’t be riveted until a later date. I find this to be a really easy way to keep me organized.
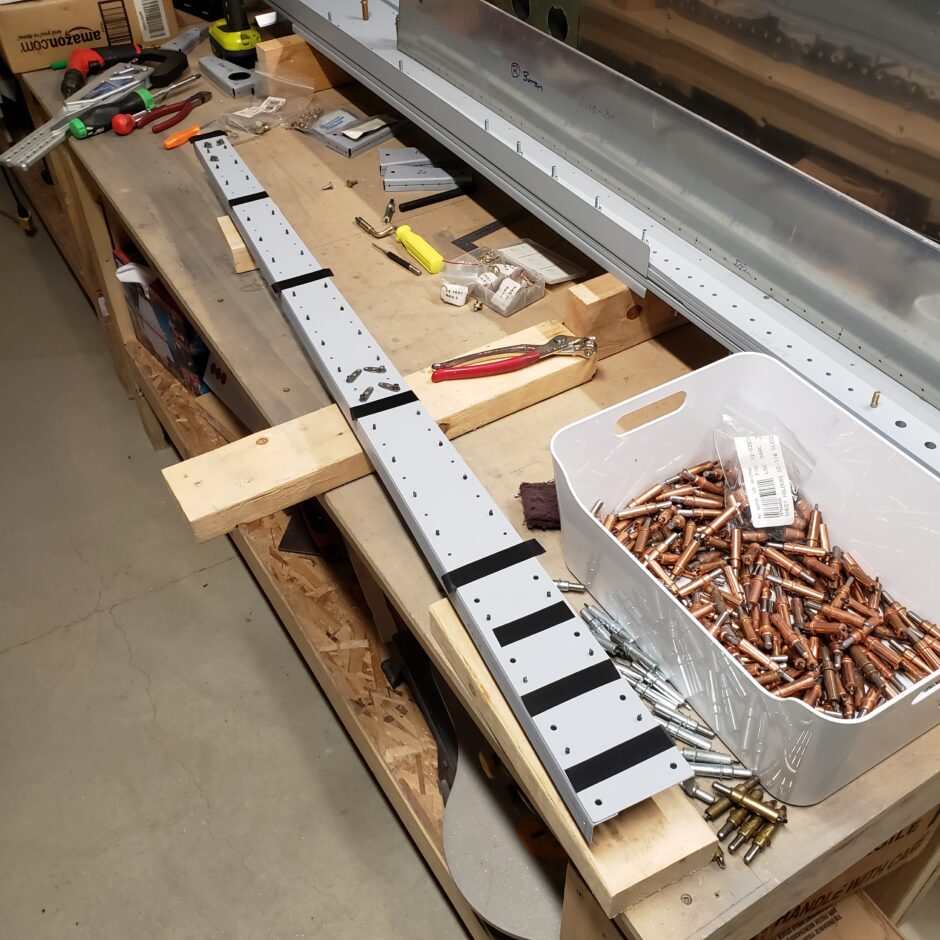
Again, I started with clecoing every other hole to help hold the parts solidly.
Please comment. I love to hear from my readers. Thanks again for coming along for this ride, you make my work worthwhile.
Leave a Reply