A big day today as I’m finally nearing the end of this rudder build. Today I’m planning to get the fairings located and fitted. Mostly this is for the lower rudder fairing, as the top one already fits pretty well.
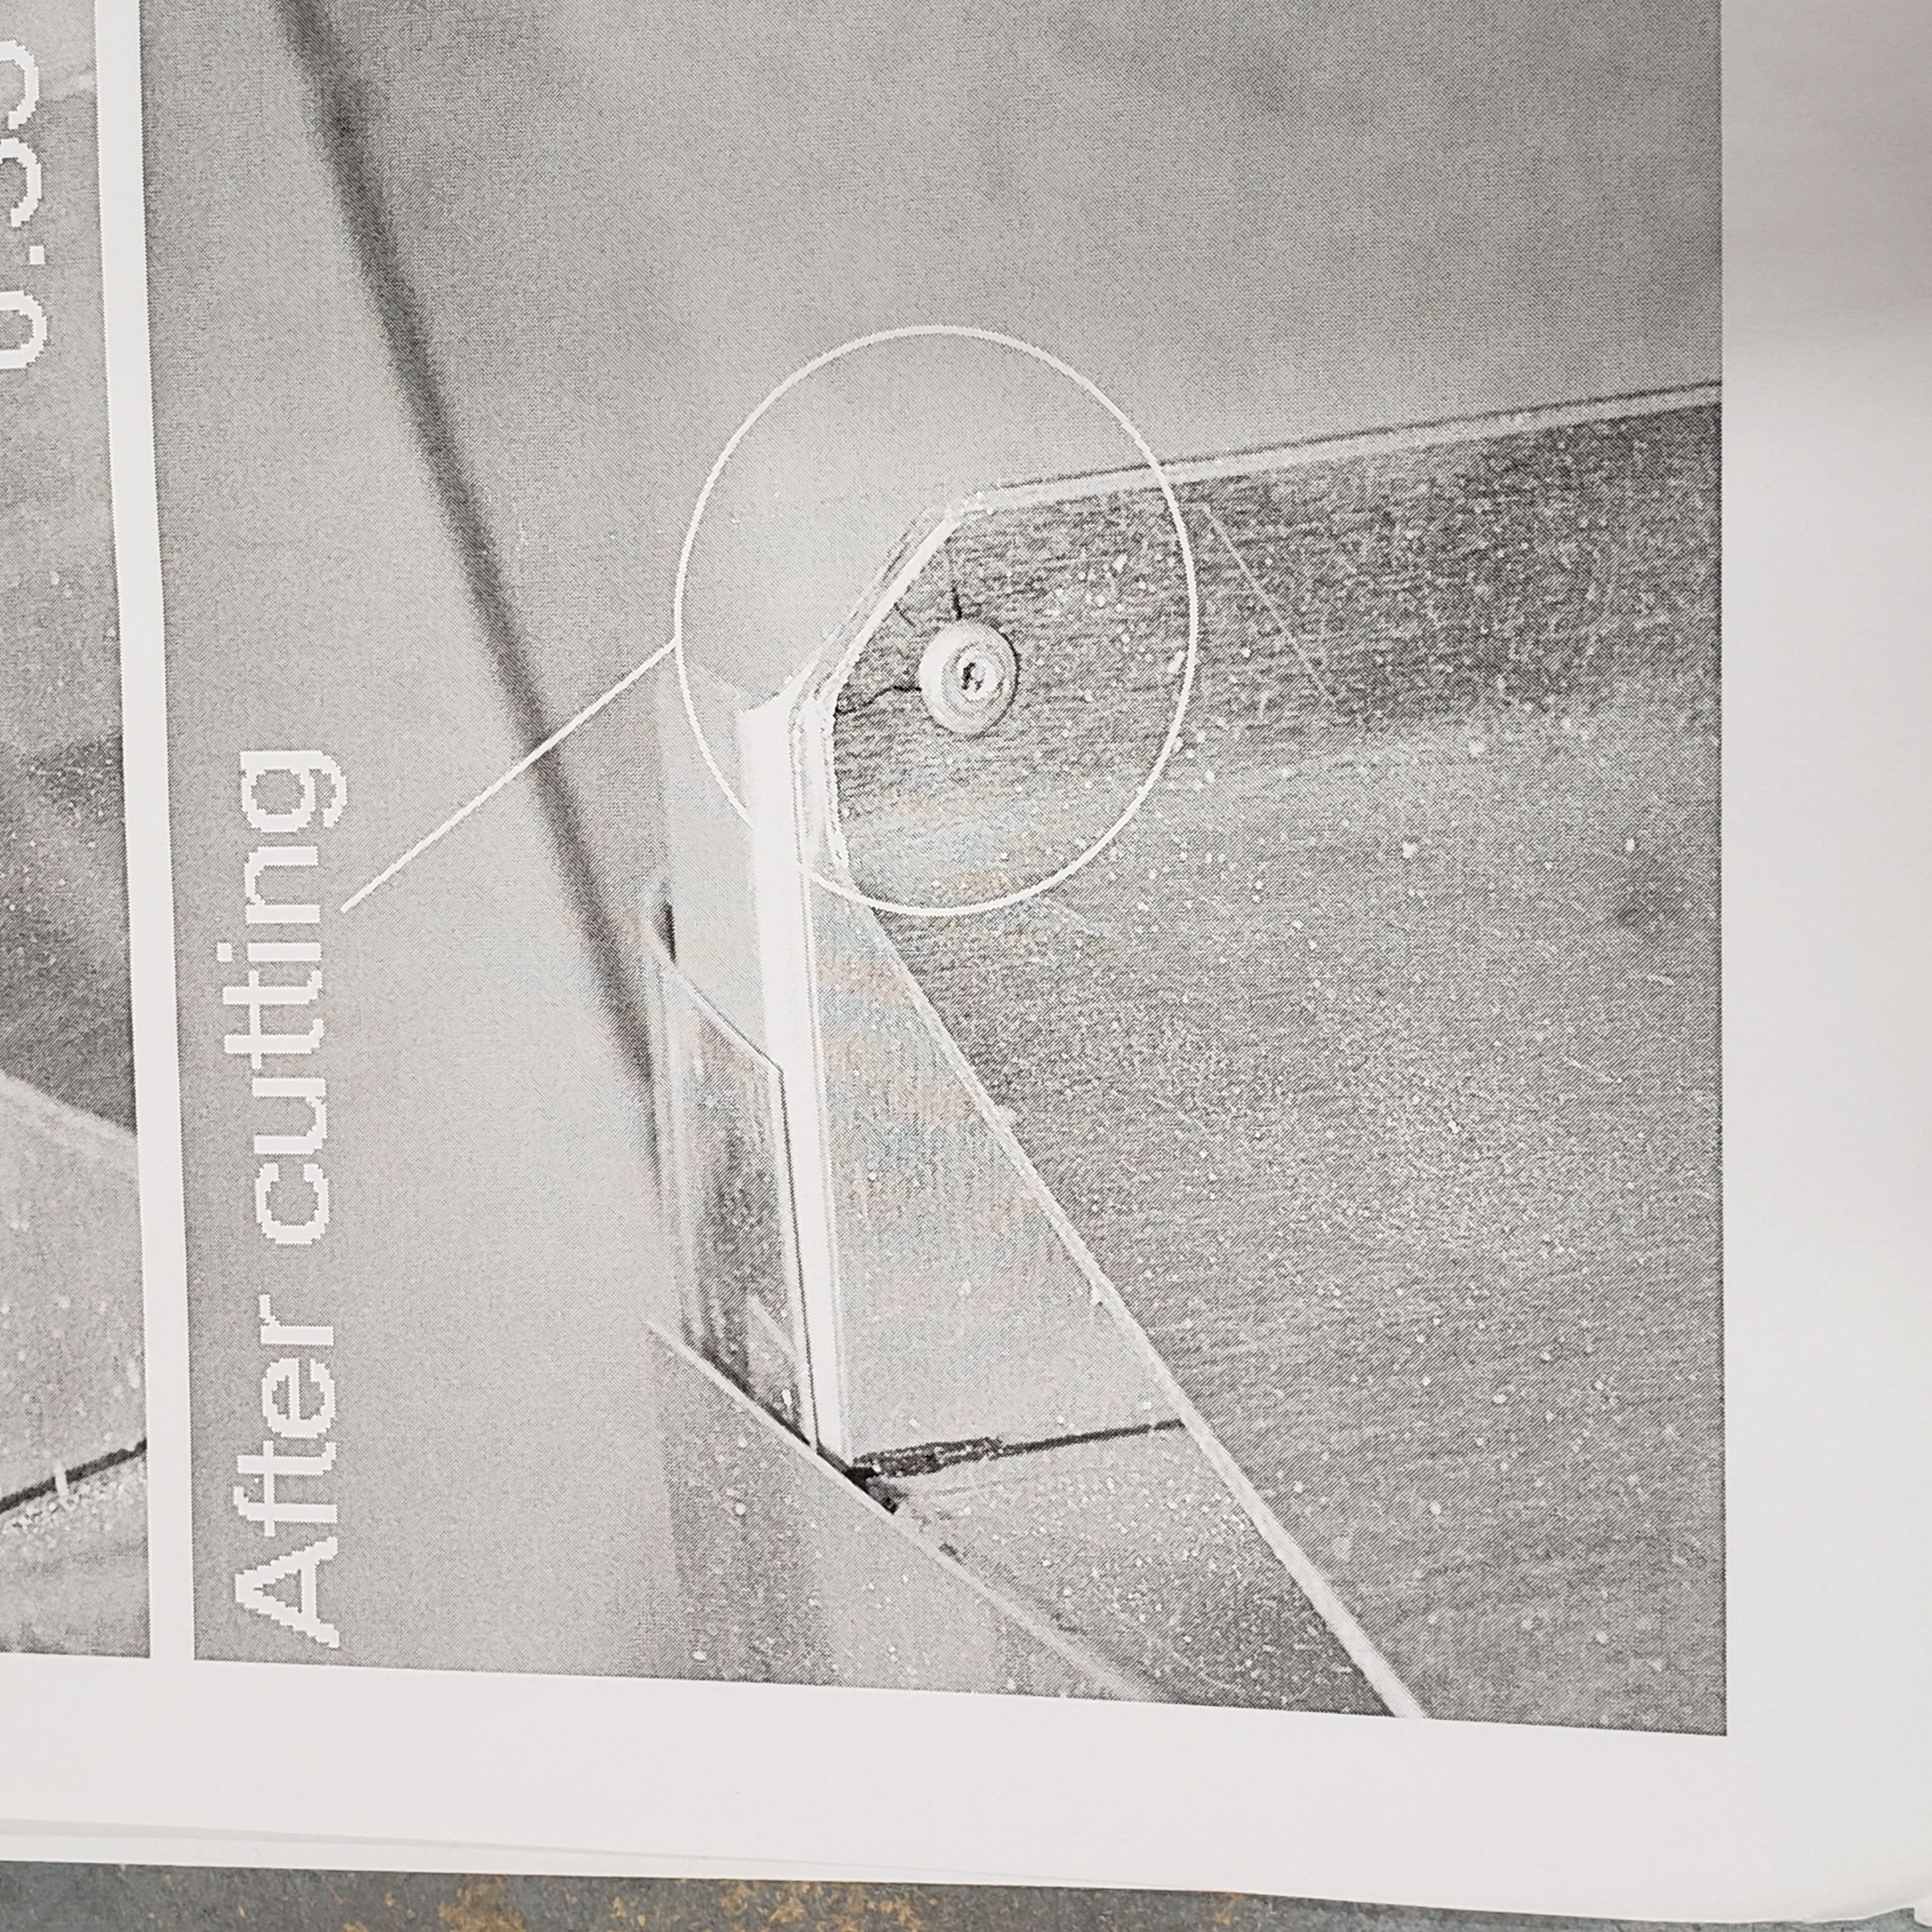
To begin, when I got my rudder from High Performance Aircraft International (HPAI) in the Czech Republic, they provided me with a detail sheet to help me with trimming the lower spar to get the lower fairing to properly fit.
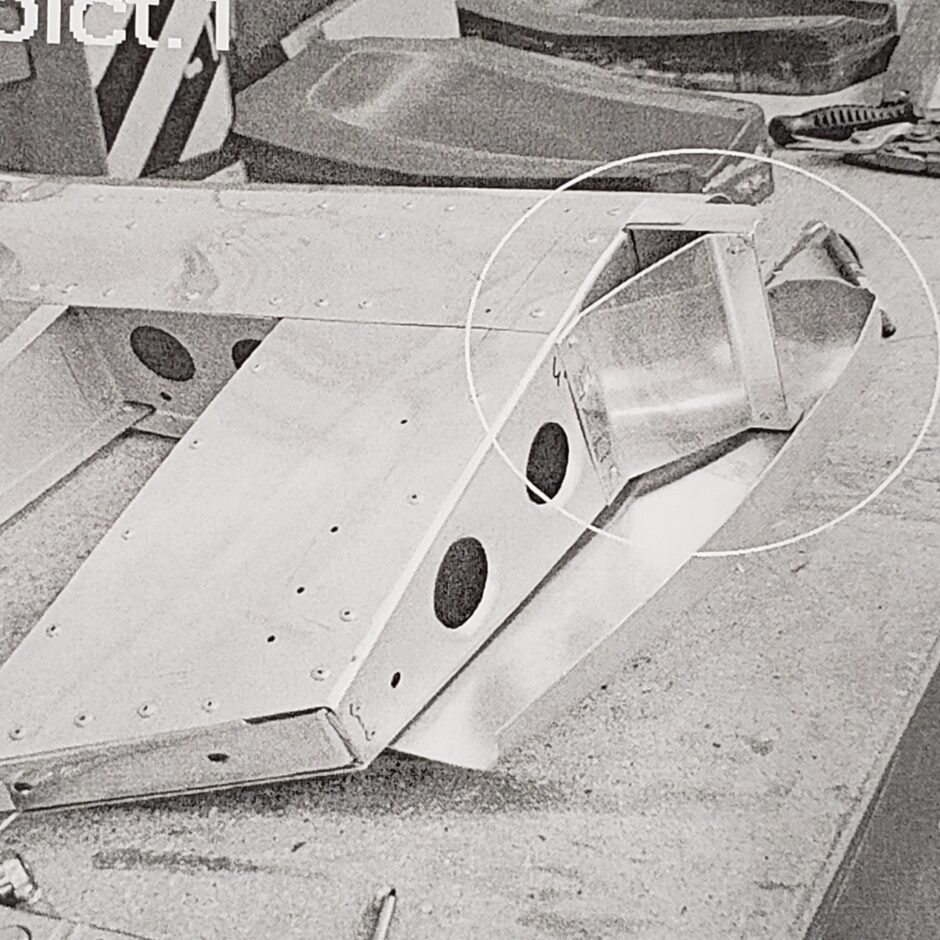
In the image below, you can see the picture from the sheet showing (in the circle) where the lower corners of the spar need to be trimmed.
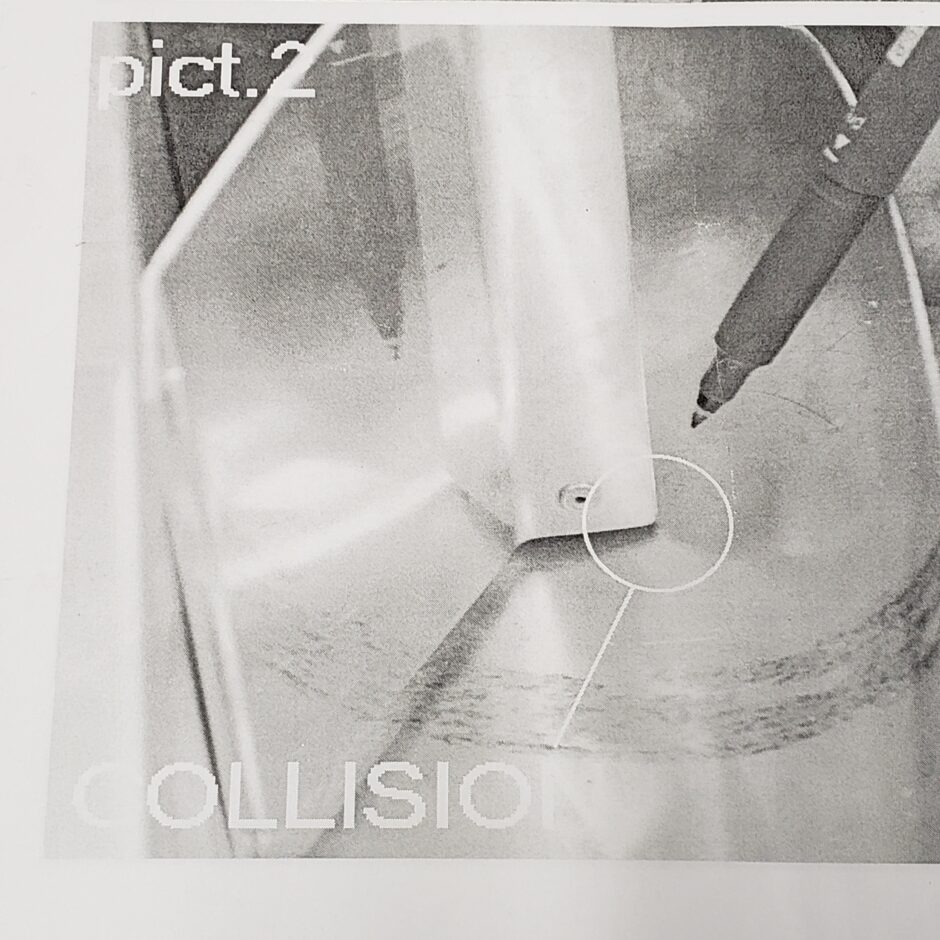
Below is picture 2 from the instruction sheet which shows where the “Collision” between the spar and the fairing is, thus why I need to round off the lower corners of the spar.
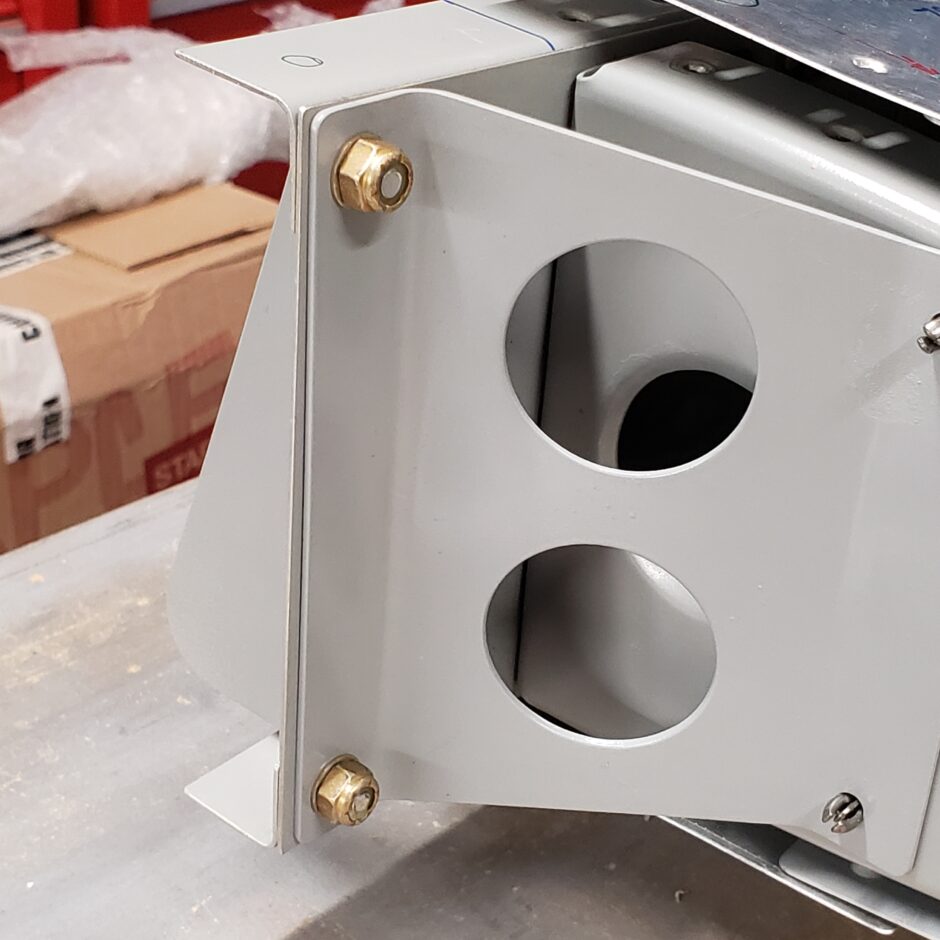
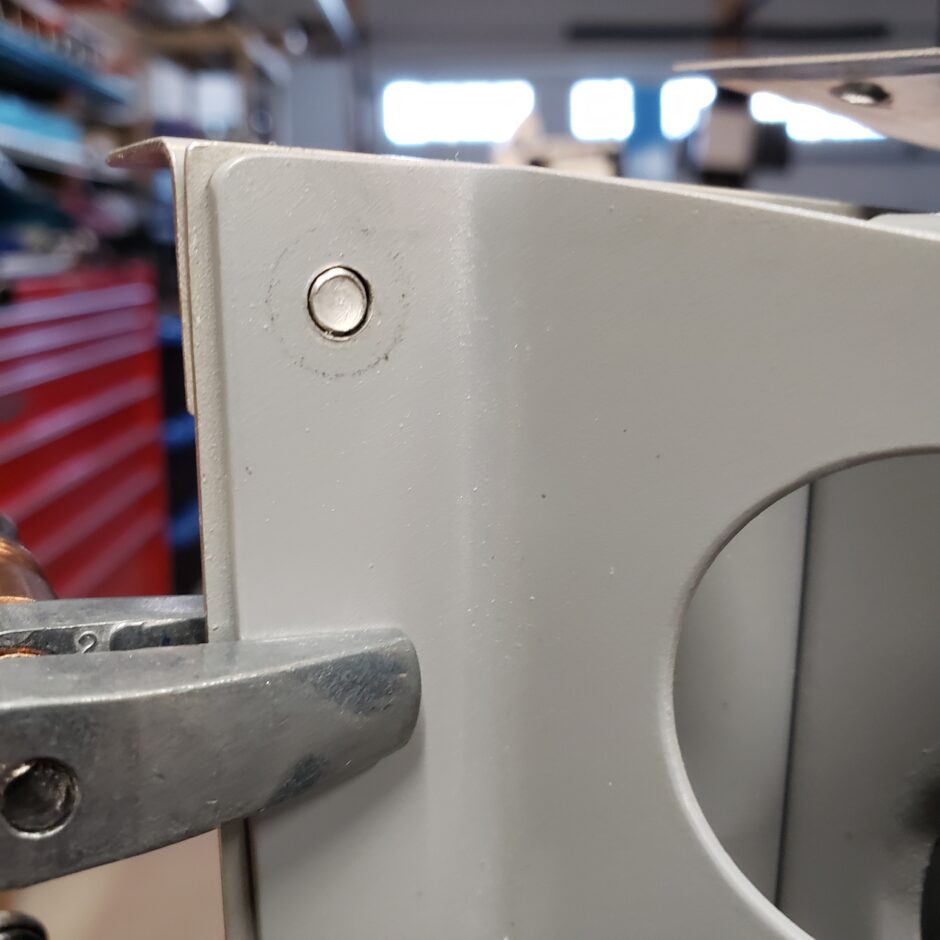
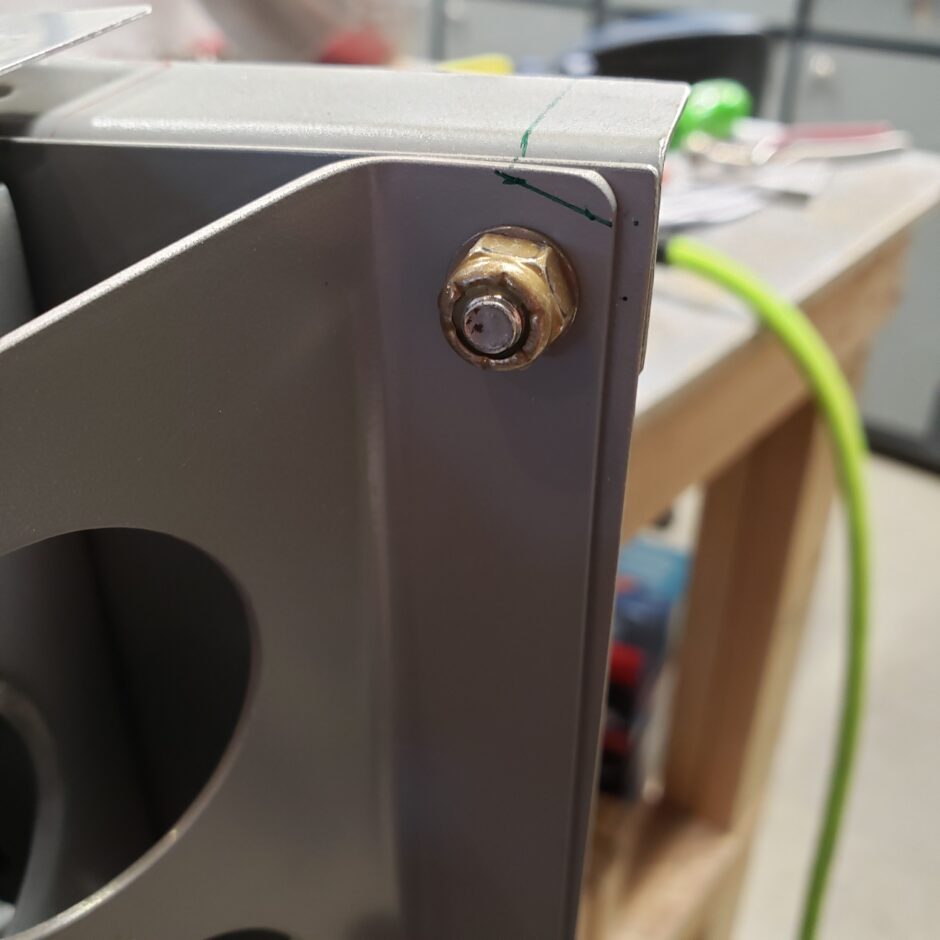
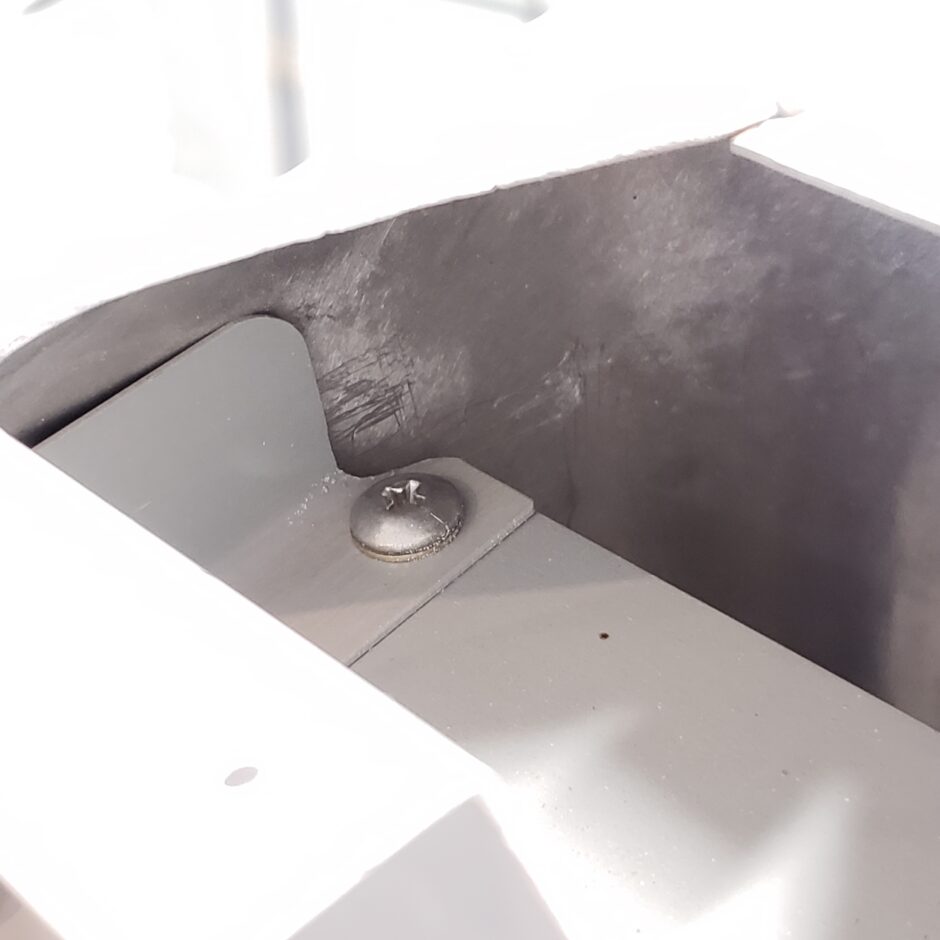
Here is the lower corner of the rudder spar. I temporarily put in some #10 screws to hold all the parts together, as it’s lower profile than using a cleco here, which I don’t know how it will interfere with trying the fit the fairing.
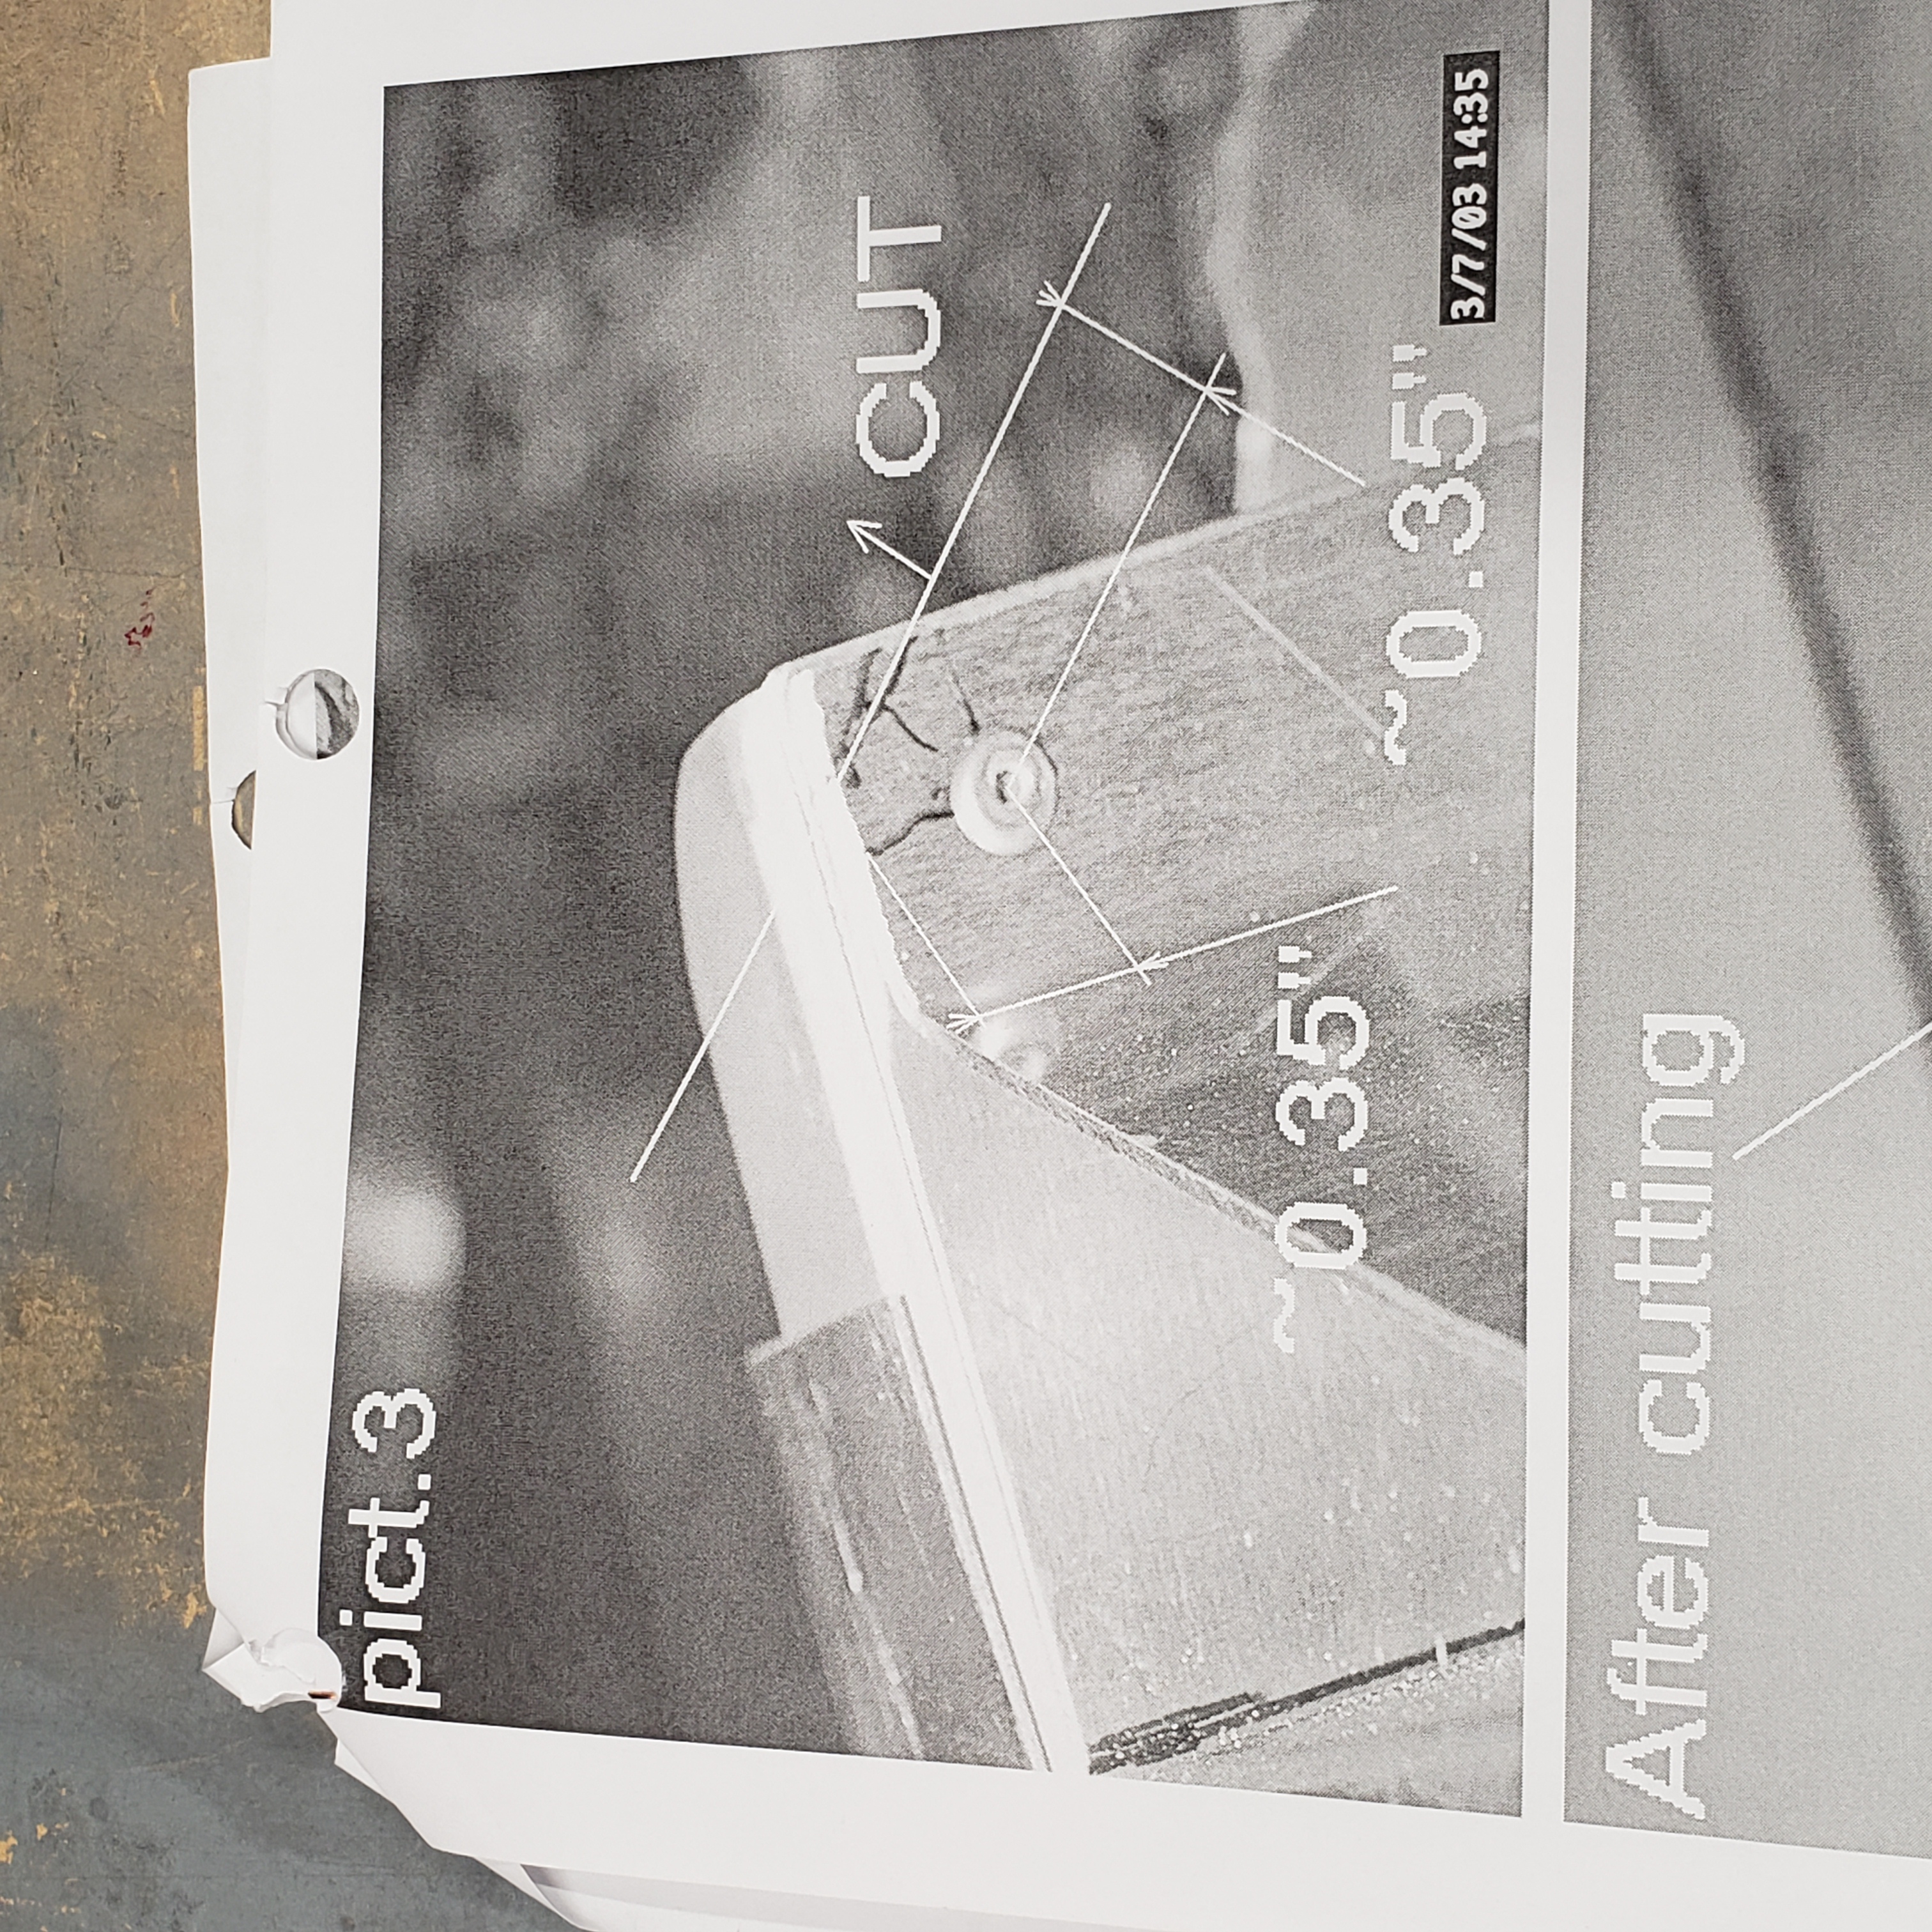
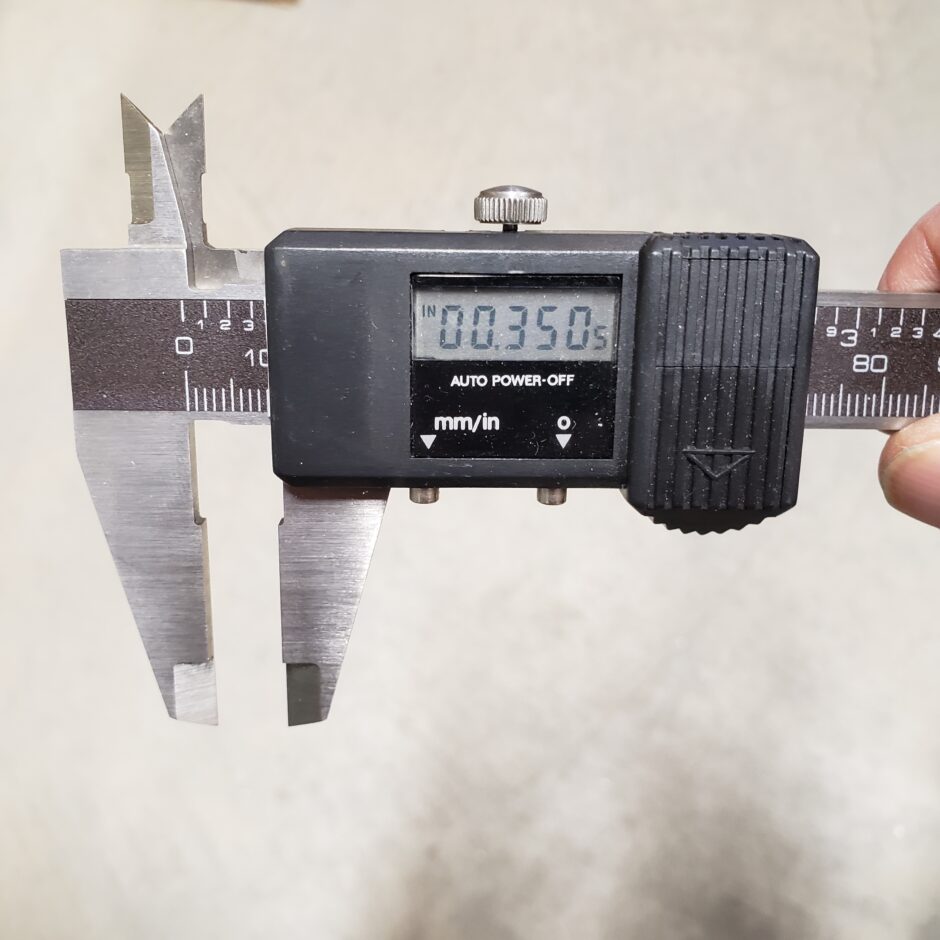
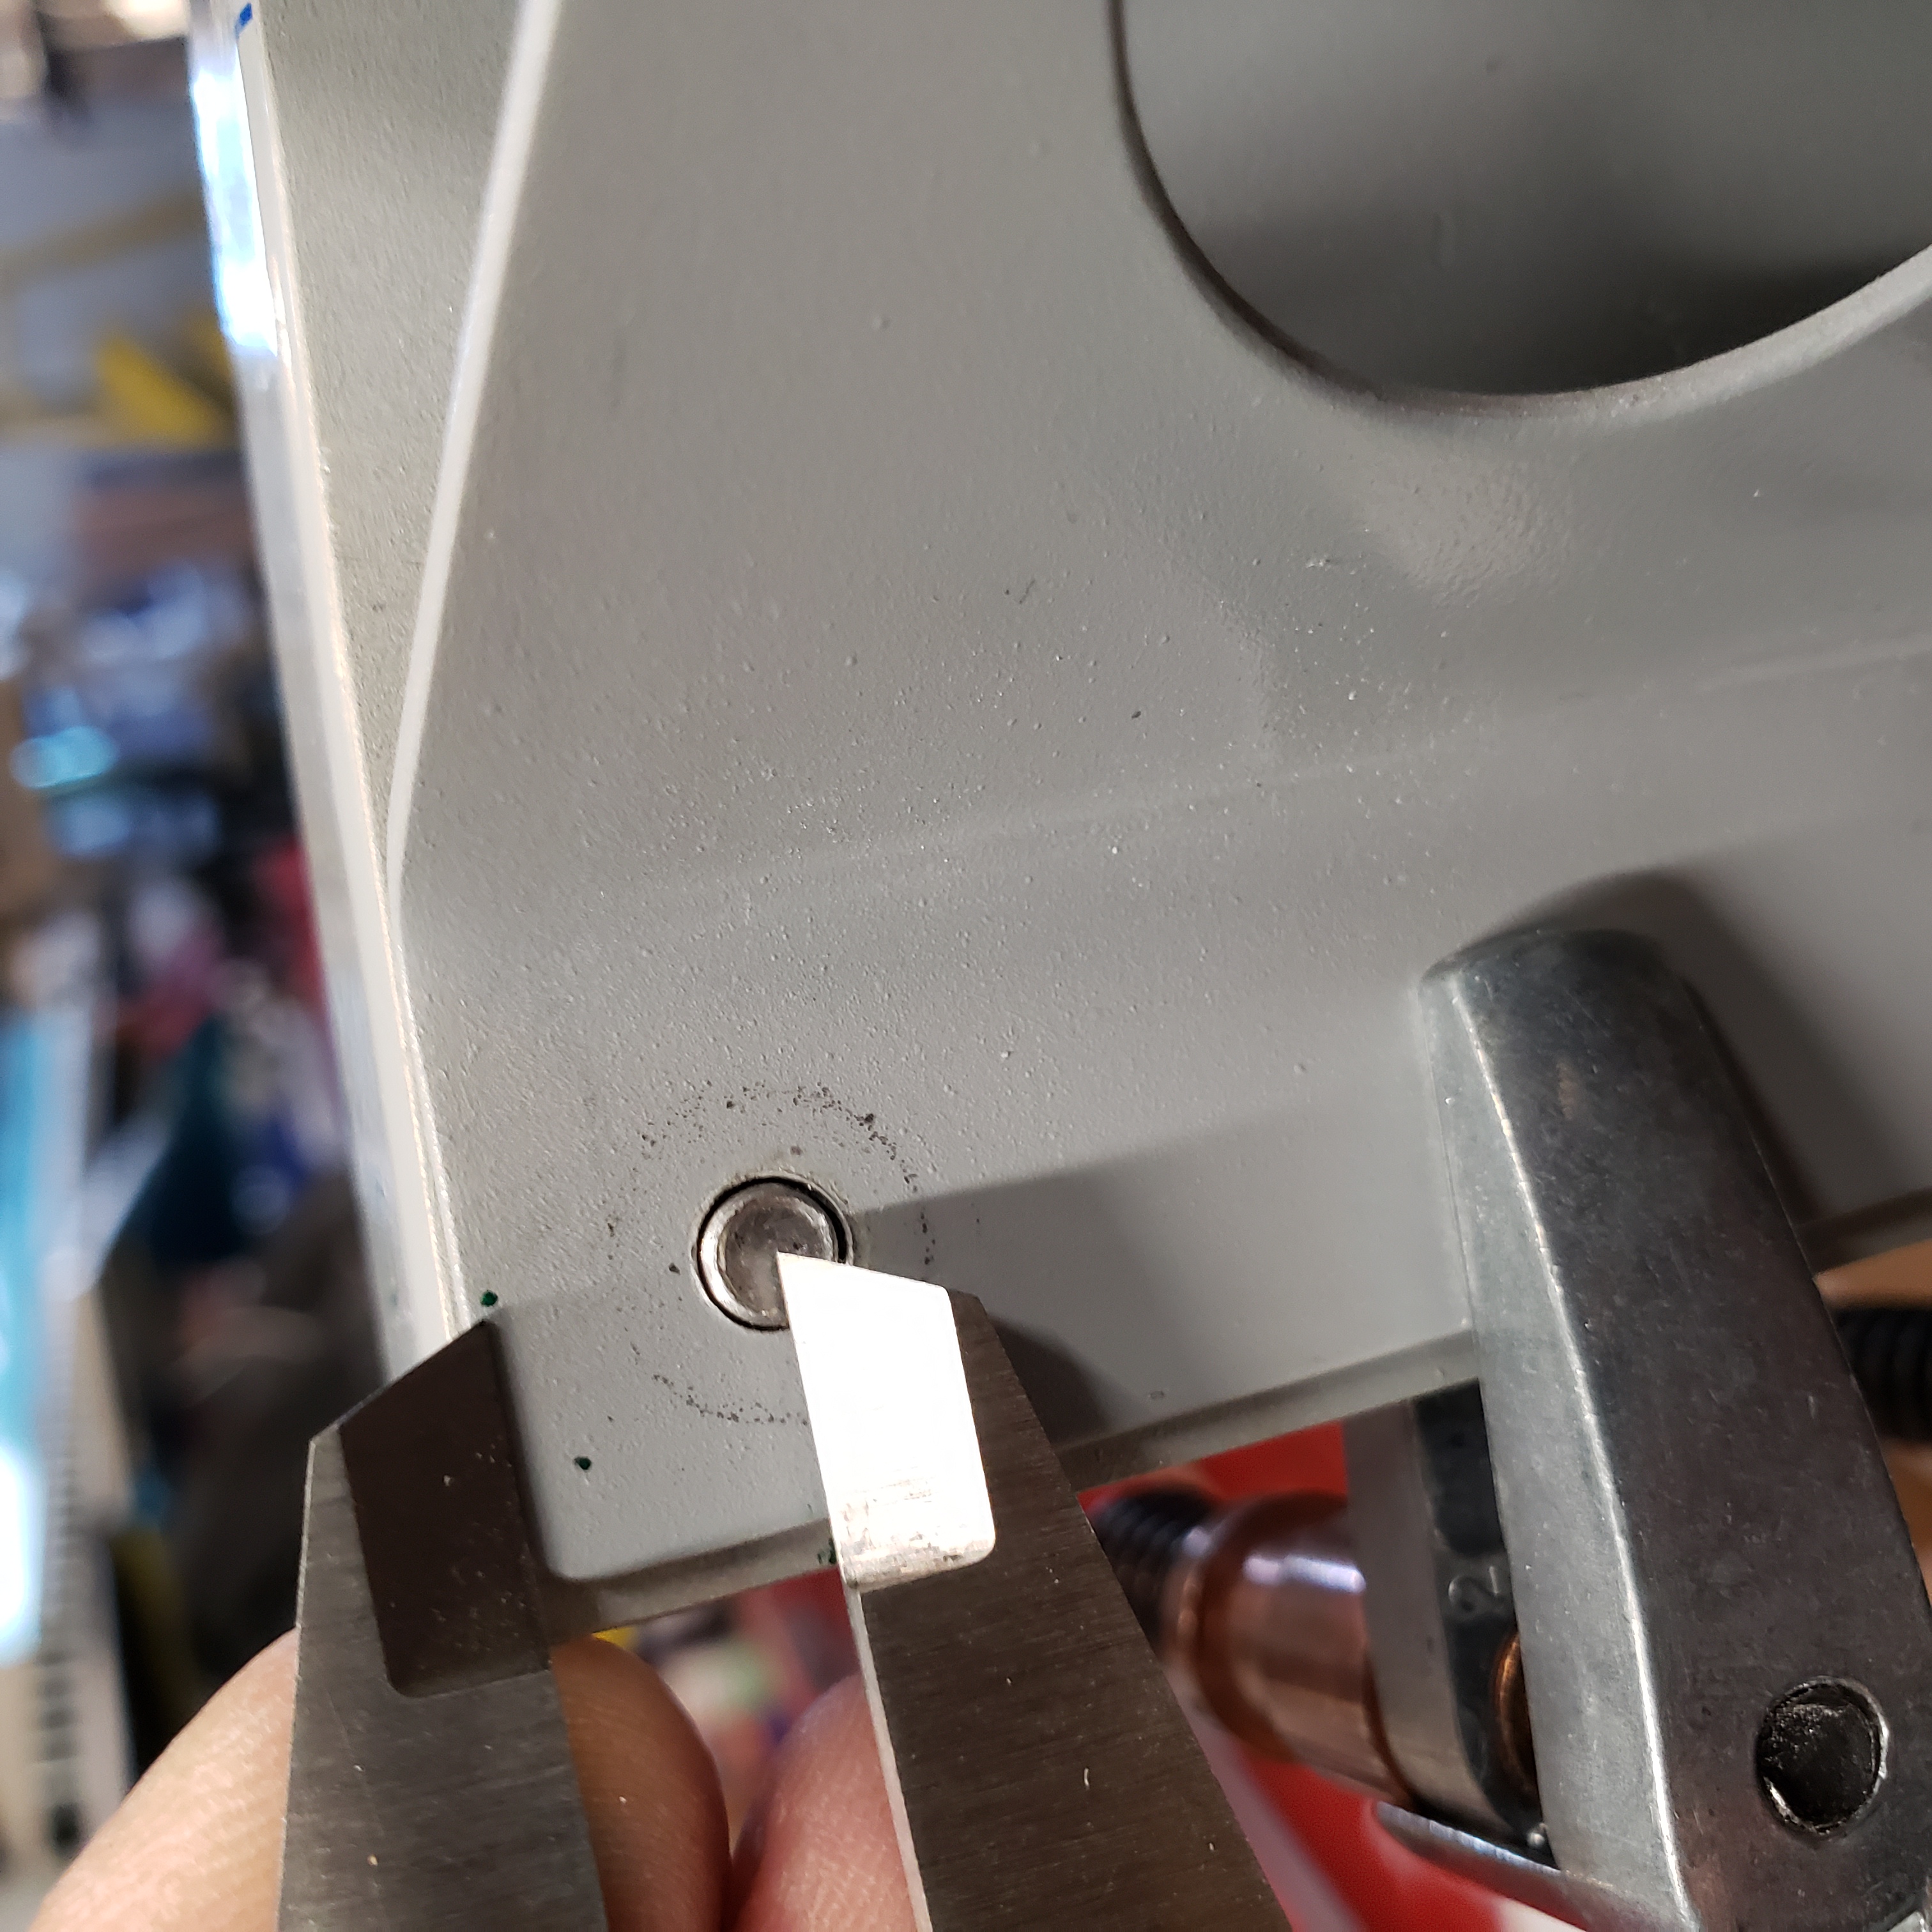
The third picture of the instructions is now showing some dimensions of how and where to trim this corner of the spar. In the picture, there are some really roughly drawn lines drawn on the part to help indicate where these measurements are taken from.
And the next picture is self explanatory for the final cutting result. So not only is the spar web and angle brace corner trimmed off. Additionally some of the spar flange is also trimmed off to raise up the side of the spar. This will eventually match the rounded lower corners of the fairing.
To begin measuring where to trim, I removed the nut and pushed the screw back, so that it would be flush with the working surface. This will make it easier for me to accurately measure the trim lines.
Then I set the dimensions on the digital caliper.
Then I measured and made some dots where I can connect to form the trim line.
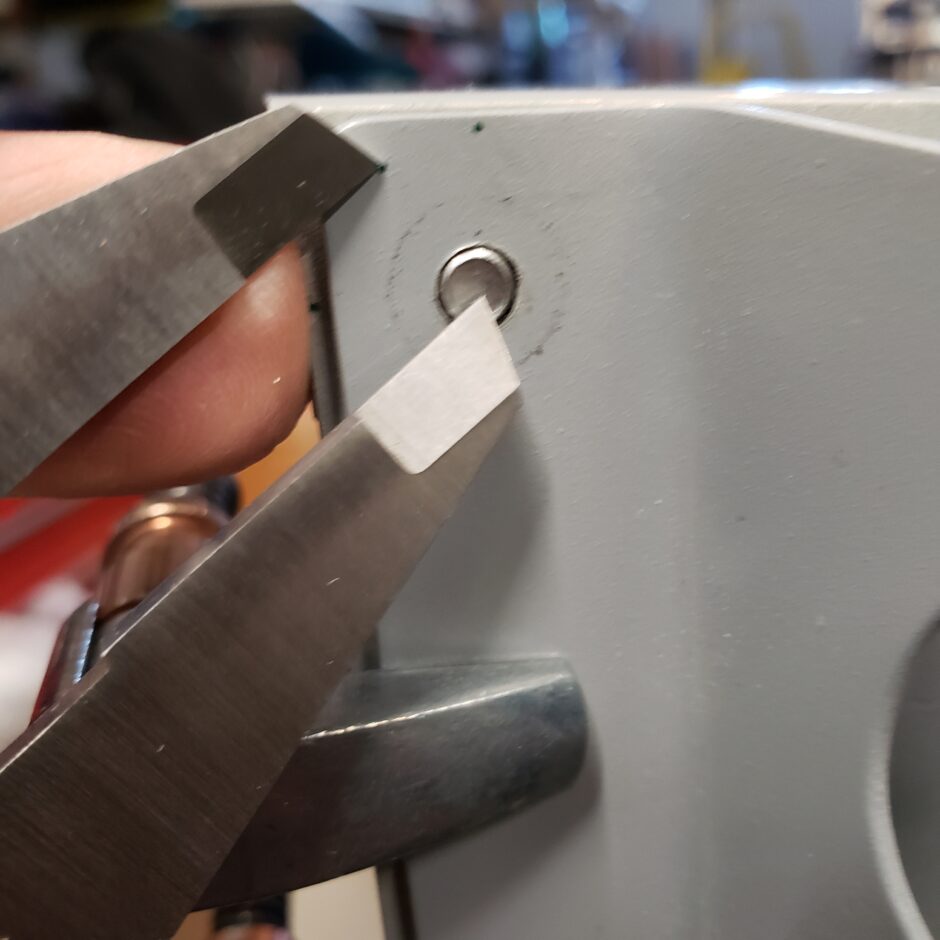
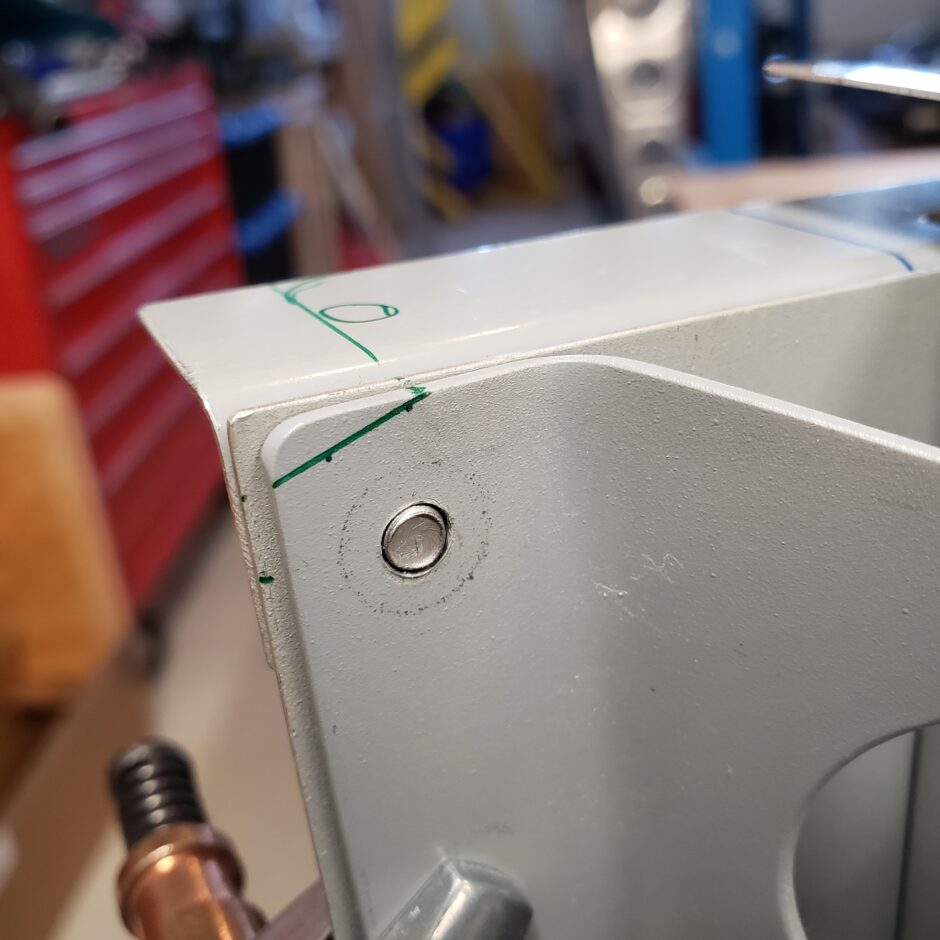
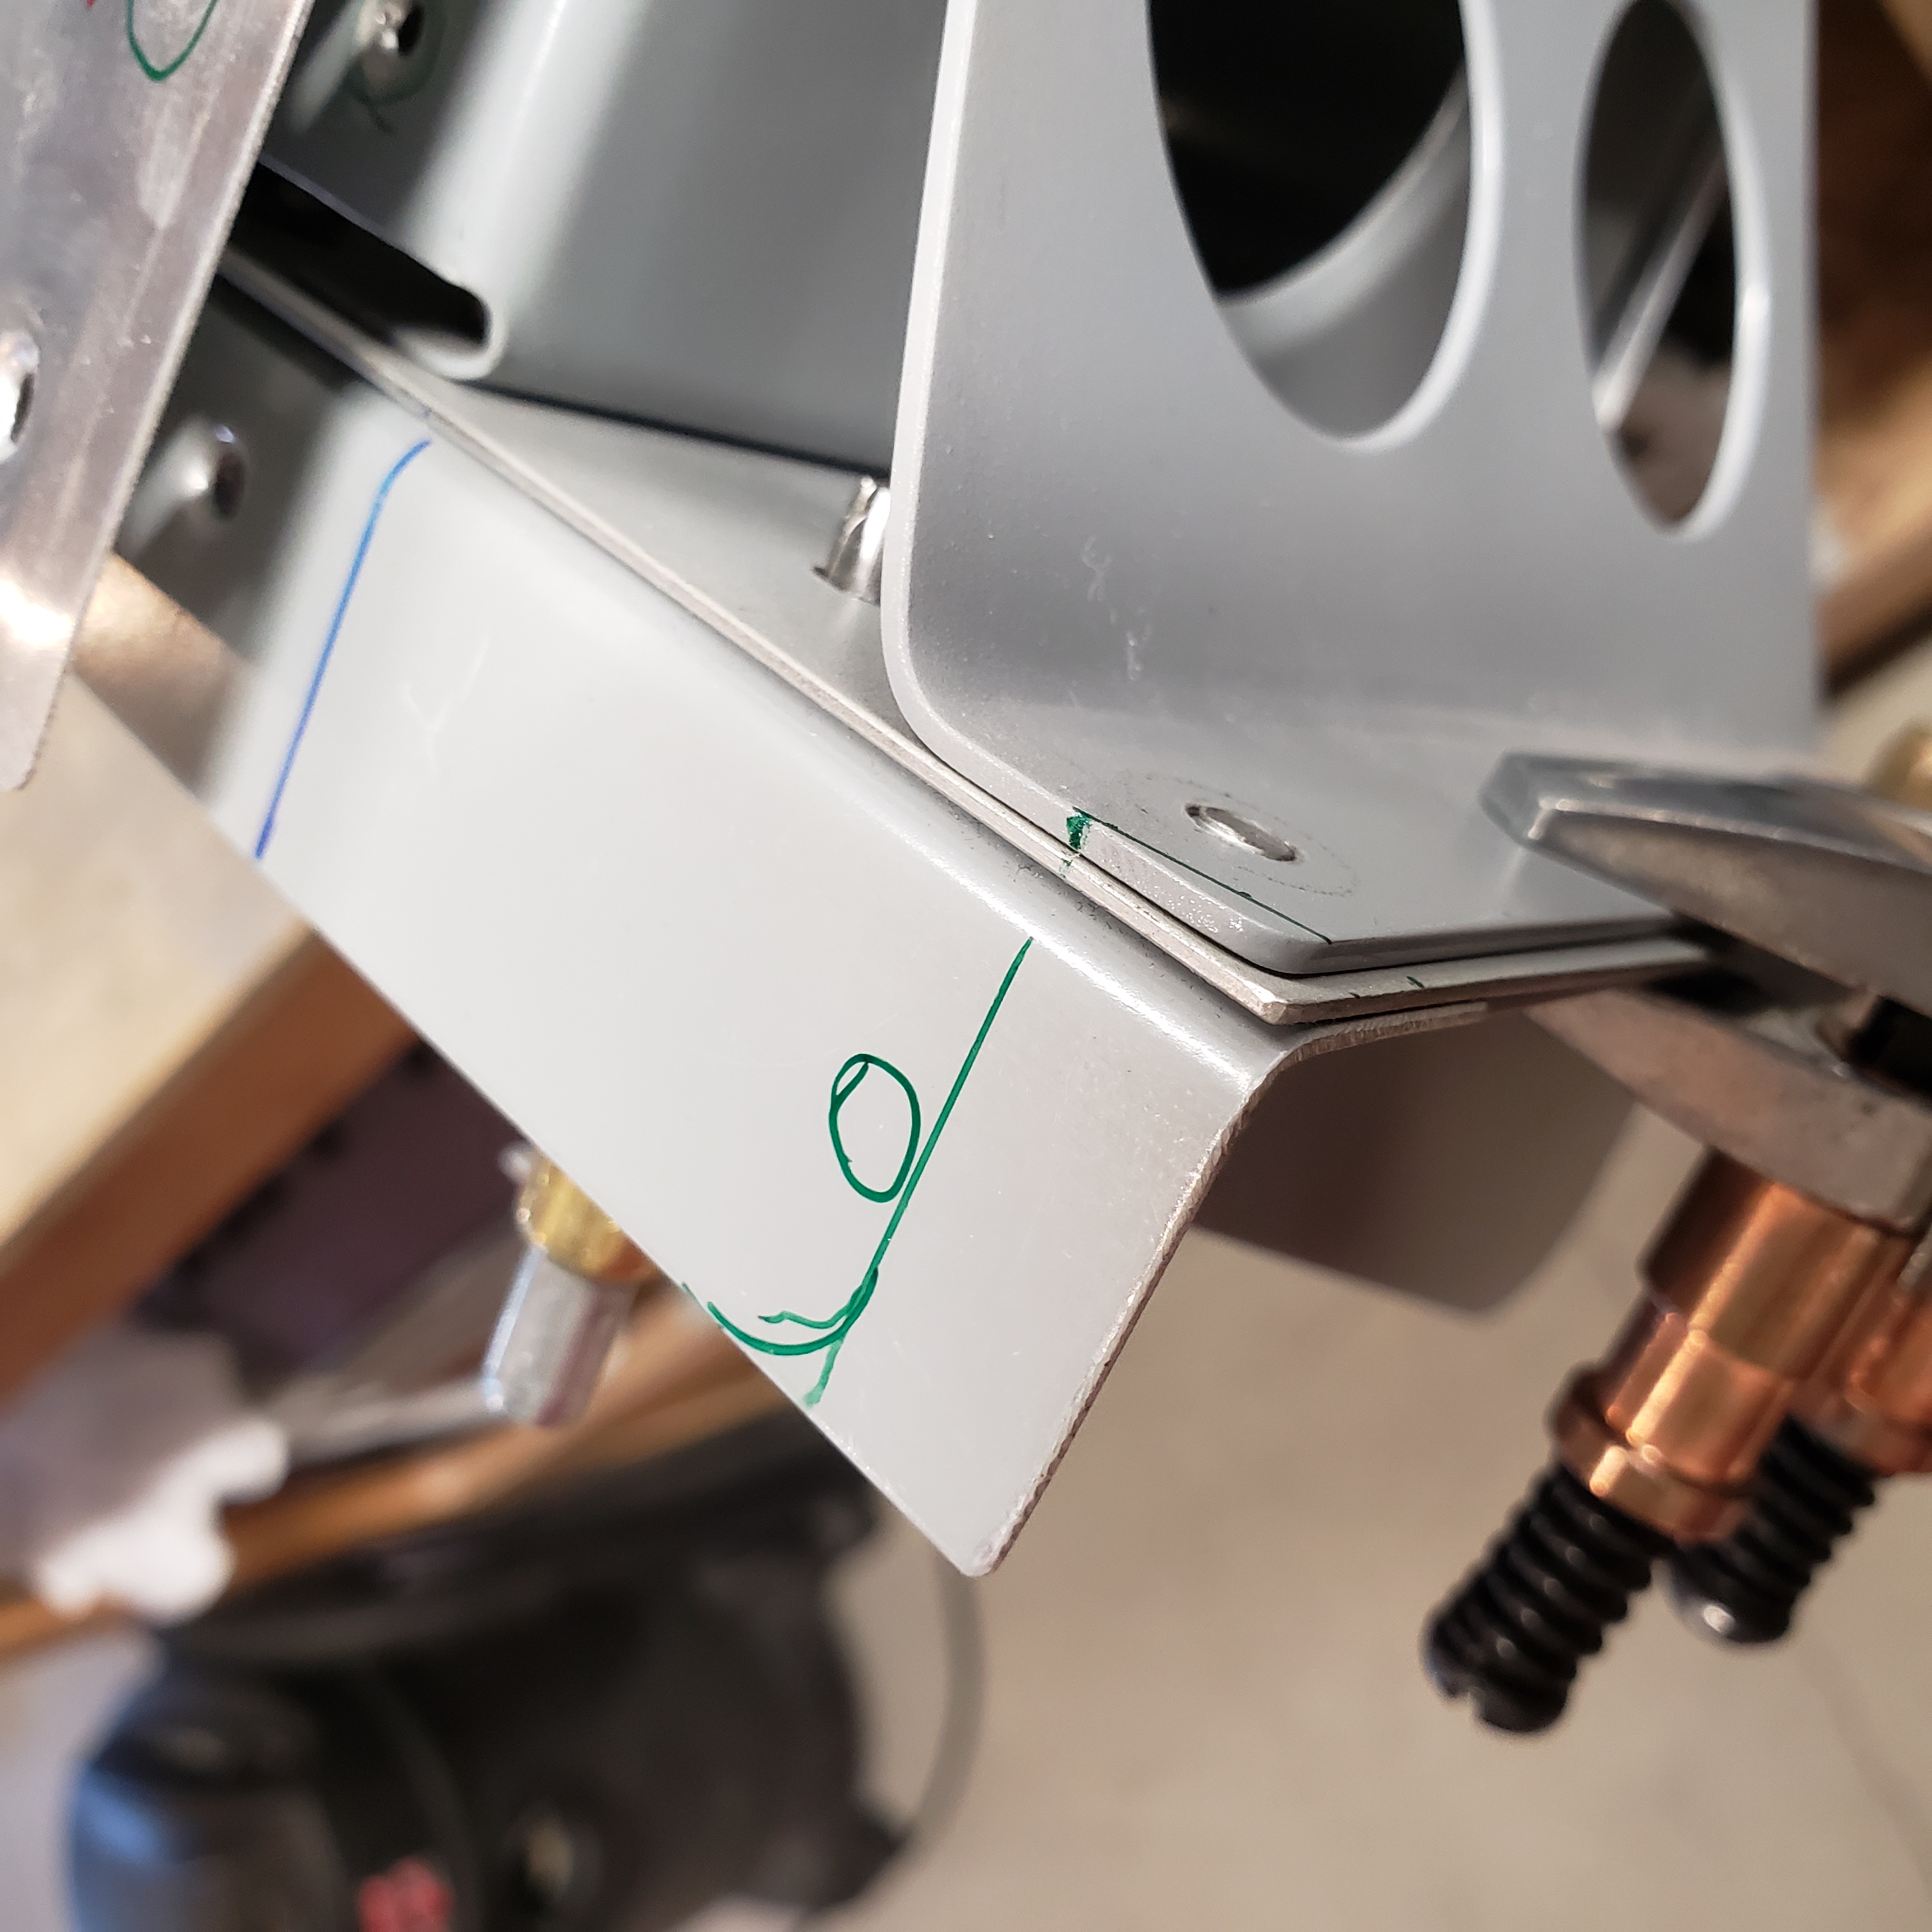
Next was to trim, and this went quite easily with a Dremel tool and and some filing.
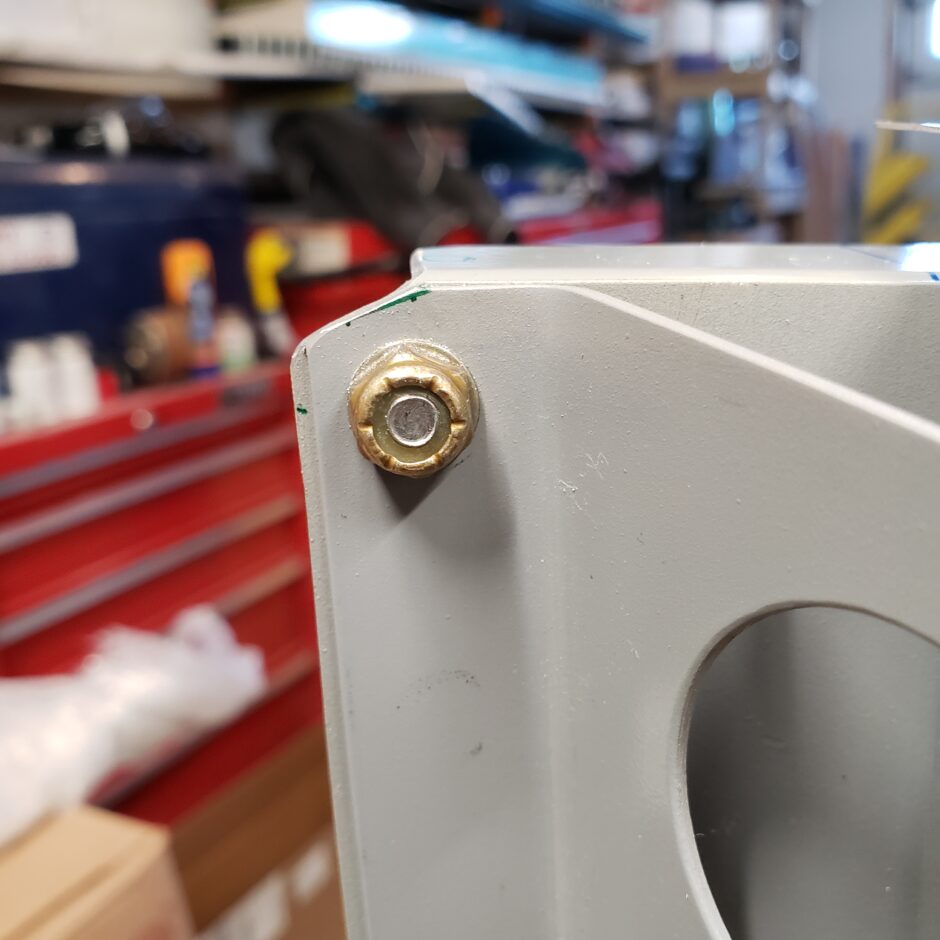
And now to trim the other side.
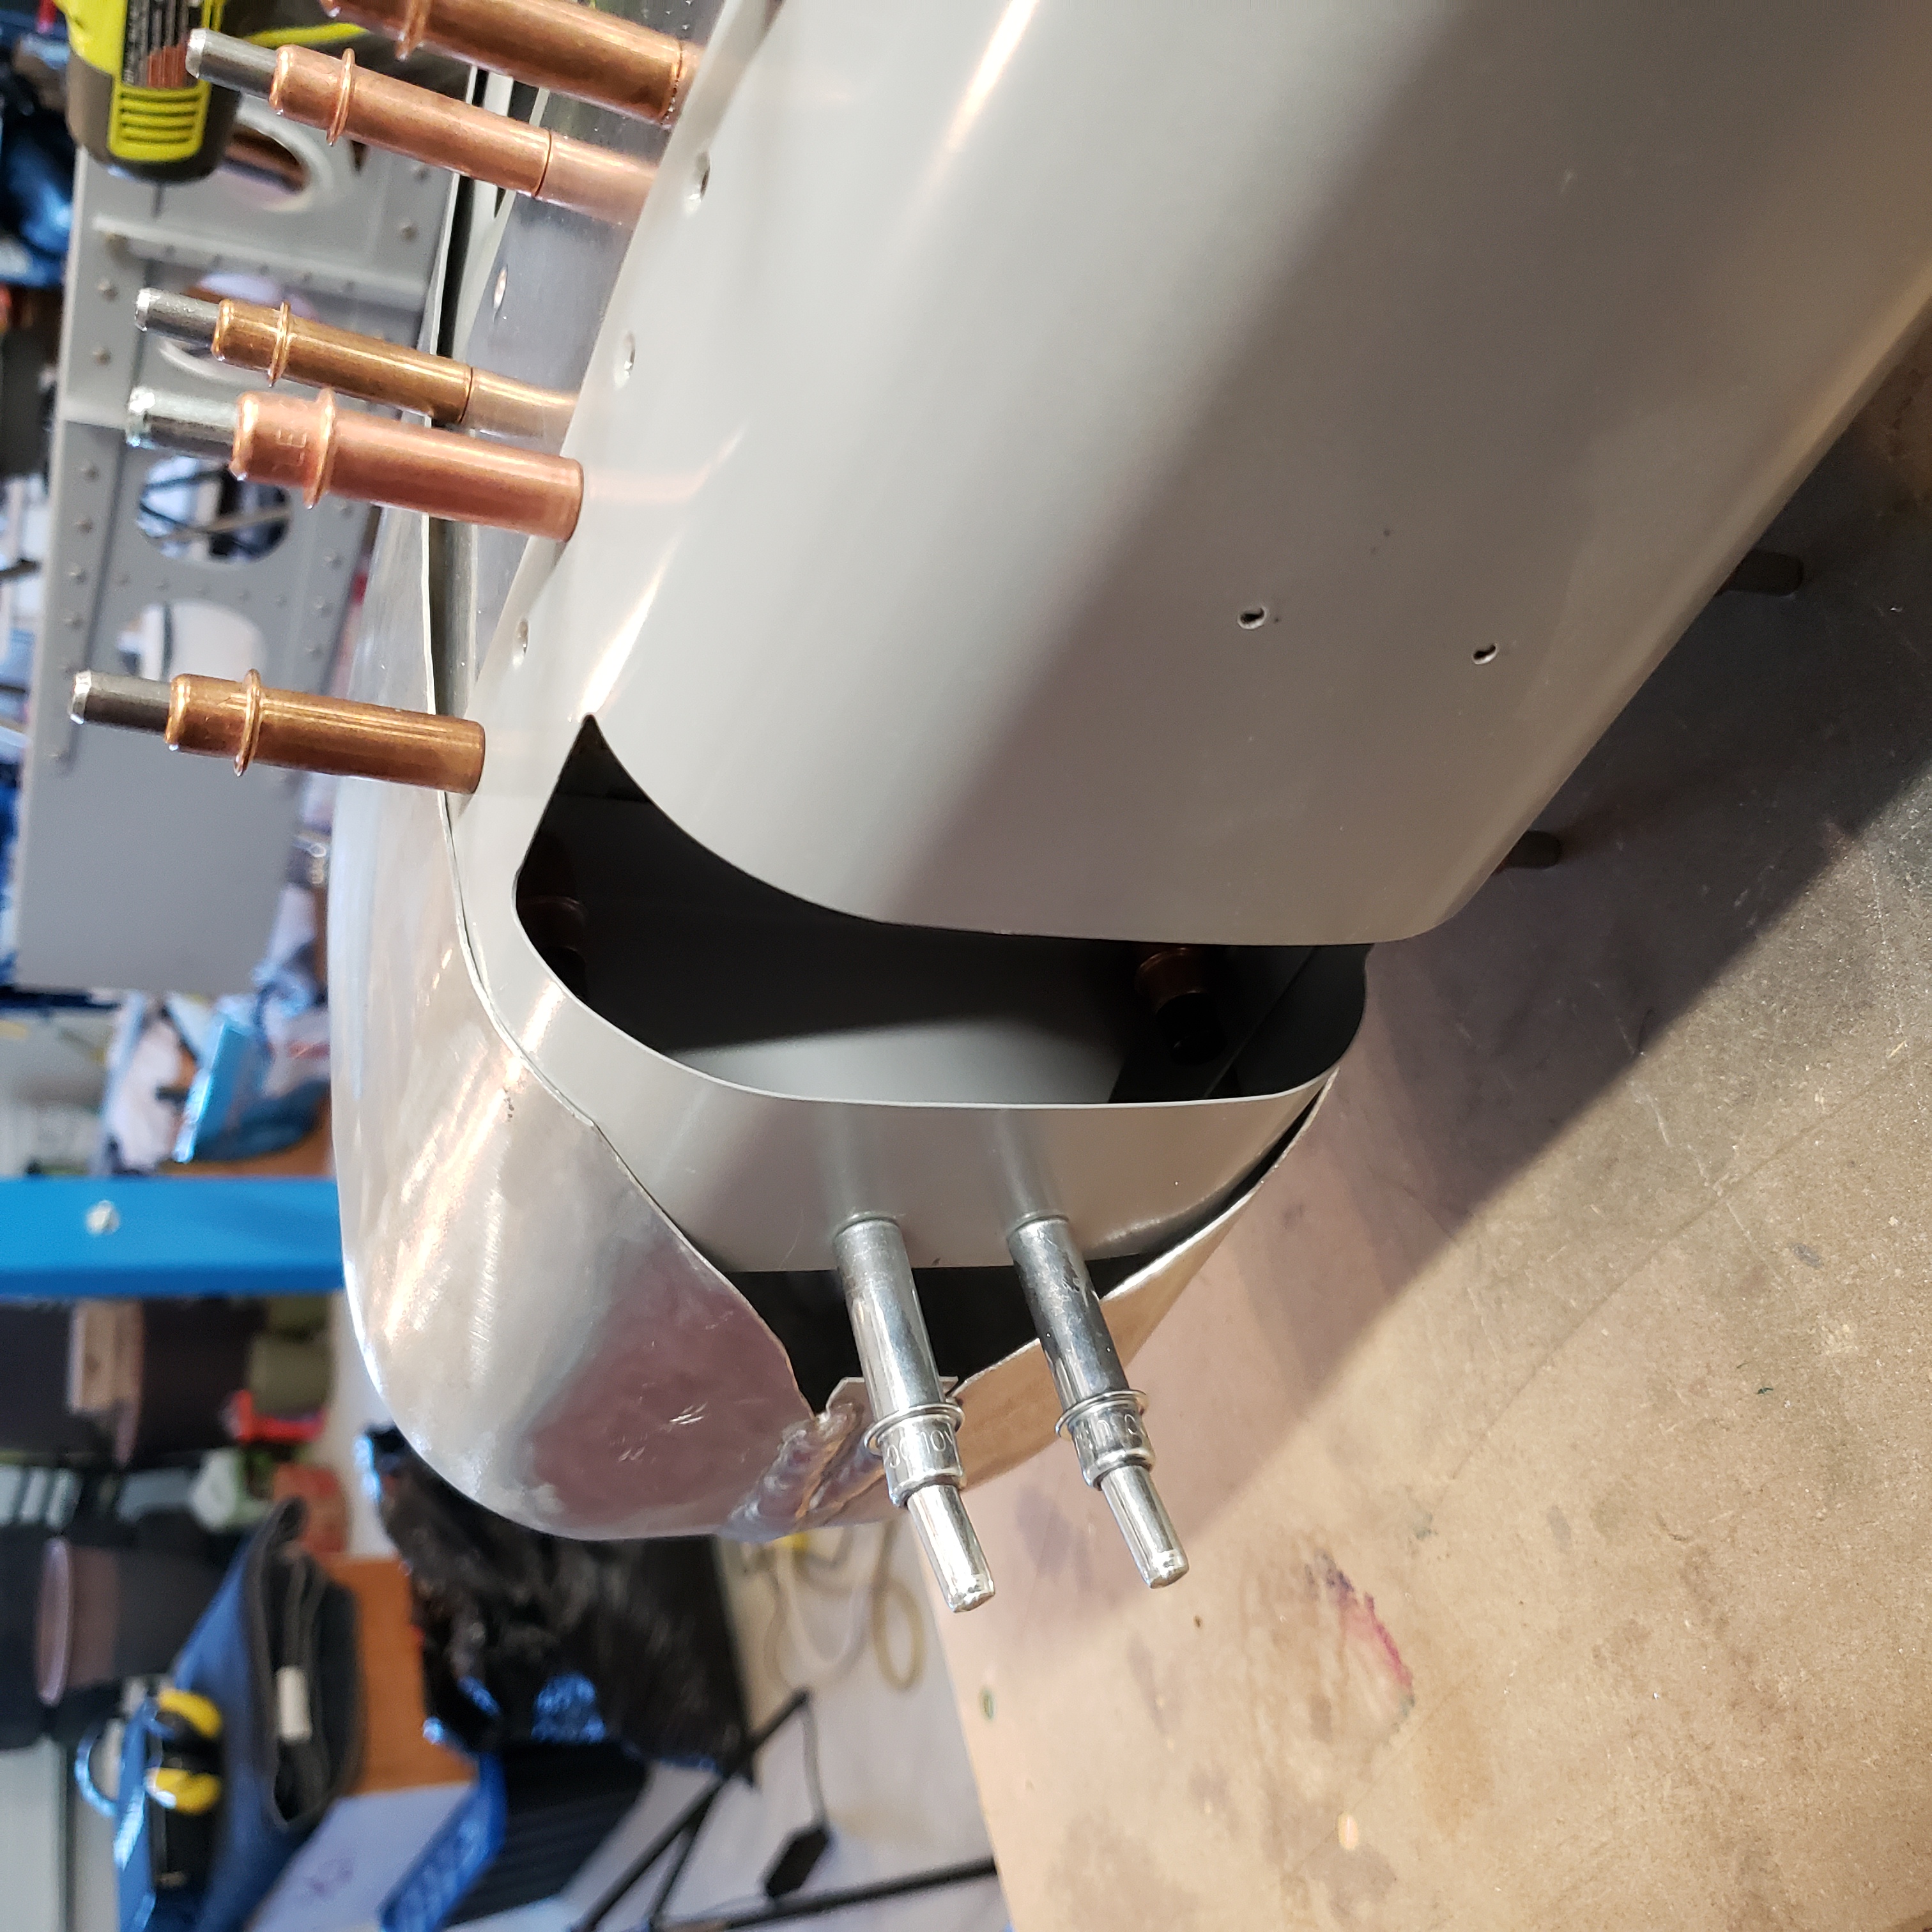
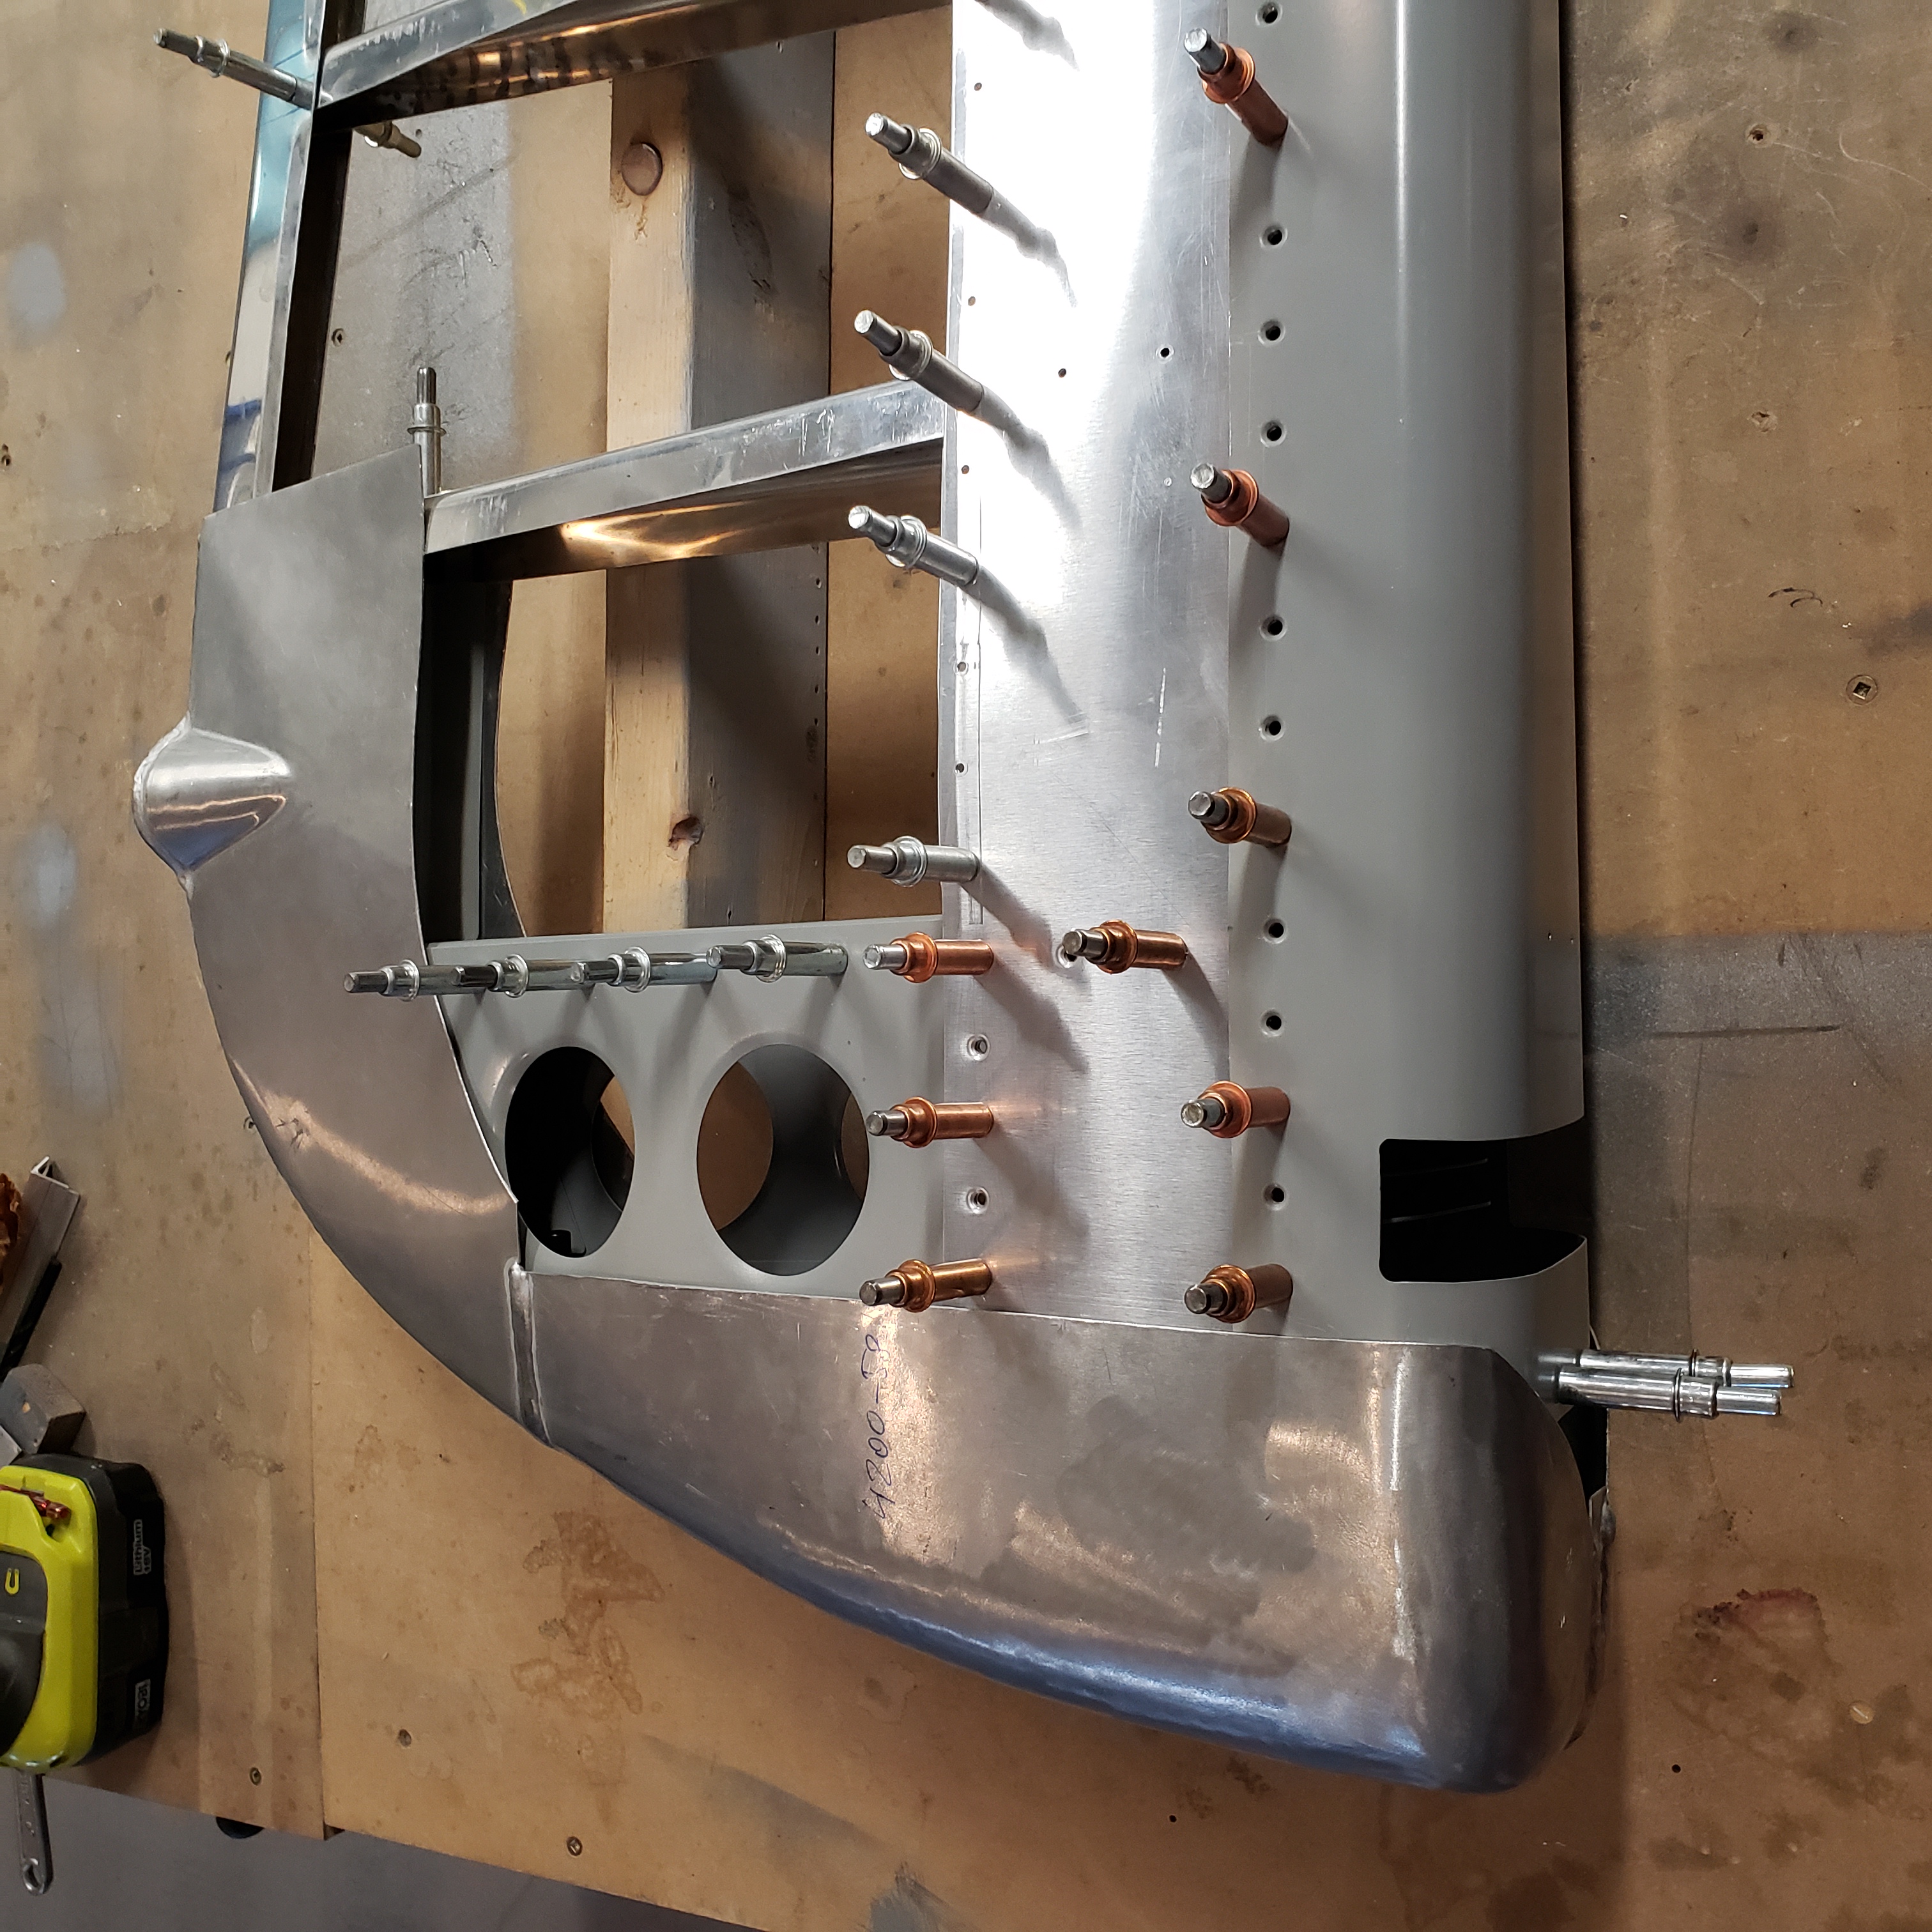
And now I’m able to get the fairing fitted. In the picture below, you can see why all this trimming needed to be accomplished. It’s a tight fit, and I’ll have a little bit more fine tuning as I go. But for now, this is exciting to see it coming together!
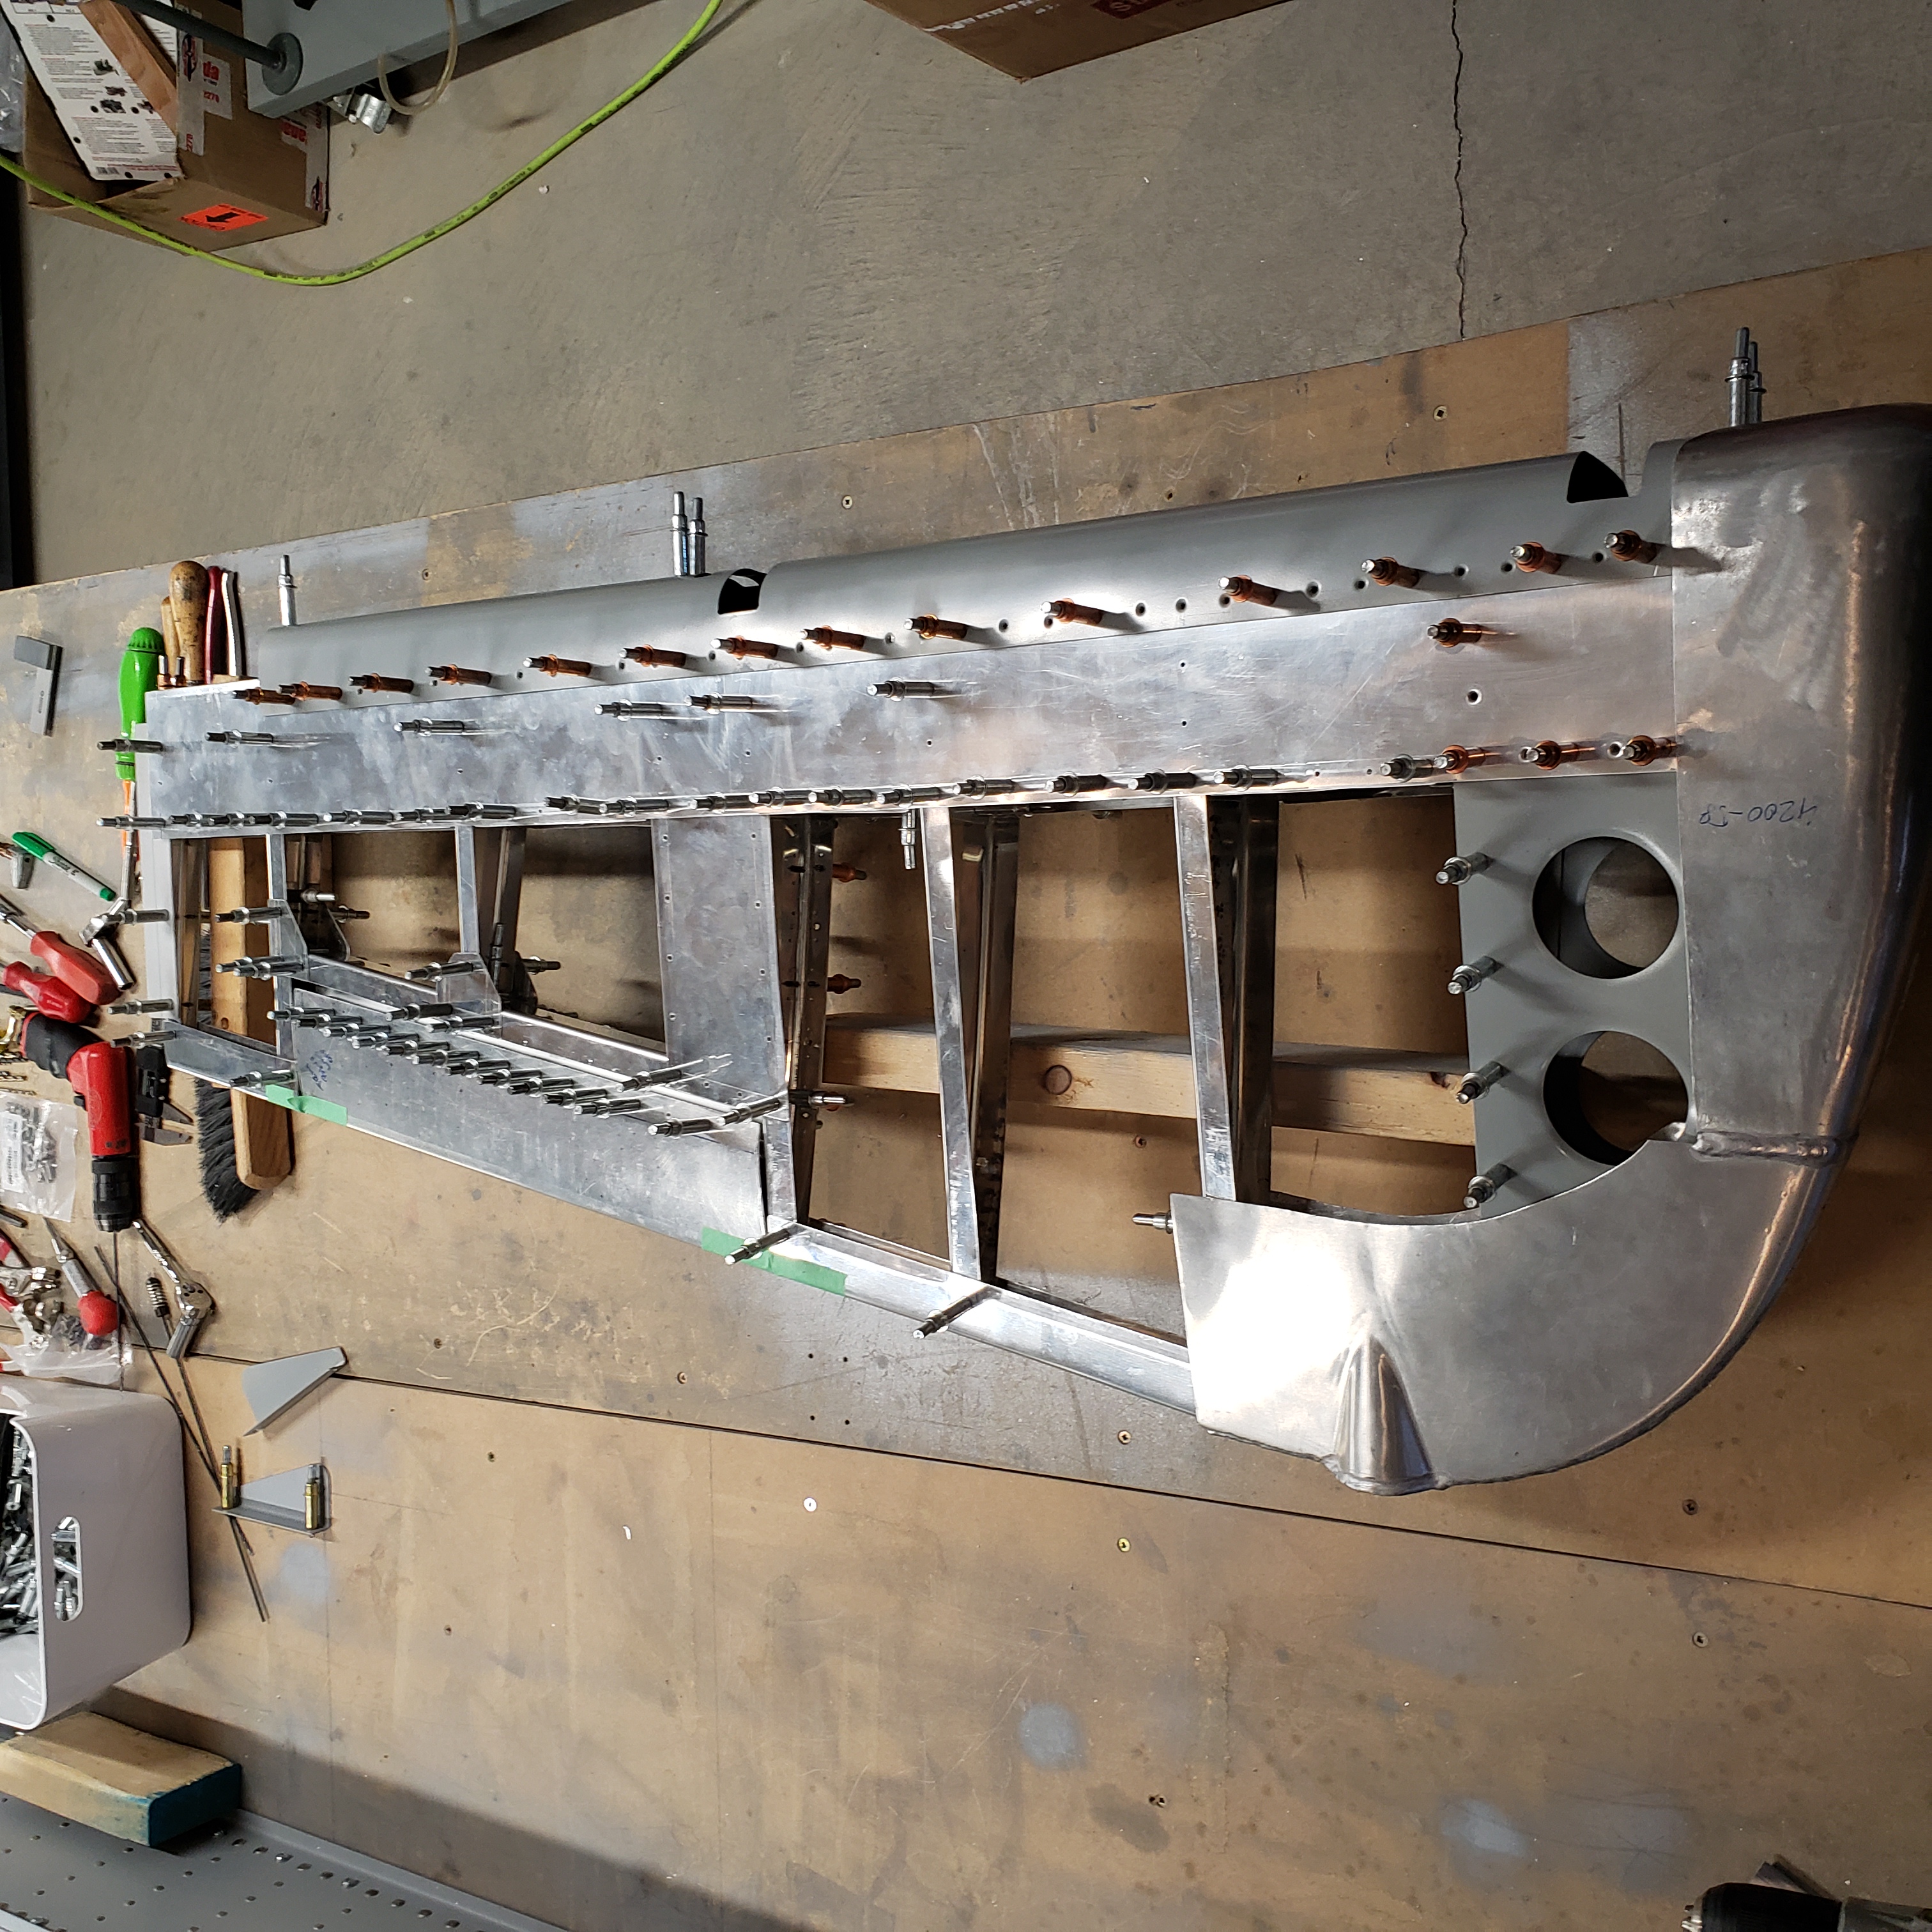
Here’s some closer pictures of the lower fairing and how it fits. It too needs some overall trimming and will eventually be fastened to the rudder by some large head pulled rivets. Once all is done, the rudder then is fabric covered, just like a big P-51.
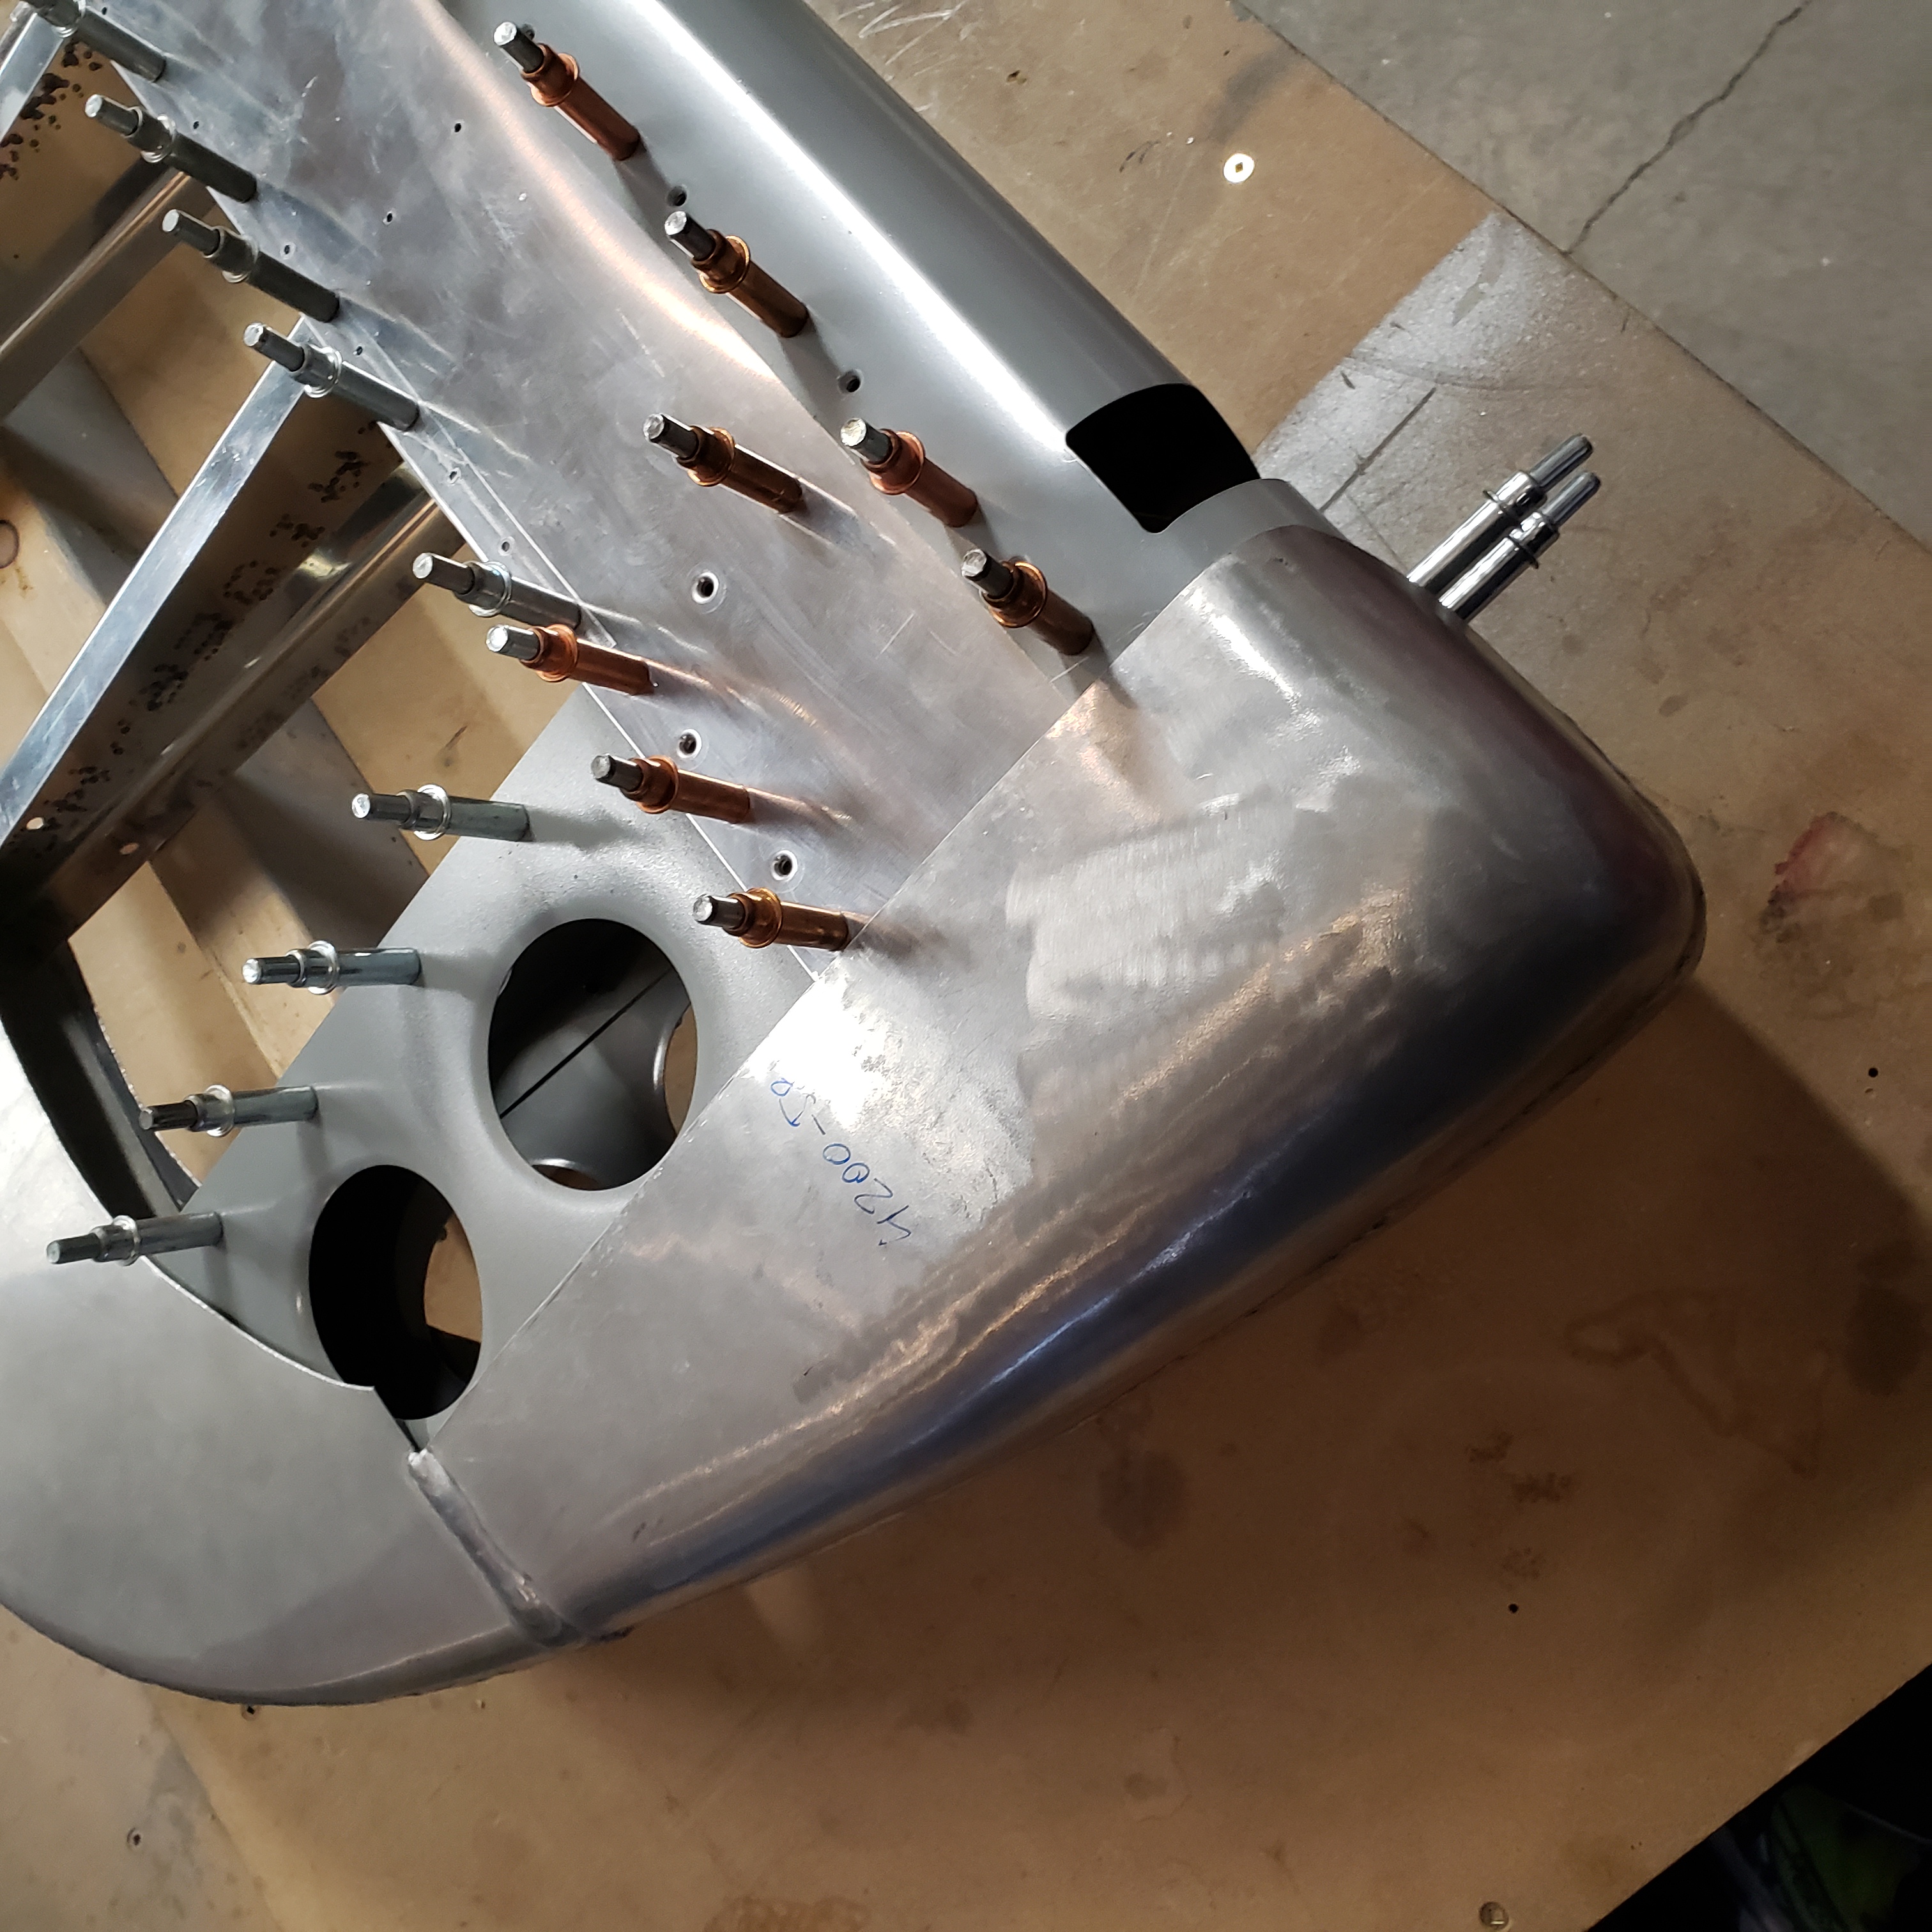
On the aft side of the fairing, it’s impressive how the nav light housing is formed into the fairing.
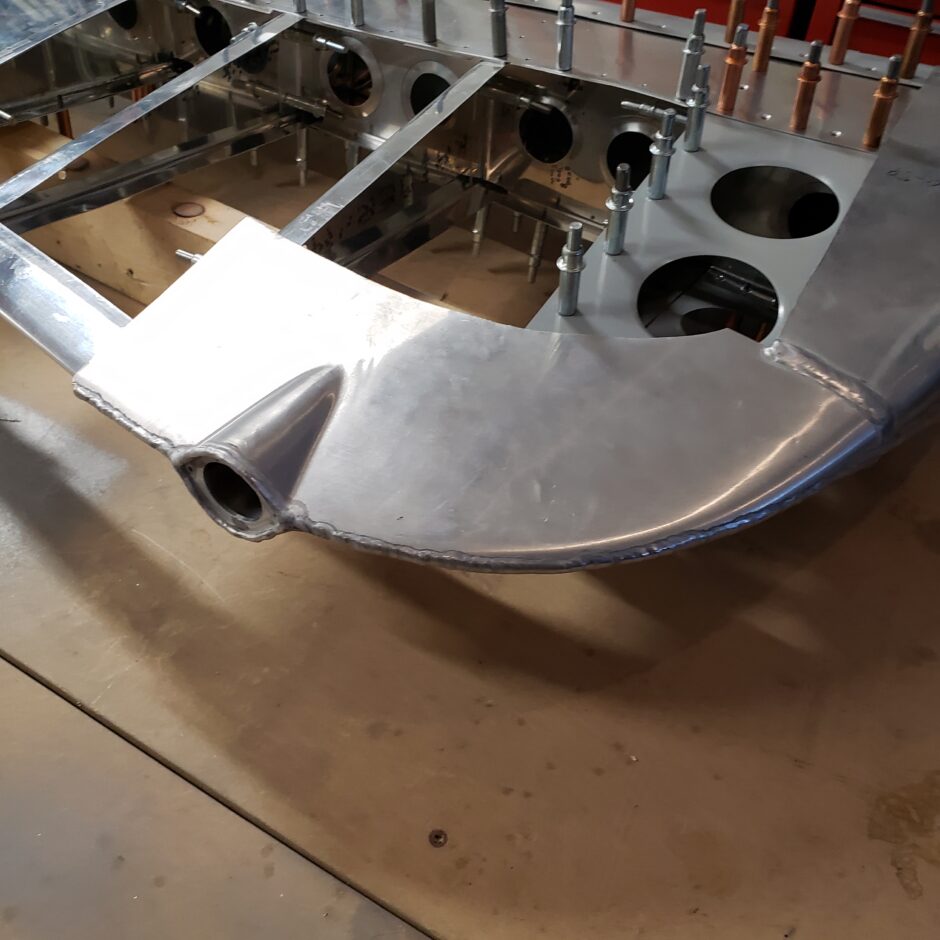
The workmanship of this lower fairing is definitely impressive. The fit is fantastic!
That’s all for today folks! Please comment. I love to hear from my readers. Thanks again for coming along for this ride, you make my work worthwhile.
Good day!
Leave a Reply