The task for today’s building session is to work on fitting the gussets onto the trim tab attach rib. These work to help provide stiffness to the structure around the trim tab cutout.
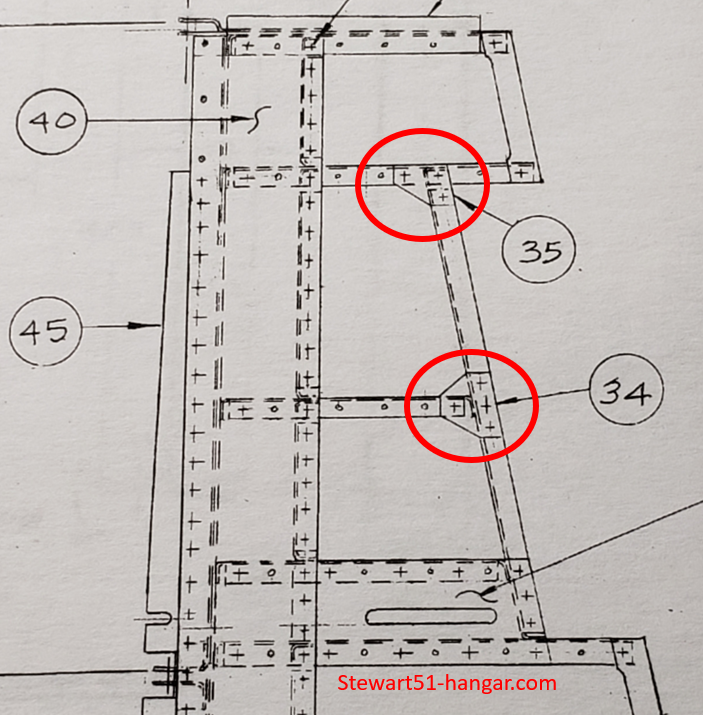
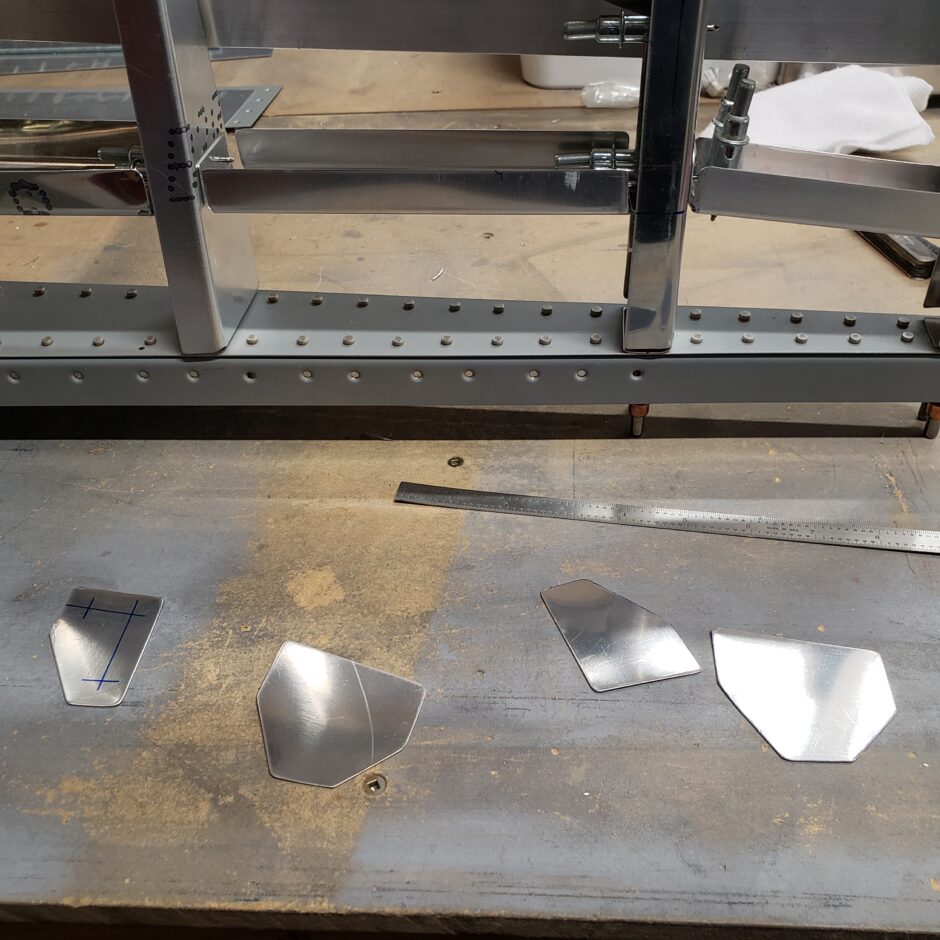
In a previous build session, I cut out and made a set of new gussets, as shown below.
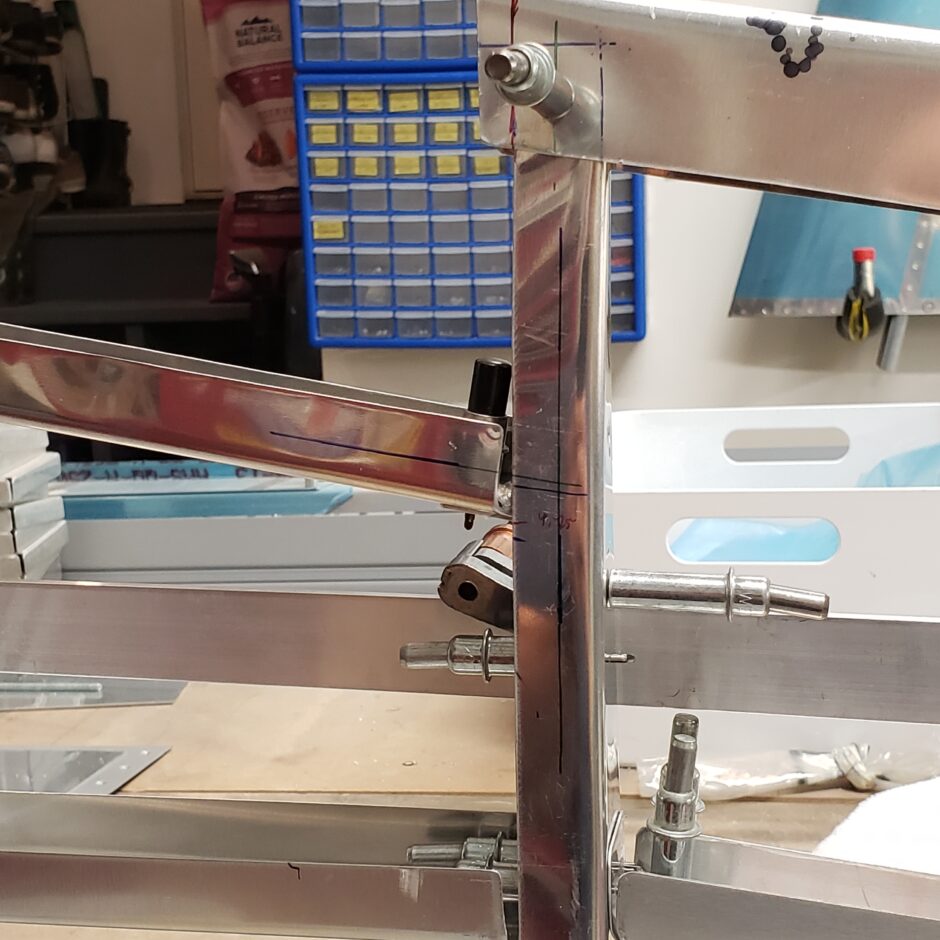
As shown below, I marked the centerline of the ribs, and extended the line out beyond where the gusset will be located, so that I can help align the edge distance lines that will be marked on the gussets.
In the picture below, you can now see how the edge distance of the gussets can be aligned with the centerline (or min edge distance) of the attaching ribs.
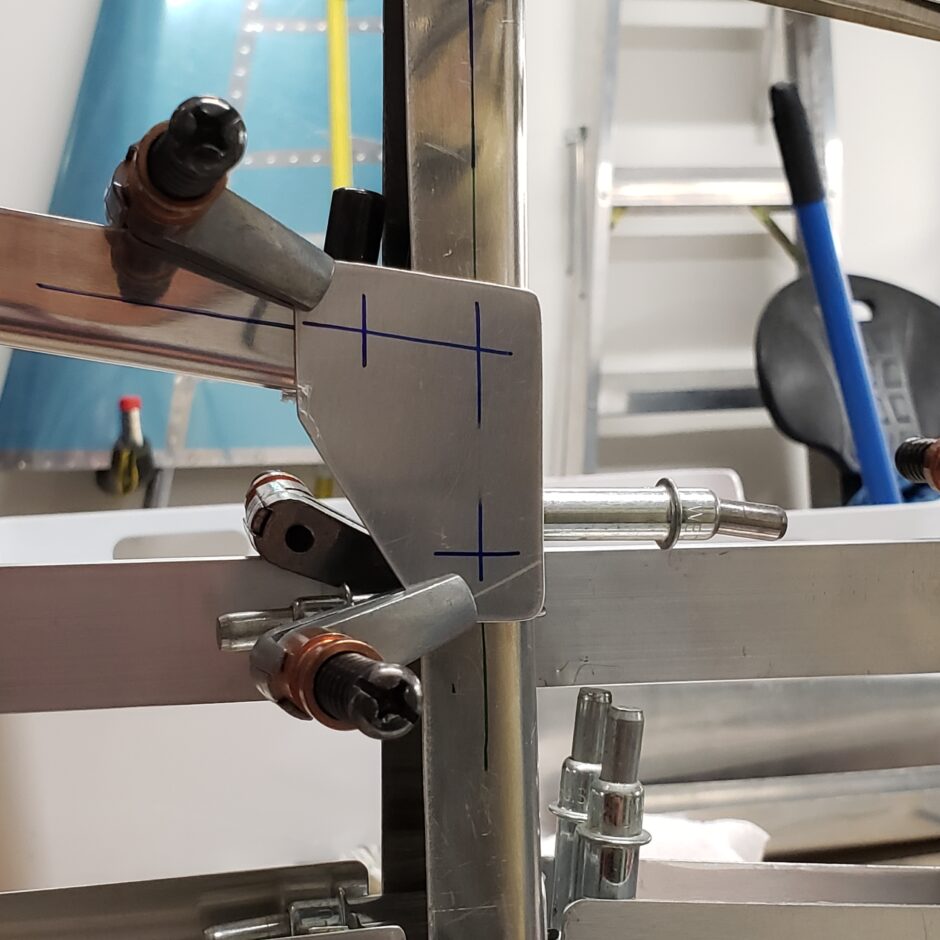
Same here for the lower gusset.
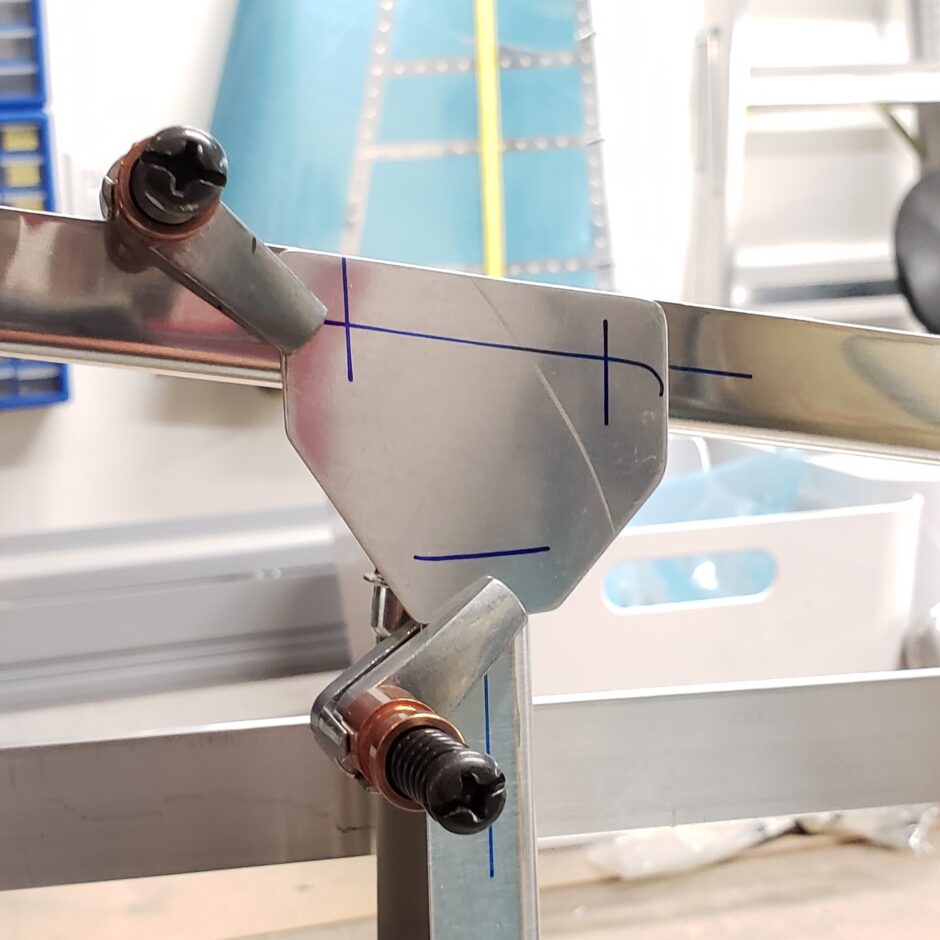
Here are the gussets clamped in place. I’m going to leave these for now and not drill them, because there are still some other parts to be added to the rudder which I may have to juggle things to make everything fit. When doing a lot of this scratch-building kind of work, I try to drill something ONLY what I absolutely have to. Things always want to move.
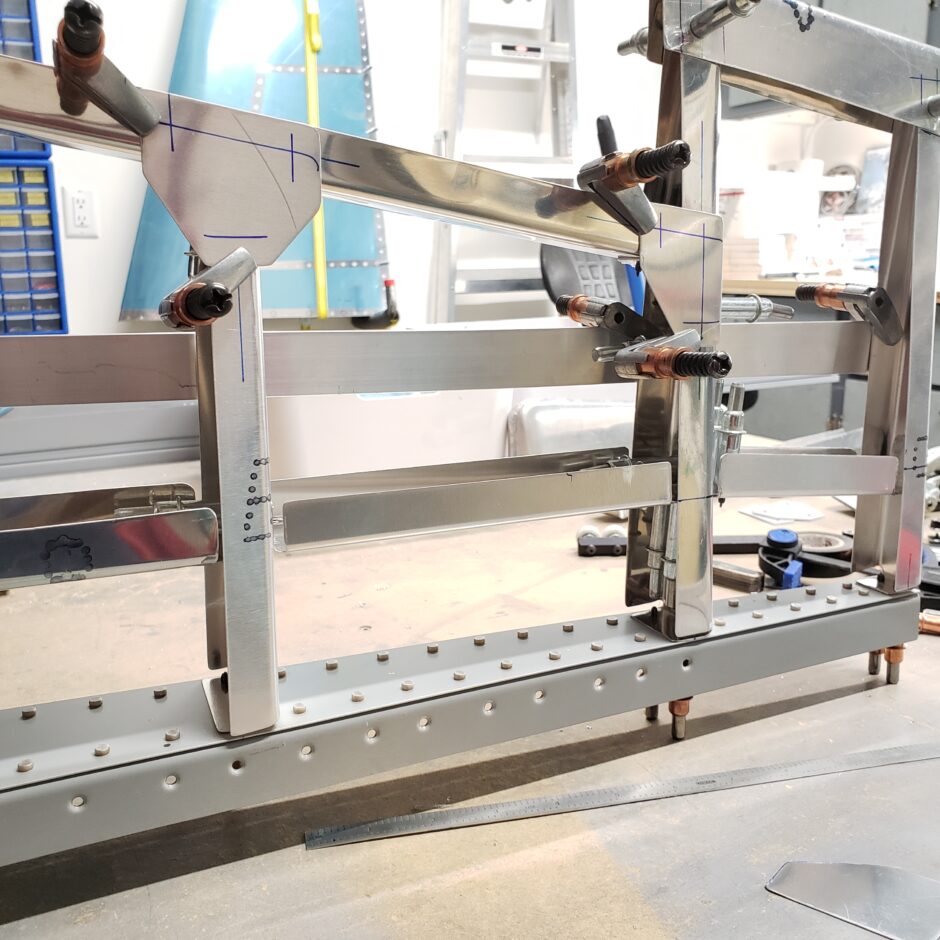
Rudder side skin fitting
The task that is next up, is to fit the side skins. This step will also finally help to provide some much needed rigidity to the rudder assembly. To start out, I’ve just got the skin clamped in place to get it located, and to double check that it will be a proper fit.
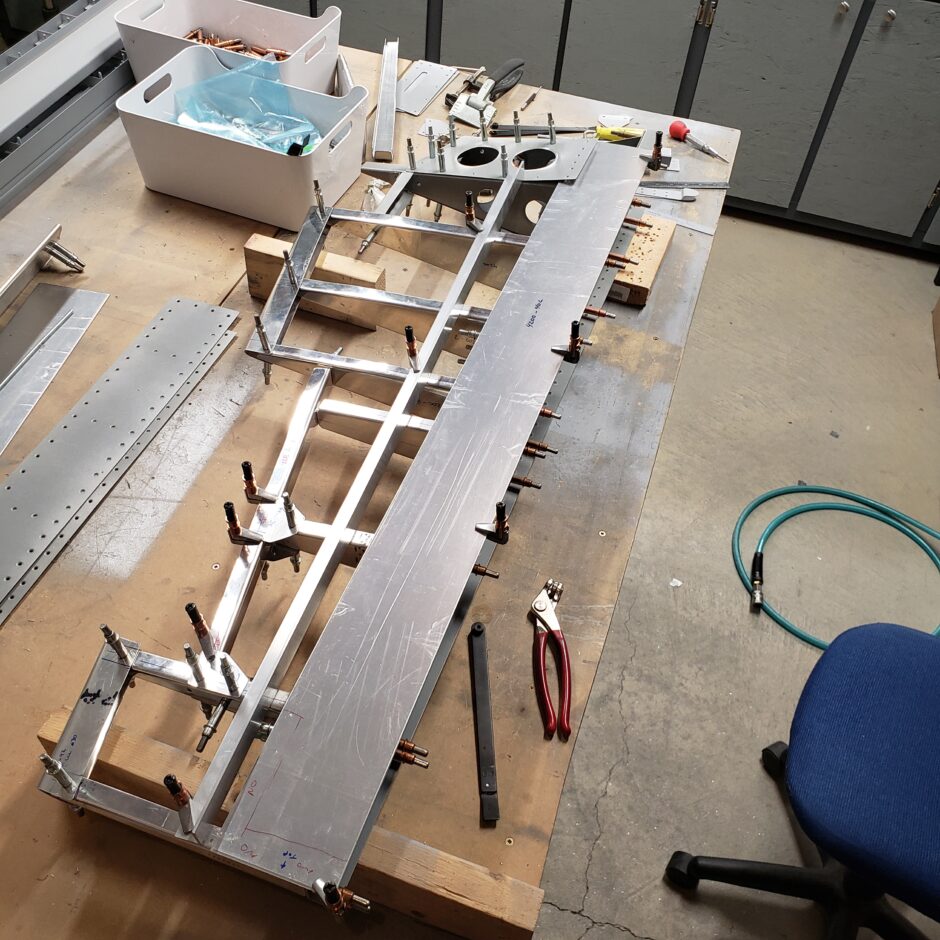
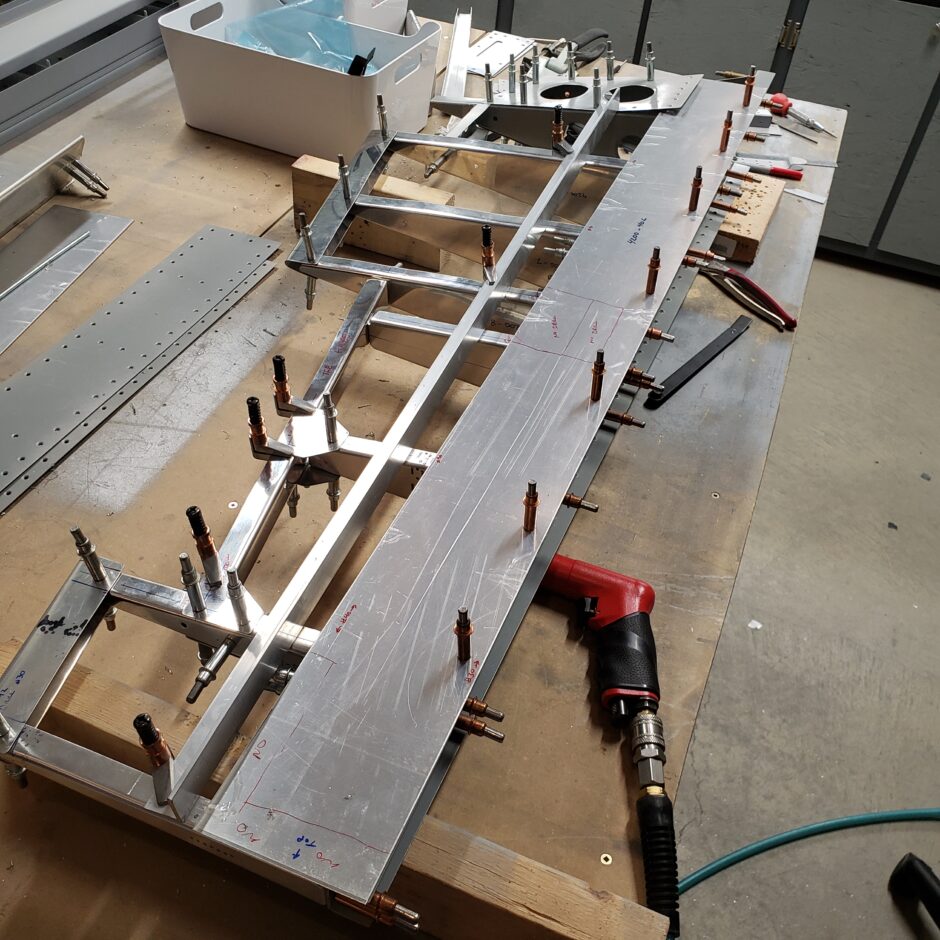
Once I got the side skin located, it was time to start drilling. The catch here, is that I have to match drill the holes in the spar, that have been previously drilled. This isn’t a huge problem if you have the right tools. For this job, I made full use of using the strap duplicator. This tool allows me to align the center of the tool into the ‘blind’ hole in the spar. I say it’s a blind hole because it’s covered over by the new skin. With the duplicator, it acts as a drill guide, and I know (as long as the pin is in the blind hole) that I’ll have a matched drilled hole in the new skin. Super easy!

When drilling the new skin, I’m trying to evenly space out the first few holes. I find this approach works well to help distribute the movement of the skin. I feel that by working from one end directly to the other, the skin has the potential to move more than moving back and forth, from end to end. Basically drill, move to the other end, then split the difference with the next hole. Then repeat.
With the spar side of the skin drilled, I moved on to drilling the aft side, which picks up on the new ribs and the vertically mounted mid-span rib. In the picture below, you can see one of the mid-span ribs. I marked a centerline where I want the rivet line to go. The ‘5’ identifies to me that I need to have 5, equally spaced fasteners located on this part. You can also see I have already marked the edge distance in from the ends.
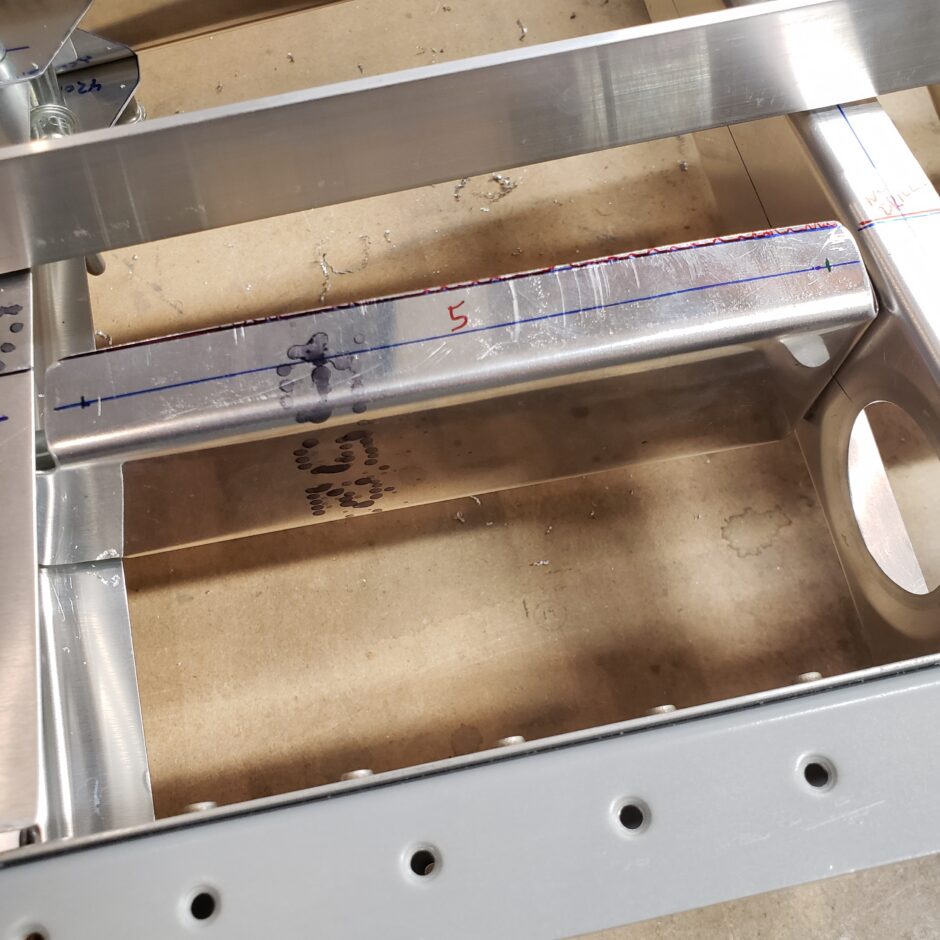
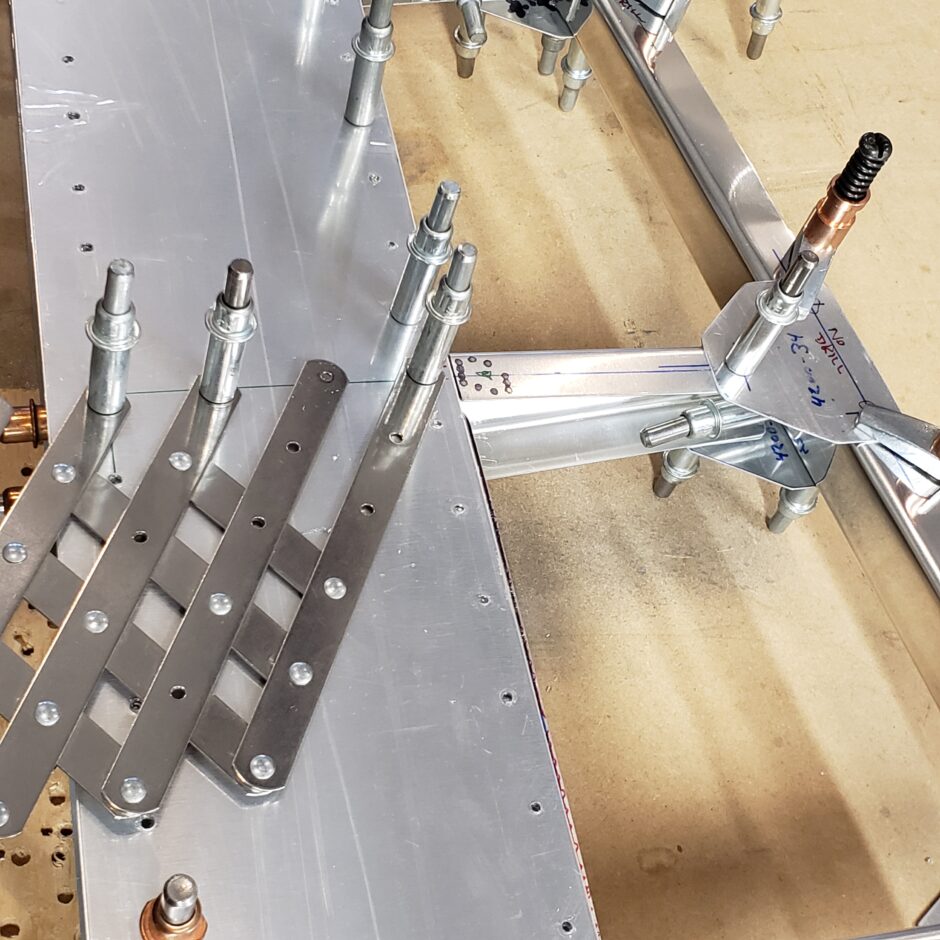
With the rib marked, and the outer holes drilled. I then used the rivet fan spacer tool to evenly space out the 5 rivets holes needed here.
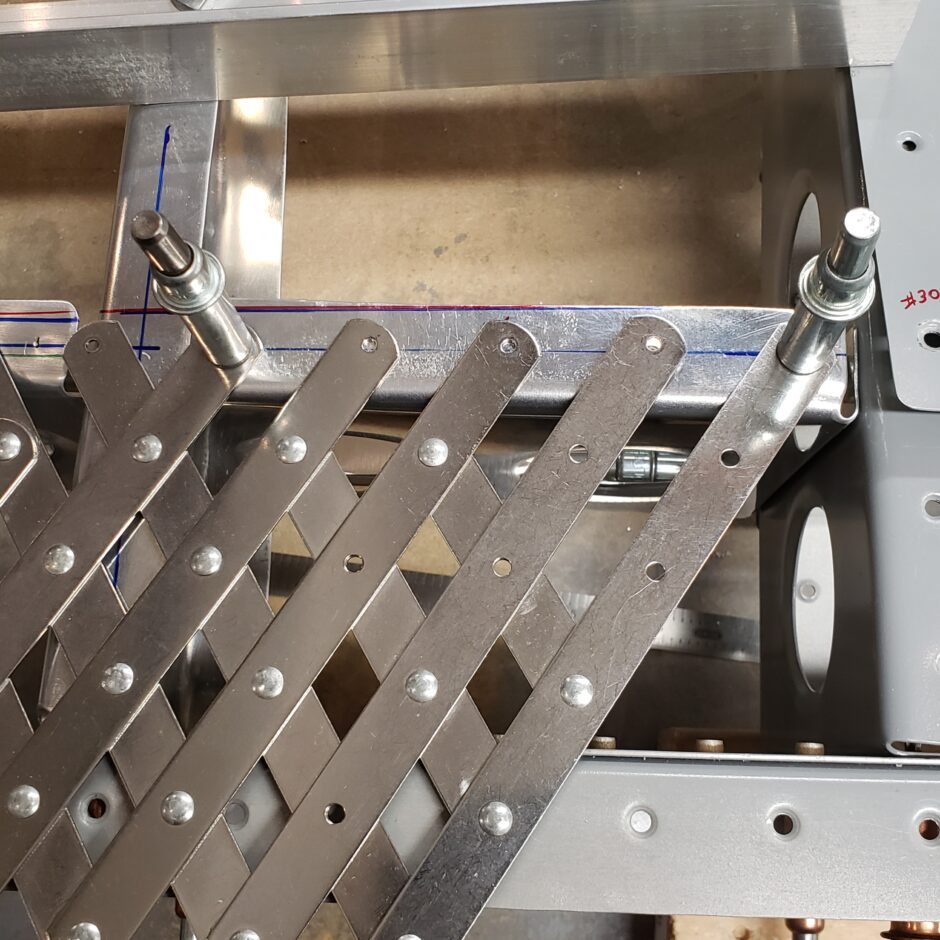
In the picture below, the mid-span ribs have been drilled. With these ribs drilled, I’ll again be using the strap duplicator to transfer the holes to the new skin.
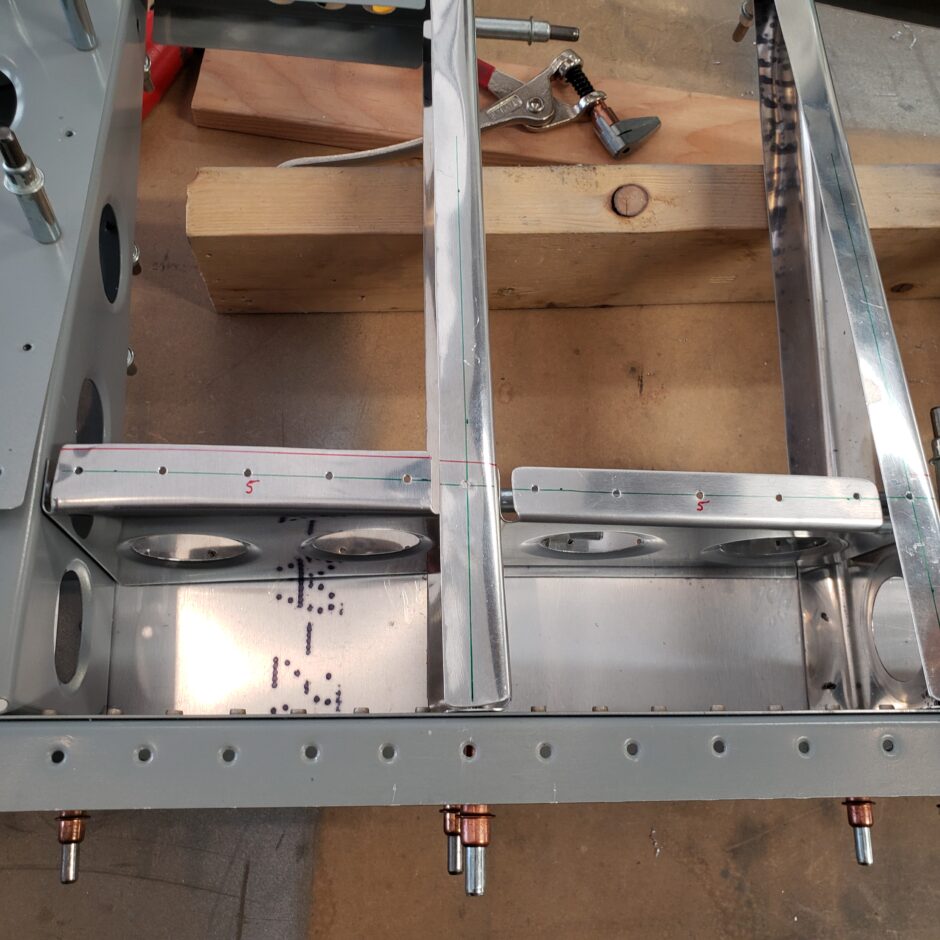
In the picture below, I pretty much has the first side skin drilled.
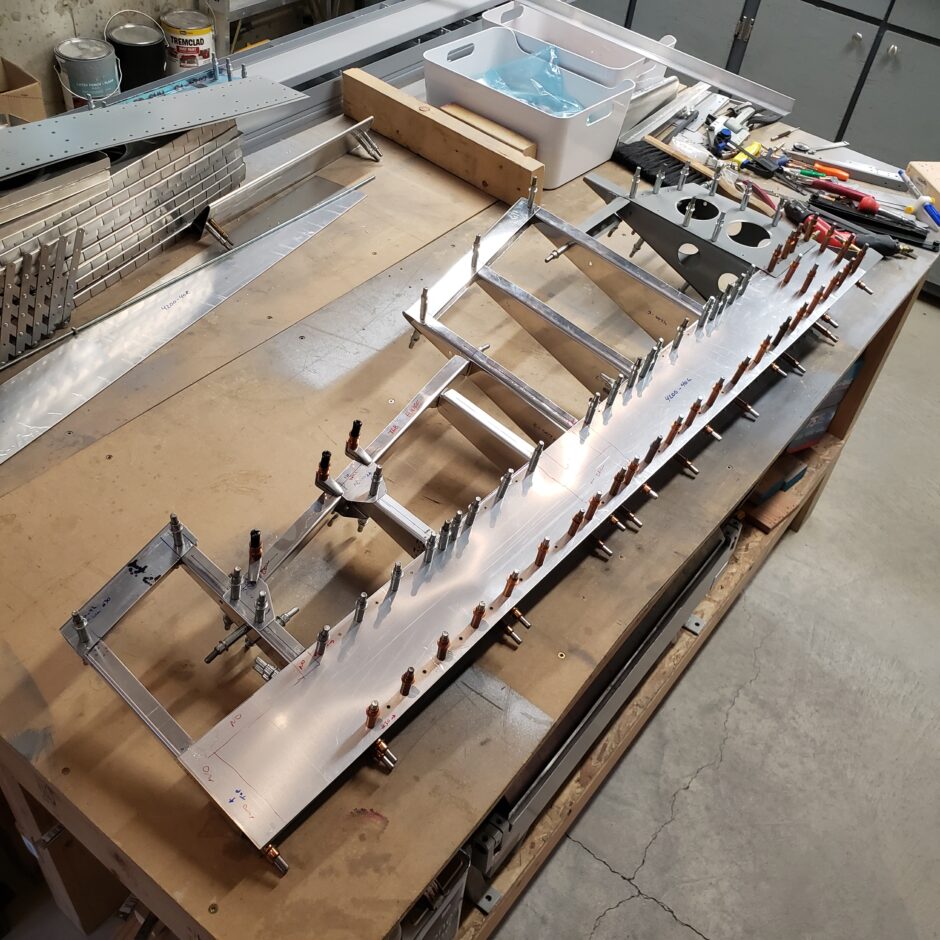
Before I finish off this side, I still need to drill the horizontally mounted ribs. The picture below, shows how this was done. Again, using the fan spacer to evenly space the holes. Also note that I transferred the centerline of the rib, to overlay the new side skin, to ensure that I’m not venturing too far off to maintain proper edge distance.
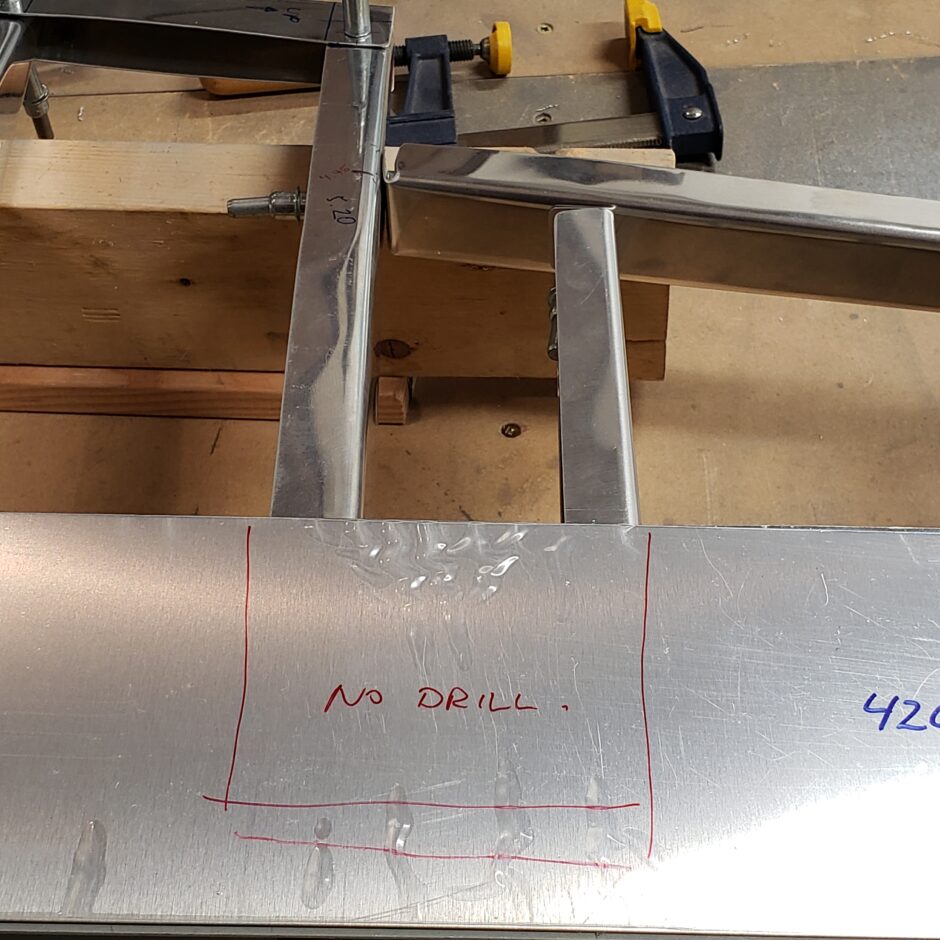
I also roughly identified an area to avoid drilling right now. This is the area (or compartment so to speak) where the rudder trim tab mechanism can be accessed. I’ll detail how these access panel covers will attach a bit later.
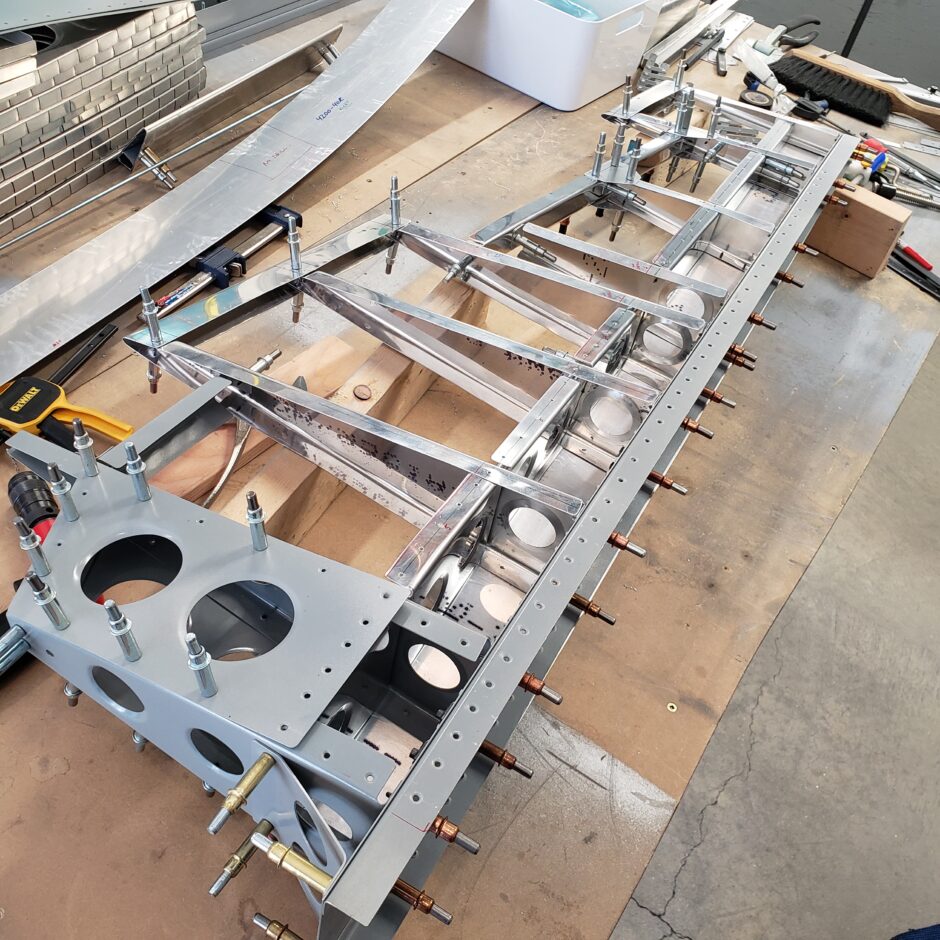
In the photo below, you can see that the left side skin of the rudder is now drilled and in place and I’m not starting on the right side skin. The vertical ribs have also been marked, and pre-drilled.
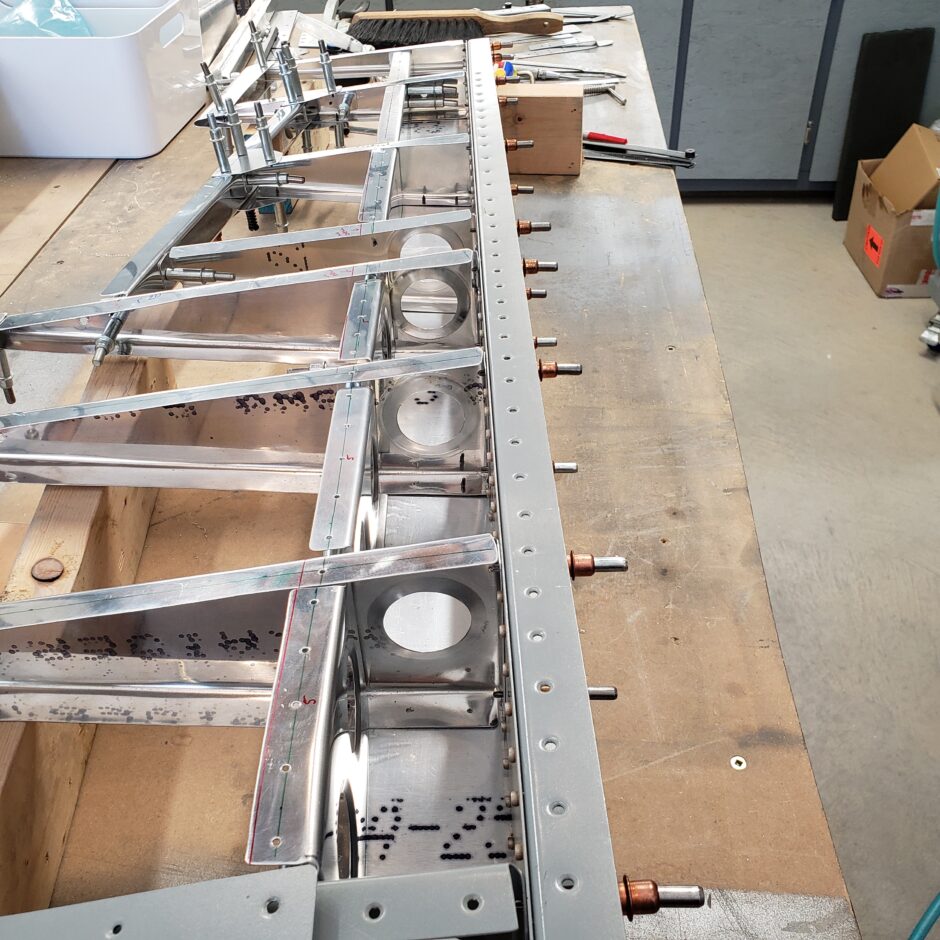
Again, same as for the previous side, I start by locating the skin and then clamping it in place before I start drilling.
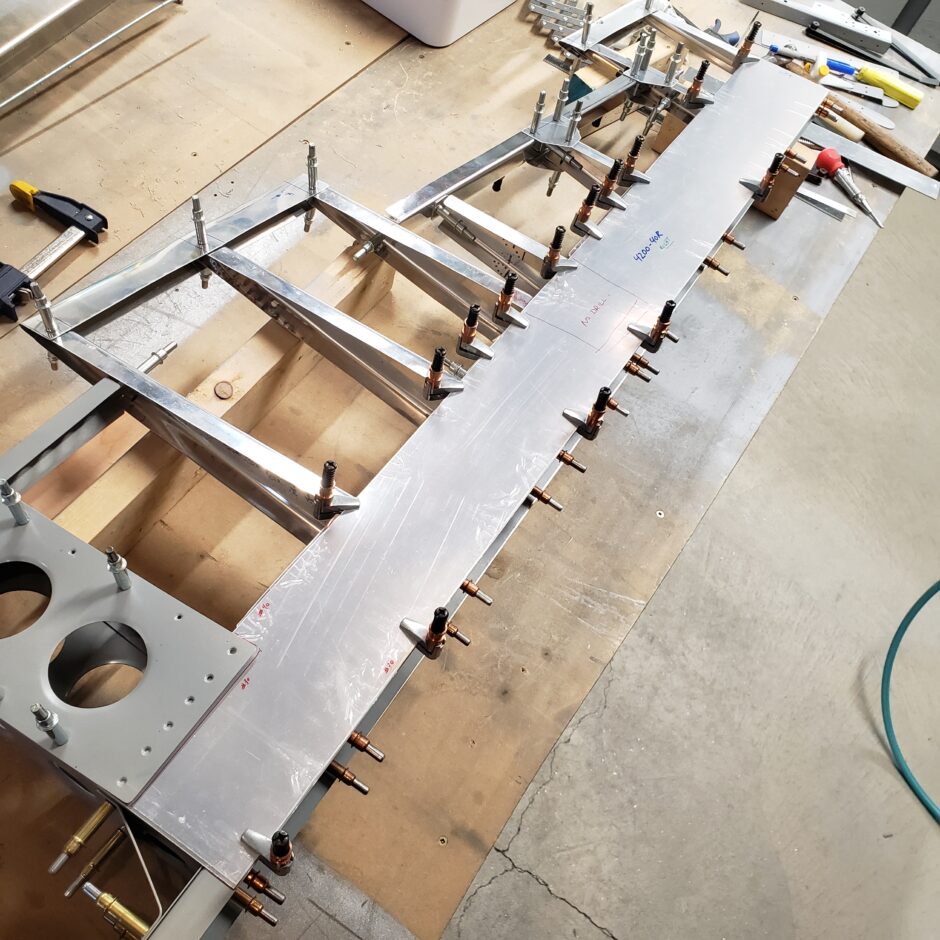
asda
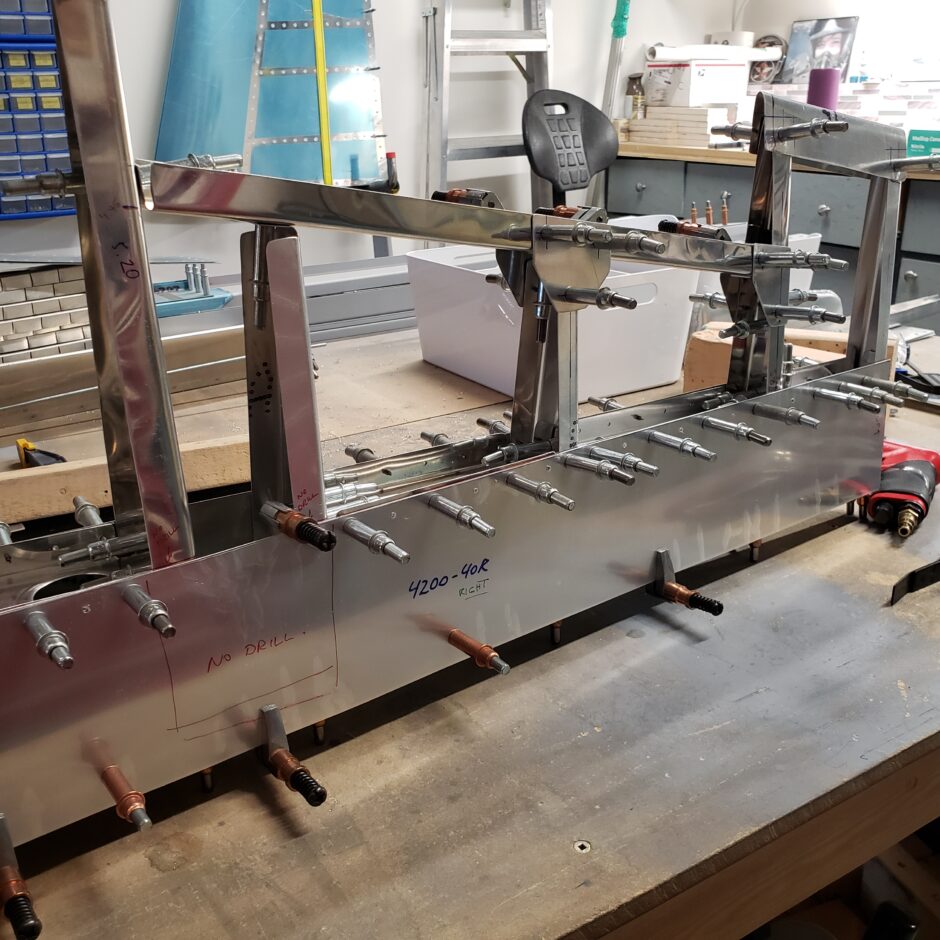
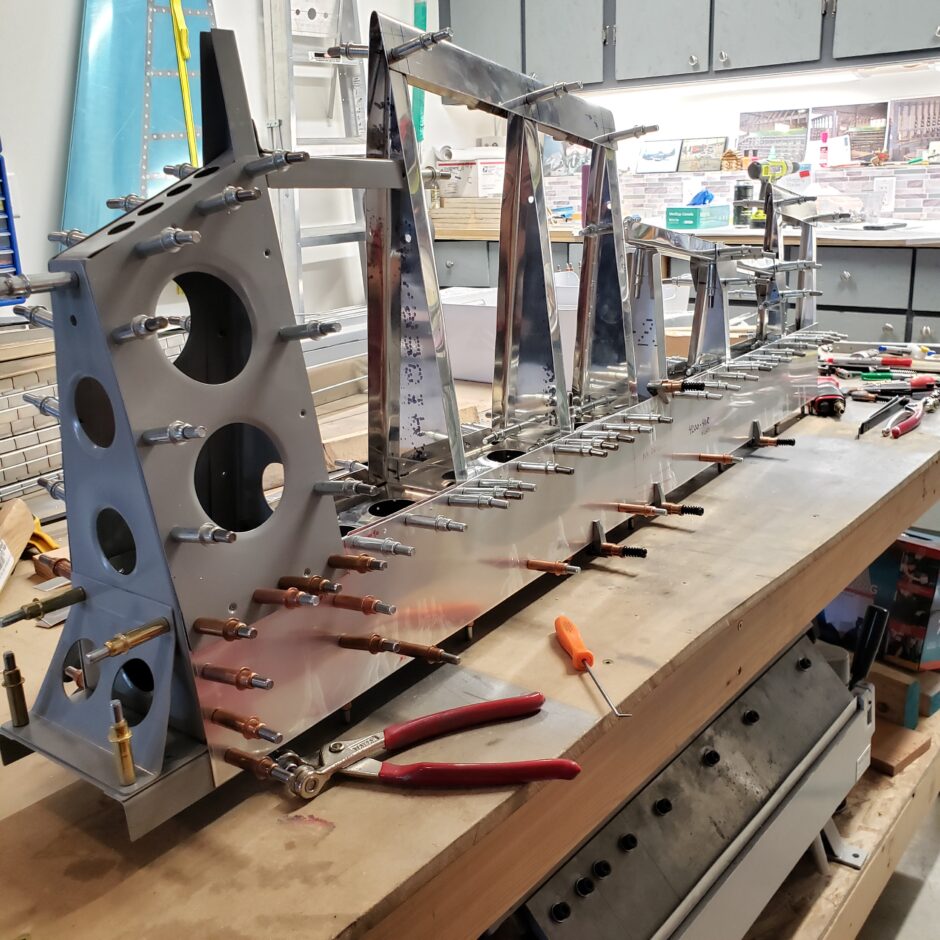

With both of the side skins drilled and cleco’d in place I was a happy camper!

Please comment. I love to hear from my readers. Thanks again for coming along for this ride, you make my work worthwhile.
Leave a Reply