Today I’m going to start working on the access panels of the rudder where the trim tab control mechanism will eventually be mounted. To start, here are some pictures showing a bit more detail of the lower end of the rudder with the side skins attached.
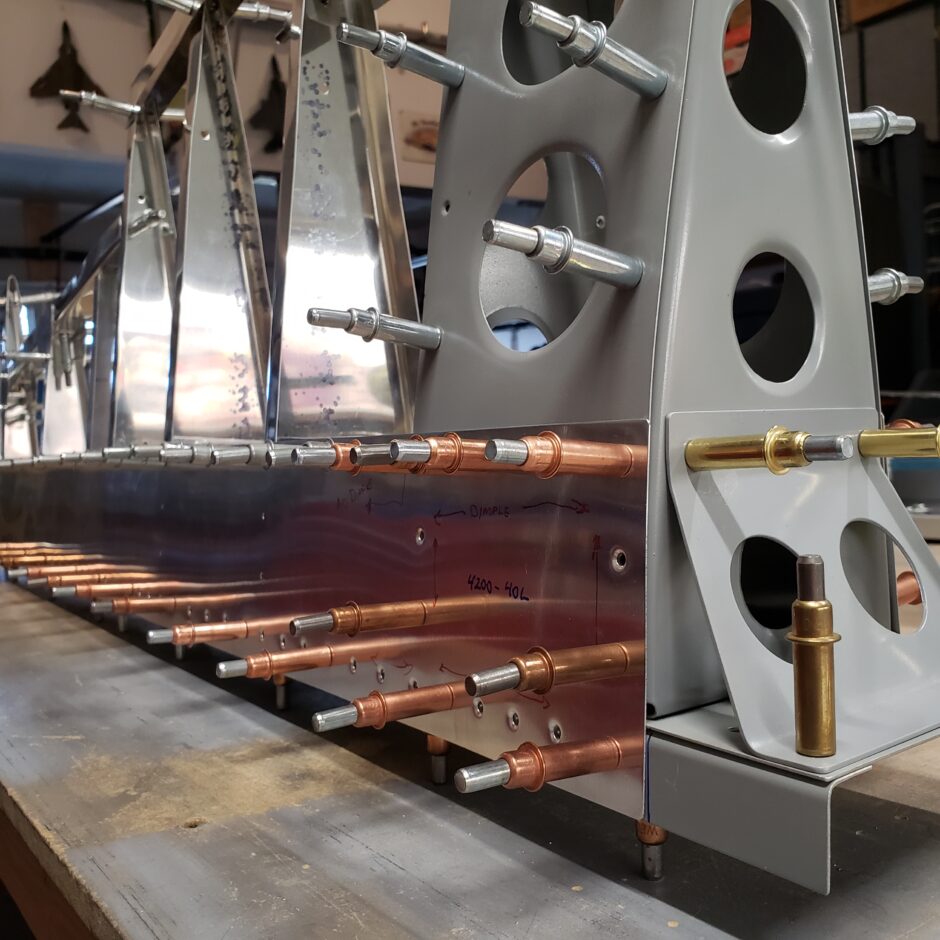
On the rudder, not all of the rivet holes are countersunk. It is optional to countersink, and I have choose to use flush rivets along the leading edge. In the picture below, you can see that I also have countersunk the holes for the lower ribs. I did this because that’s what I did initially the first time I attempted to assemble the rudder, so I’m just going to keep that the same. For any other new holes in the rest of the structure, for the most part this assembly is built up using 3/32 rivets, and I’m keeping these with universal heads. I think it will be easier to assemble, and at the end of the day, the rudder will be fabric covered so you won’t really notice the 3/32 universal heads much anyway. Especially along the trailing edge, I definitely recommend using the universal head rivets because it’s really tight. That’s what got me cornered the first time around. I had countersunk the trailing edge rivet holes, and with the countersink and trying to buck or squeeze those rivets, the results were terrible. This time around, I’m going to use pulled universal head rivets for the trailing edge. I think that will be set me up for more success.
Access Panels
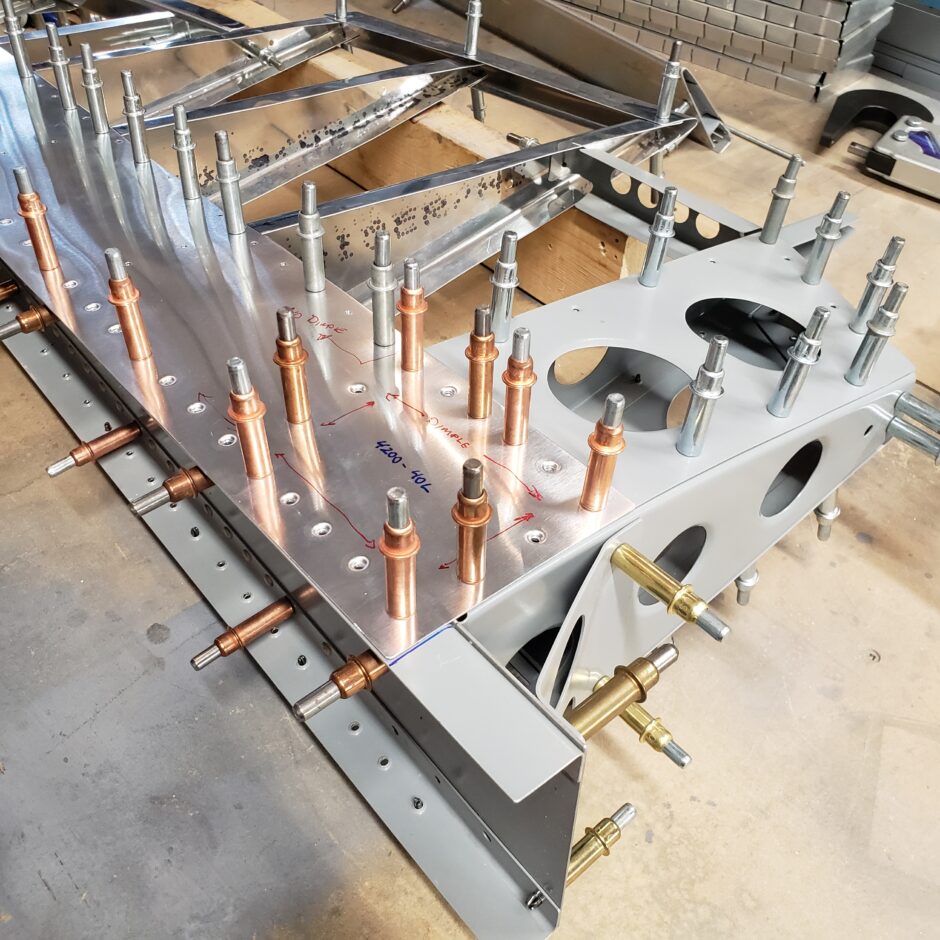
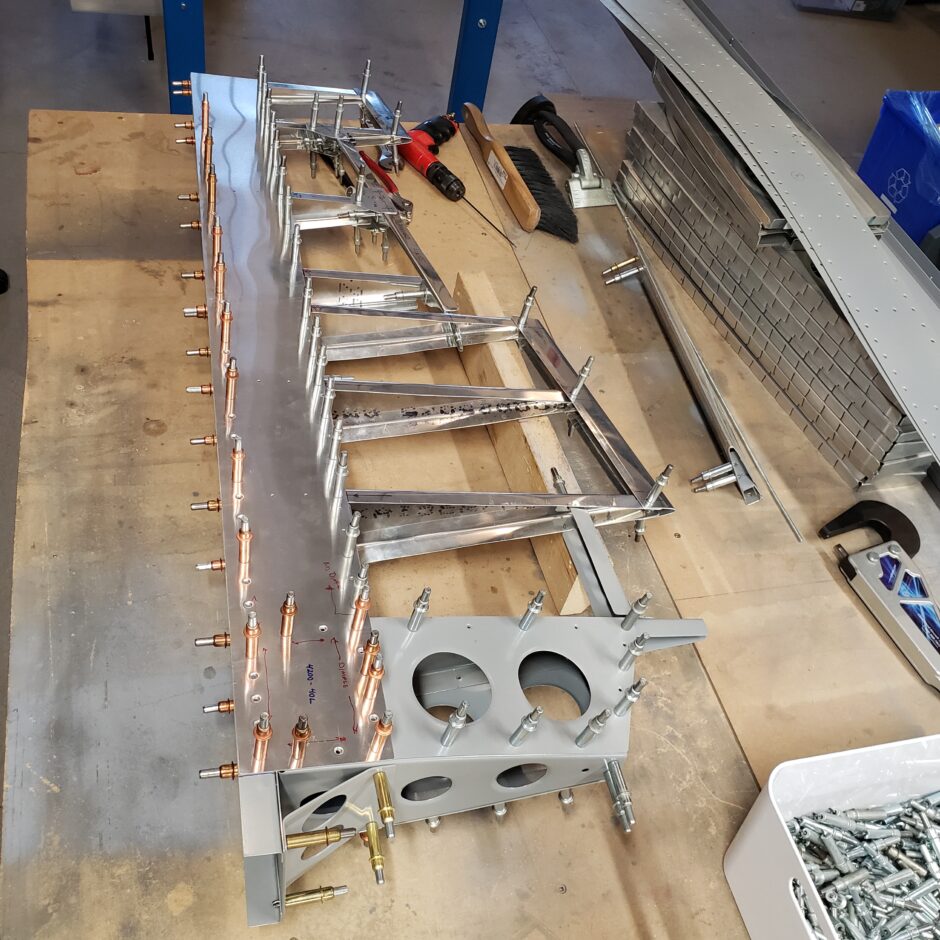
In the picture below, I have shown the left side rudder access panel. As you can see, with the new ribs I made, this access panel is slightly too narrow and not does not provide sufficient edge distance. So, I’m going to also have to fabricate a new access panel for this side.
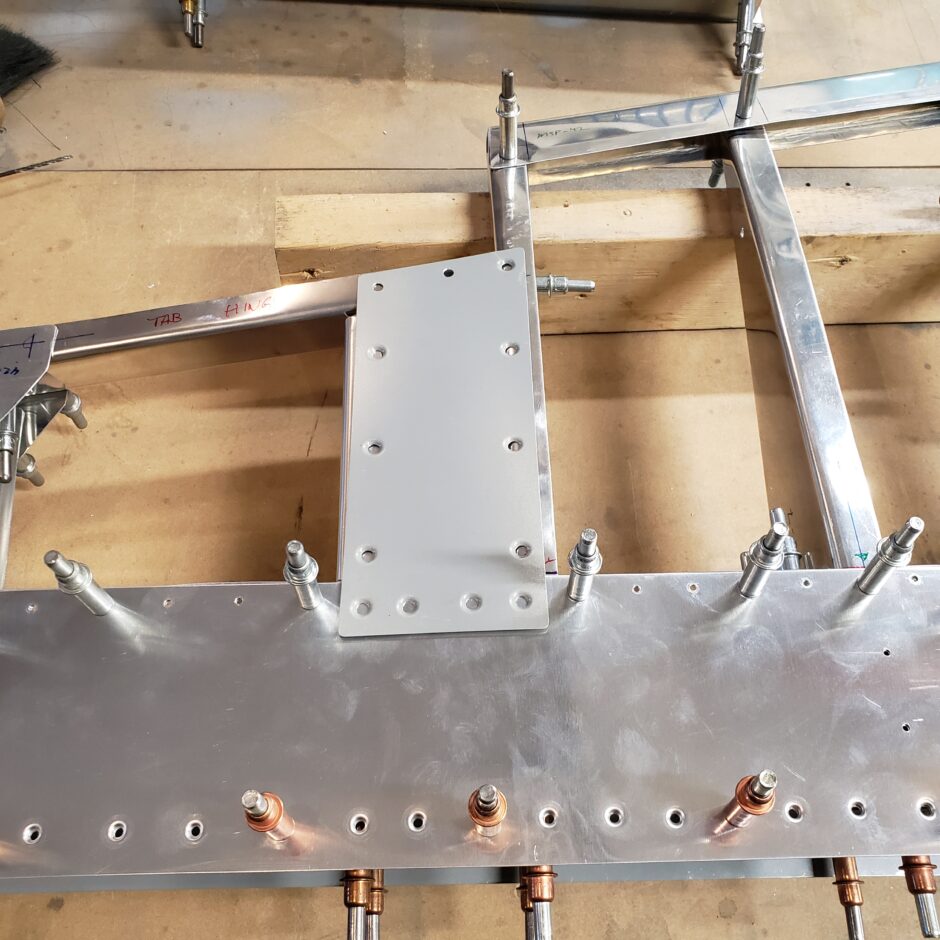
When looking at the right side access panel, I have the same issue here. Again, I’ll have to make a new plate for this side as well.
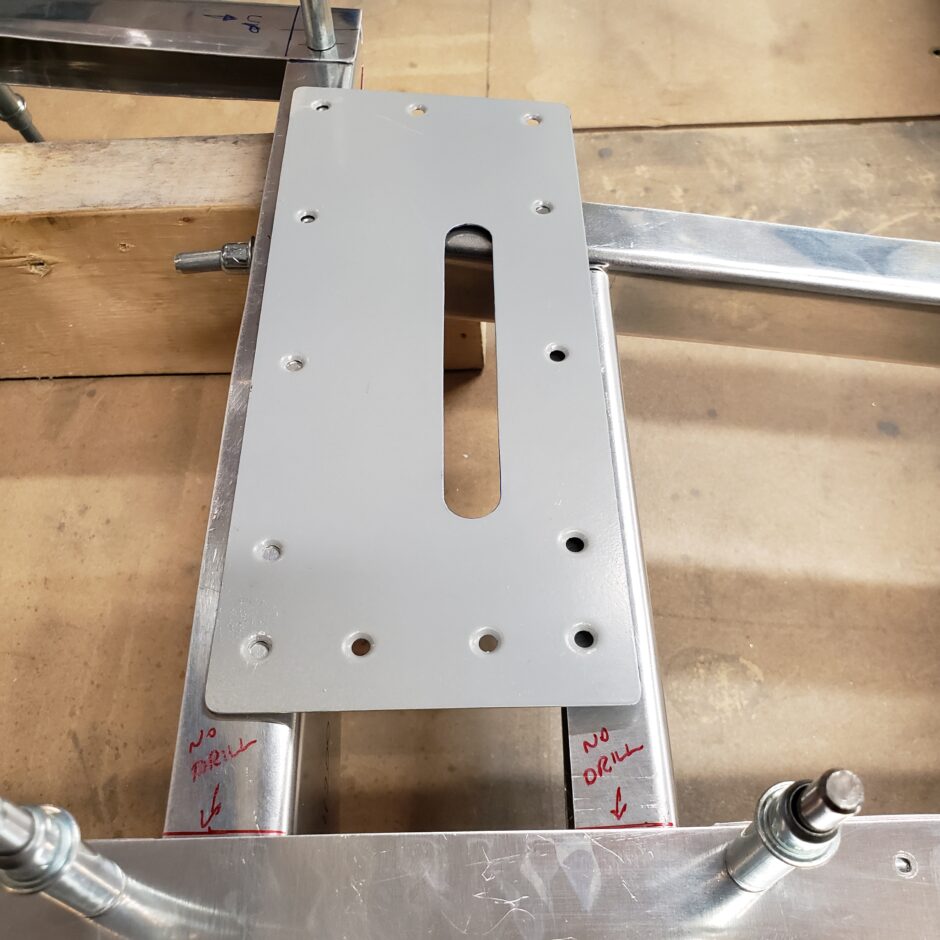
In the picture below, you can see I’ve cut out a new cover plate, and I traced the old plate on this new piece of material. You can now easily see how the fastener holes are much too close to the edge of the ribs.
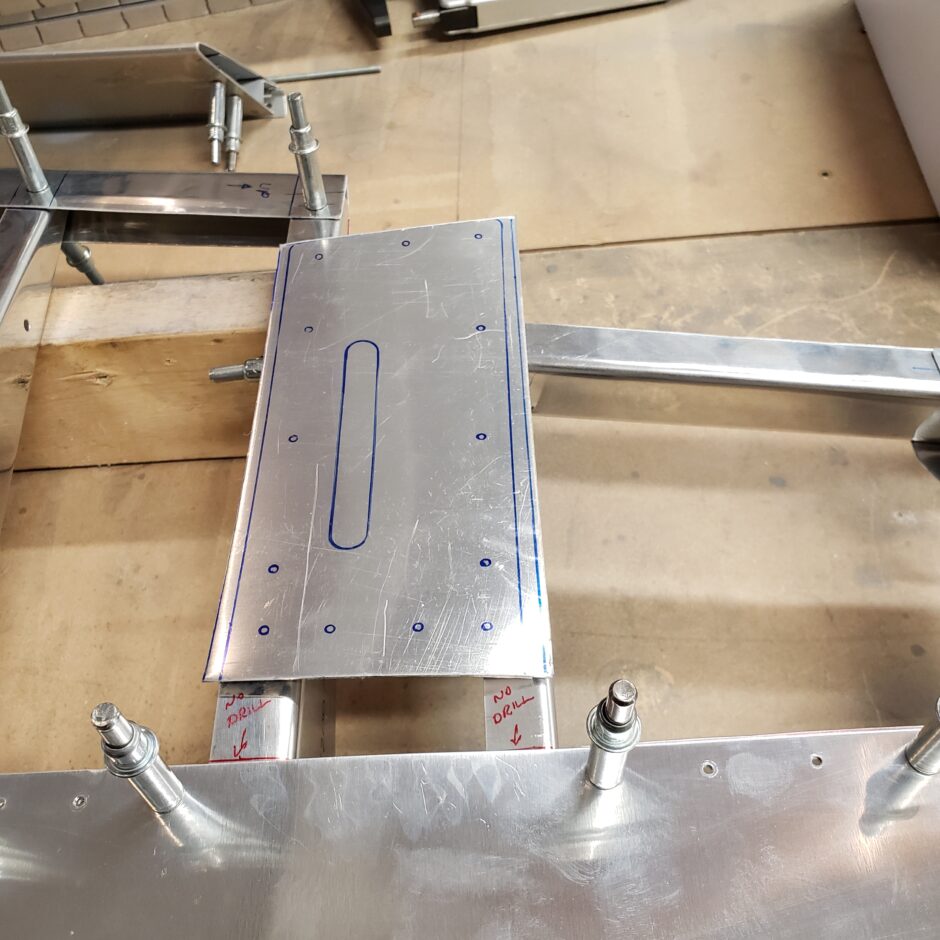
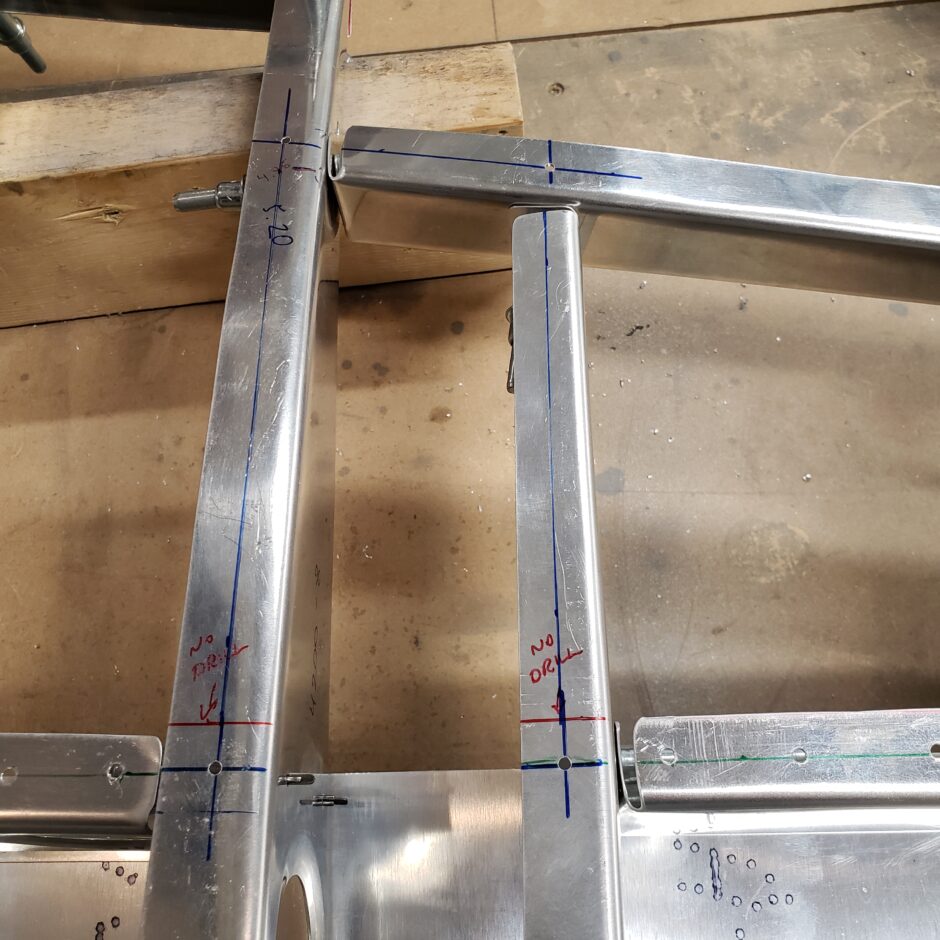
I started by marking the centerline of the ribs where it would be most desirable to locate the fastener holes. Then I drilled the corners where these lines intersect.
Next I clamped the new coverplate in place (disregarding the fastener holes transferred from the previous access panel. I’m just using these to let me know how many fasteners to drill (using a reference only!).
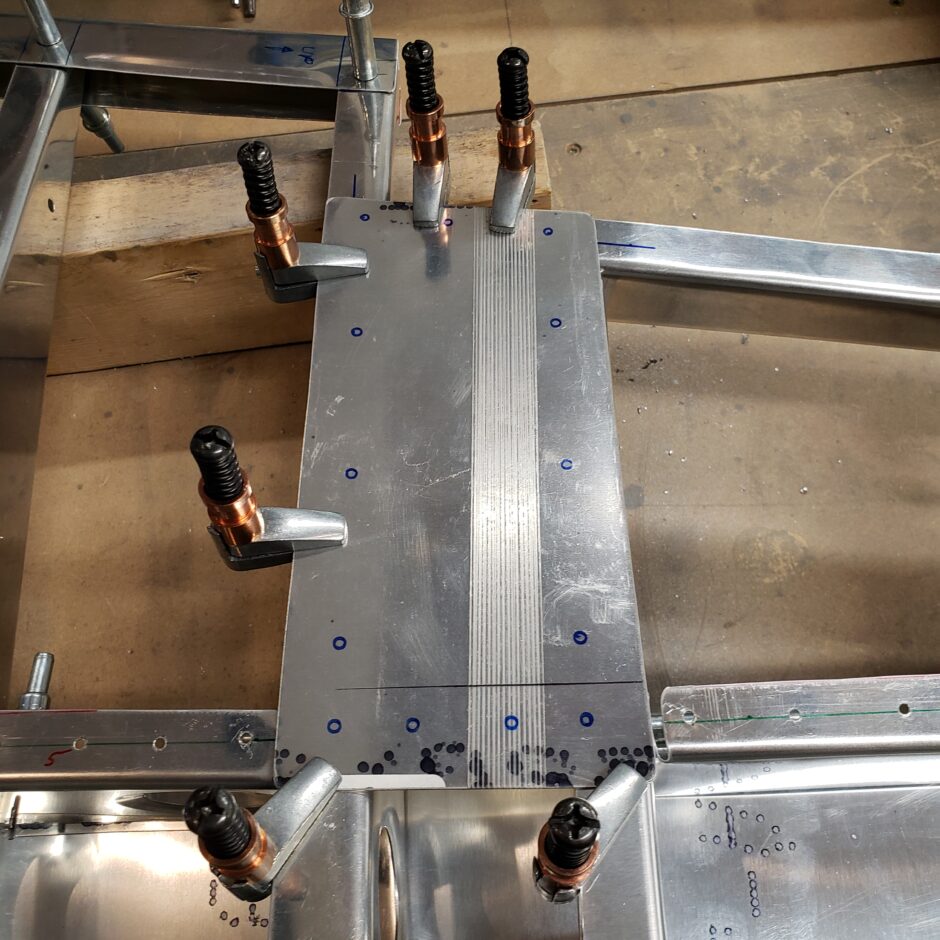
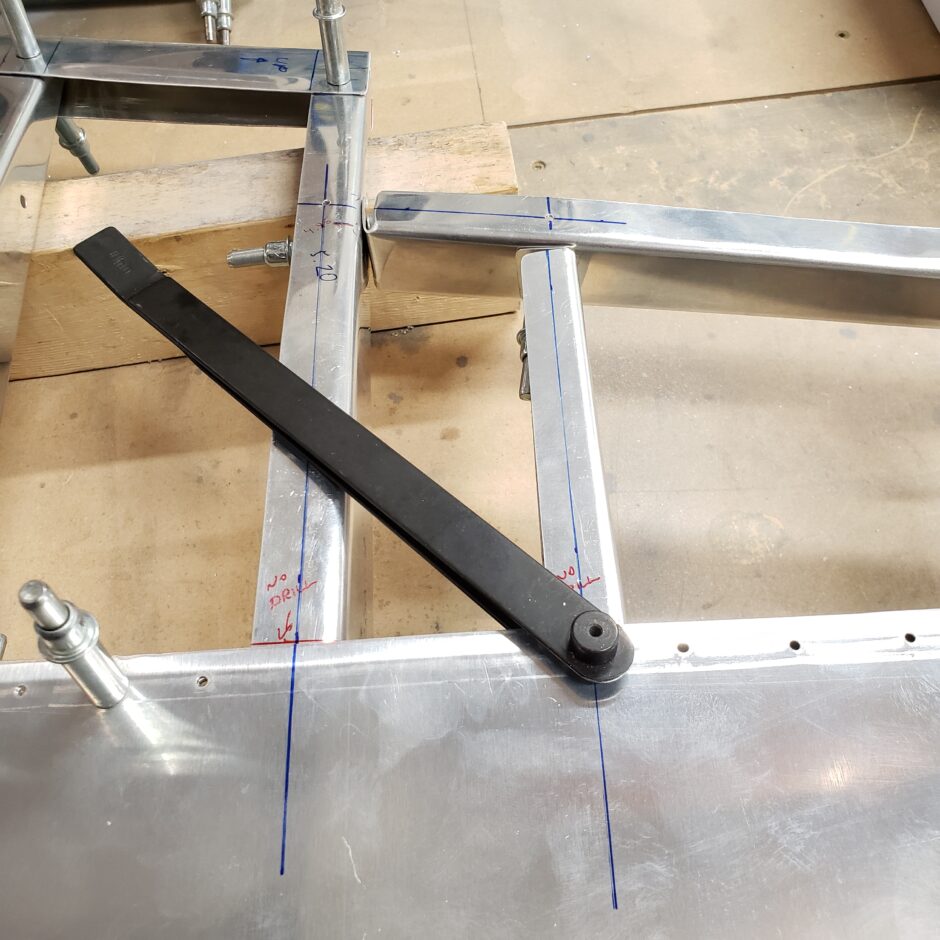
With the panel clamped in place, I then used the strap duplicator to transfer the holes from the structure below (on the ribs) to the side skin (as shown in the picture below).
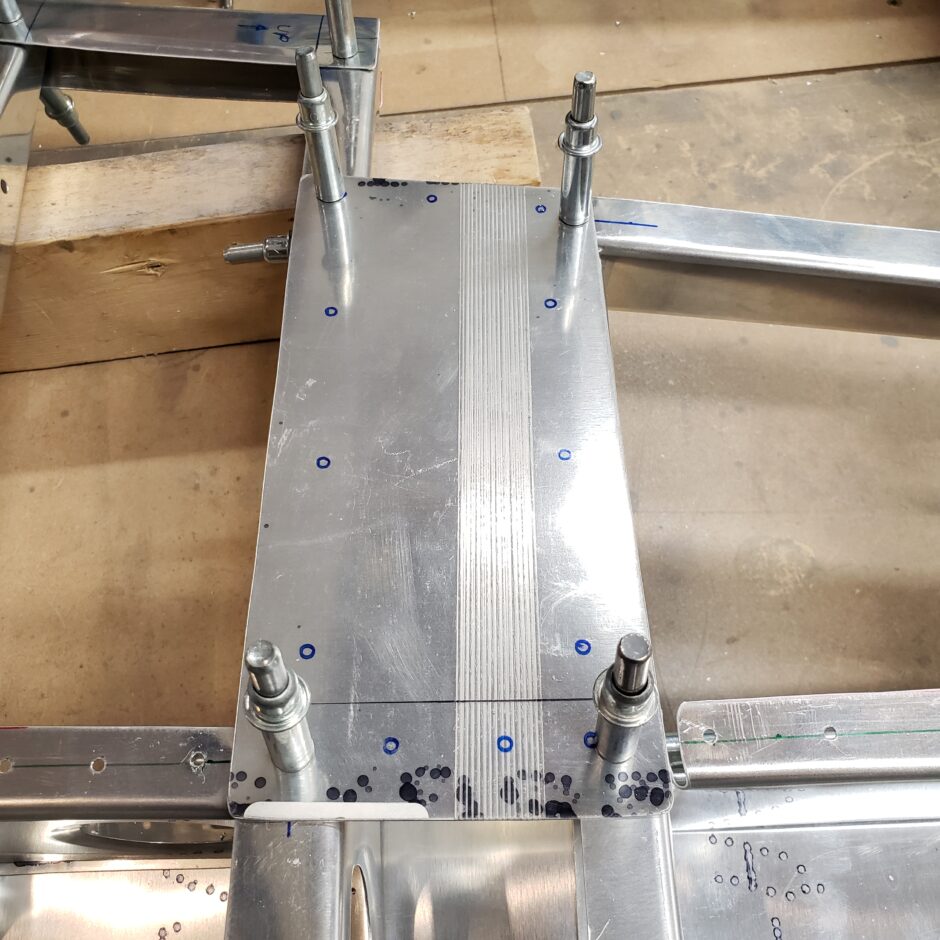
The picture below shows the panel after drilling the corners. You can see how this new panel fits much nicer than the original part. Not that the original part didn’t fit well (originally) but now after making a new set of ribs, things are slightly different dimensionally, so that’s why the original parts aren’t quite an exact fit anymore. This thing is 100% custom all the way…LOL!
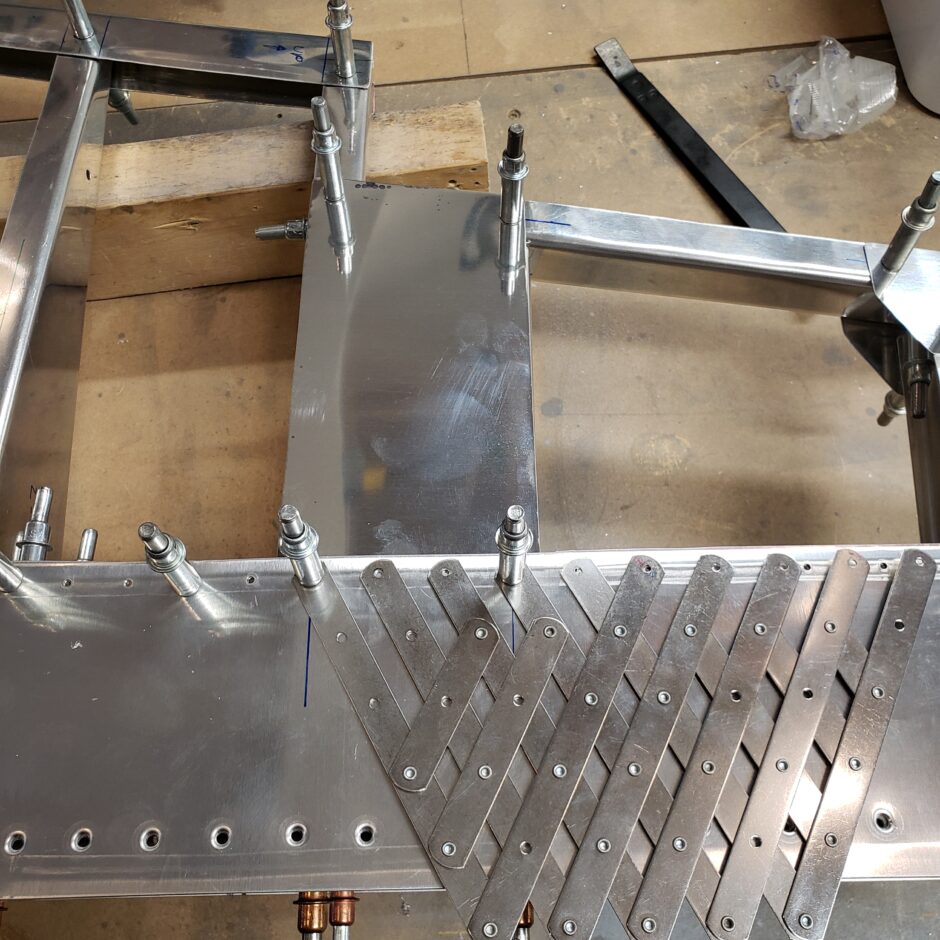
The next step was to add 2 more fastener holes along the forward side of the cover plate. I did this by using the fan spacer tool to evenly space out the holes.
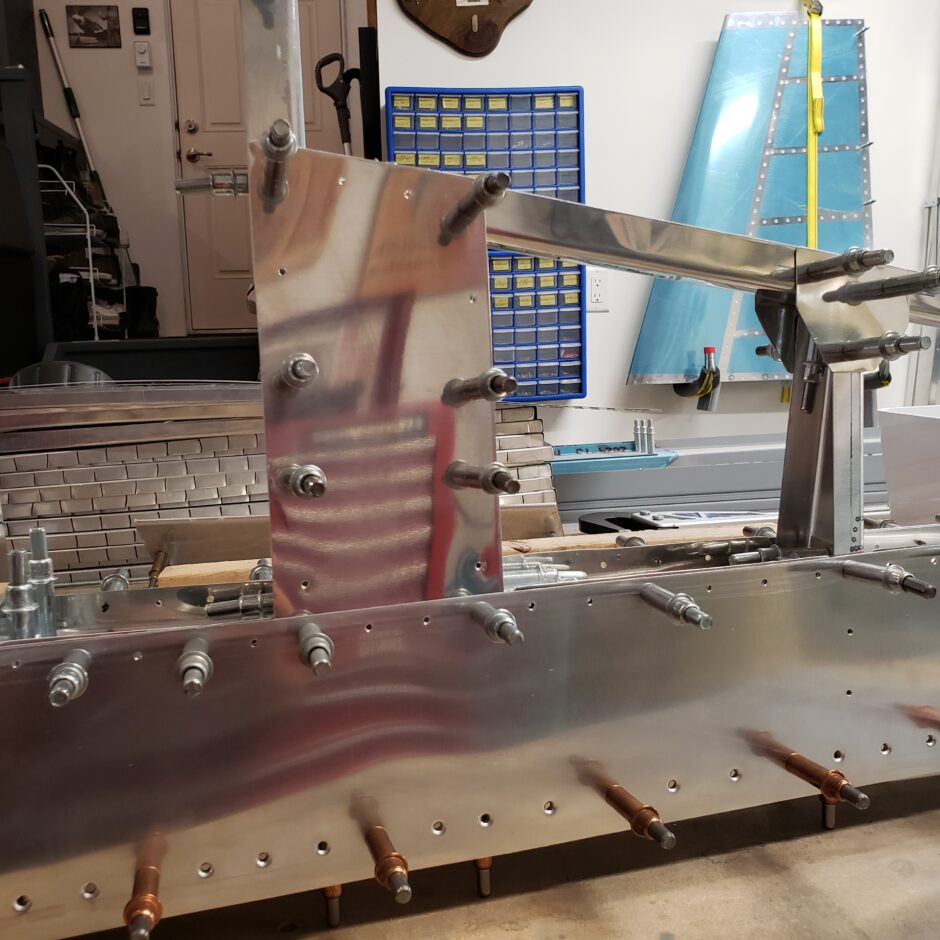
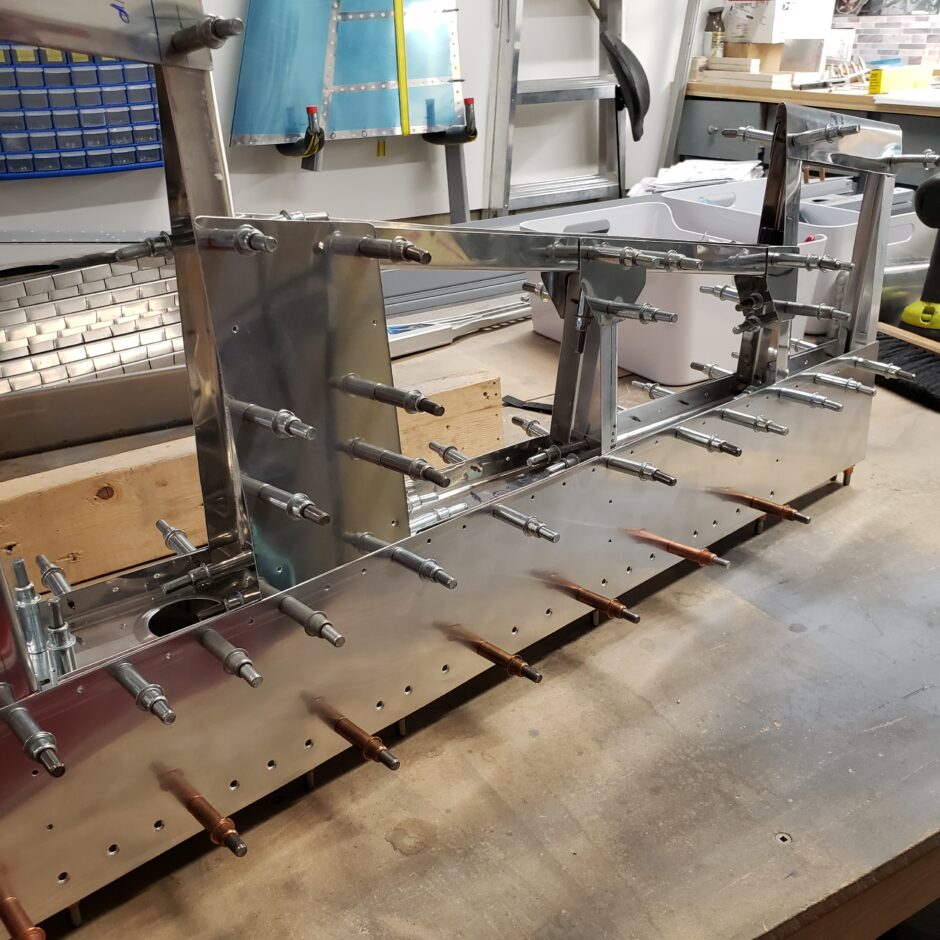
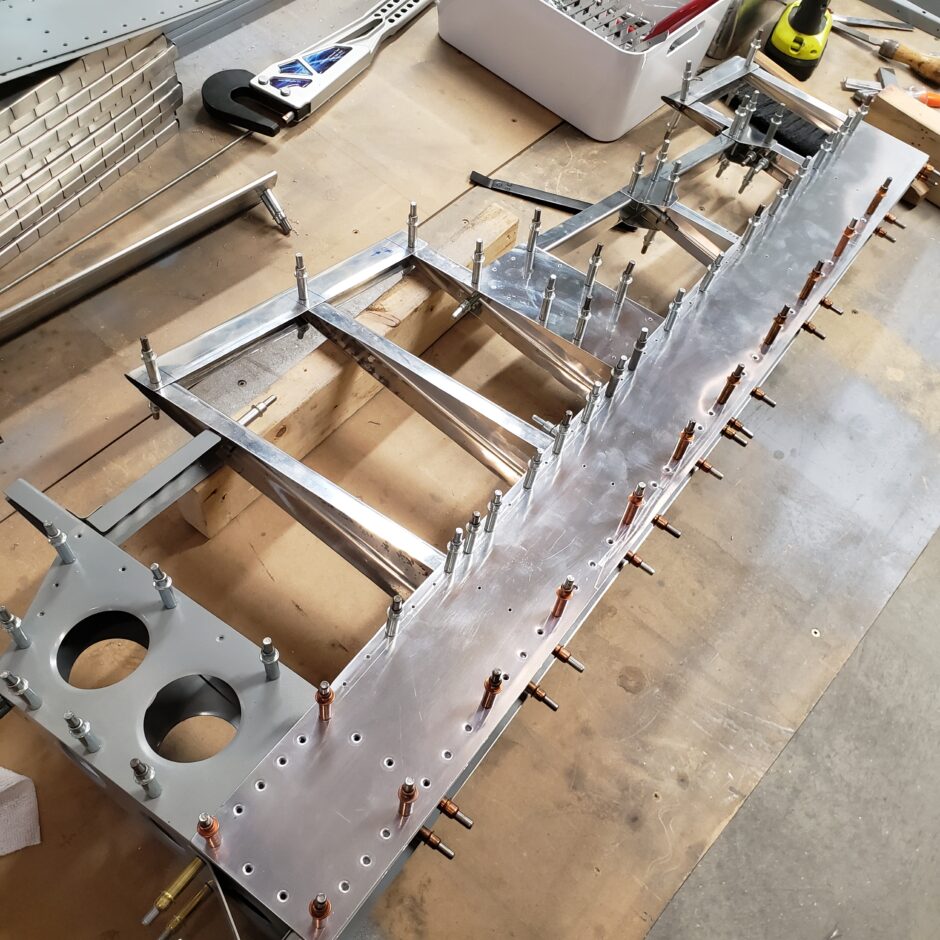
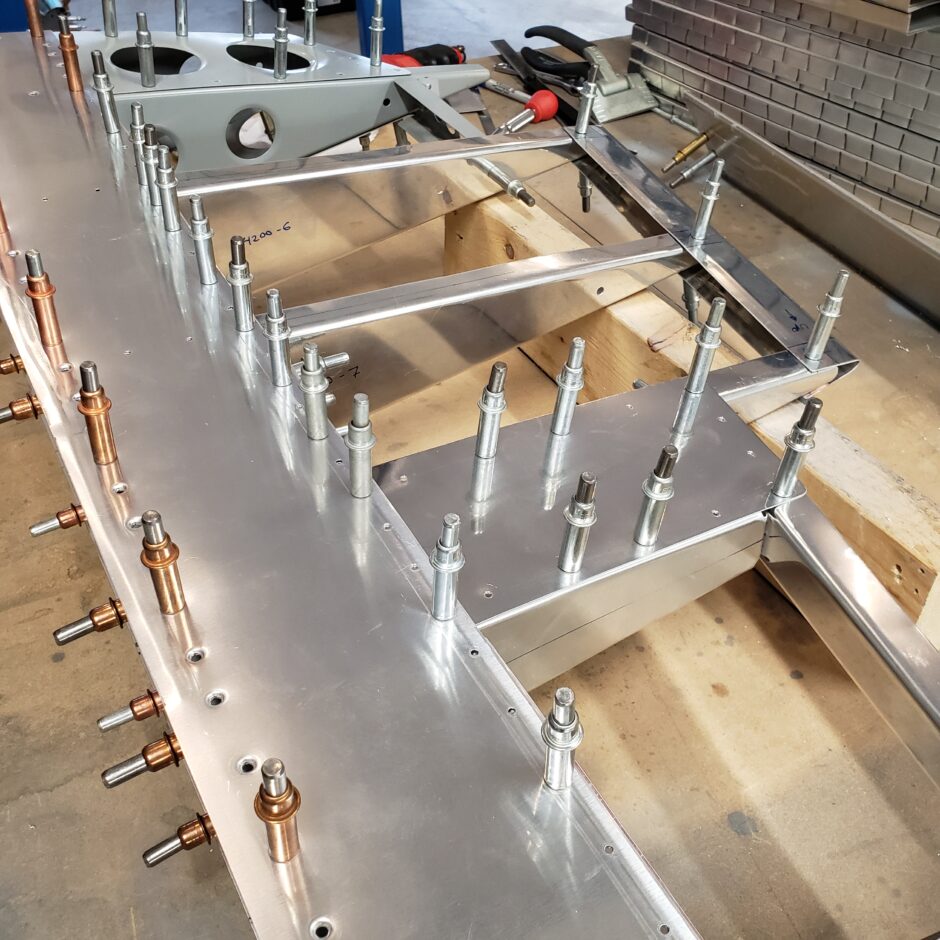
In the following pictures you can see the first cover plate is now pilot-drilled. These will eventually be up-sized for #6 screws, but for now I’m going to leave this as is. That is all I can do today.
Please comment. I love to hear from my readers. Thanks again for coming along for this ride, you make my work worthwhile.
Leave a Reply