The rudder assembly (part 3) post today is starting off with aligning and drilling the trailing edge in place. I started by using a straight edge to ensure that both the upper and lower segments were in alignment, and adjusted the pieces until I was satisfied.
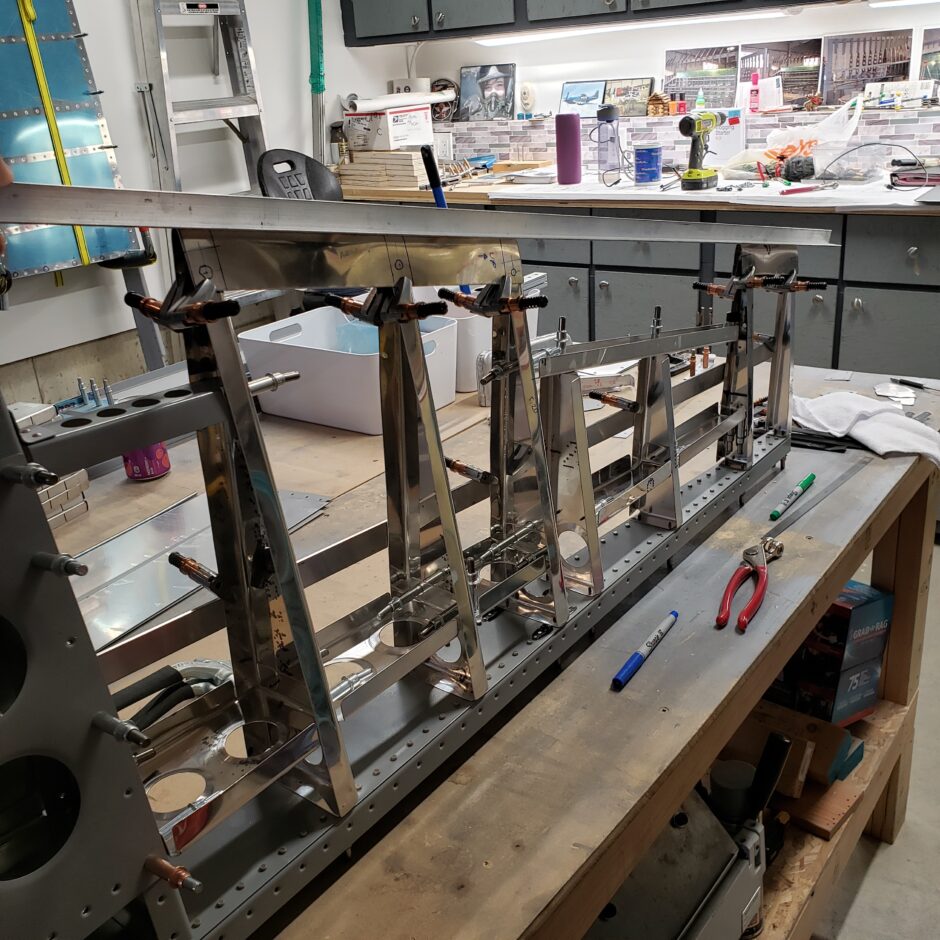
Once I was happy with the alignment of the trailing edges, and after double-checking for proper edge distance of the overlapping parts, I took the plunge and drilled. In the picture below, one side is drilled.
Below are closer shots of the individual trailing edge parts. Also note the straight edge (piece of angle) that I have clamped to the rudder assembly to assist me in keeping the trailing edge straight while drilling.
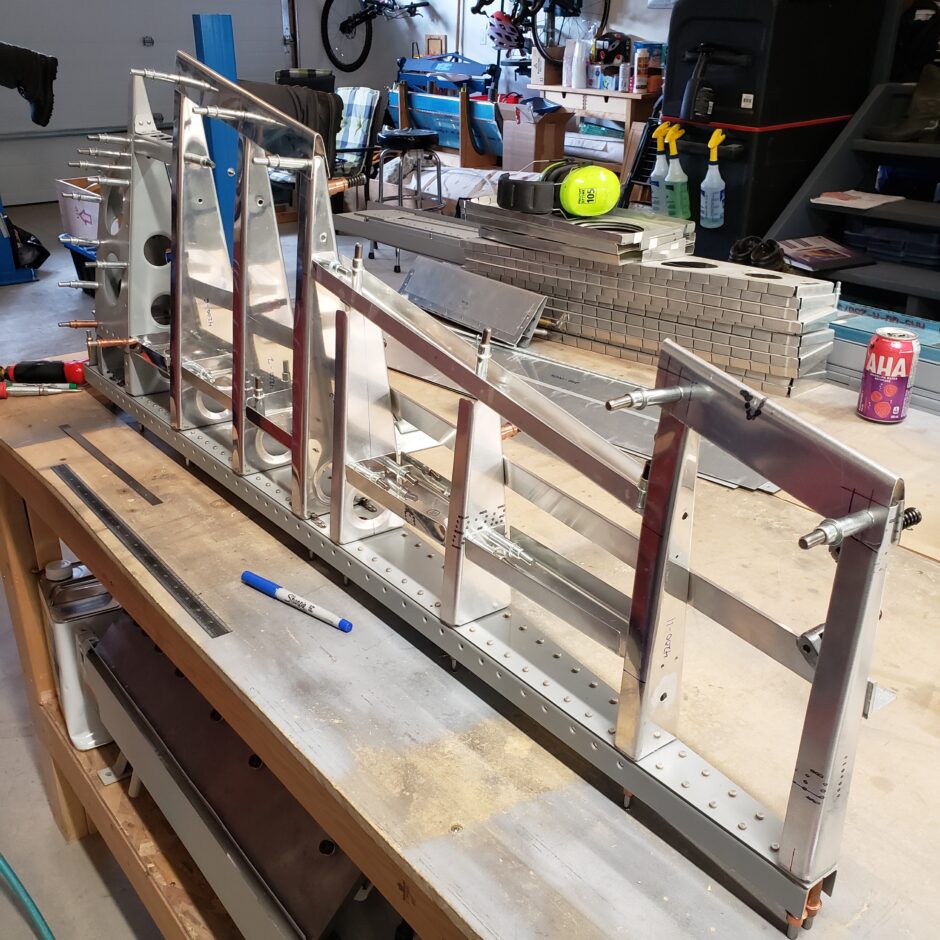
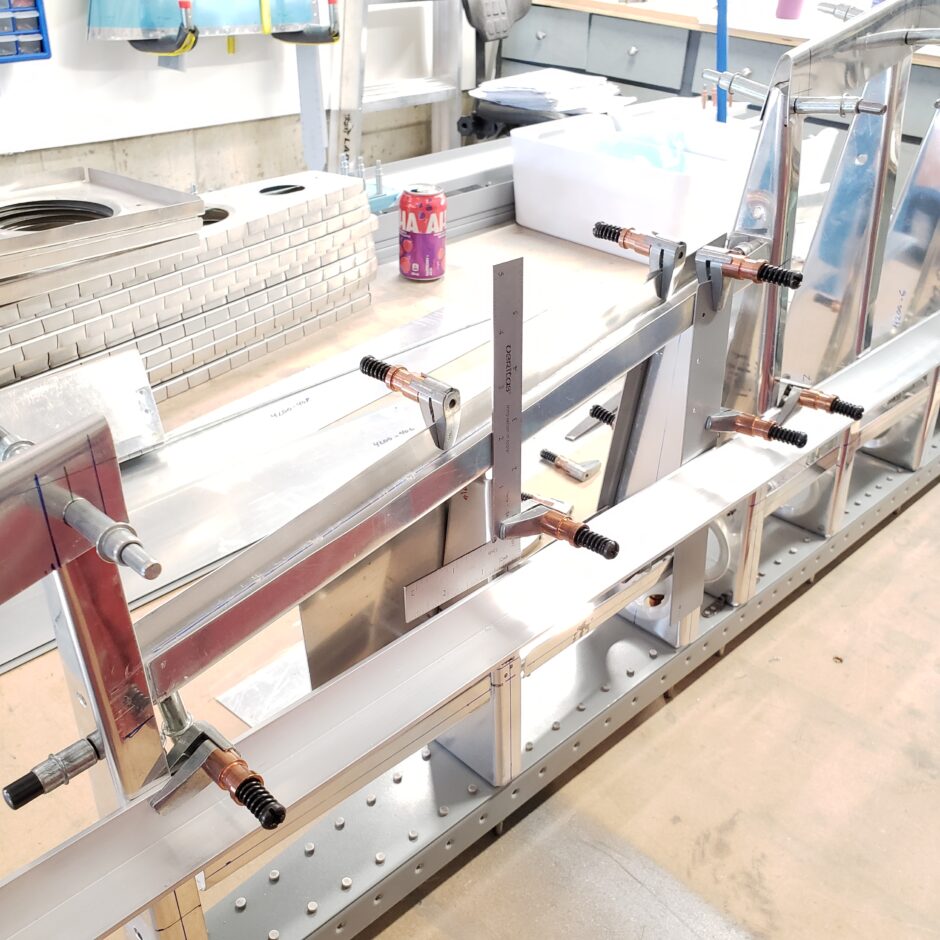
Another thing to note in the picture below, is the gap between the side flange of the trim tab attach spar and the adjacent rib. This has been bothering me for a bit because the gap is too large. So before moving ahead too much more, I think it’s a good time to bite the bullet and make yet another spar attach rib.
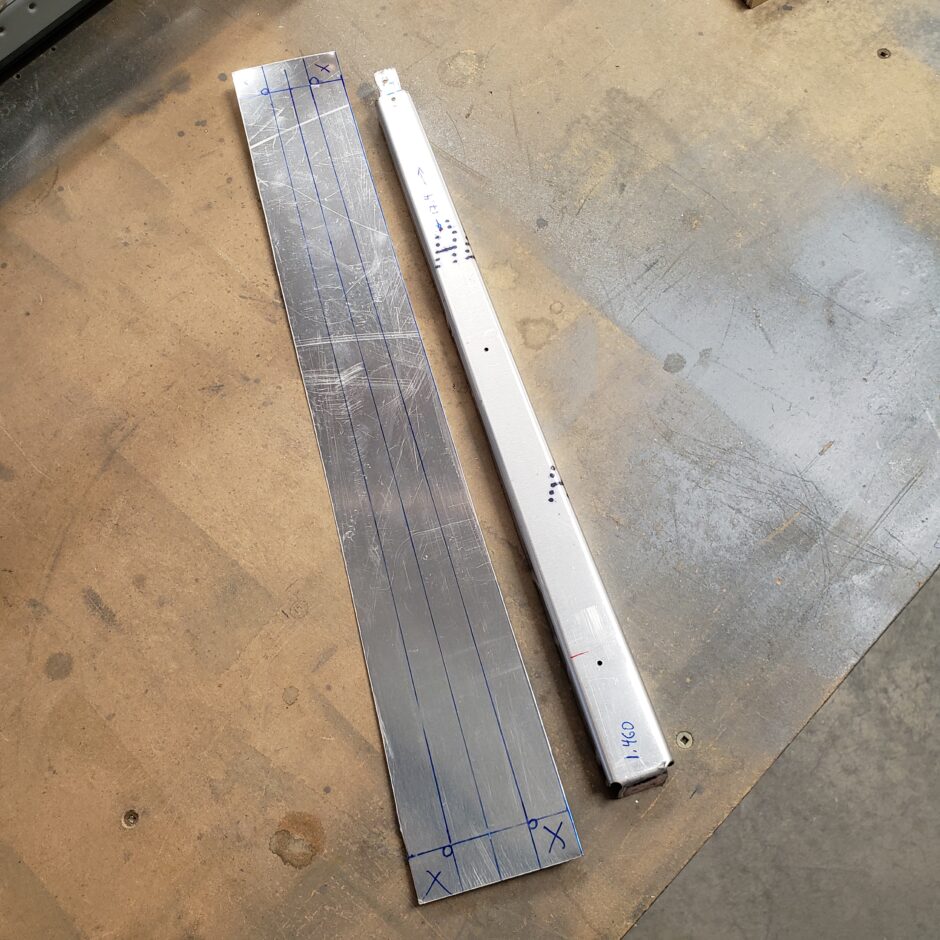
In this next picture you can see I’m now might right along with getting a new rib fabricated. I’ve done enough of these that I can get the new rib formed in about 30 minutes from start to finish. So here’s the new flat material all laid out.
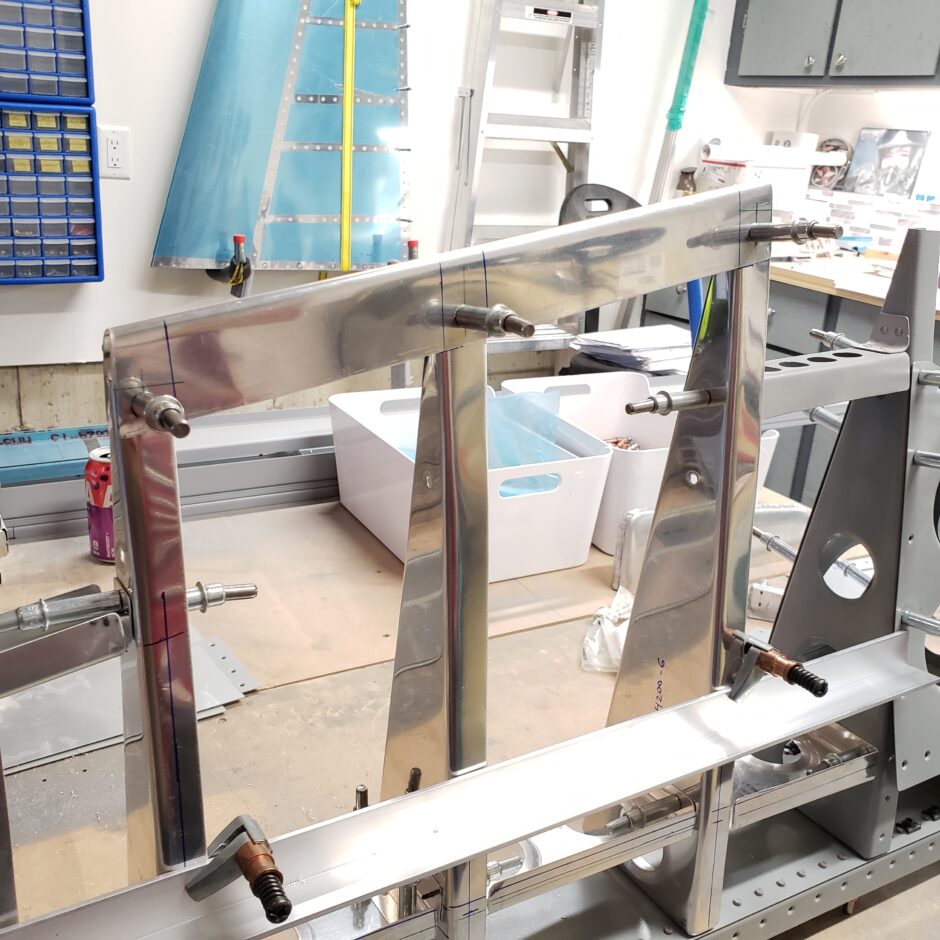
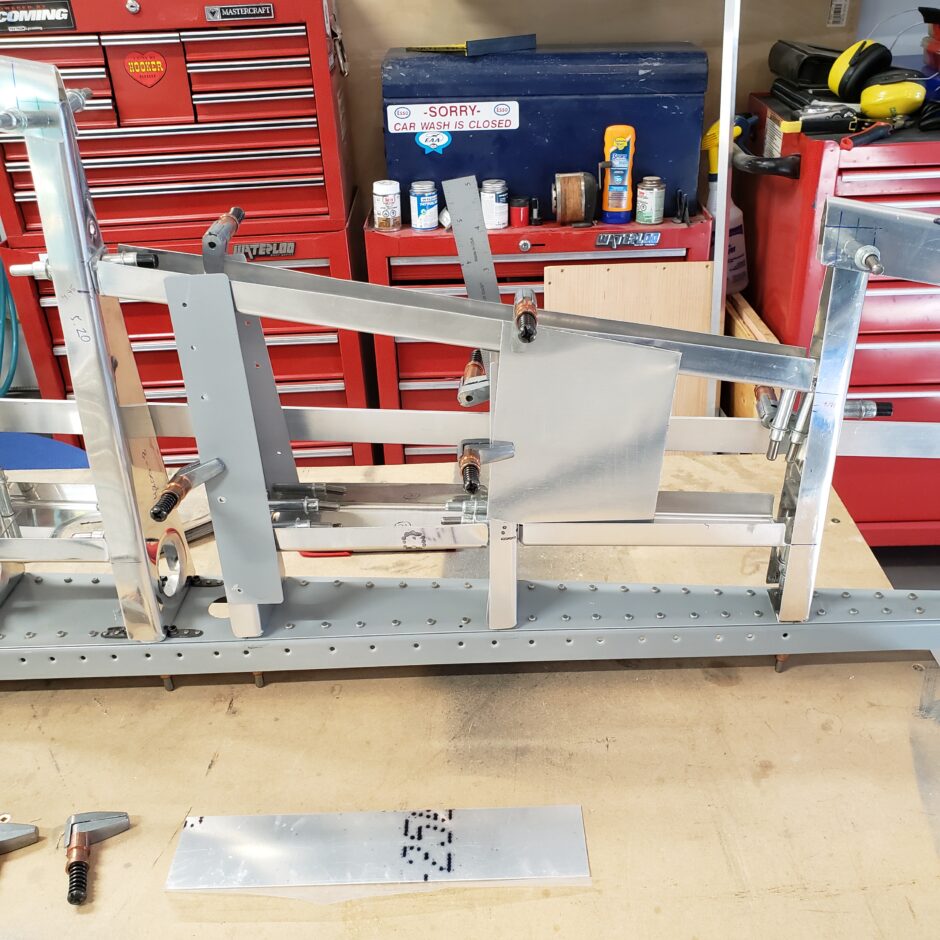
In the picture below, you can see that I have the new rib in place and that I’m using lots of “false skins” of scrap aluminum to help me hold it aligned with all the adjacent ribs. You can also now see that the gap between the new rib and the next upper rib has been greatly reduced! This is much better.
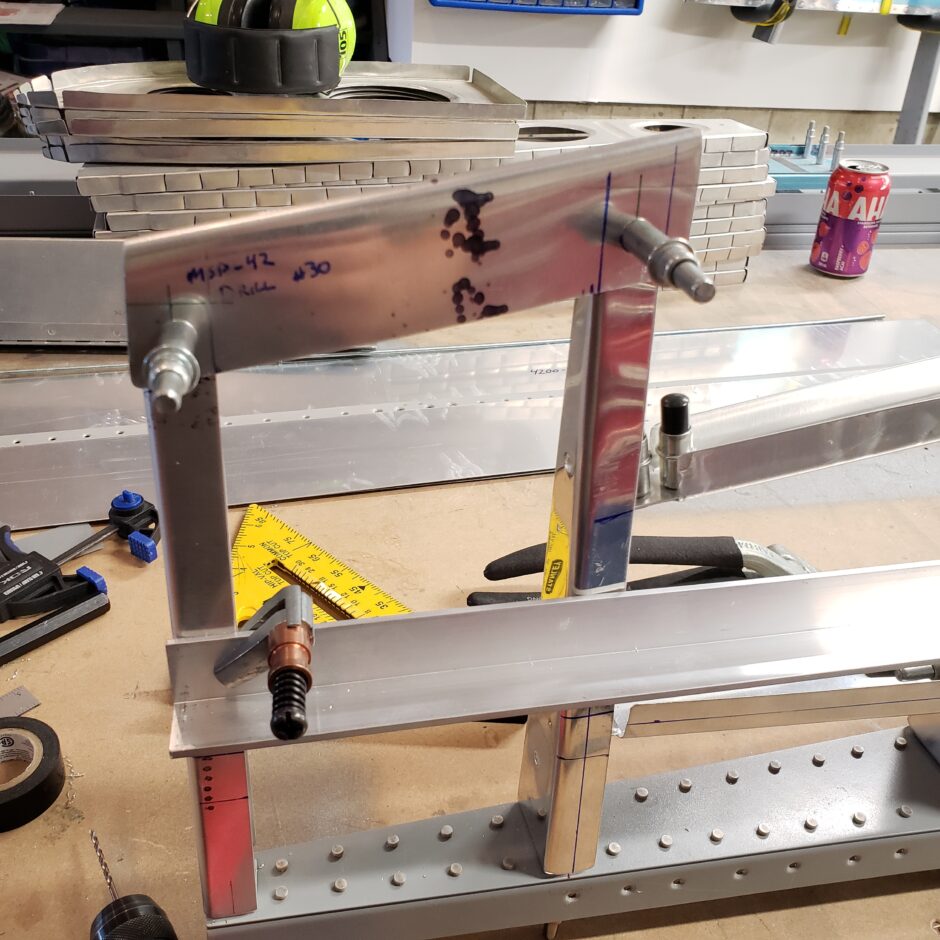
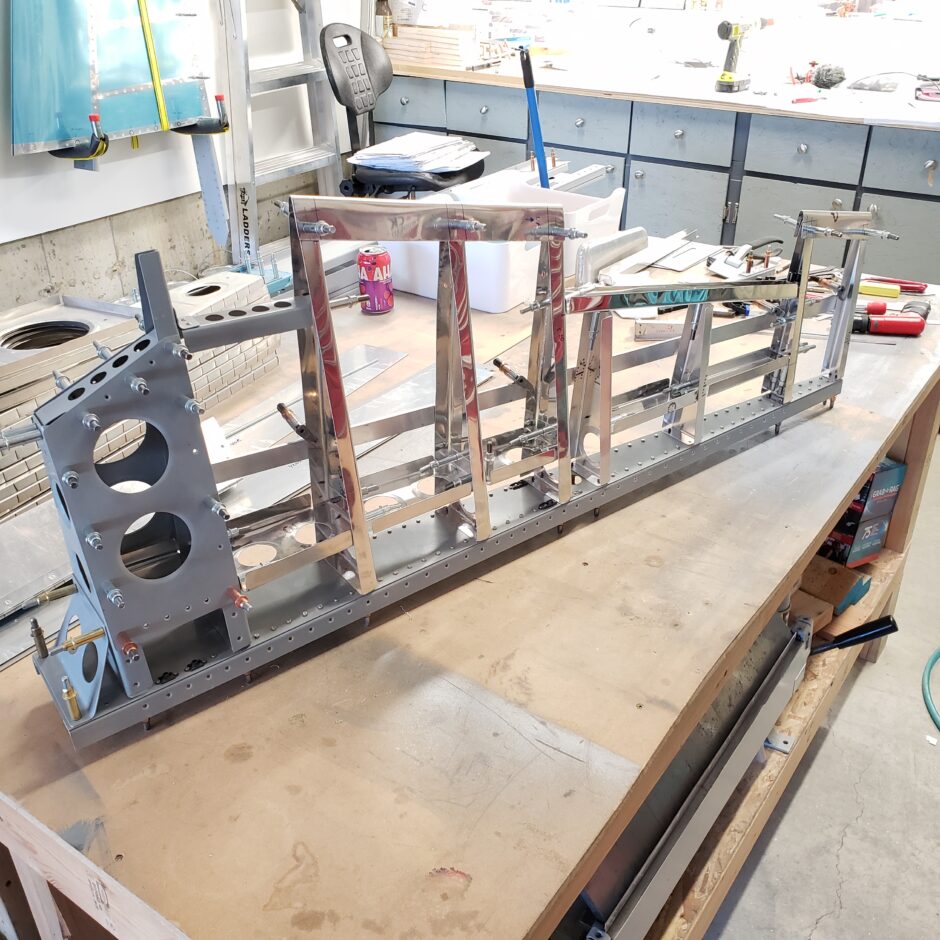
Below is the finished product with the new trim tab attach rib installed. I’m happy to get this step completed. I’ve been putting off doing it, but now I can keep moving forward. Until next time, please comment. I love to hear from my readers. Thanks again for coming along for this ride, you make my work worthwhile.
Leave a Reply