Now that I have fabricated a few new ribs to replace the ones I previously messed up, I’m now ready to attempt the rudder assembly…again!
In the picture below, I’m starting with the 4200-6 rib near the lower side of the rudder. From here on in, anything that is primed in gray, are the parts I’ve managed to salvage and not screw up. Anything that is bare aluminum are the new parts that I’ve had to replace.
In the picture below and many of the following pictures, you’ll see that I’m using some scrap strips of aluminum clamped to the rib to act as a false skin. This helps me to align the rib on the spar before I match drill the spar to the front flange of the rib.
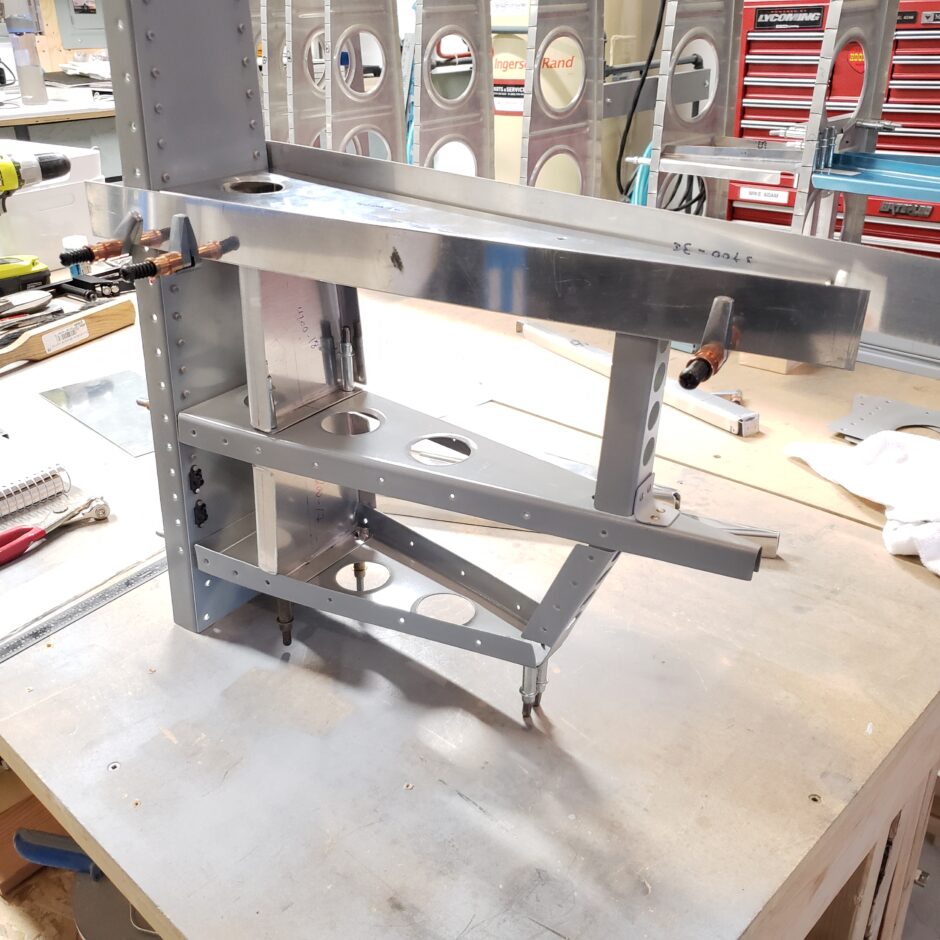
In the image below, as I’m locating the mid-span ribs (4200-17 / -18) I’m noticing that the 4200-18 rib was made a bit too narrow. You can see the gap in the false skin clamped to the rib and the 4200-18 mid-span rib.
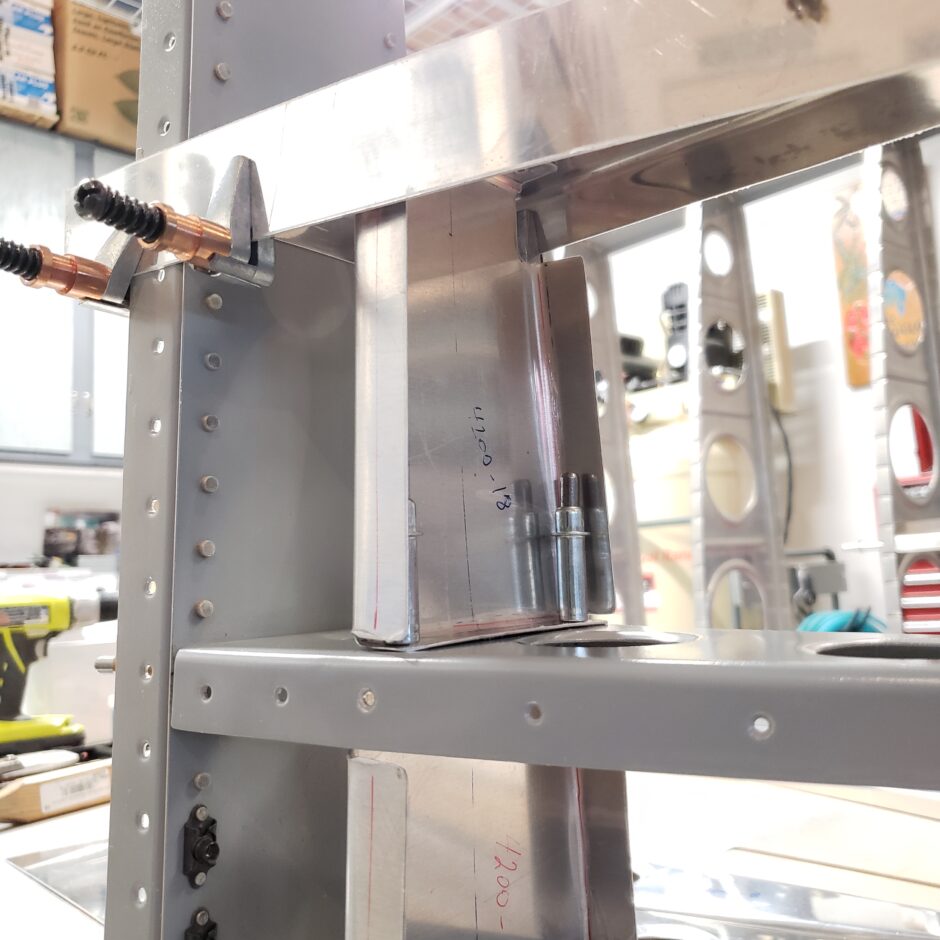
Here’s an image taken from the top down. Again, you can see the gap. What this means, is that I have to remake the 4200-18 rib and widen it a bit. Not a big deal. I can probably get the new one made in about 30-45 mins.
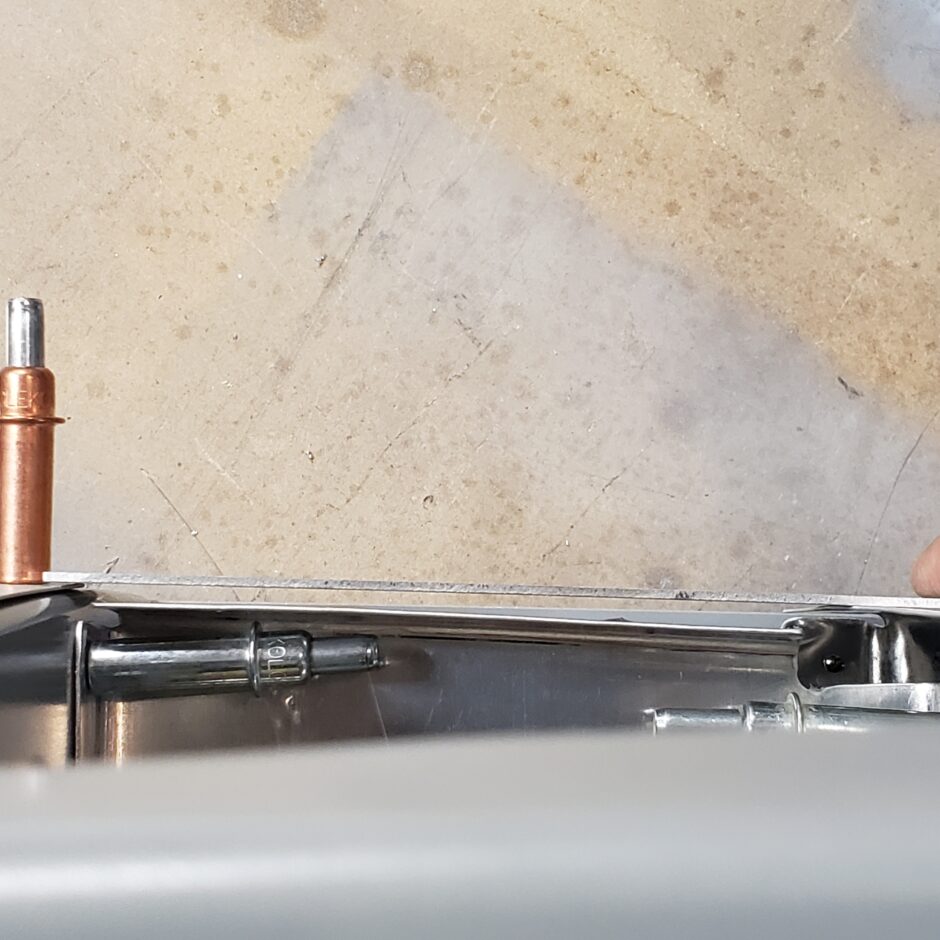
In the picture below, I have fabricated a new 4200-18 rib and am now in the process of match drilling it to the holes in the 4200-5 rib (the gray original rib). Since the holes are already in the -5 rib, all I’m doing here is marking a centerline along the flange of the new rib, lining it up and drilling. It’s the only place it can go.
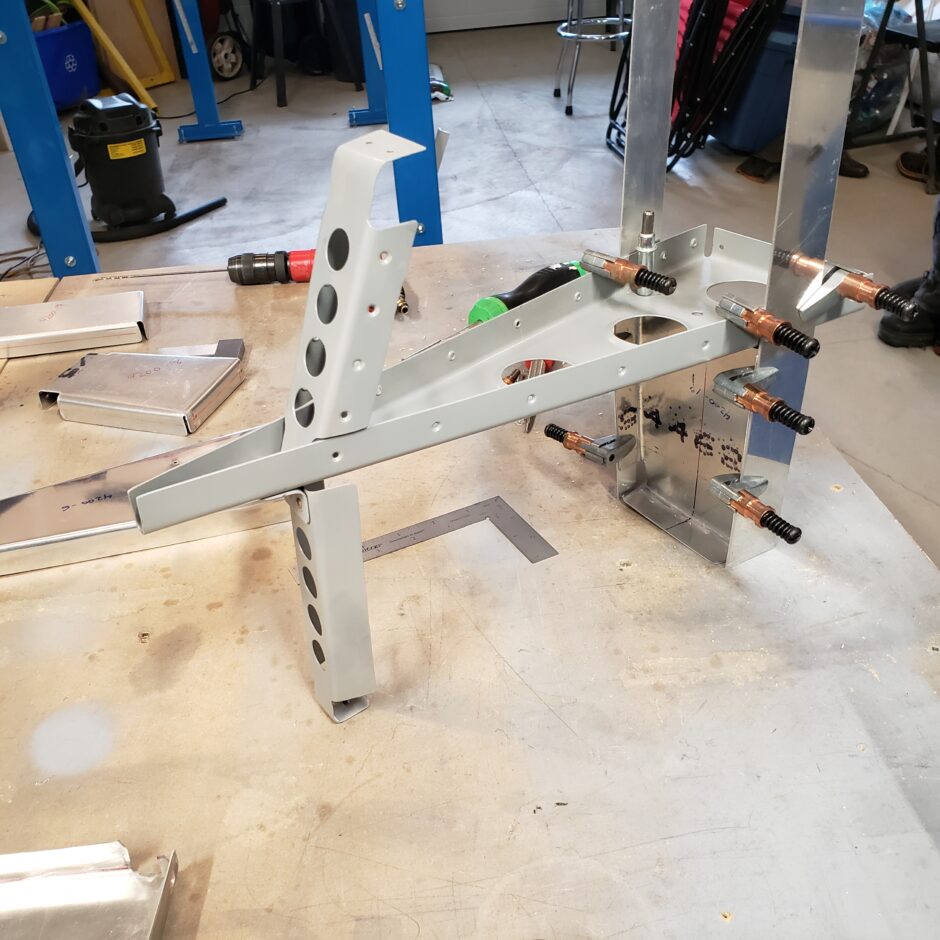
Here’s a picture of the first 3 new ribs mounted with the existing ribs to form the lower rudder section. The 4200-18 mid-span rib still needs a little more work as it will eventually get 2 lightening holes added.
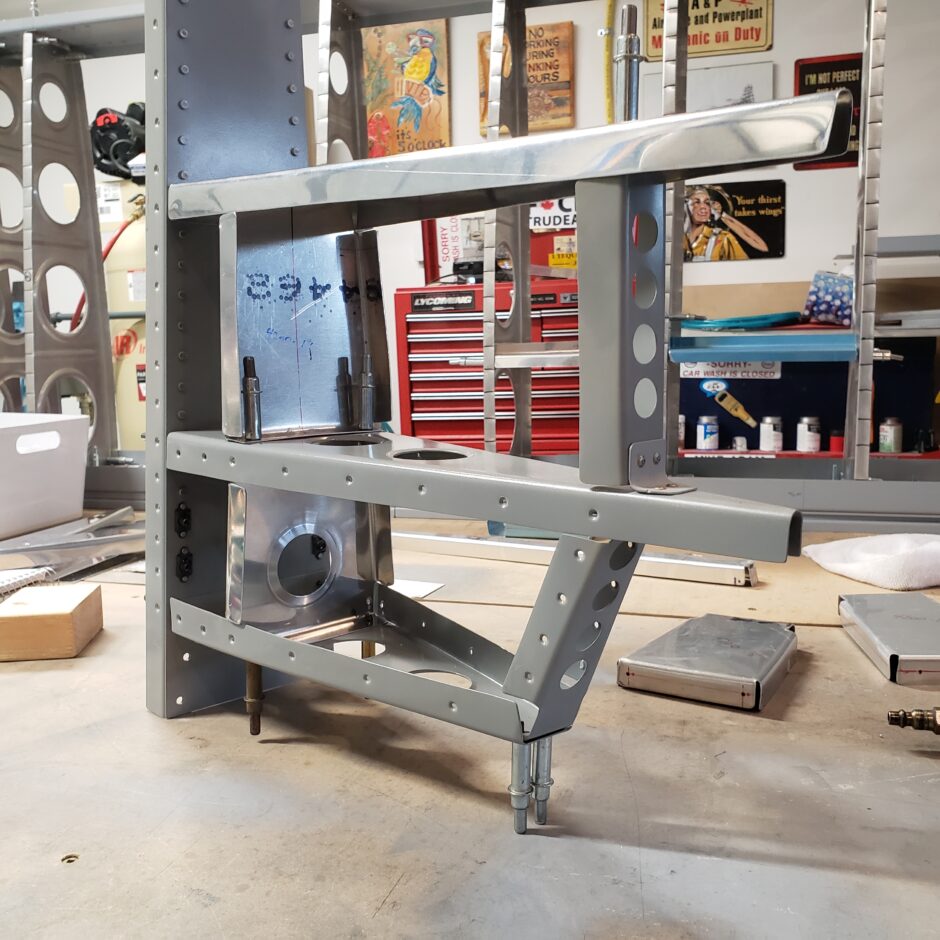
In the picture below, I’m progressing with adding ribs on the spar, along with a few more mid-span ribs. This is progressing pretty quickly with getting the new ribs in place, as the centerline of the flange can only line up with one rivet location. Clamp, match drill, move on to the next one.
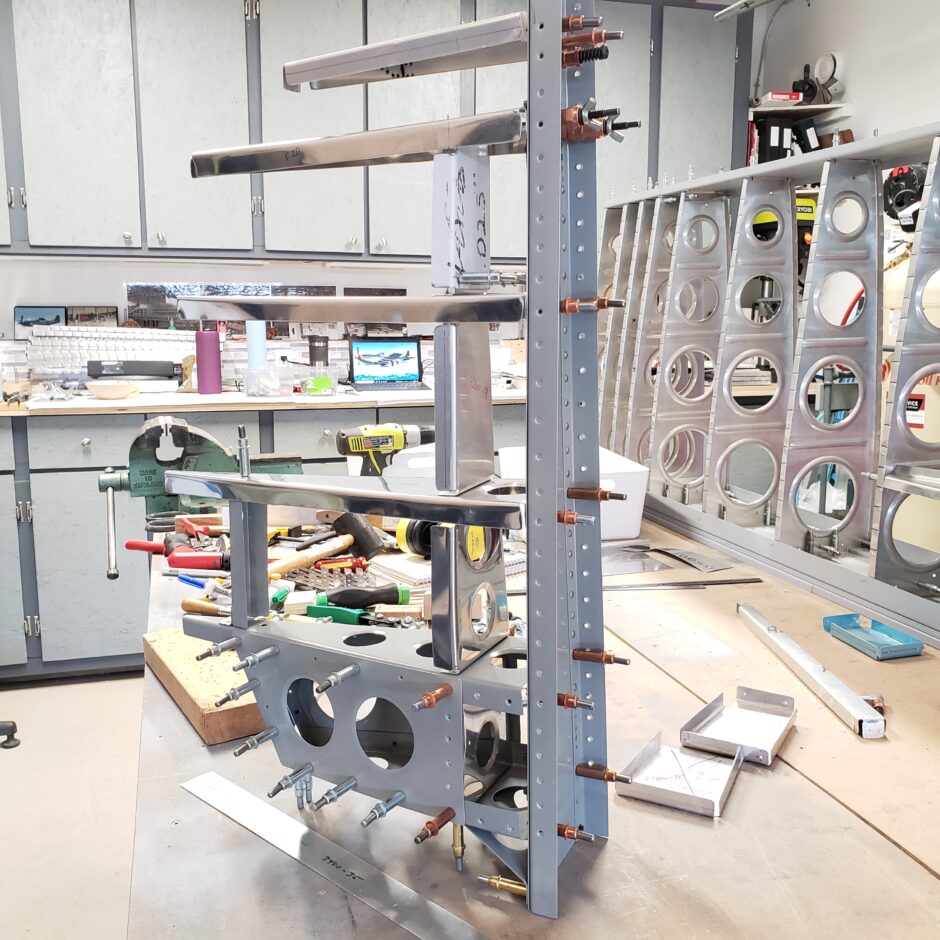
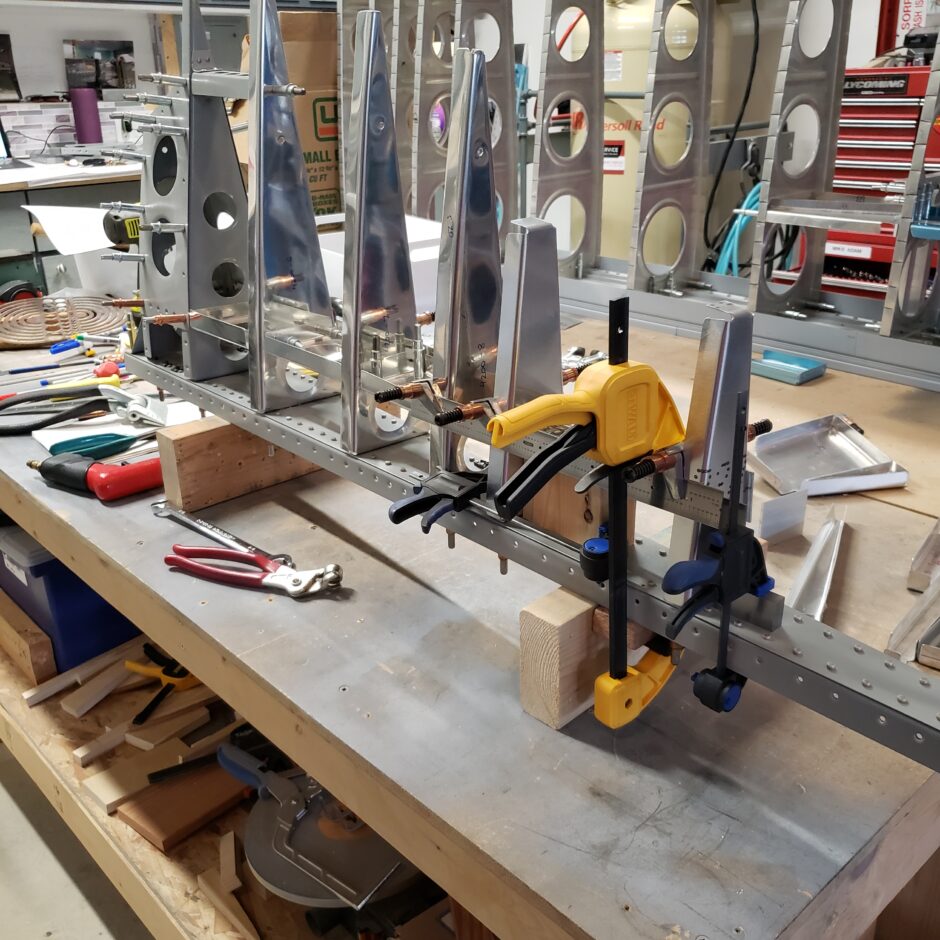
Aligning the new mid-span ribs is a bit more problematic on the other hand. As you can see in the picture below, you need to keep the rib flat in the x and y dimensions, have it at the correct height/distance back from the main spar (I’m using my calibrated chunk of 2×4). I’m also using the simulated skin strips to help hold it all together, as the ribs also want to flop around, and you need to also keep the ribs perpendicular to the spar. As you can see, I had a metal ruler handy so I used that as my simulated skin piece.
The clamp on the block helps hold the block in place as well as holding the rib at 90 degrees to the spar. I also have another clamp holding a metal square in place to hold the other rib at 90. The big yellow clamp is holding pressure down on the mid-span rib to hold it flat against the wooden block.
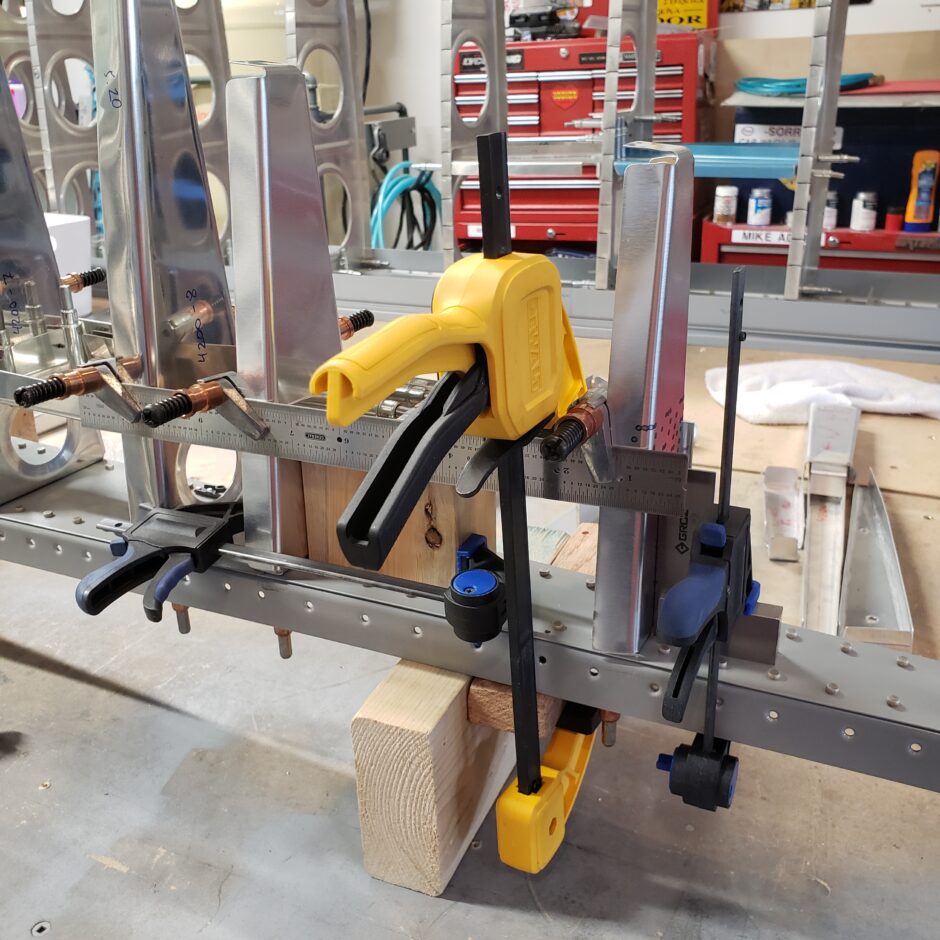
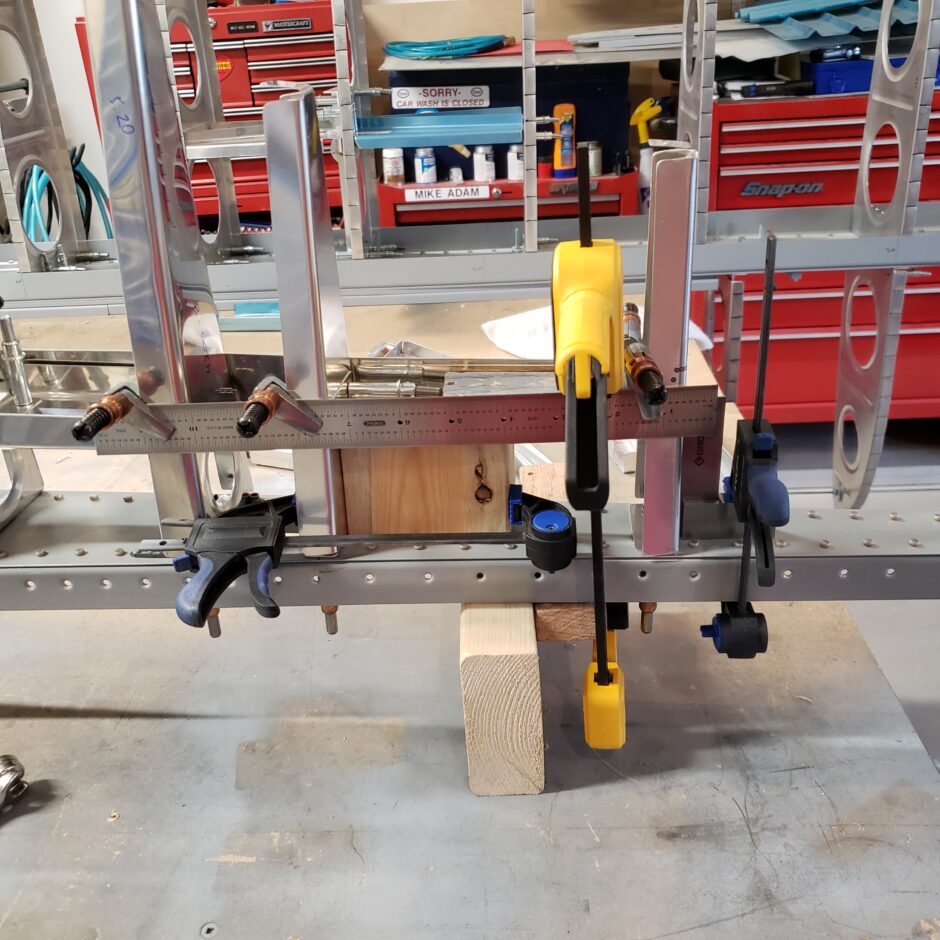
Below are 2 more pictures of my setup. The reason for all this clamping is to be able to drill the flanges of the mid-span ribs to the main ribs. Making this even more challenging, is getting the center of the flange on one mid-span rib to match the next, because no 2 ribs are “handmade” the same.
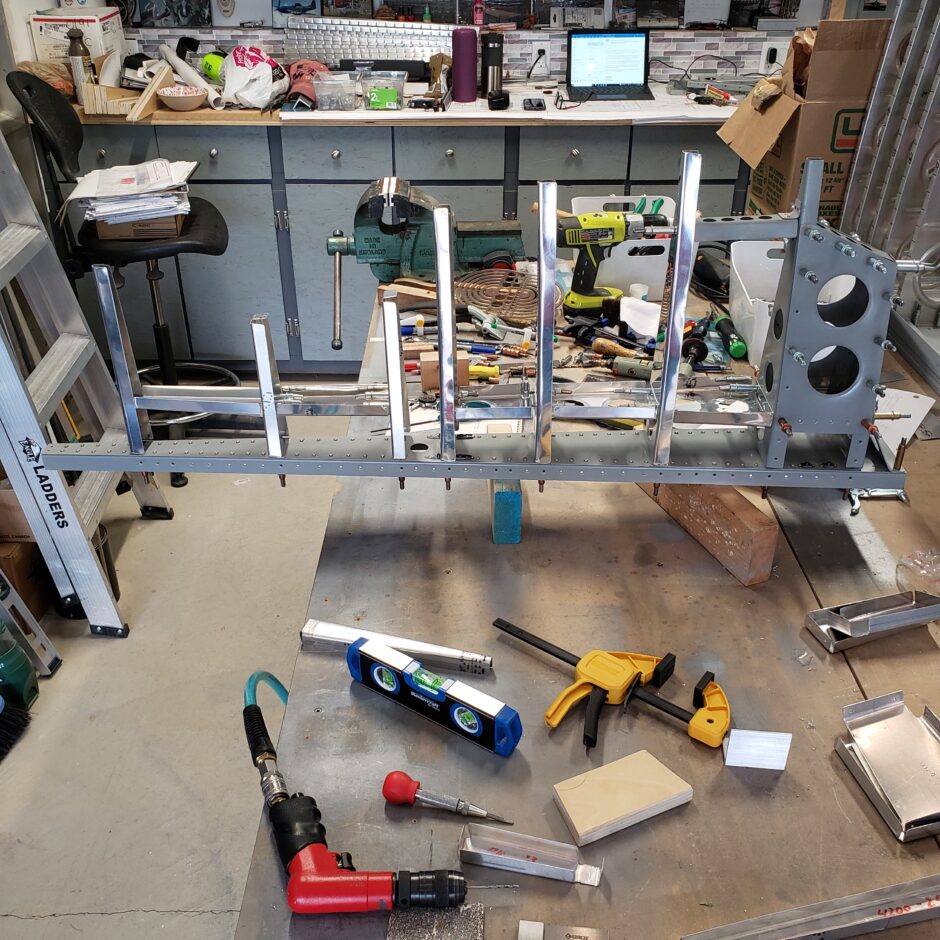
Here is where my progress for the day has concluded. The rudder is taking shape. You can notice all the new ribs that have been fabricated. You can also see the mess of tools that have I’ve been using, for forming ribs and getting them clamped and drilled in place. What I didn’t show was that most of the mid-span ribs had to be fabricated a time or two, as in most cases they were too narrow the first time around.
In the lower section of the photo you can see some of the discarded rib attempts.
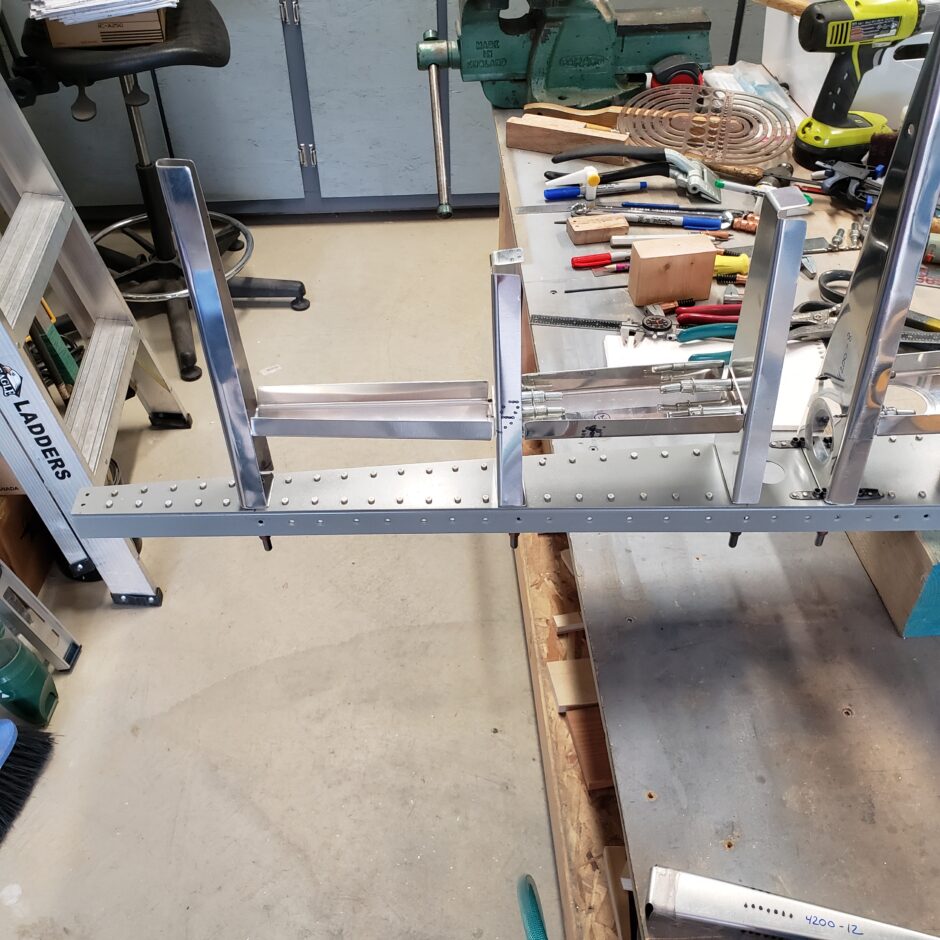
Just a note here for other S-51 builders. In my discussion with some other builders, it appears that some rudders have a different dimension between the 4200-8 and 4200-9 ribs (where the trim mechanism is located). The plans show a distance between these ribs of 1.250 inch. My rudder came pop-riveted together from the Czech’s at HPAI, and my -8 and -9 rib spacing is 2.75 inch. So somewhere along the way, my ribs have a slightly different spacing that that shown in the plans.
For the non-S-51 builders, when looking at the rudder, this area is shown below, where there is a mid-span rib omitted (see the right side of the image). You will also see the hole in the spar for the rudder trim mechanism.
Please comment. I love to hear from my readers. Thanks again for coming along for this ride, you make my work worthwhile.
Leave a Reply