It’s finally time to wrap up this rudder project. It feels like it has been dragging on for such a long time now. I really want to get this part finished and hung up on the wall so I can clear off the workbench and make room to get back onto the F1 Rocket wings.
The first task was to disassemble the rudder and get all the parts primed. Joyous work…as always (eyes rolling).
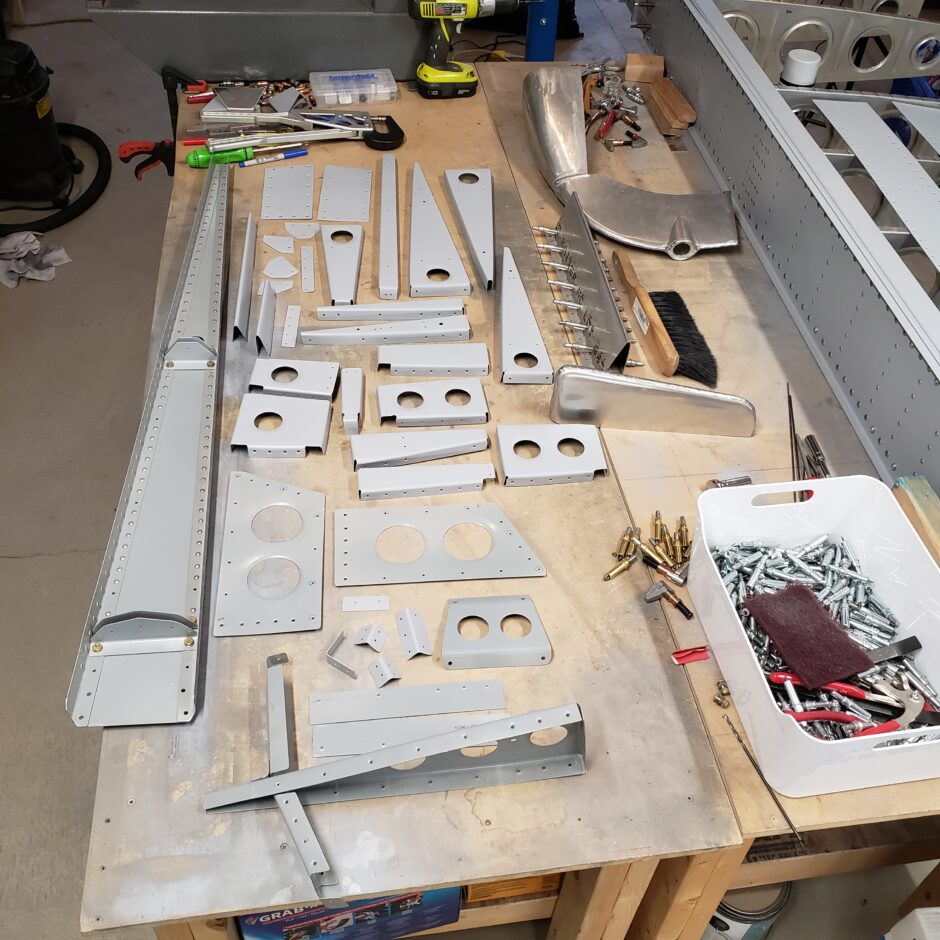
To begin with the process of all the internal structure riveting, I began by taking the ribs off the spar, and then the rudder naturally separates into 2 sub-assemblies, which make it much easier to work with.
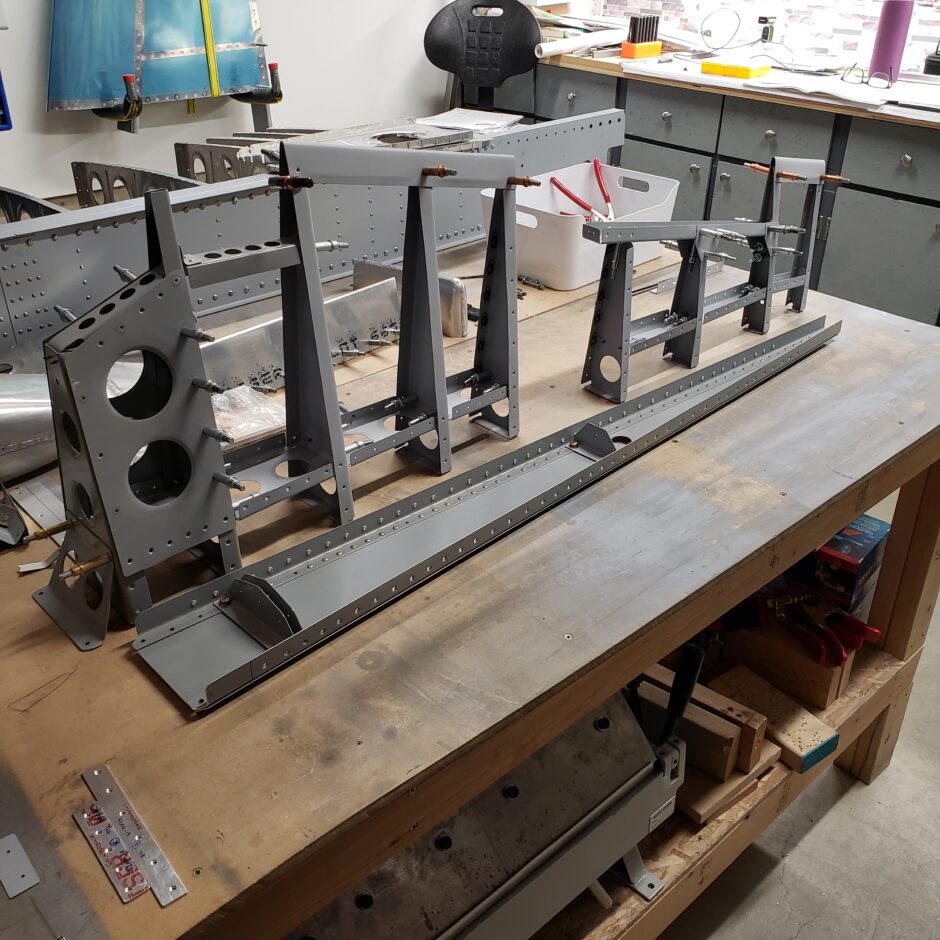
I found it easiest to work from the bottom of the rudder up to the tip. I’ll continue to take this lower section apart until I can access the first rib that needs to be riveted.
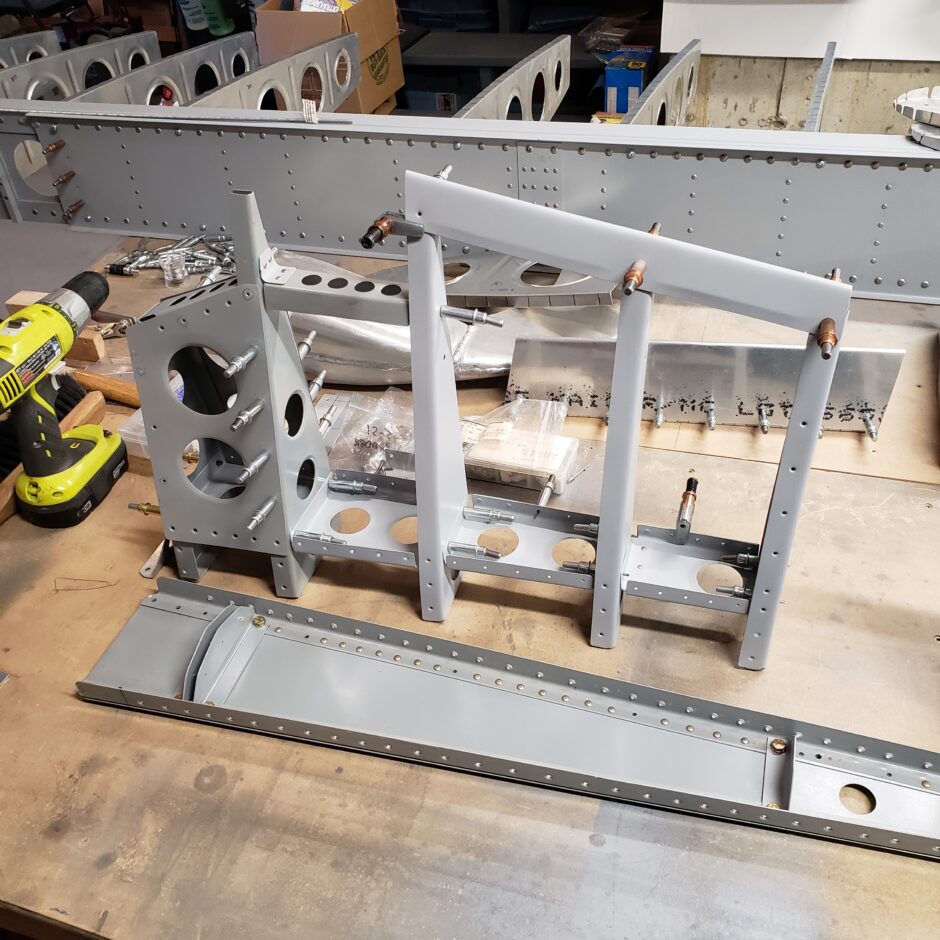
Below, is the lower section stripped down. What needs to be riveted here is the small rib that sits on an angle on the aft side, as well as riveting the mid-spar ribs to the main ribs.
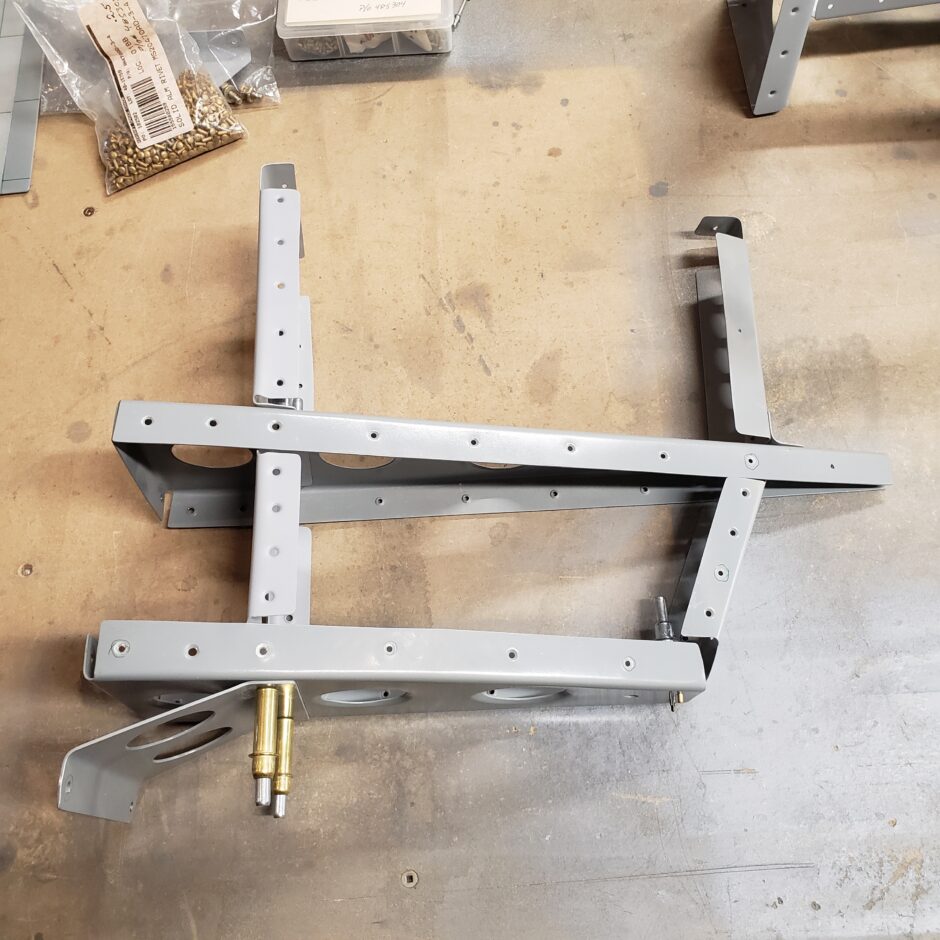
Here is the riveting sequence for this aft angled part.
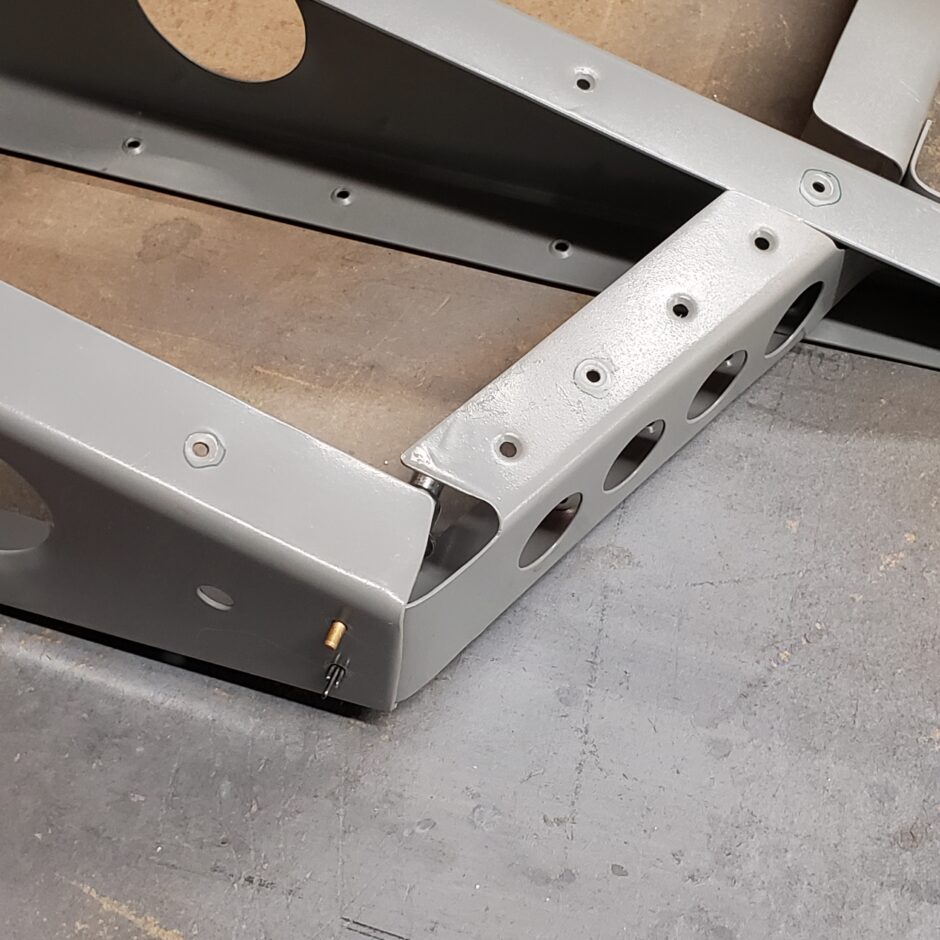
It took some figuring as to which way to install the rivet so that I would have access to either squeeze or buck it.
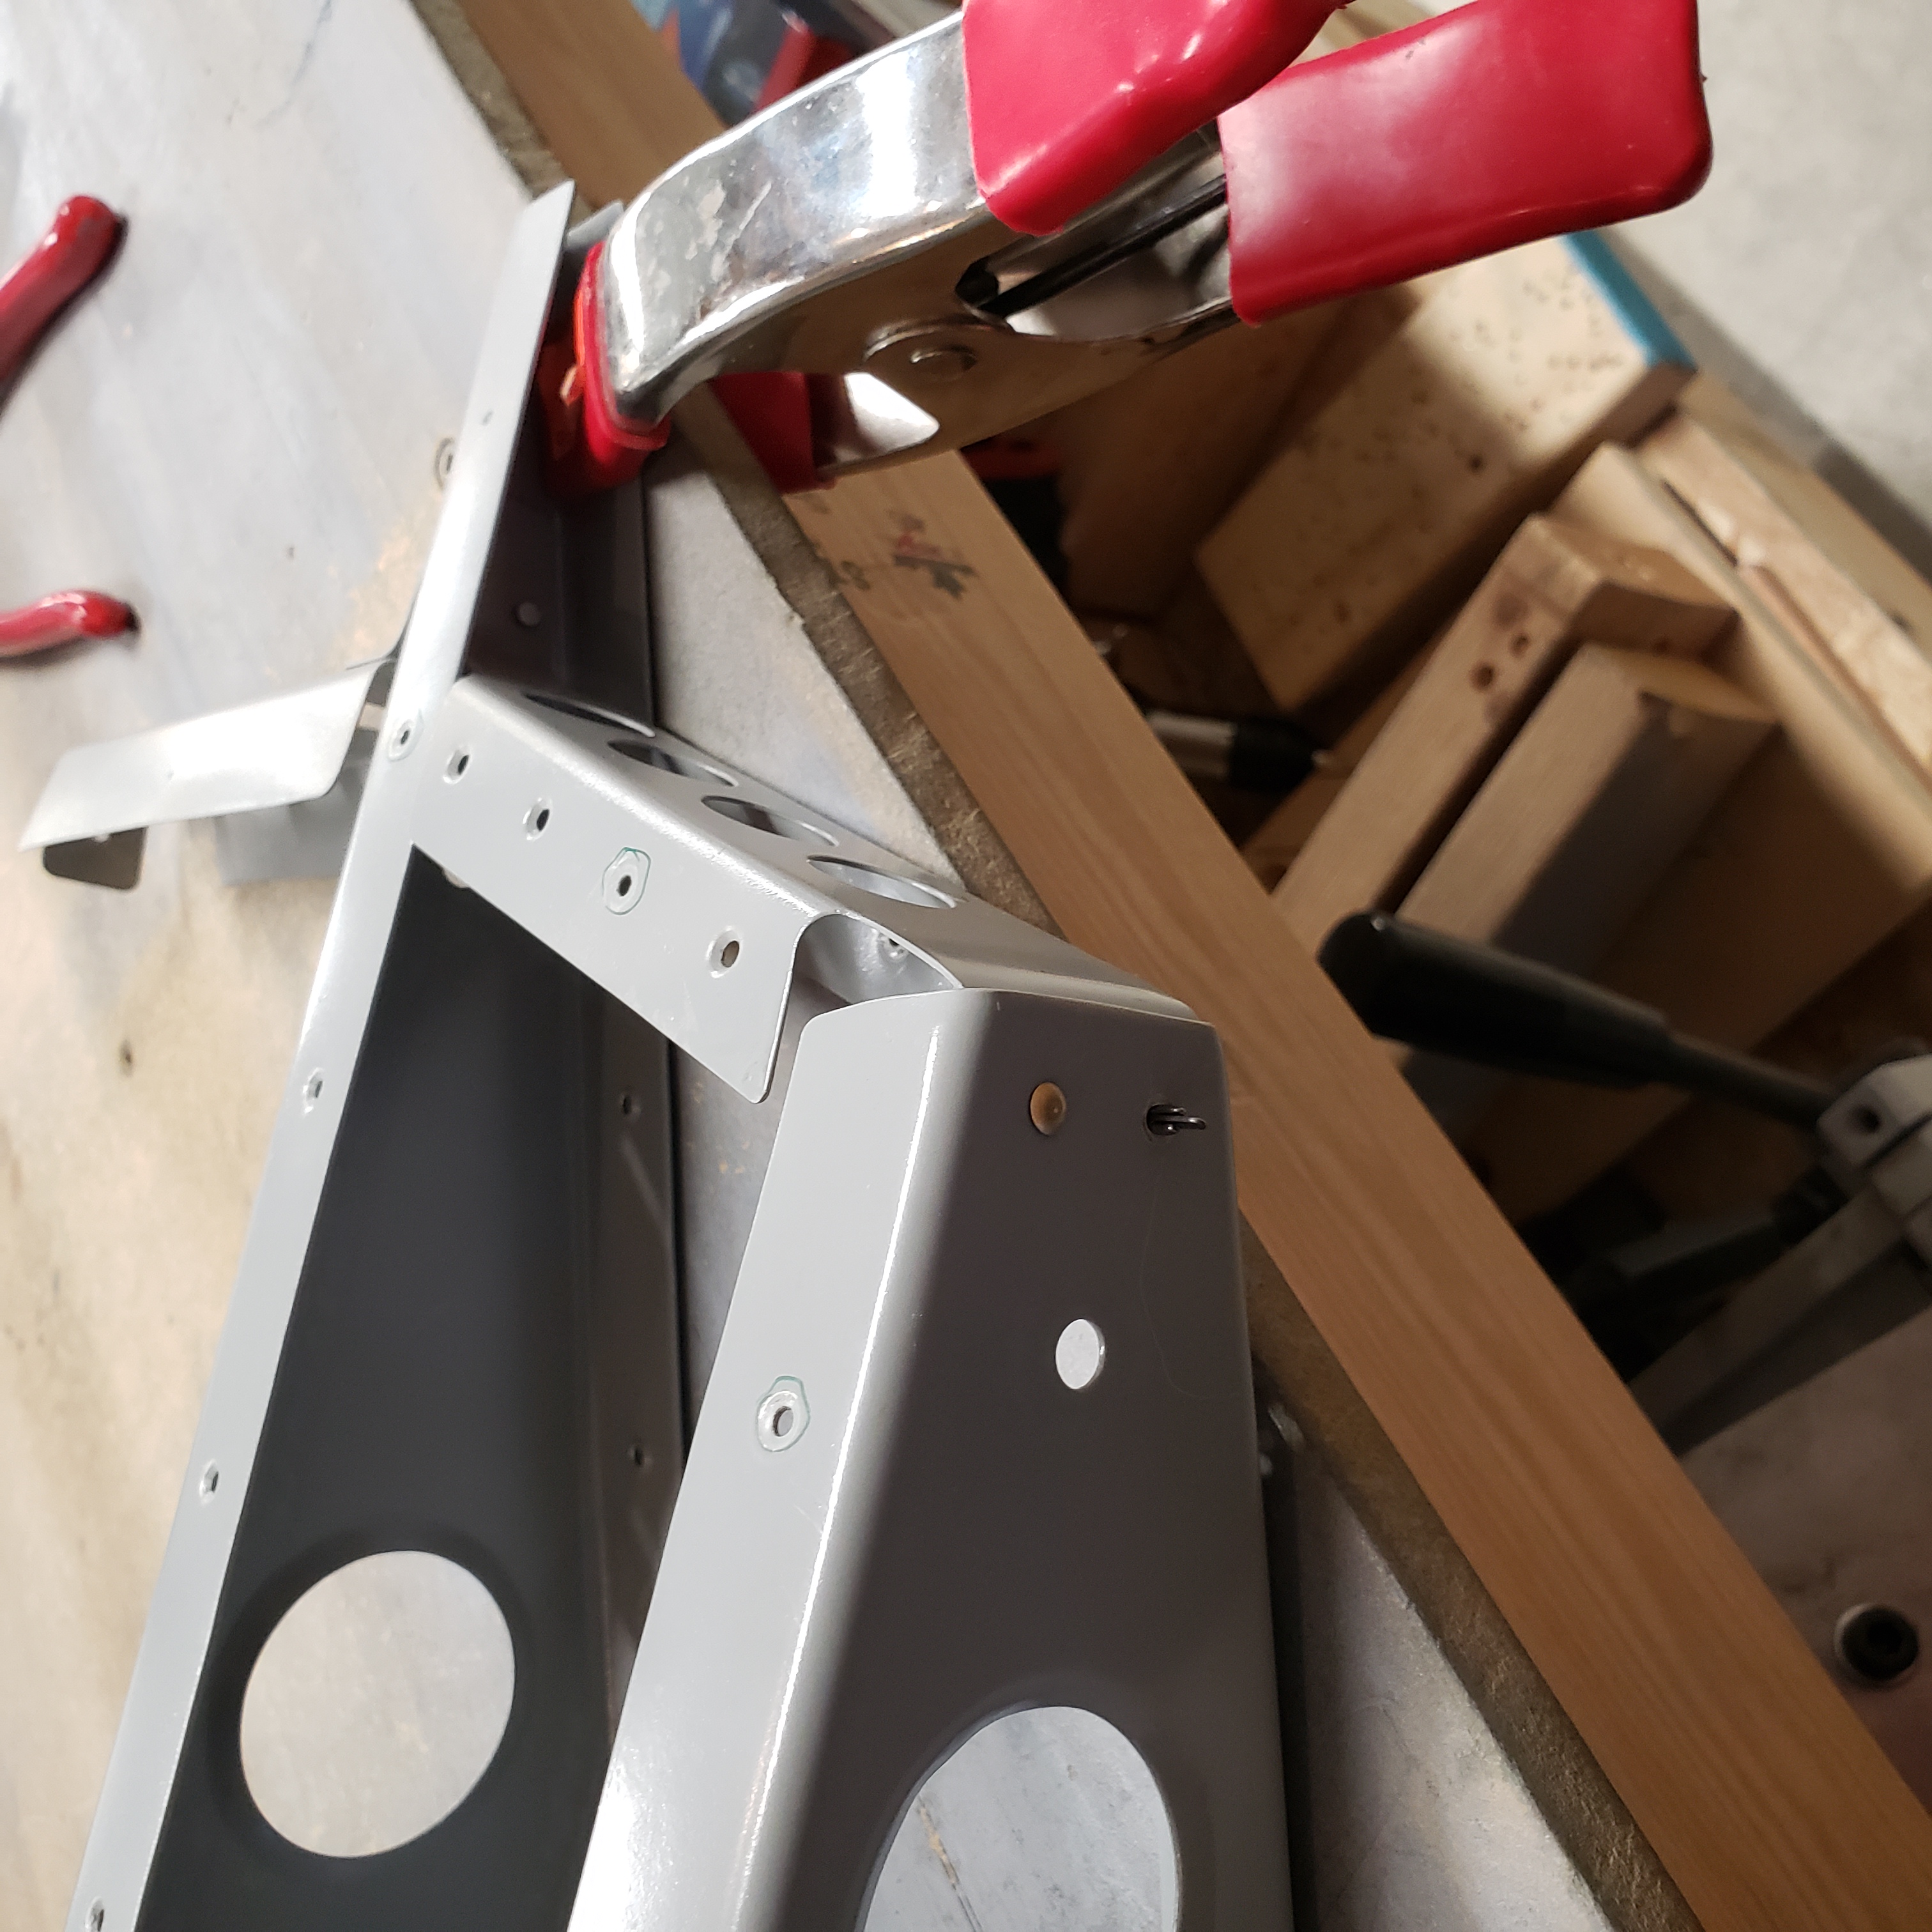
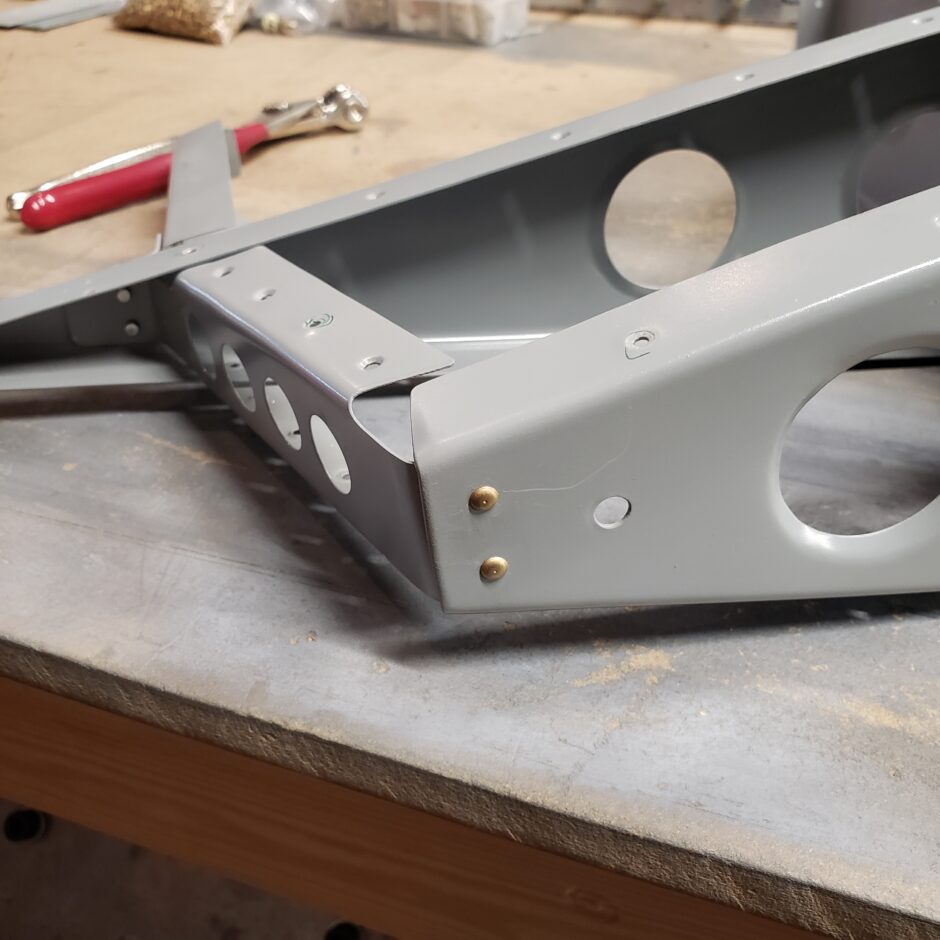
Next was to rivet the mid-span ribs to the main rib. I thought I’d be able to get the squeezer in for these rivets, but the access just couldn’t be made. So all the rivets from here on in were all hand riveted. No big deal, I just was surprised that I couldn’t get the squeezer to fit.
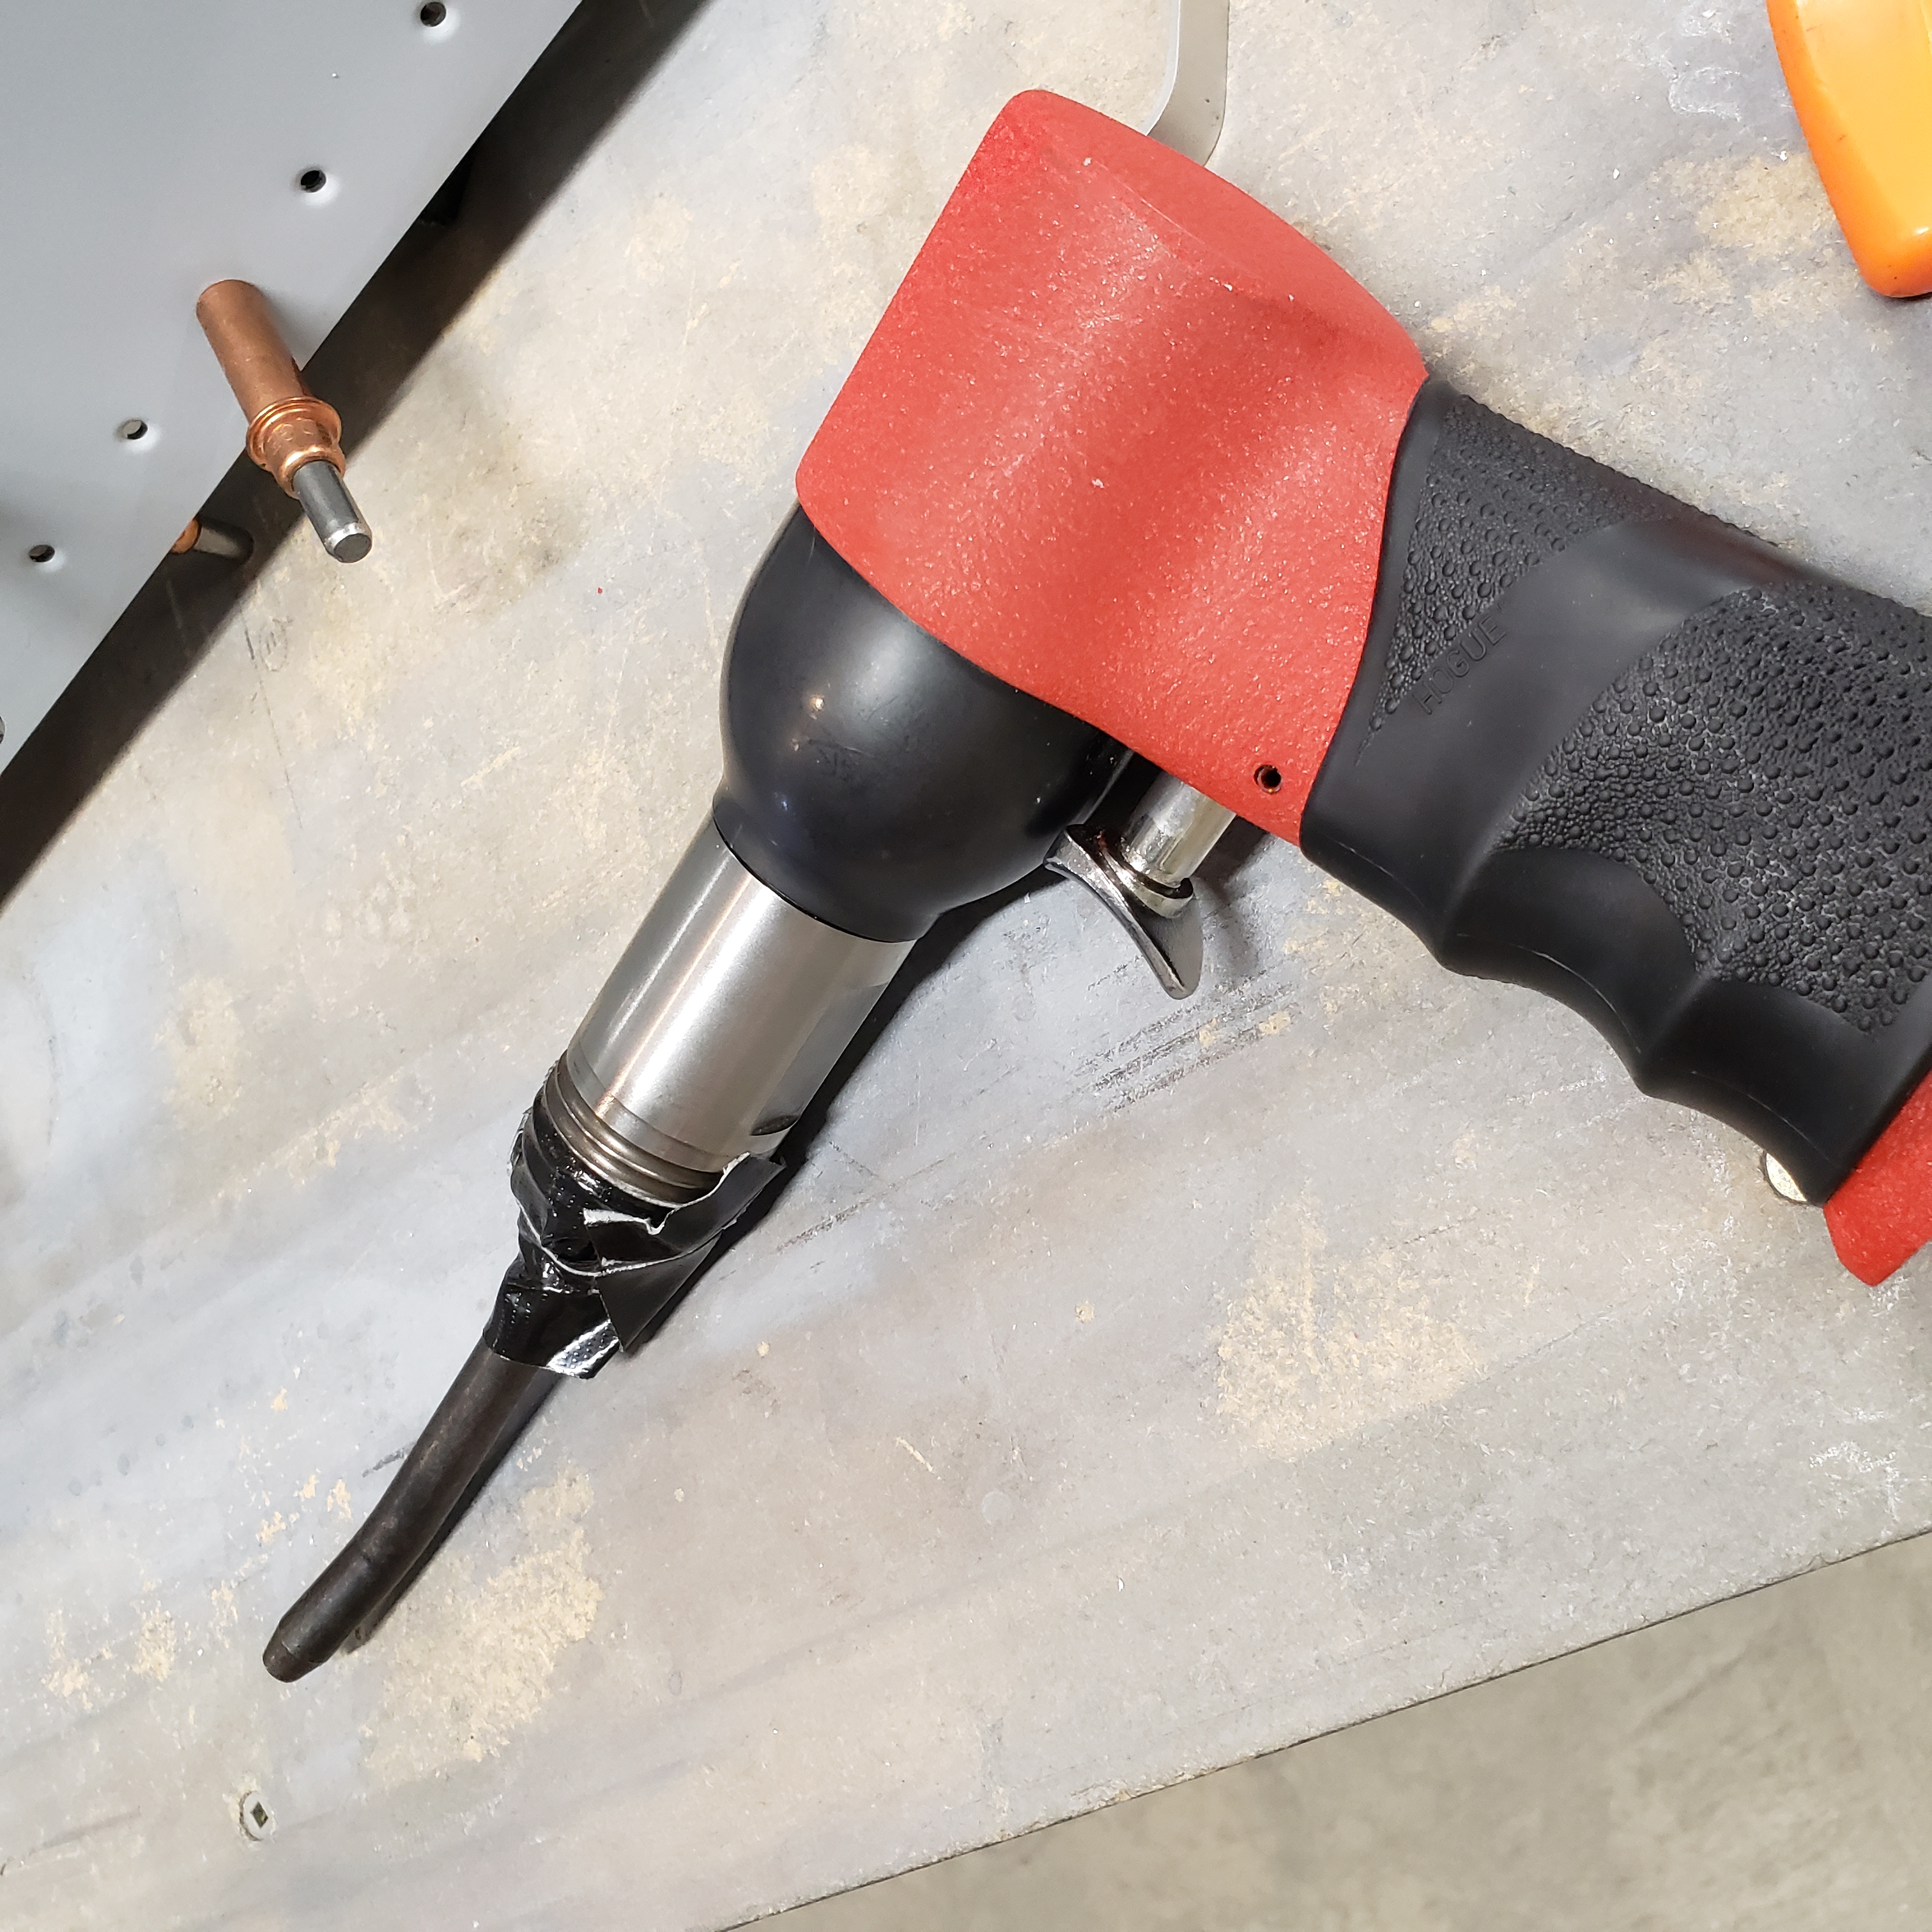
Just a quick note on the riveting setup I used, as these pieces are all 2024-T3 0.025, it’s quiet flimsy until the structure is all riveted together. So I used my 2X rivet gun, and an offset rivet snap. I also taped the snap in place so it wouldn’t rotate on me while riveting.
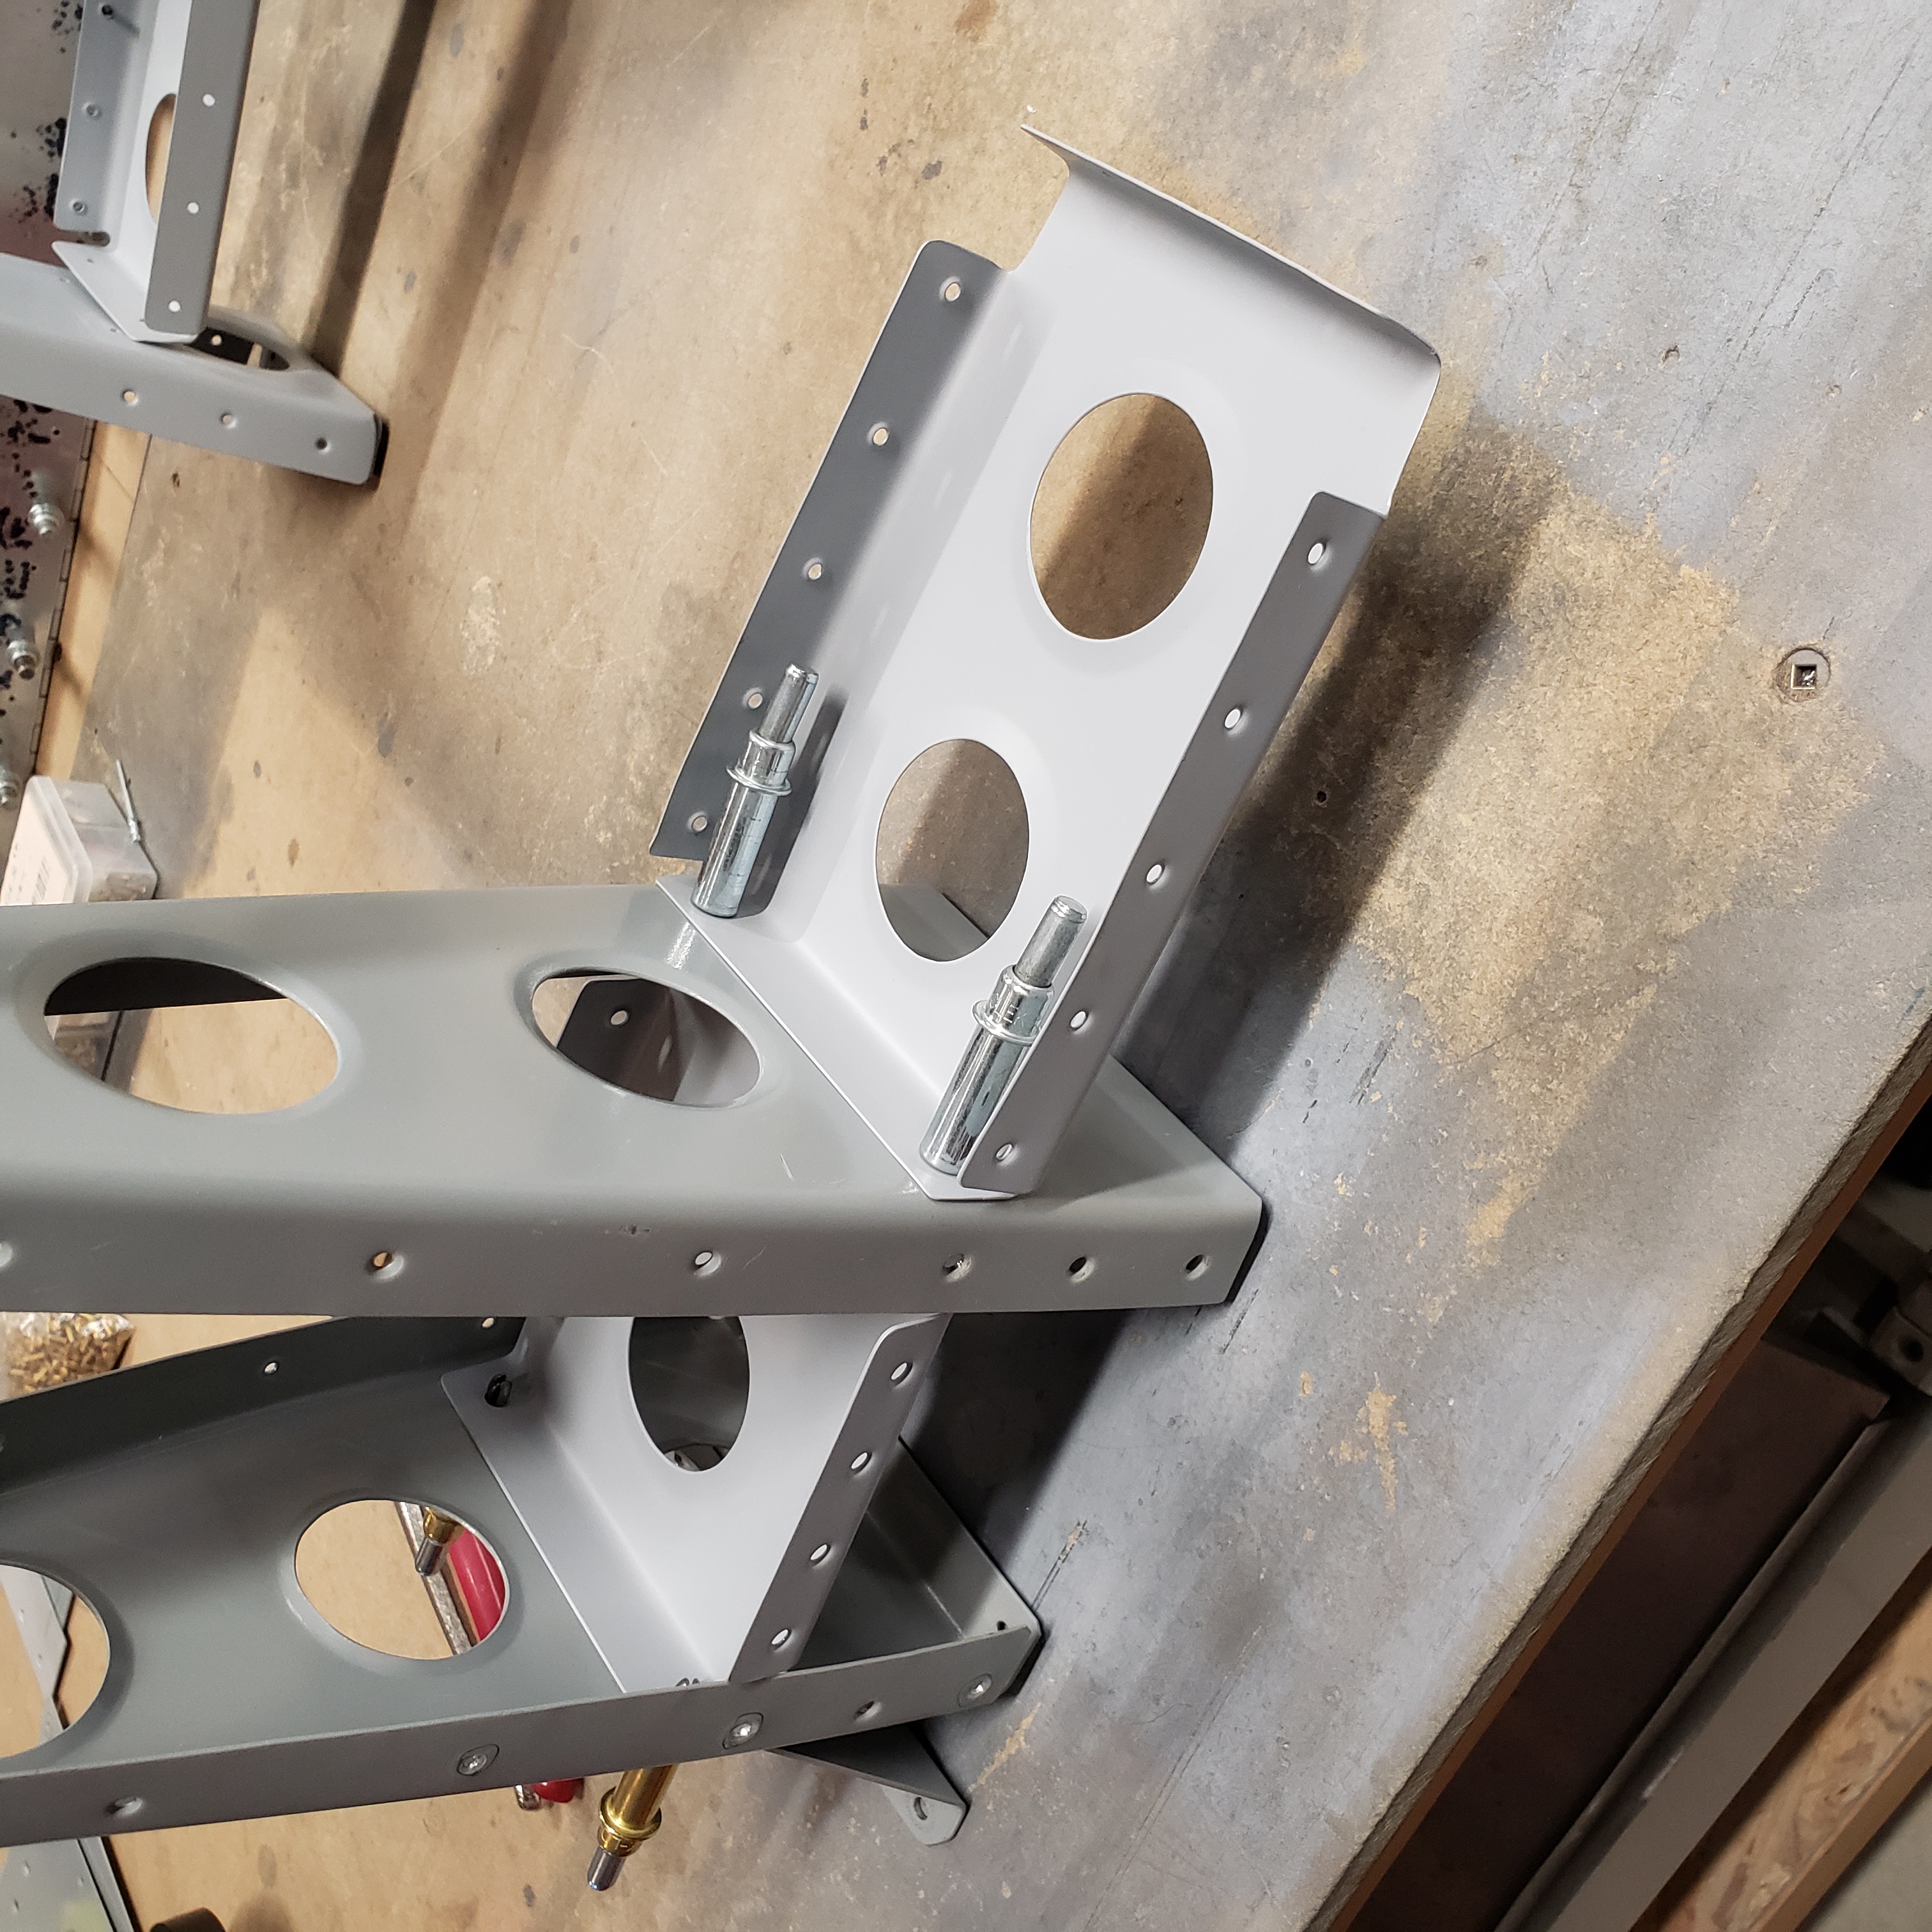
Once I had the mid-span ribs riveted in place, I then moved on to fastening the trailing edge.
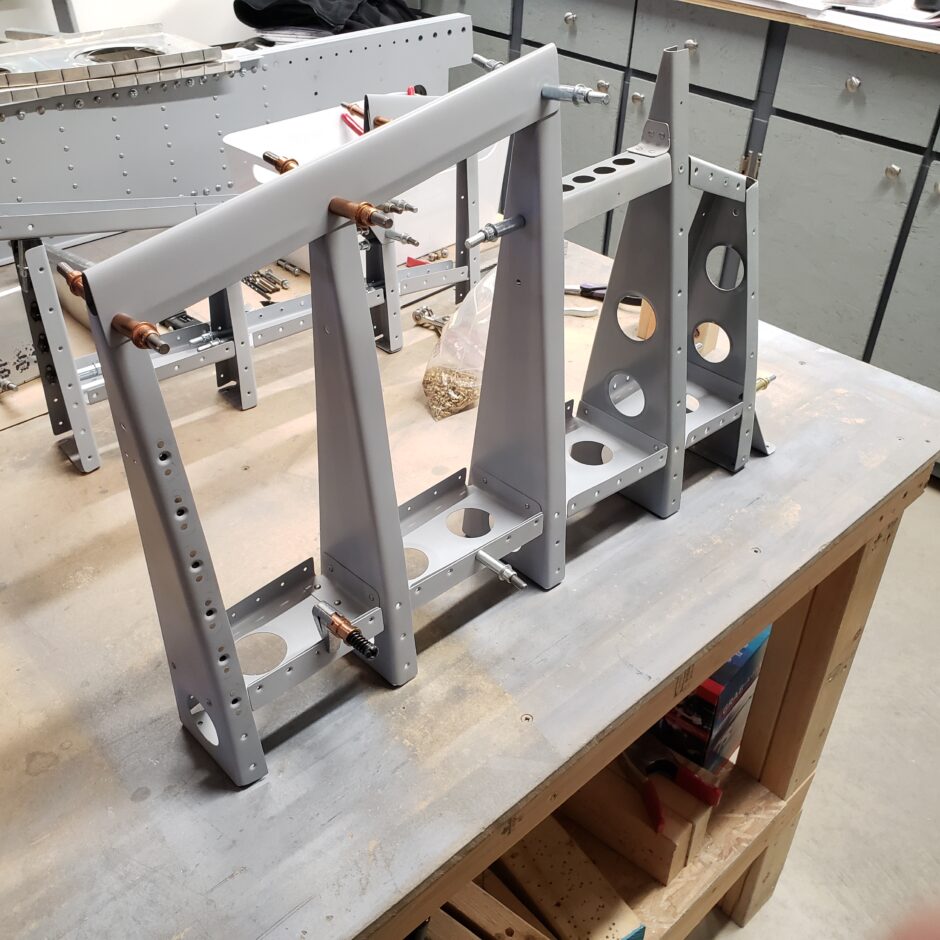
For the trailing edge I opted to go with pulled rivets, as back in the day (when I first screwed up my original rudder) I was attempting to set solid rivets in this area. Needless to say the results were terrible. If you go back in the blog you can find the story.
Also on the lower end of this segment of the trailing edge, I’m also installing flush rivets, as this lower part is covered by the lower rudder fairing and I don’t want a universal head to interfere with the overlapped fairing.
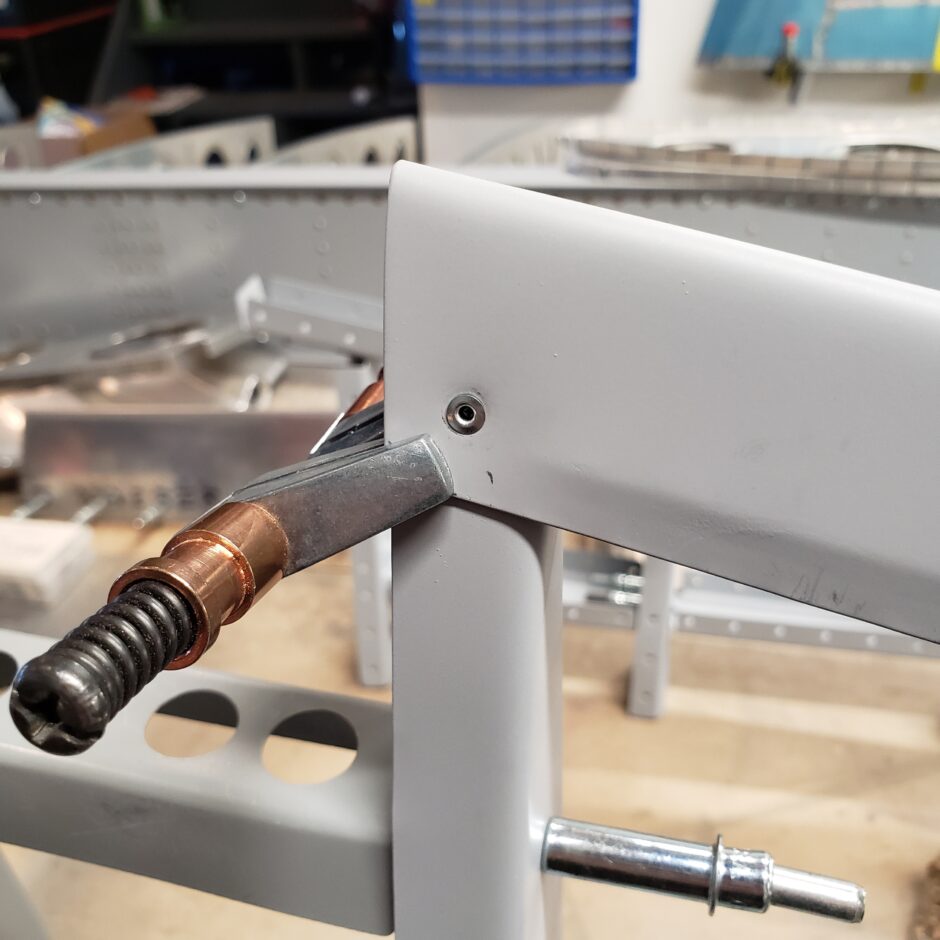
In this area the pulled rivets I used were MK-319-BS. This worked out really well. And just like that, the lower sub-assembly is riveted!
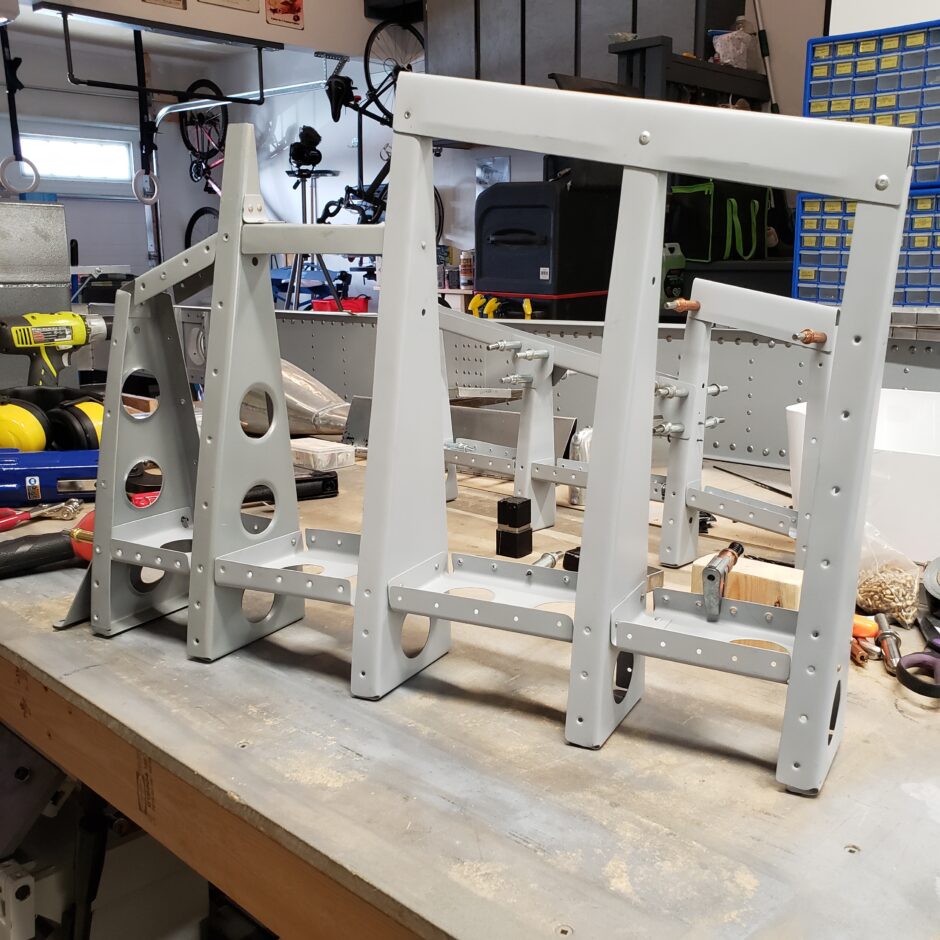
Moving on to the upper sub-assembly was just more of the same. Progressively working my way to the upper end.
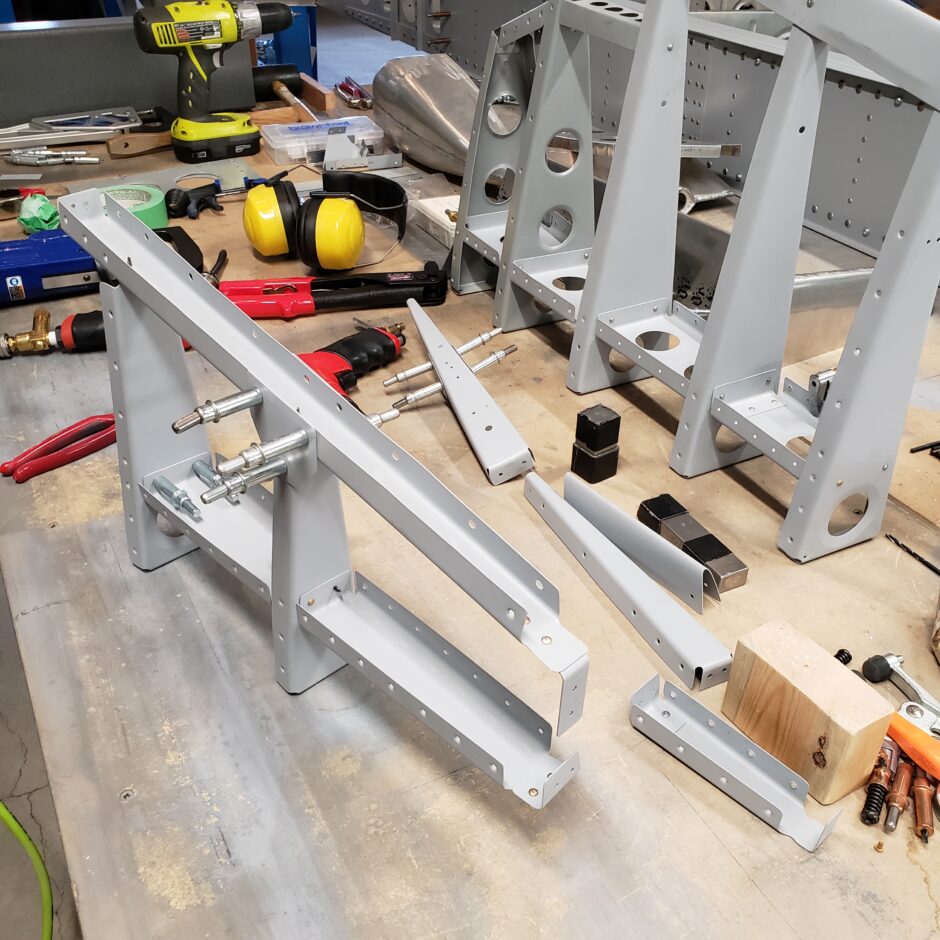
When I got to the upper end rib, I needed to match drill the upper rudder hinge assembly, as it’s integral to the upper rib. What follows is the assembly sequence.
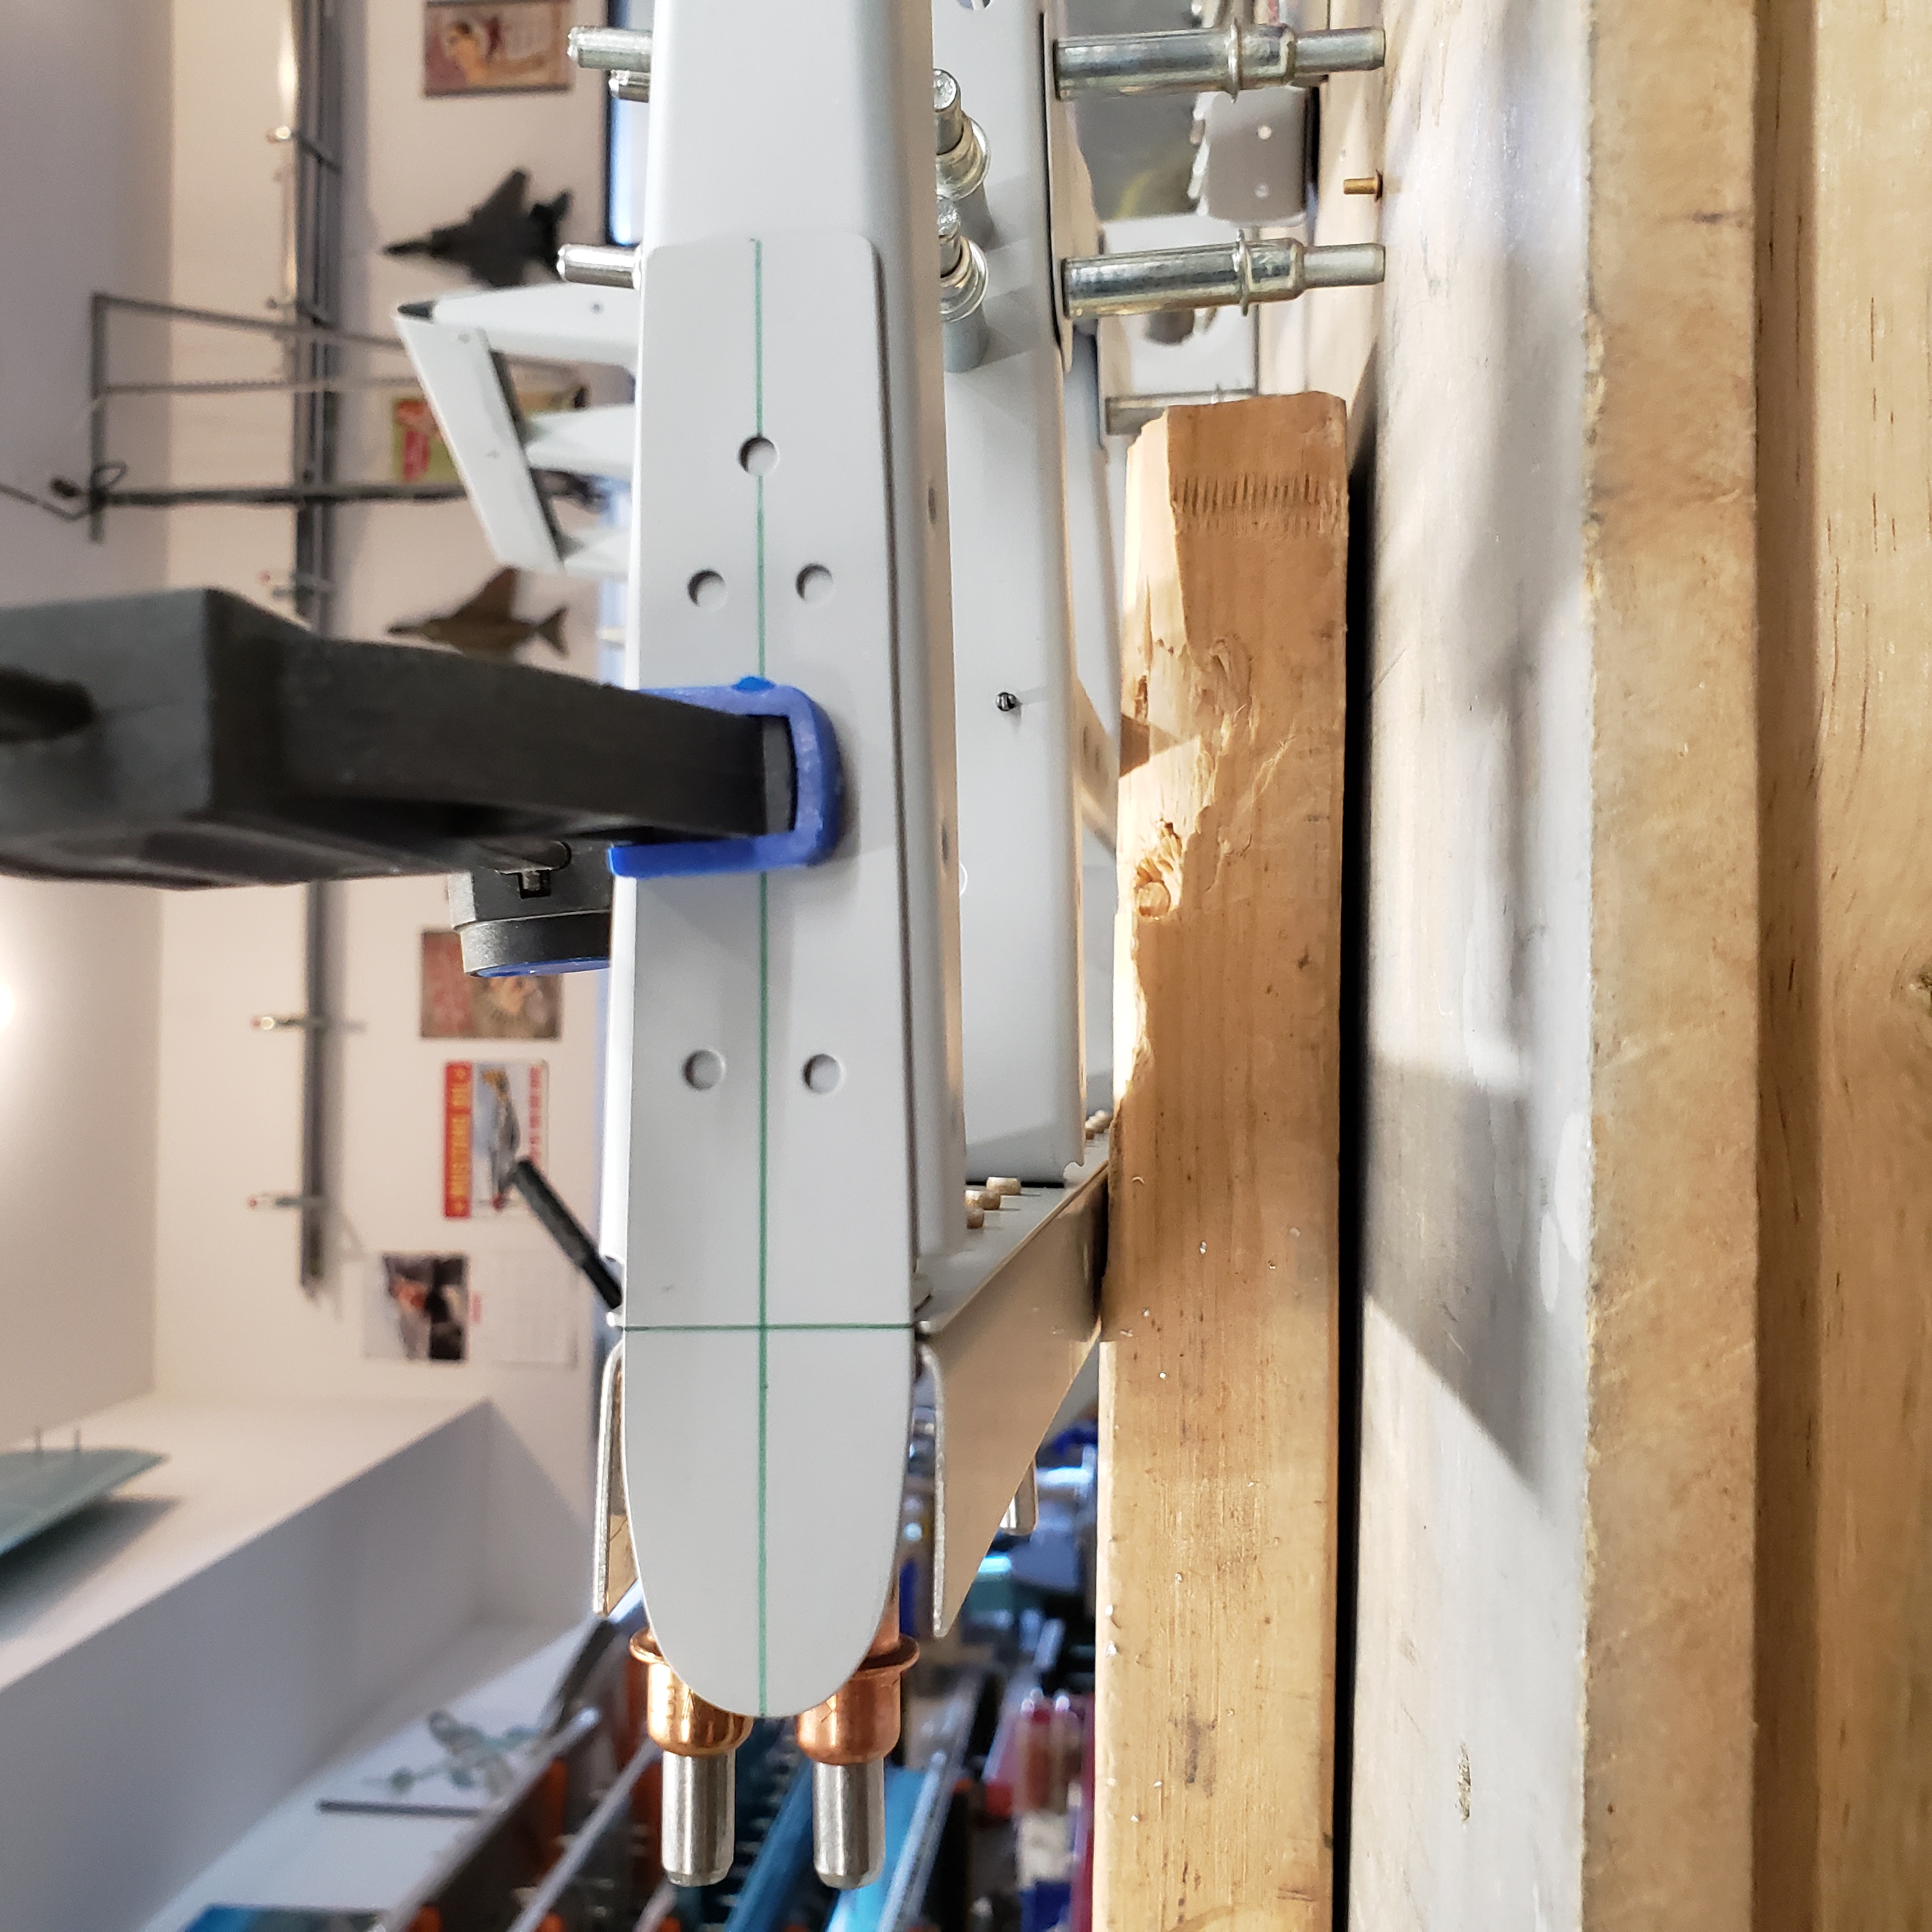
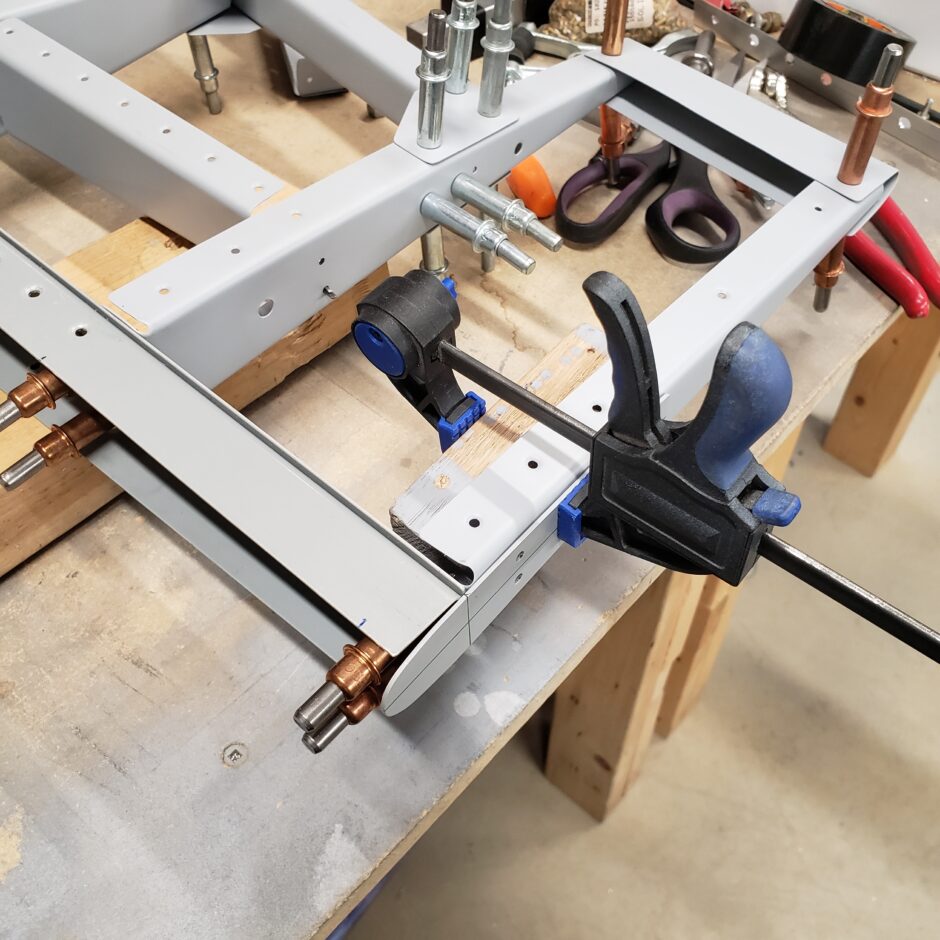
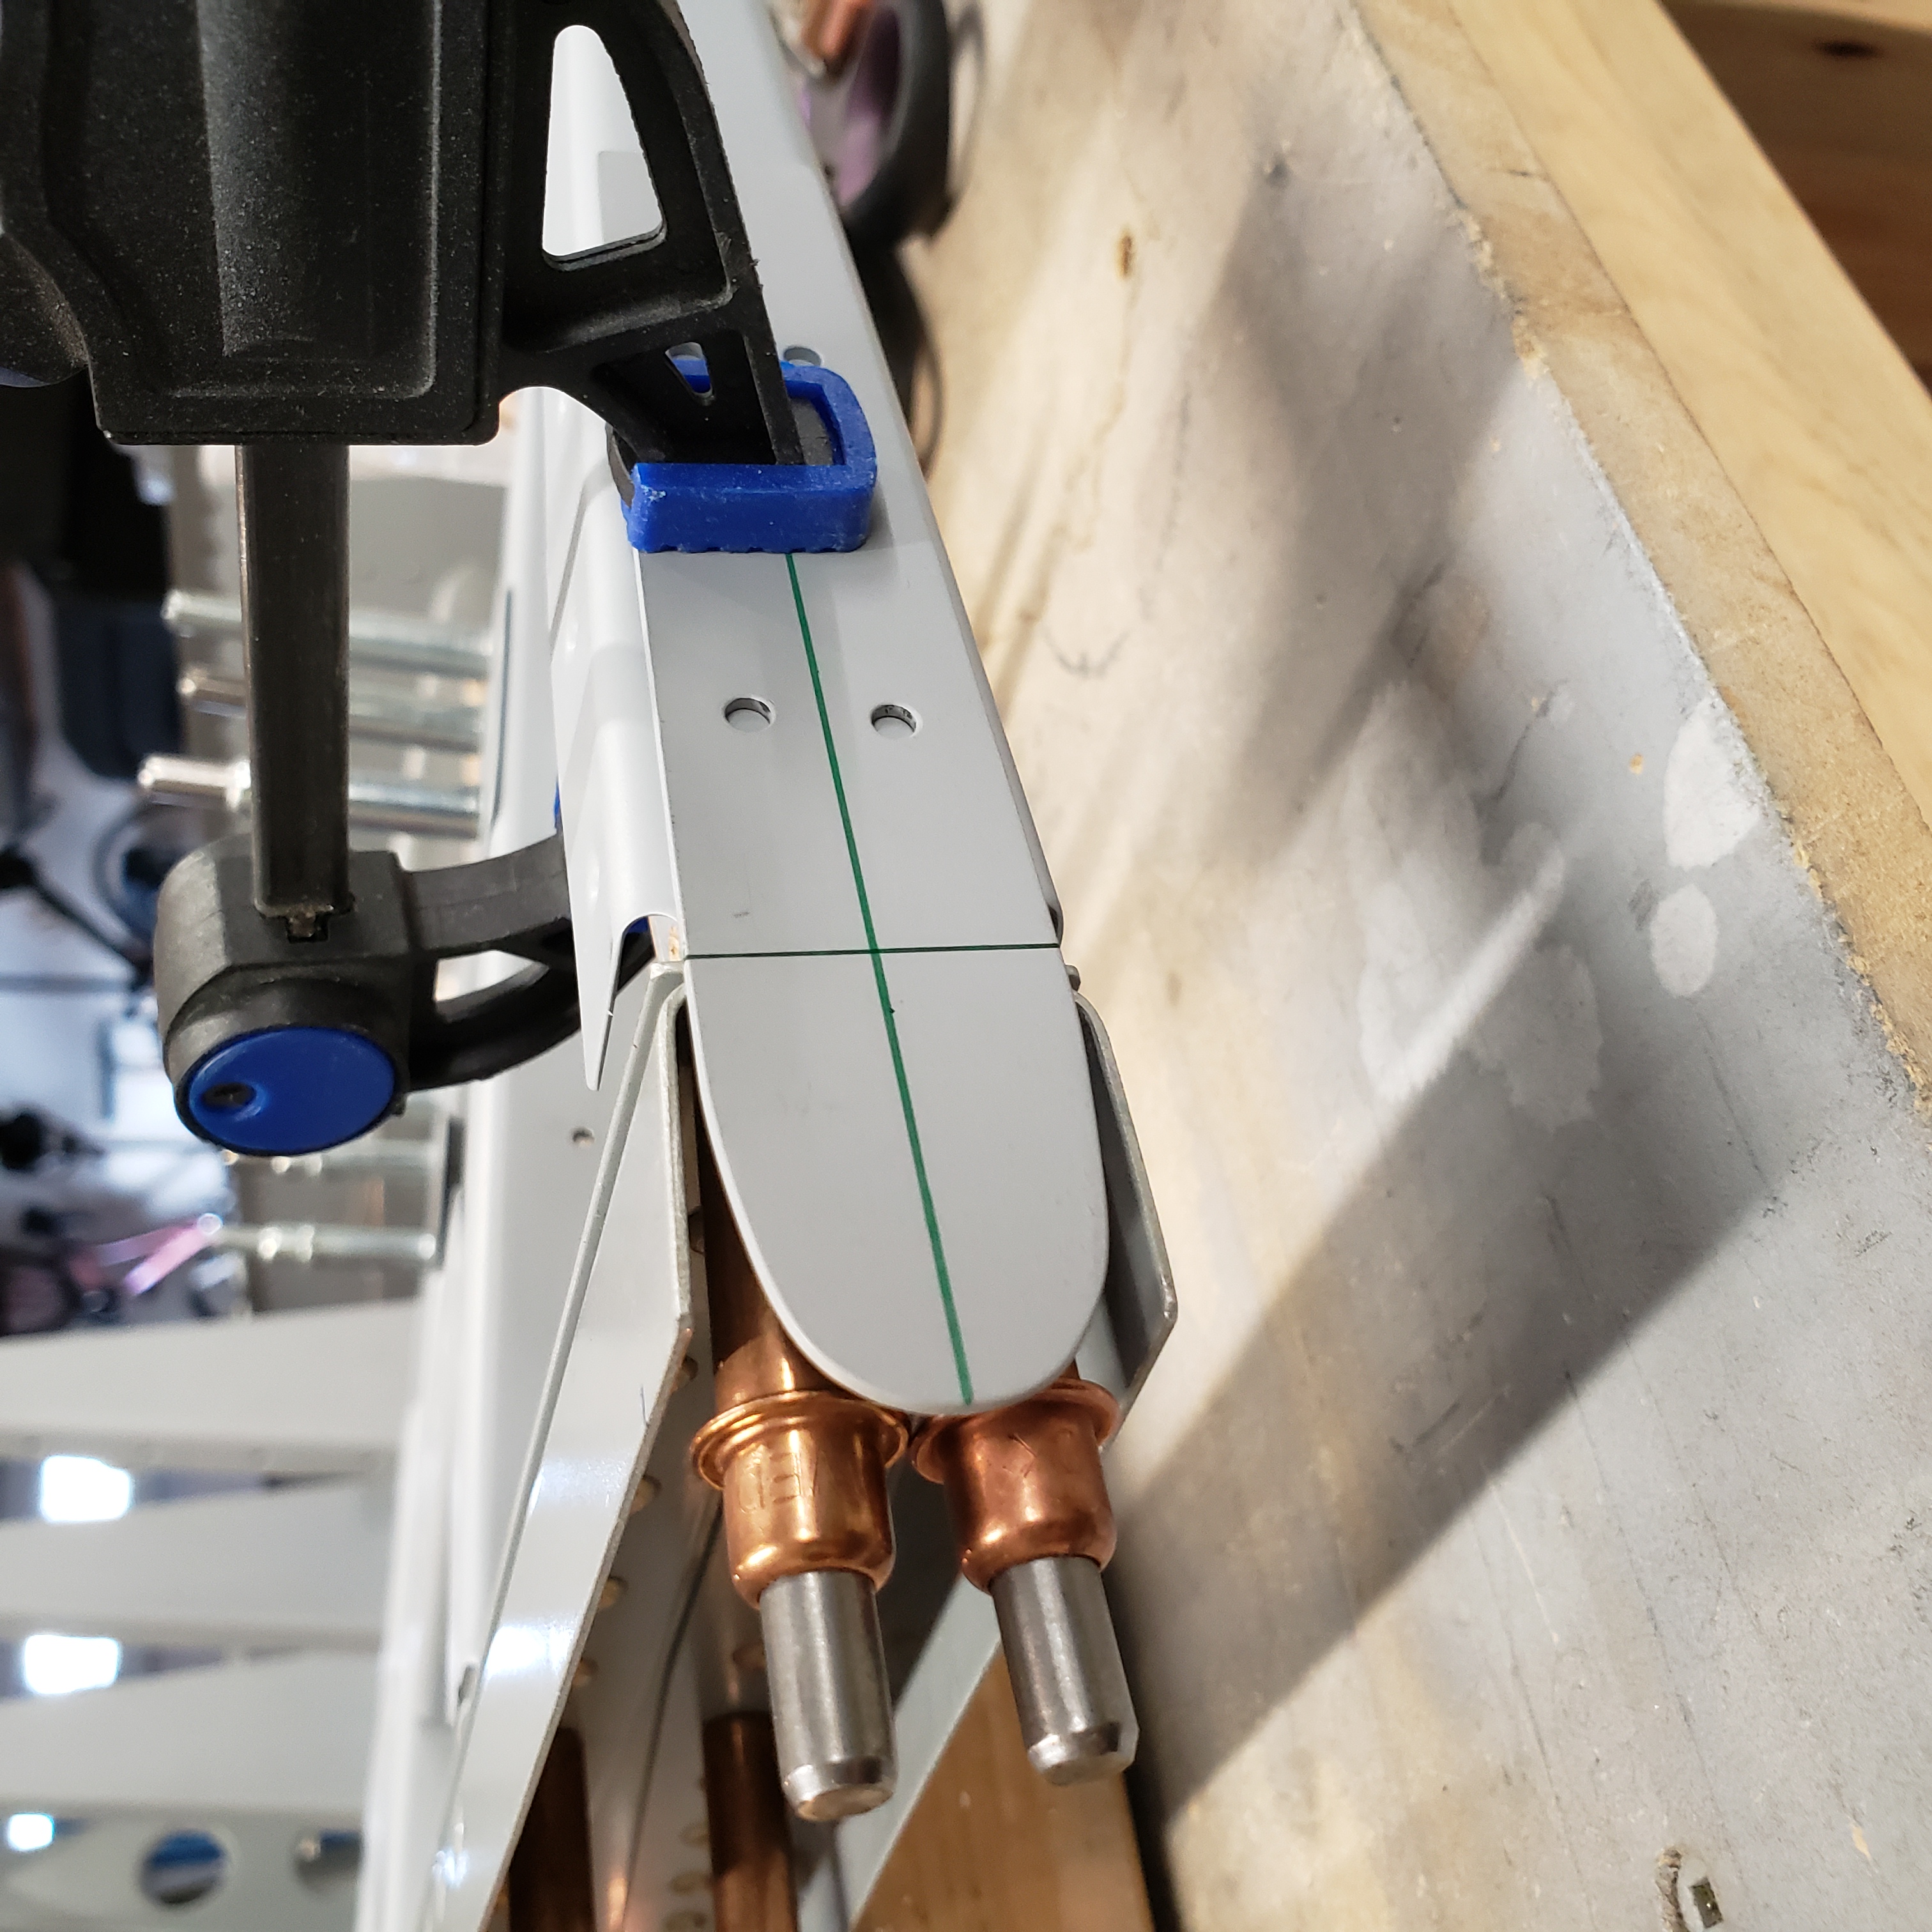
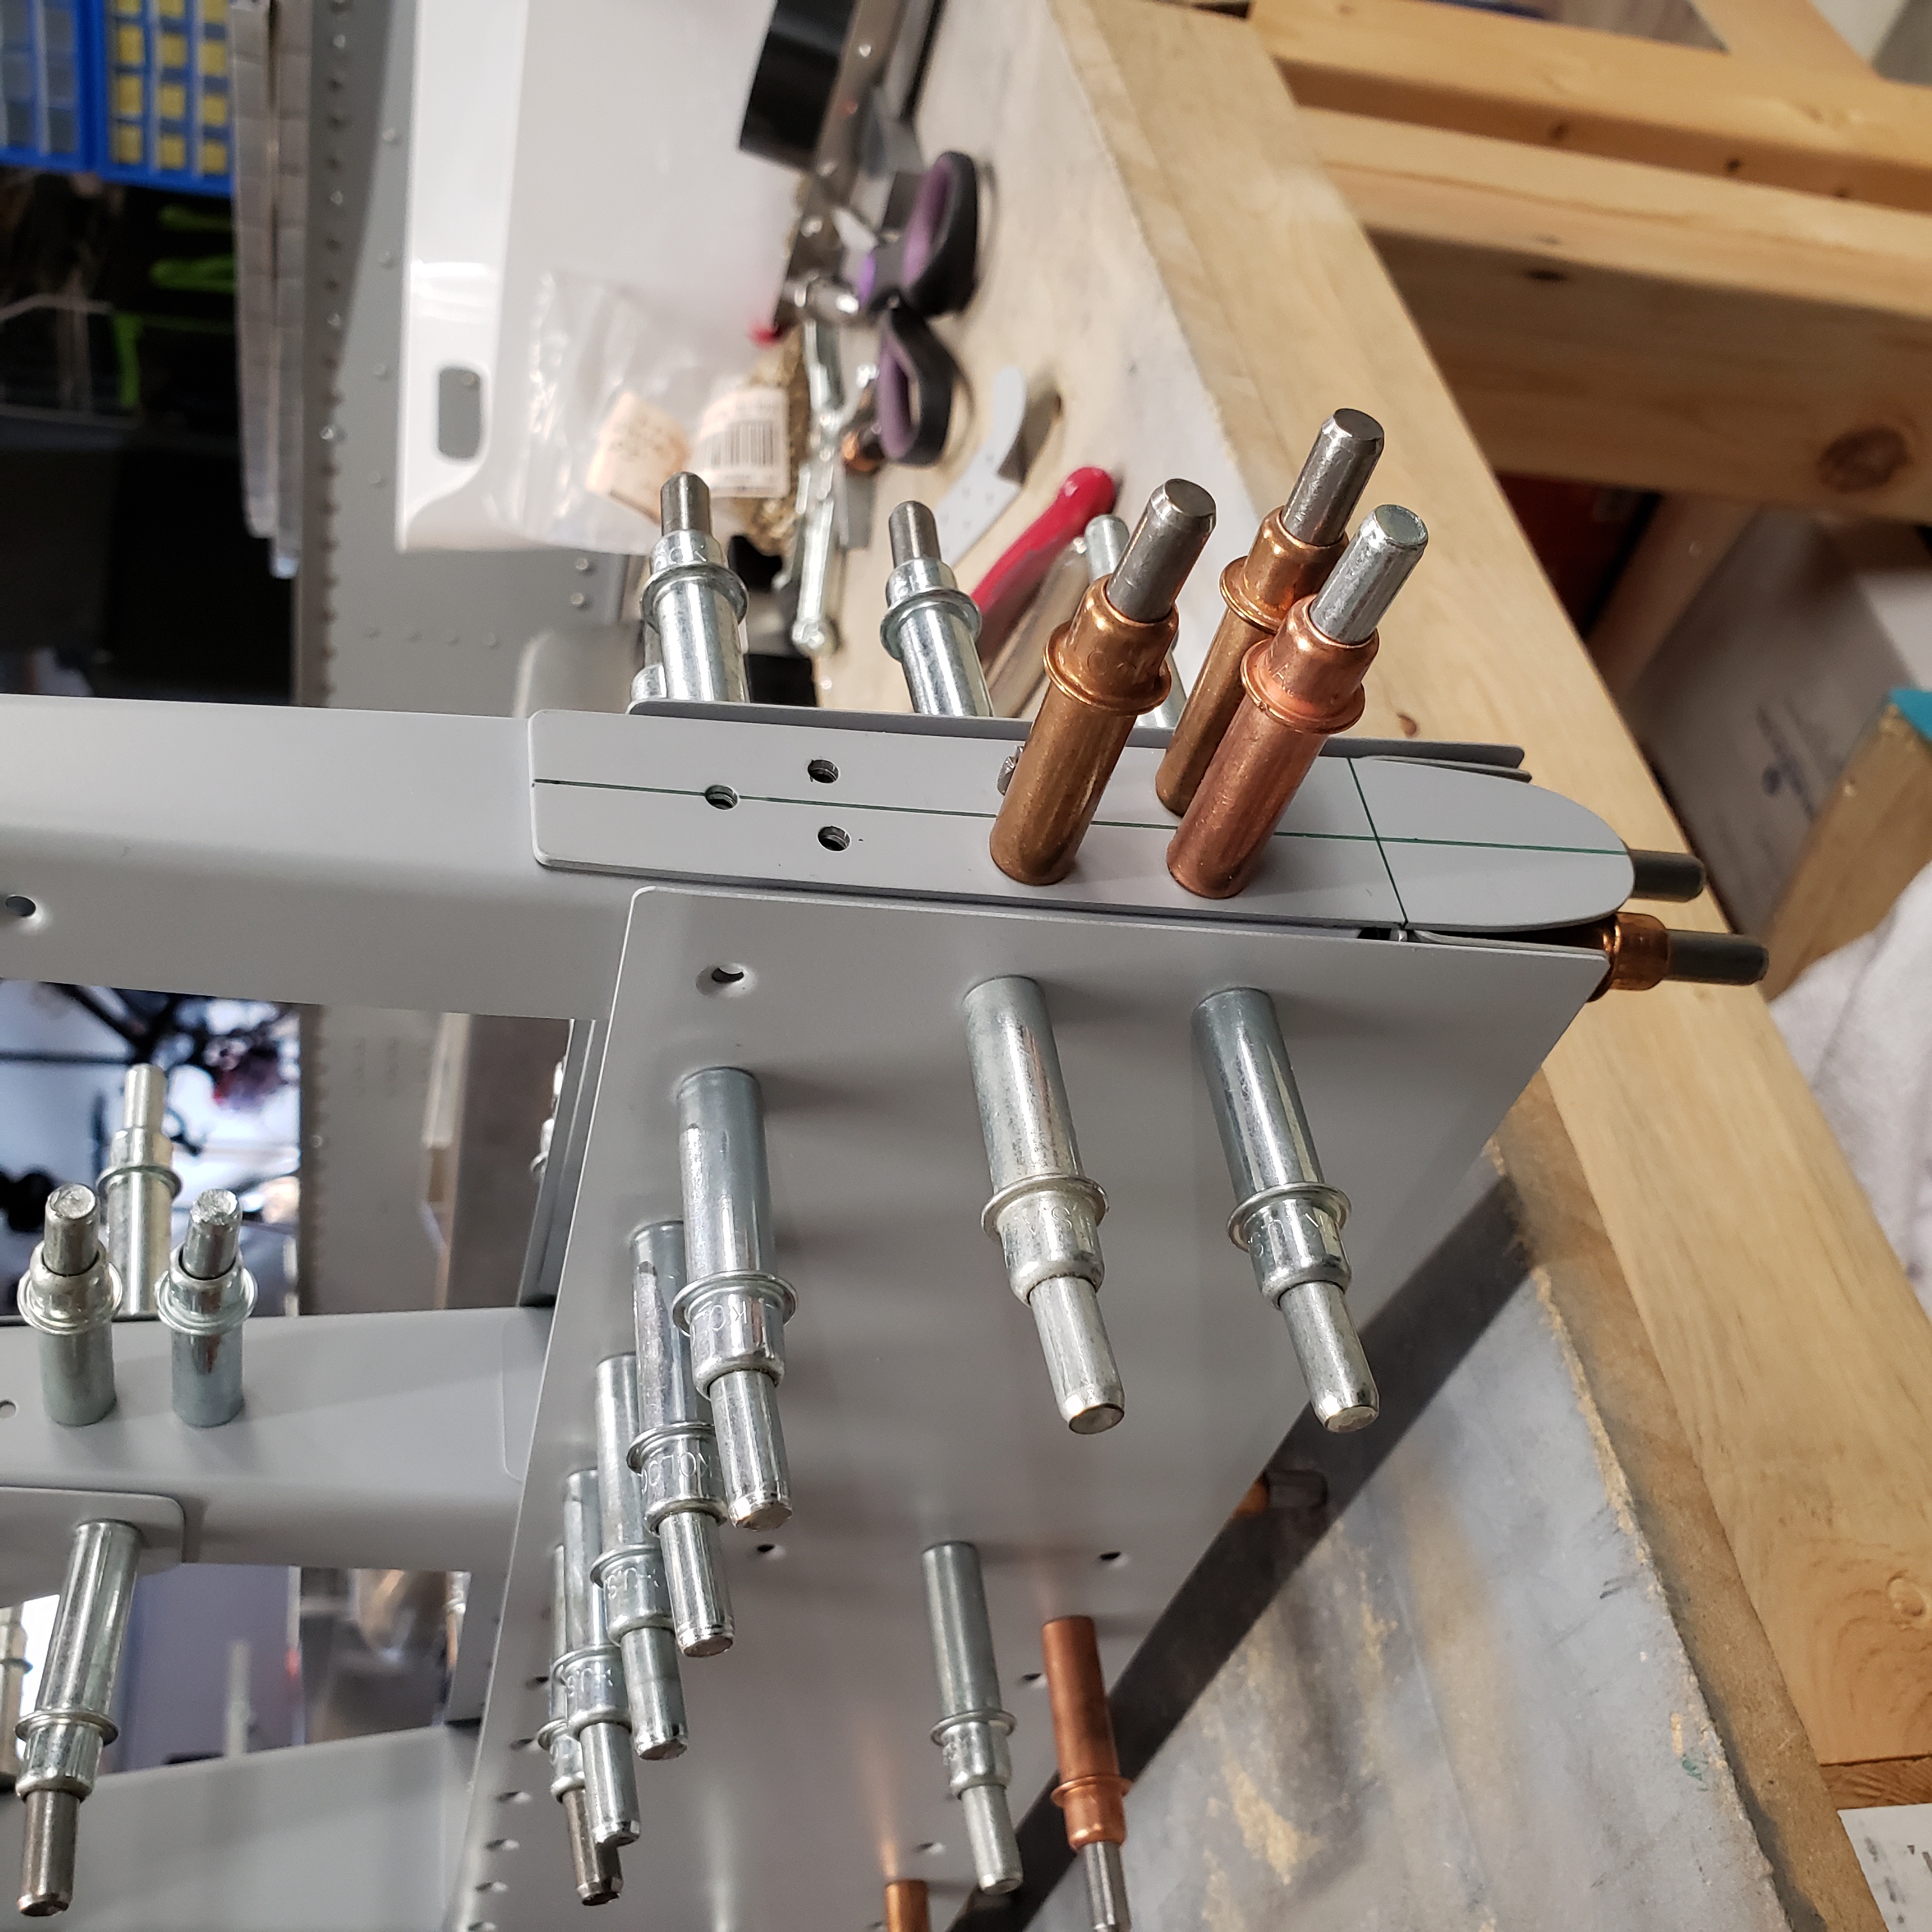
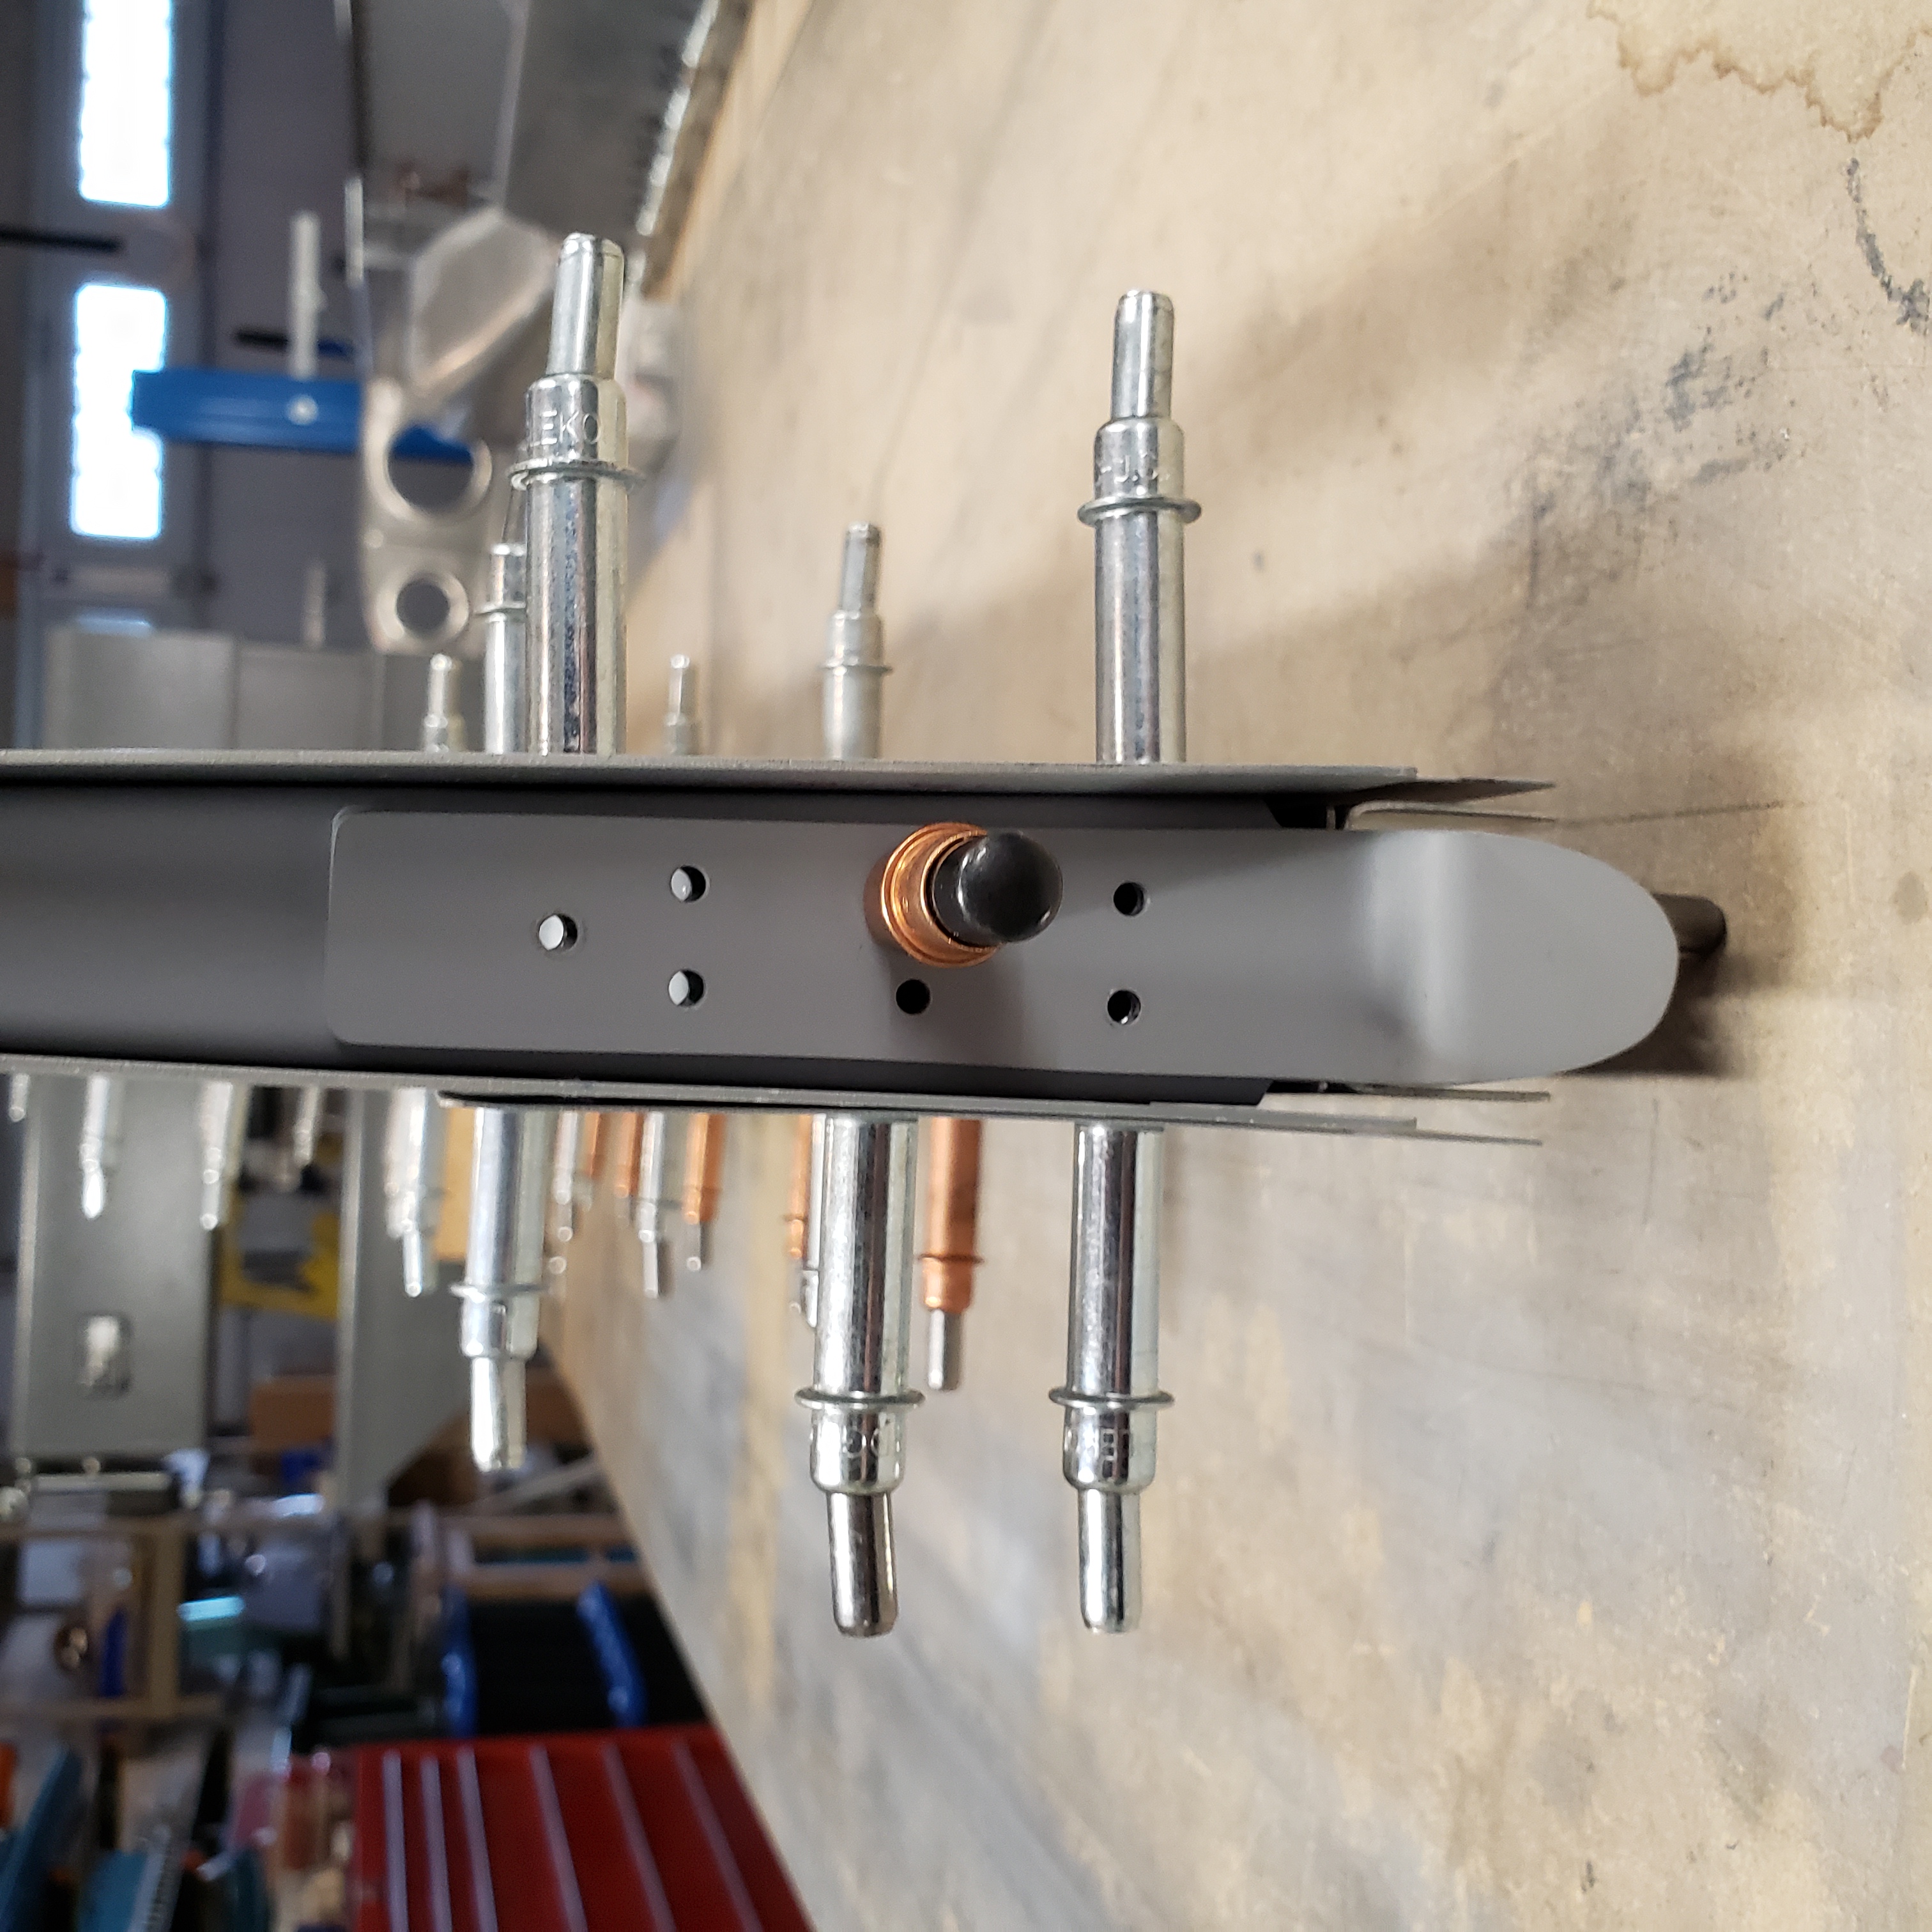
Once the upper hinge was located, I then added the upper fairing attach flange strips.
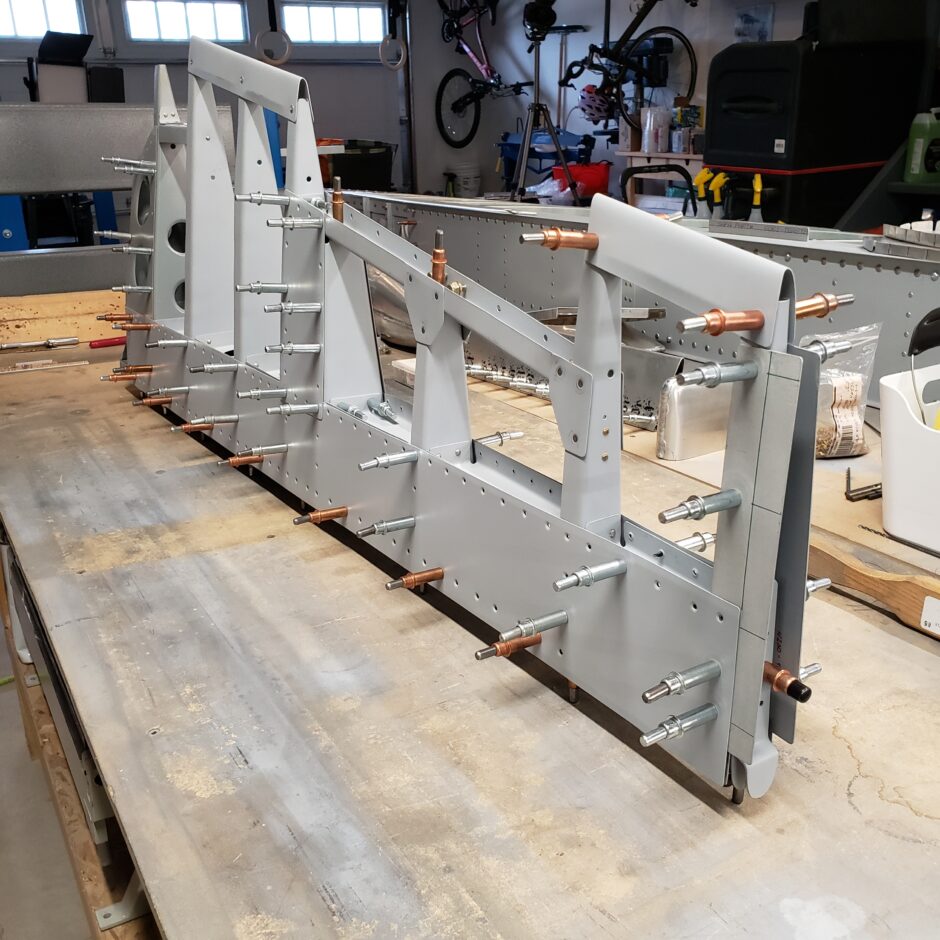
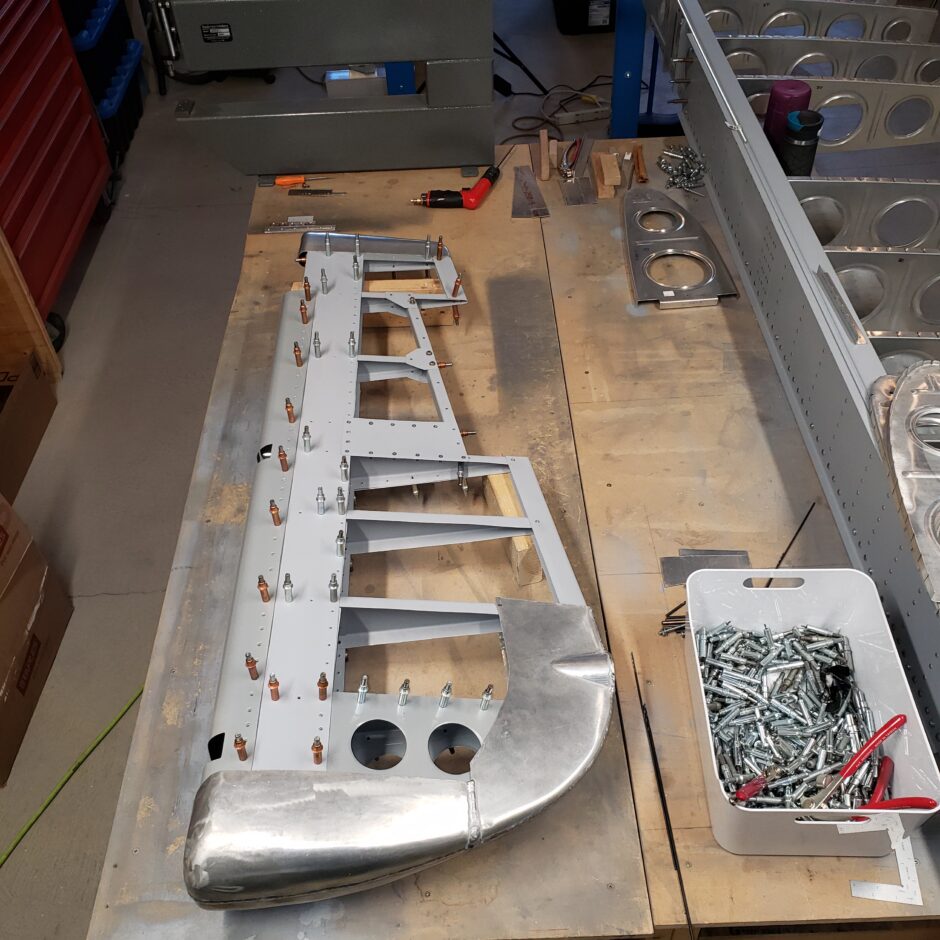
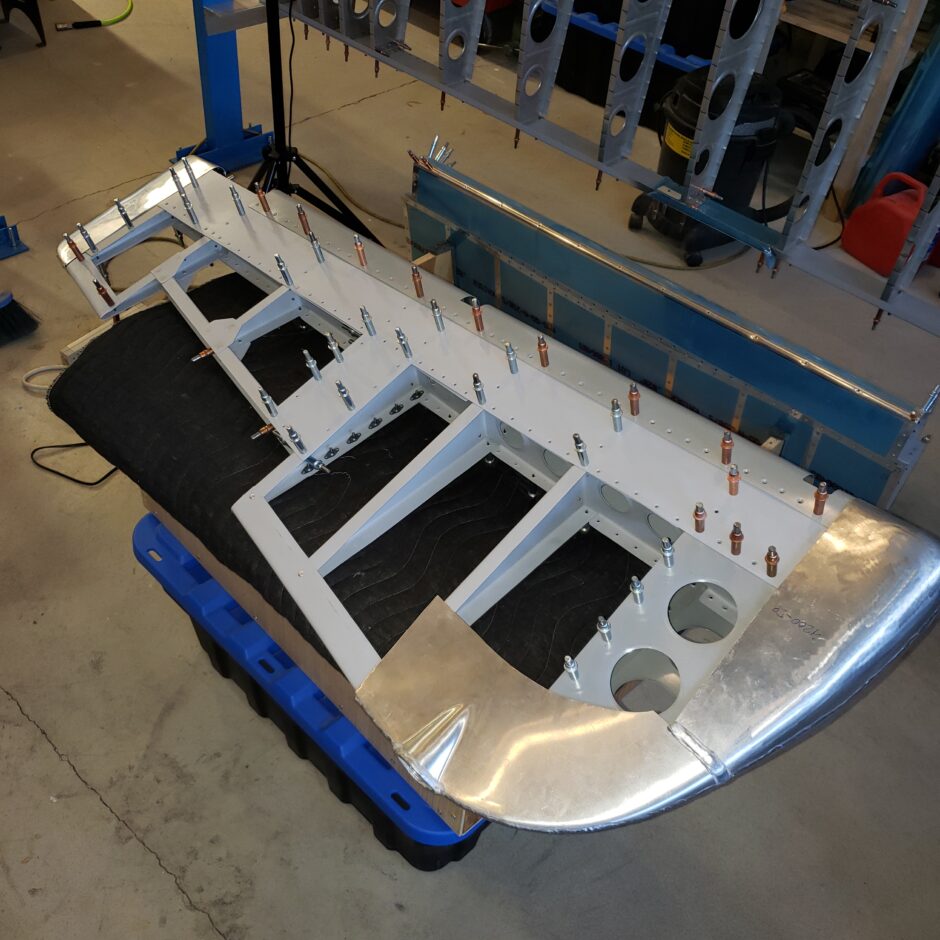
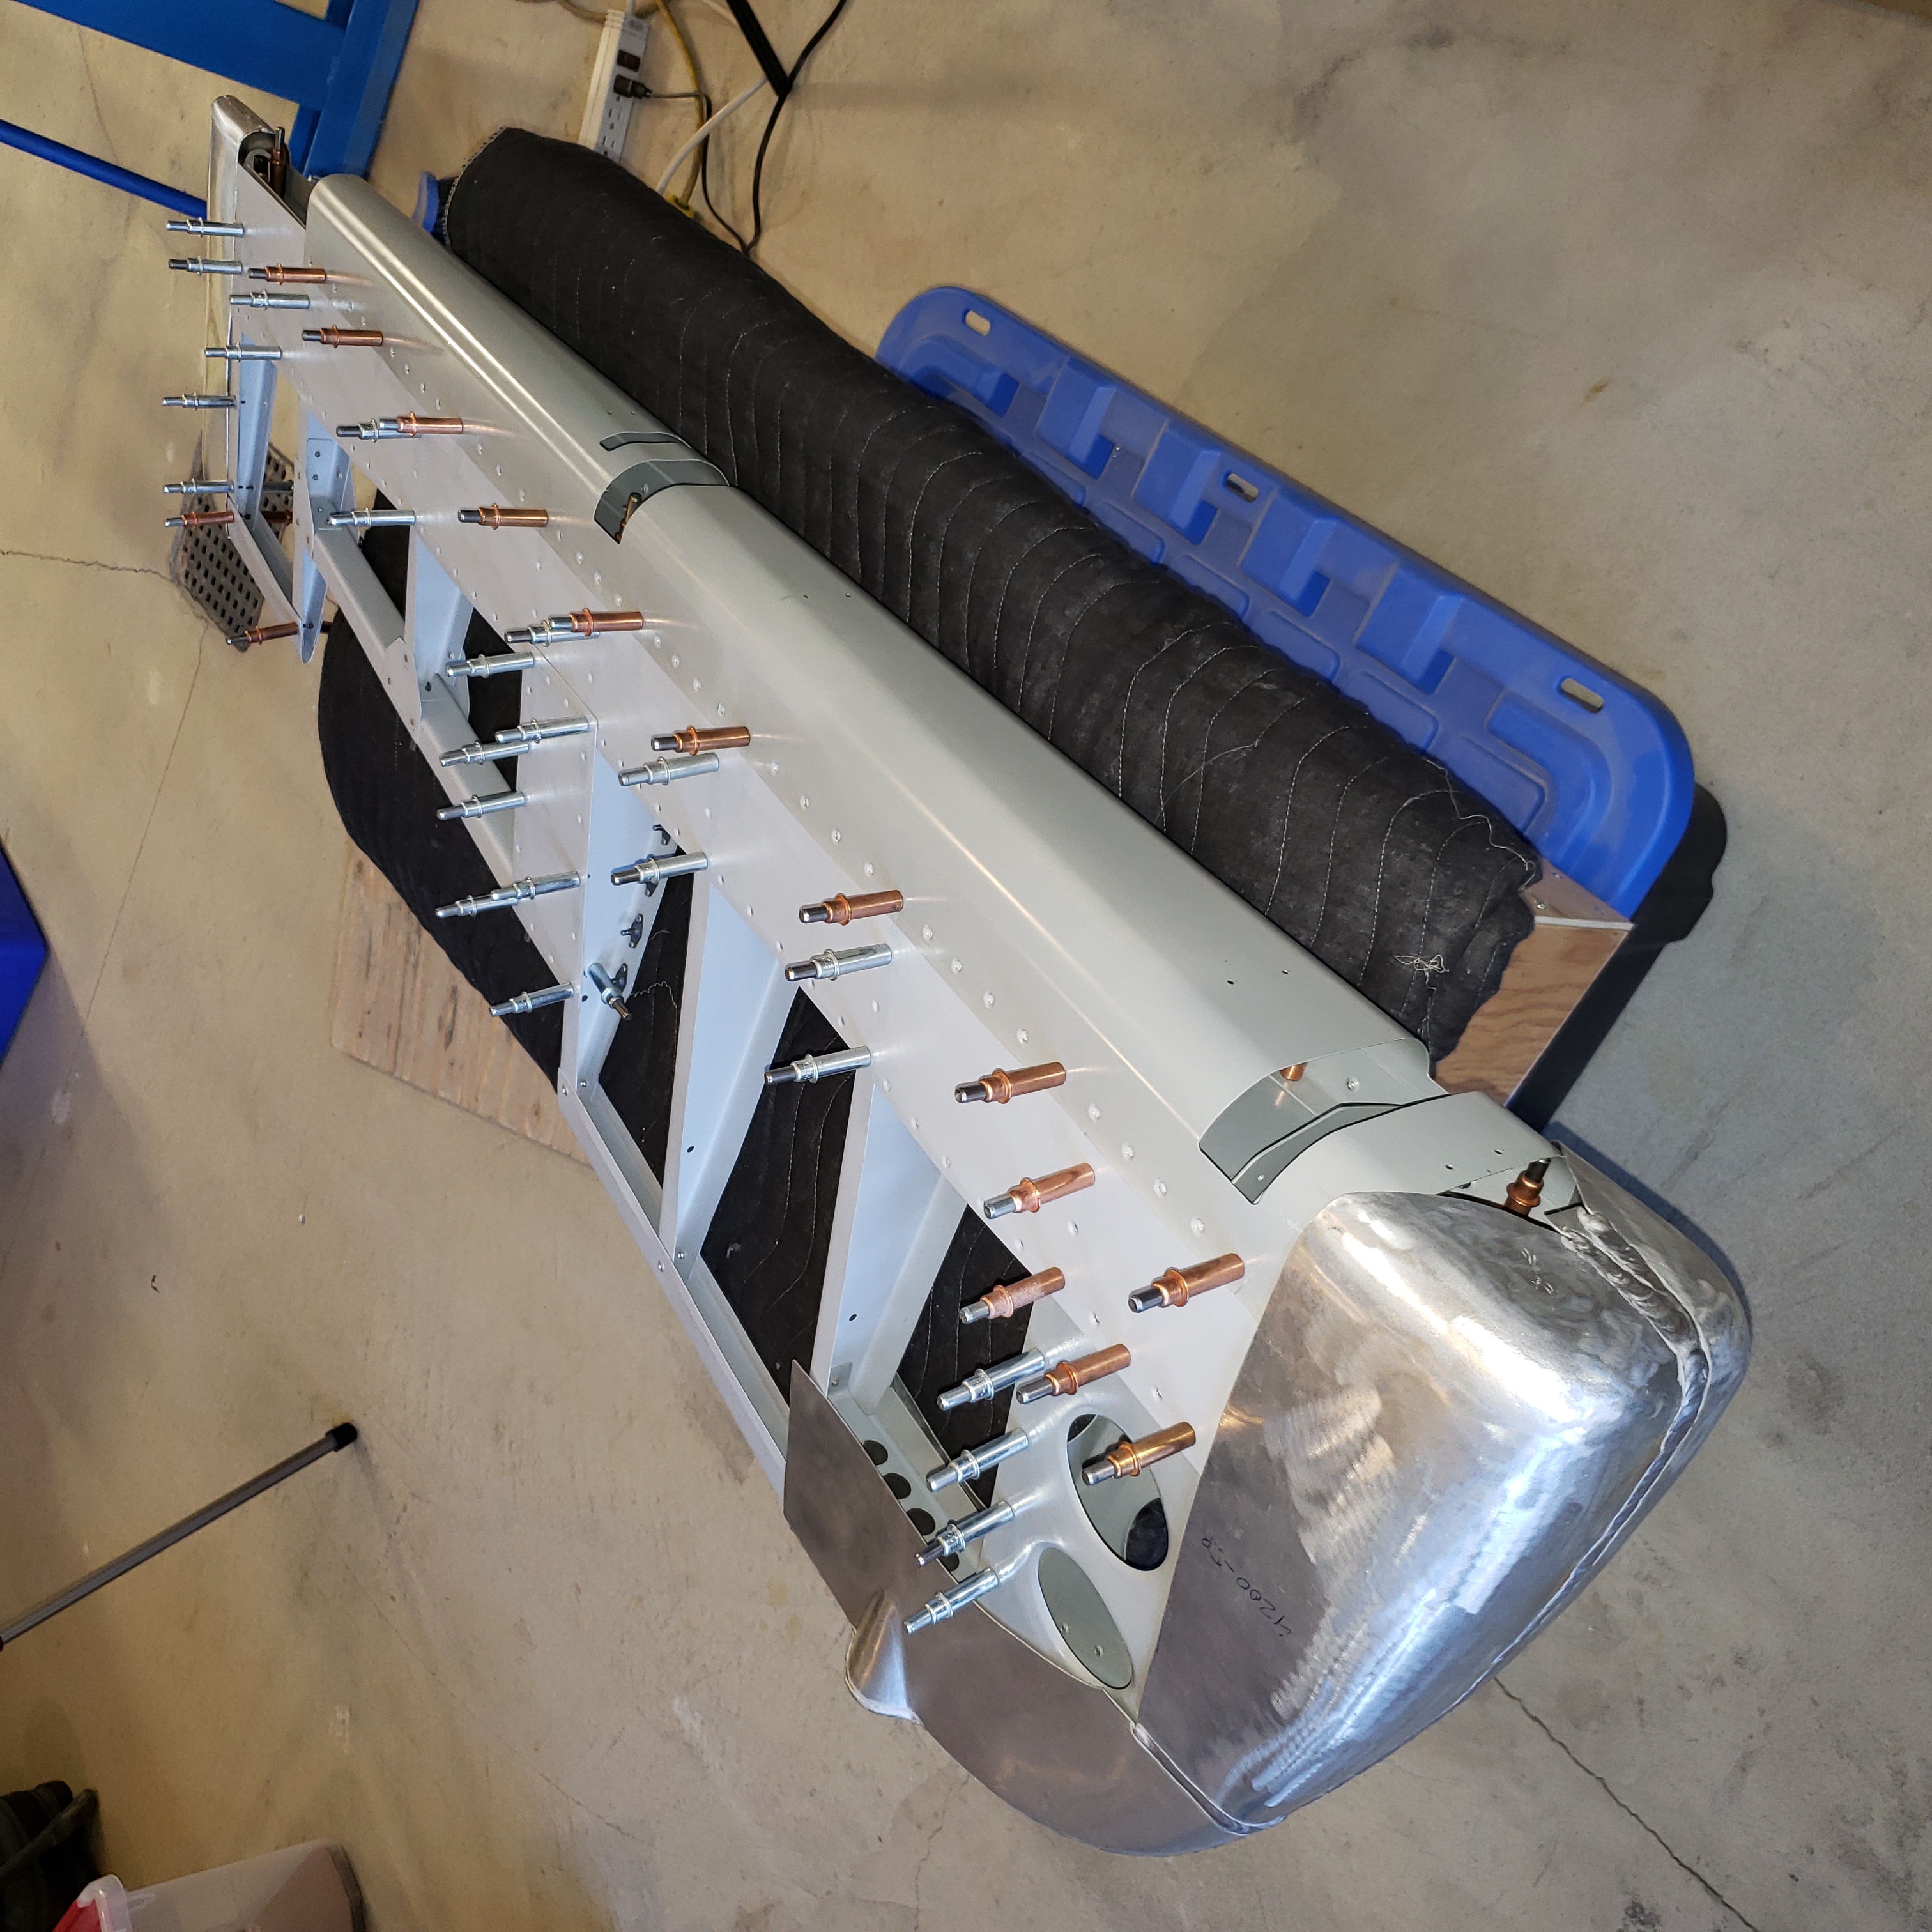
And the rudder is pretty much assembled, and now is ready for the pre-cover inspection.
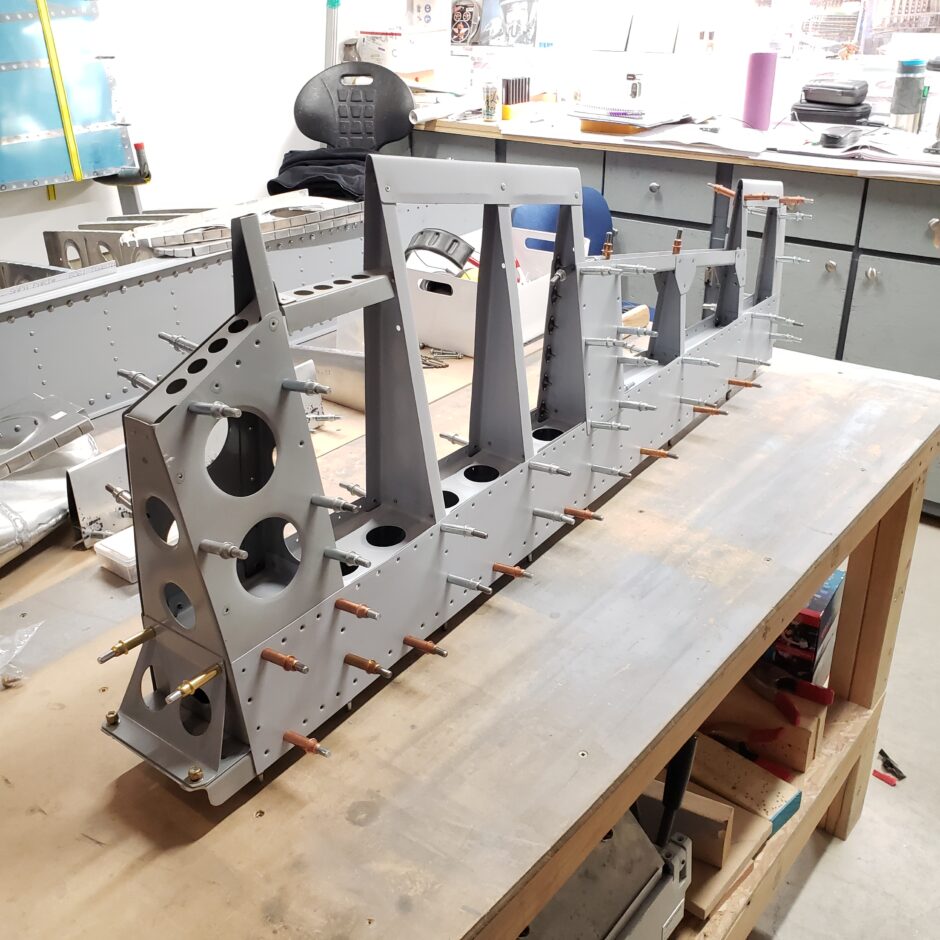
With the fairings, side skins and leading edge on, it was time to put it up on the wall to store it out of the way.
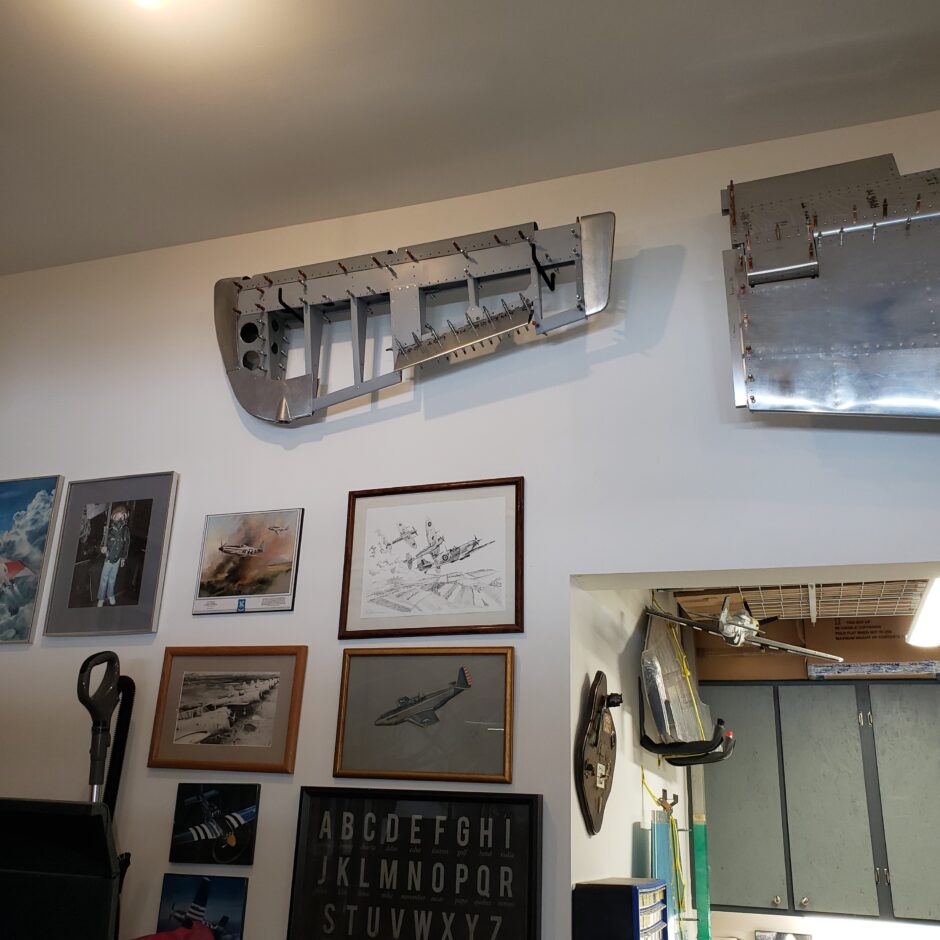
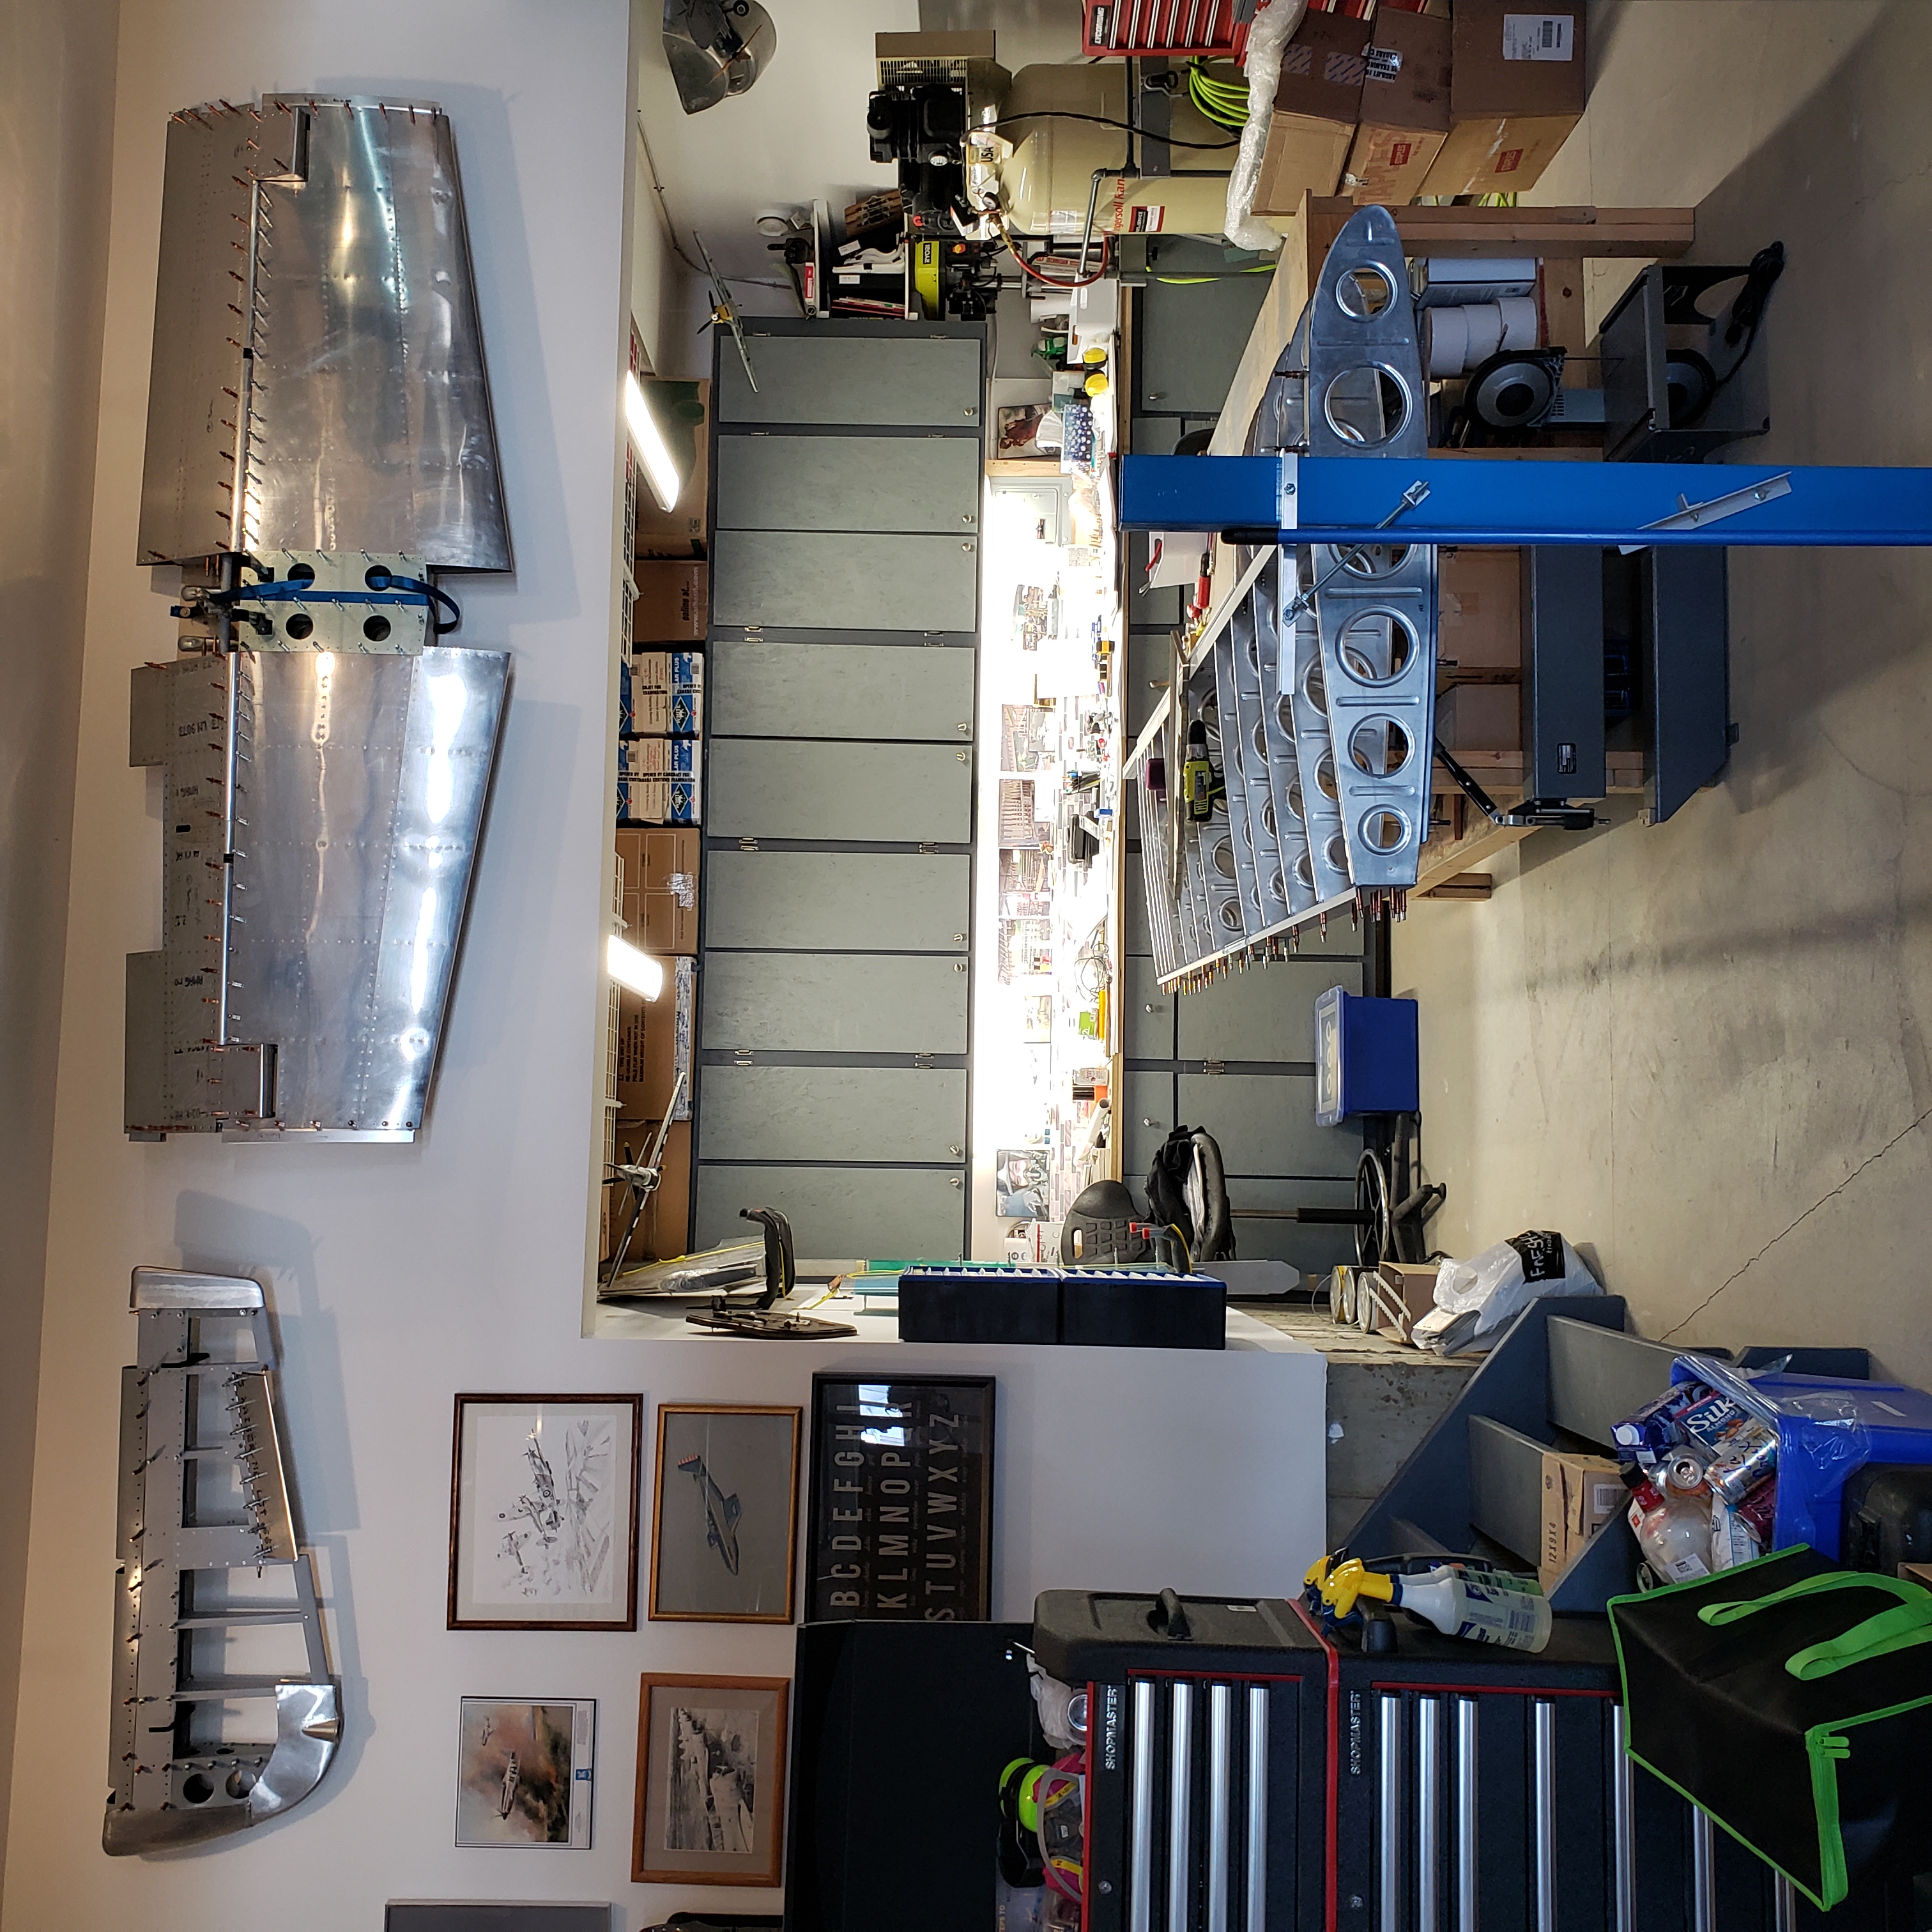
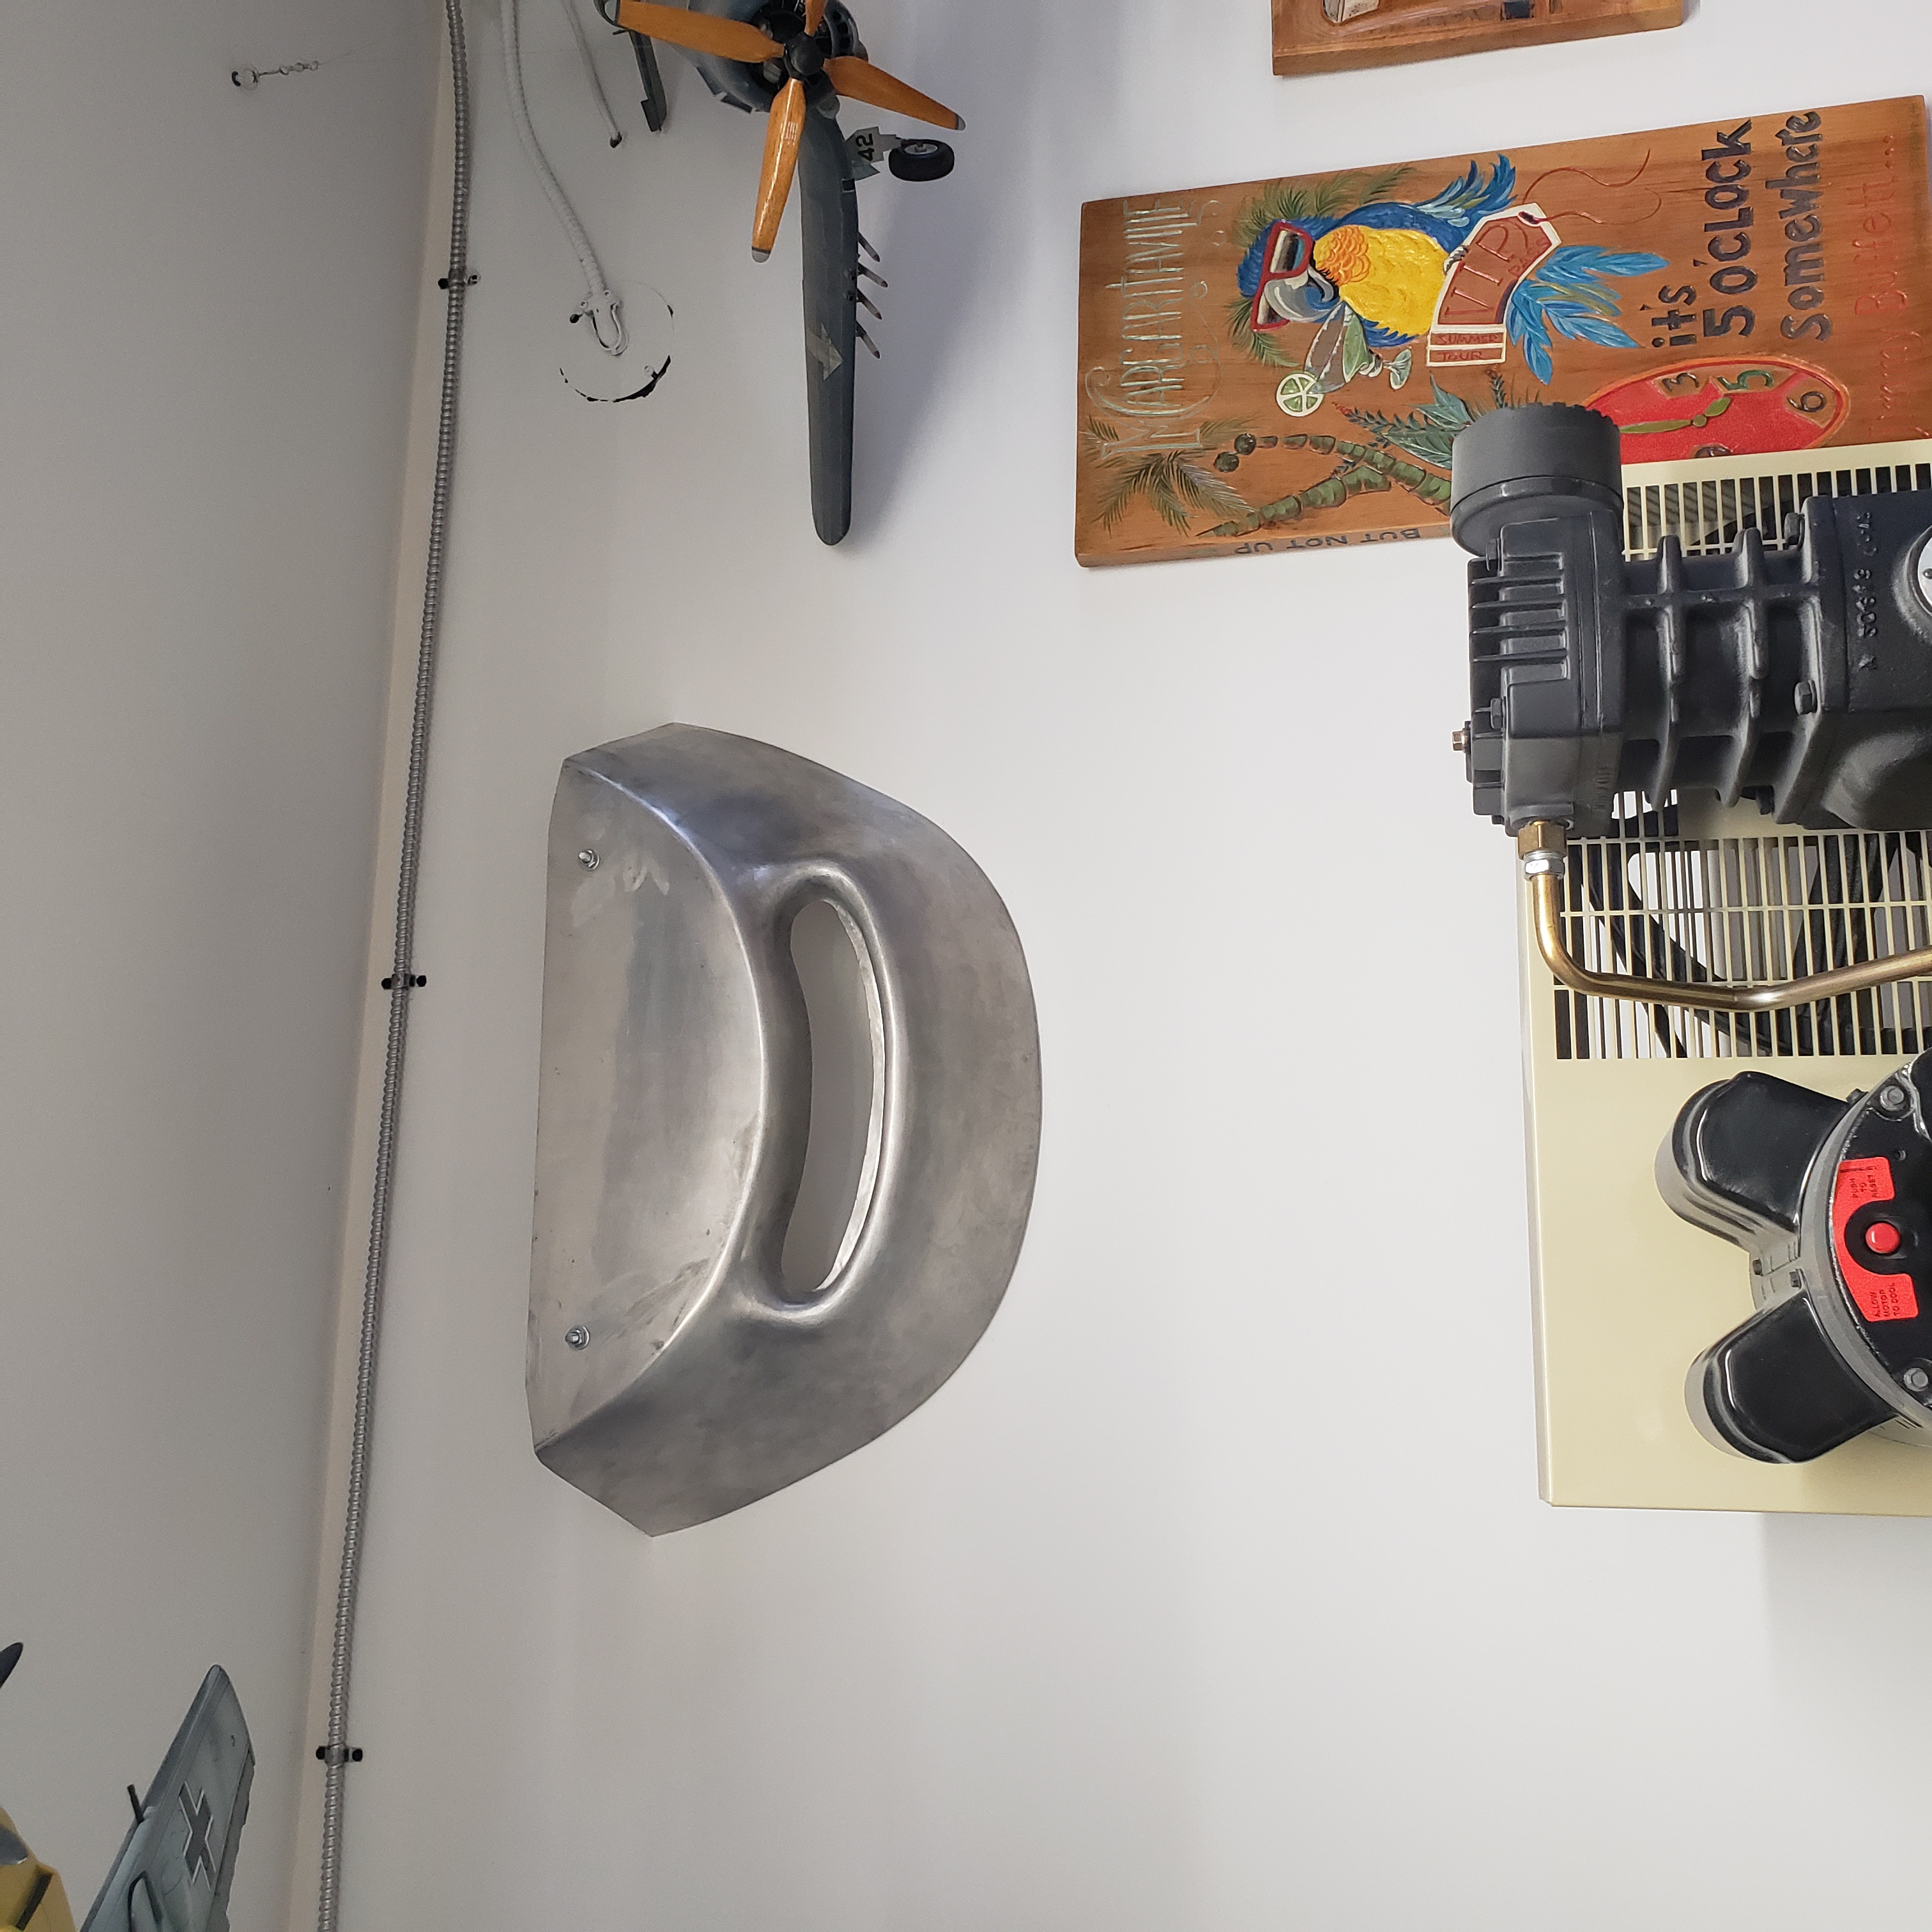
And while I was in the mood for hanging stuff up, I also dug out the nose cowling chin scoop and put that up on the wall as another cool piece of decor for the shop.
That’s all for today folks! Please comment. I love to hear from my readers. Thanks again for coming along for this ride, you make my work worthwhile.
Good day!
Leave a Reply