Hello Everyone, I’m still alive and kicking. I apologize for the long break in my blogging, and building updates. I certainly didn’t anticipate for the break to be this long. The good news is, you haven’t missed any building progress, because I haven’t done any building (well, not airplane building). I’ll explain more below.
Back in 2018 my wife and I had a new house built and we took possession in December 2018. Since then, I have been keeping busy with moving, getting settled, and lots of landscaping. The landscaping included, building a deck, sod and landscape the front yard, start landscaping the backyard and finishing the 3-car garage into an airplane building workshop!
The Workshop
When the house design was decided on, one main factor was a 3-car garage. The design we settled on was a garage that was 2 cars wide, with on side of the garage being 2 cars deep in tandem.
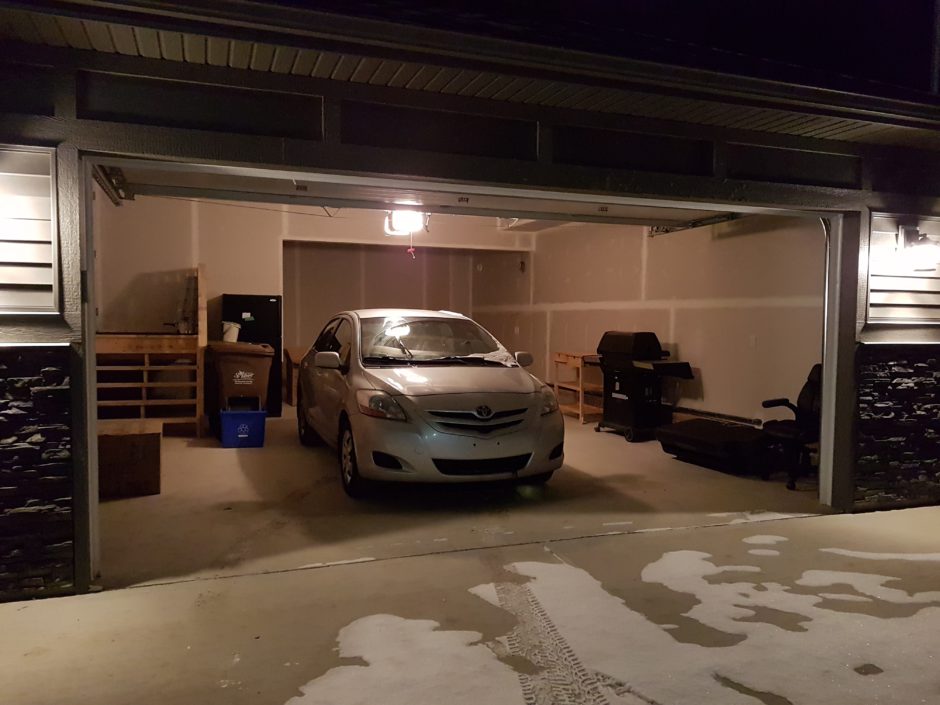
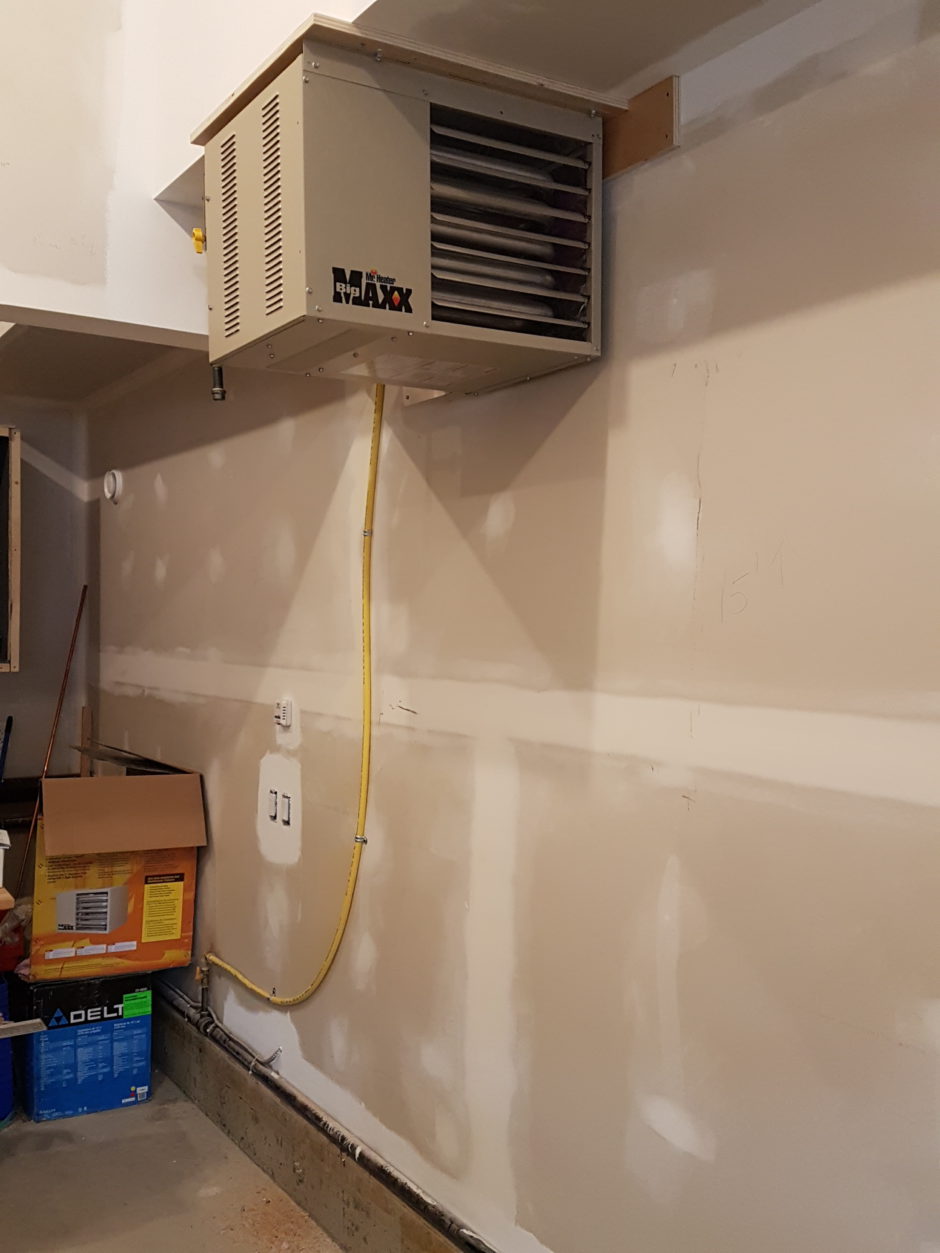
The first order of business, as I live in Canada, was to have a gas heater installed. Prior to this, I’ve never had a heated workspace. In past years, productivity pretty much came to a full stop during the cold winter months. No more!
Workbench and Wall Cabinets
Both the workbench and the wall cabinets began with a backboard attached to the wall, screwed into all the studs, as this is what will ultimately be holding all the weight of the wall cabinets. For the workbench, the floor will be the main load bearing structure, however the backboard for the workbench will also serve as a squared starting point for the rest of the structure.
I’ll skip ahead and bypass the wall cabinet construction, as shown in the workbench construction photos below, the construction method is the same.
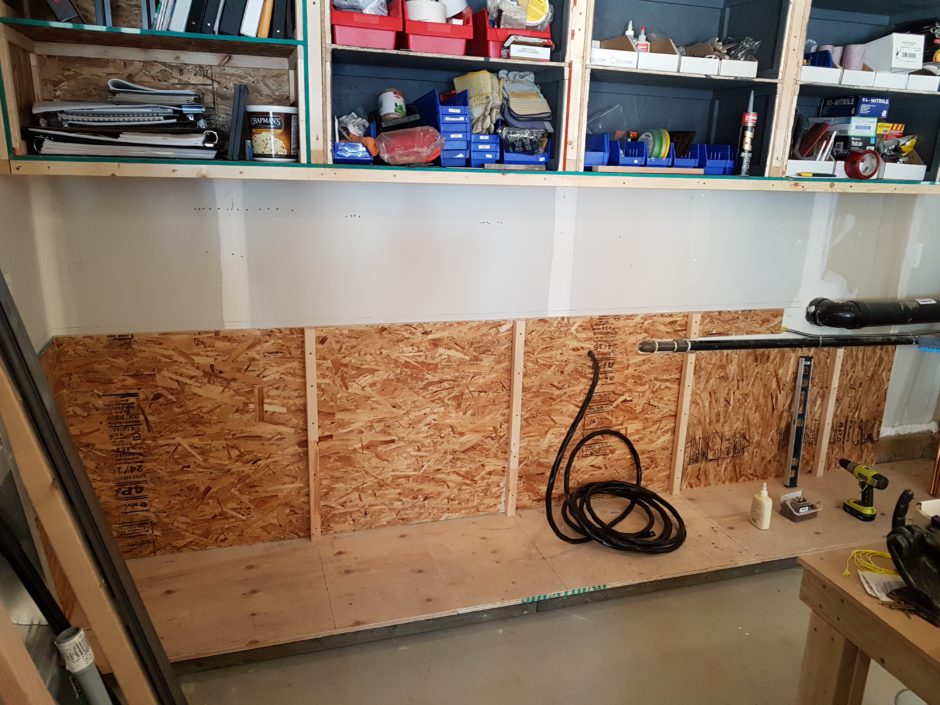
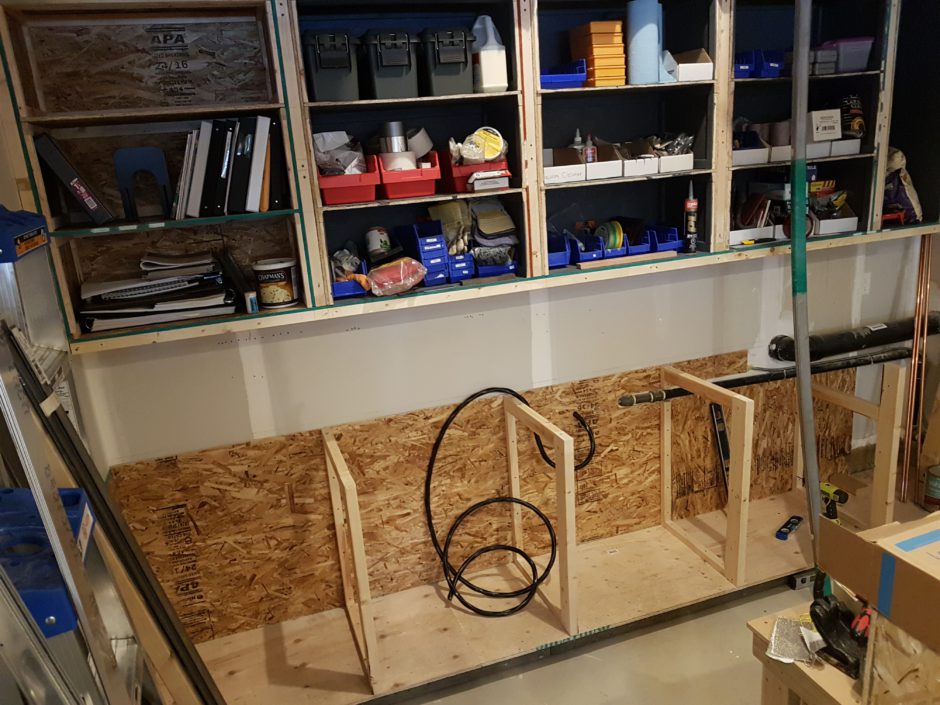
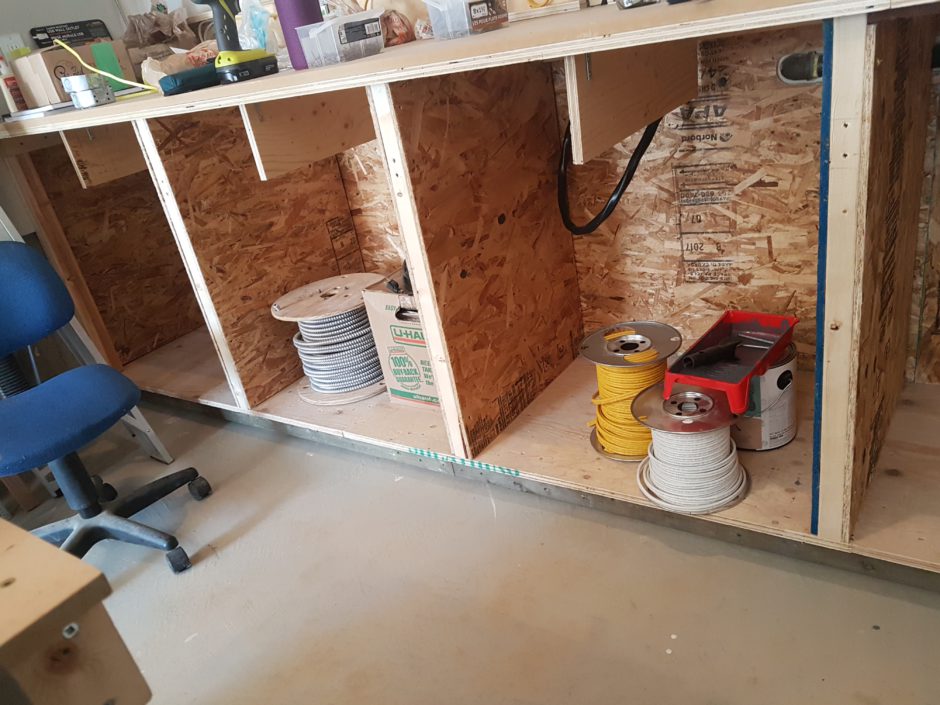
In the picture above, you can see where I used some 2×2’s to begin dividing the space for the base cabinets. I also wanted to ensure that I have sufficient power and receptacles available in the workshop, so I also added an electrical subpanel. In the picture above, you can see the wire that will be used for the subpanel. I also had to work around the gas supply line and Radon exhaust duct (big black tube).
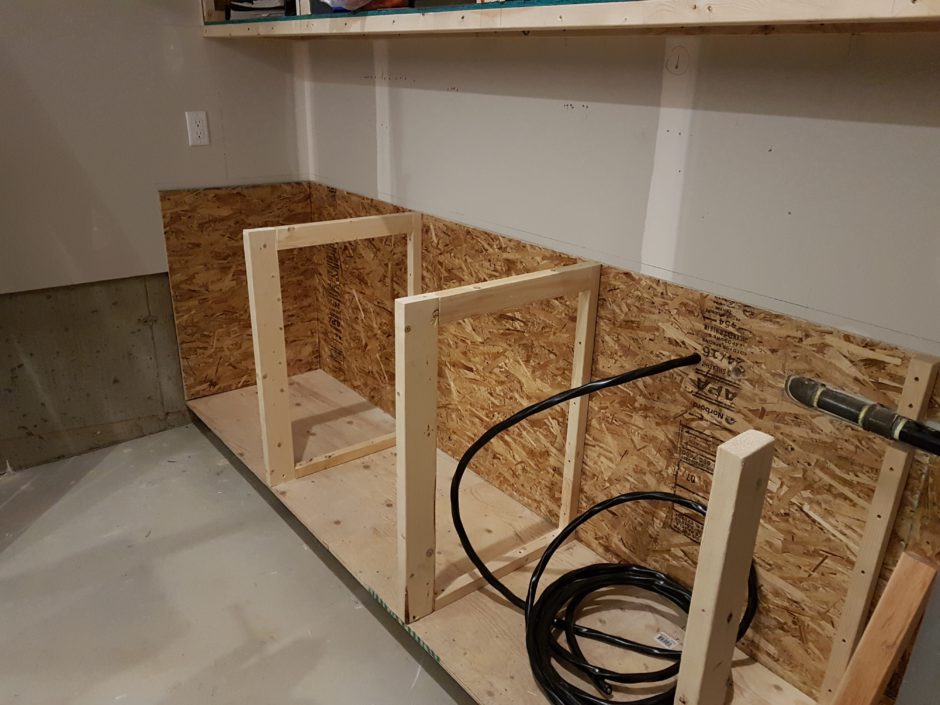
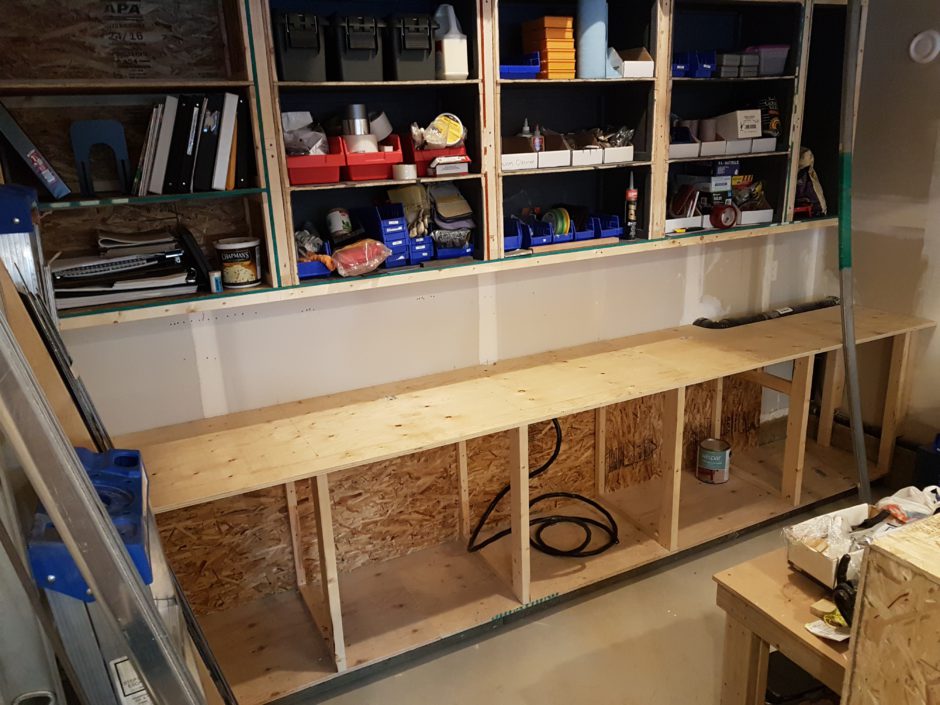
Once the cabinet dividers were made, I put the workbench top (3/4 in. plywood) on to help provide some rigidity to the structure.
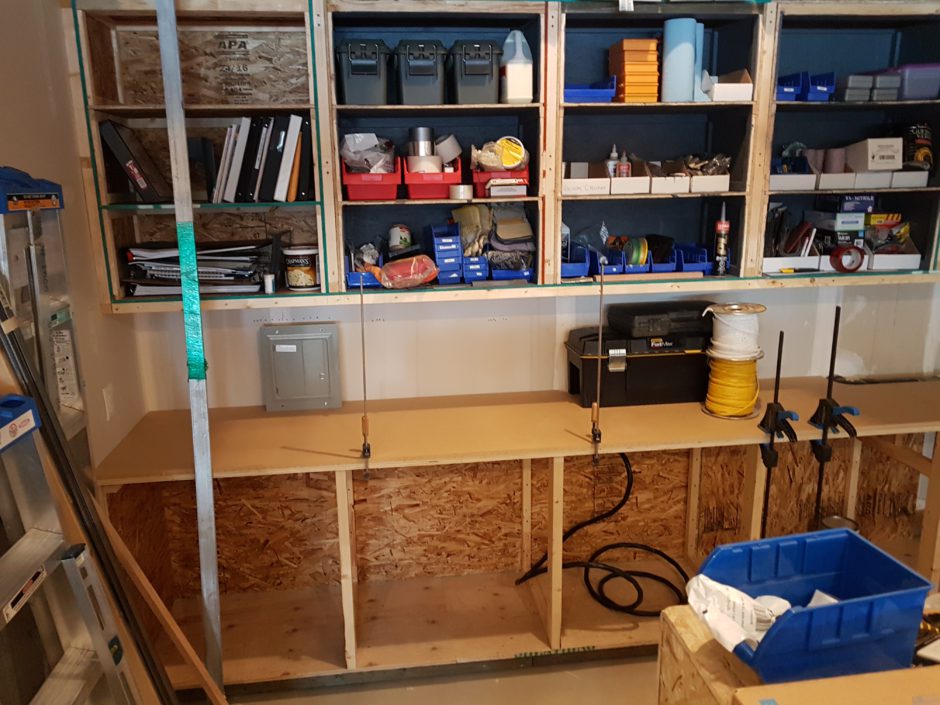
To make the workbench solid, and something that is more presentable than the 3/4 in. plywood, I also added a 3/4 in. MDF layer. I screwed it from the bottom up, so that the workbench surface remained smooth. I’ll eventually finish this with aluminum oxide.
Why aluminum oxide? What is aluminum oxide?
Aluminum oxide is a finish often used to provide a top layer of scratch resistance to hardwood flooring. It also guards against oxidization and seals the board’s top surface. It’s almost like an additional shield to the wood. I think this will work much better than using some other finish such as a varathane, which isn’t nearly as durable.
Wire Throughfare and Receptacles
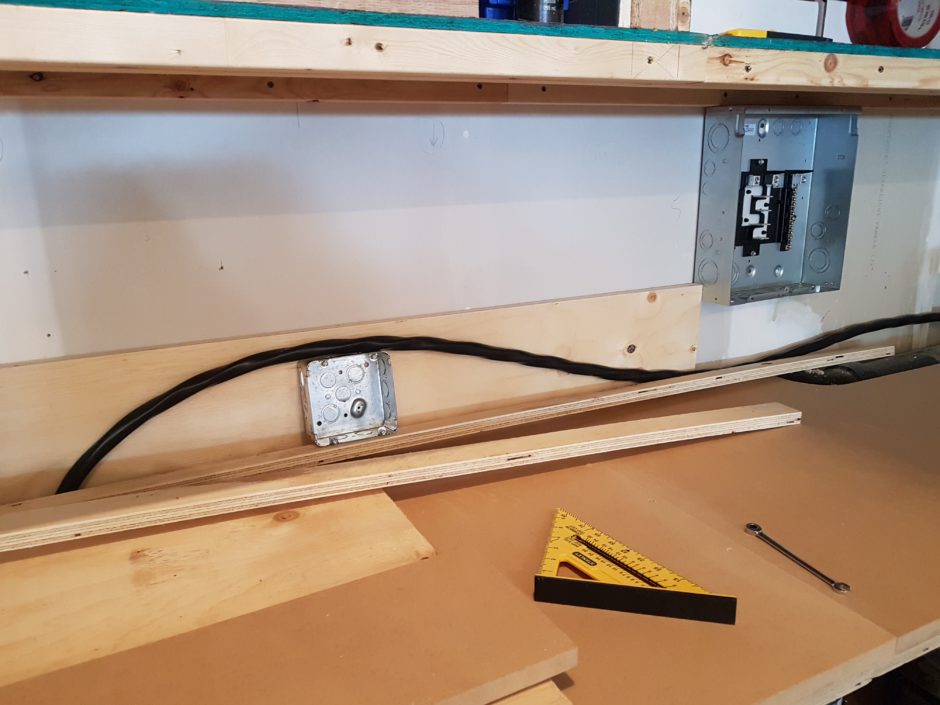
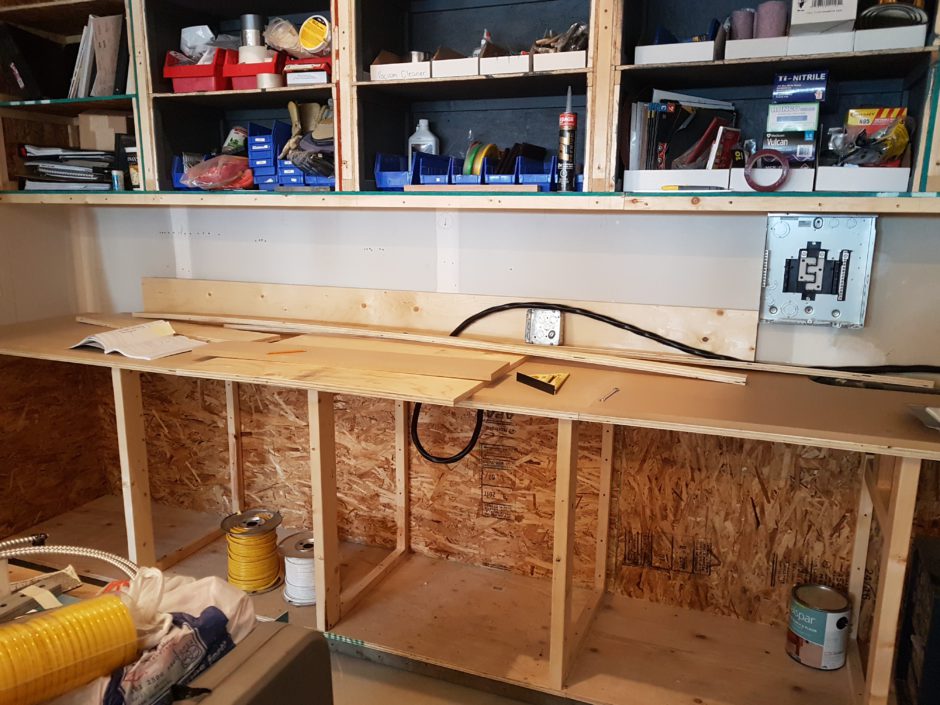
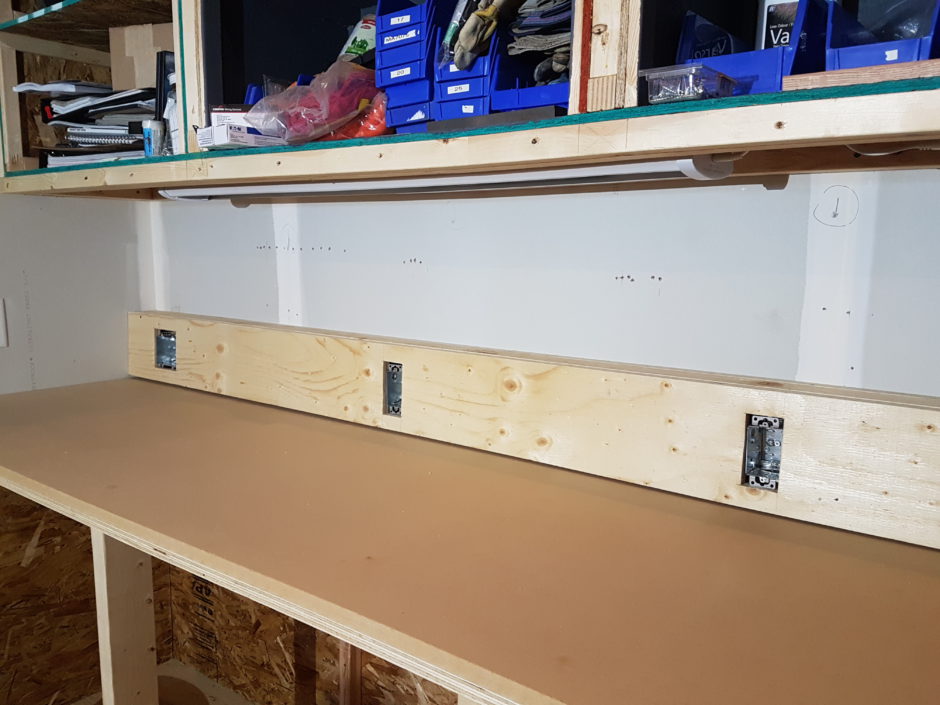
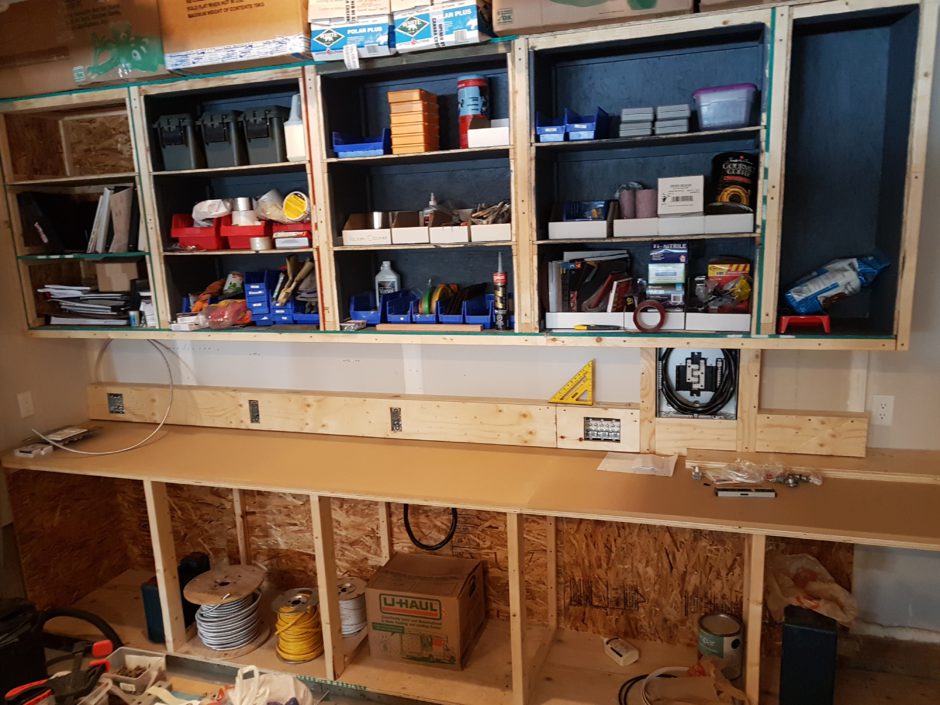
On the top surface of the workbench, I wanted to have a way to run all the electrical wiring both for the subpanel and for switches and receptacles. All the workbench receptacles are 20A circuits. The garage came with 6 other receptacles, all of which are 15A, so between those and the 4 new 20A receptacles on the workbench should be plenty for what I need.
The throughway for the wires, I built out of scrap 3/4 in. plywood.
Workshop Lighting
Once the wire throughway was completed, it was time to move forward with getting some additional lighting. I added LED lighting on the lowerside of the wall cabinets to provide lots of light to the workbench surface.
I also wanted to add 2 other overhead area lights in the general workshop area in the back of the garage where the workbench was constructed.
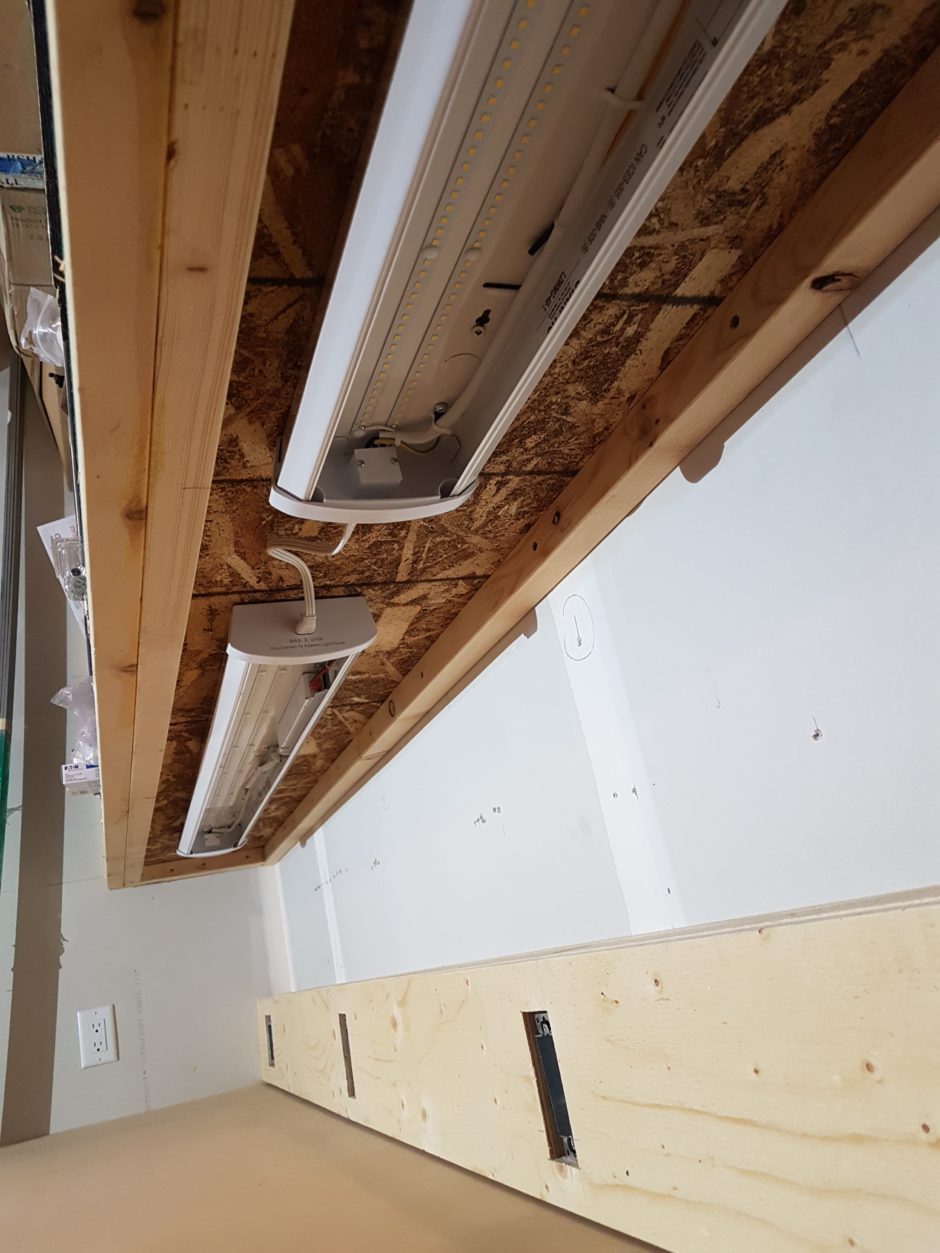
Workbench lighting mounted to the lower surface of the wall cabinets.
Before I go on to talk about the workshop area lighting, I need to take a few steps back because I added some overhead storage racks that are ceiling mounted. The garage has 12 foot ceilings, so this was a good solution to get some additional storage. The downside was that this essentially blocked out the light from the single ceiling light bulb that was standard issue with the house. In the image below, you can see how dark it was below the storage racks.
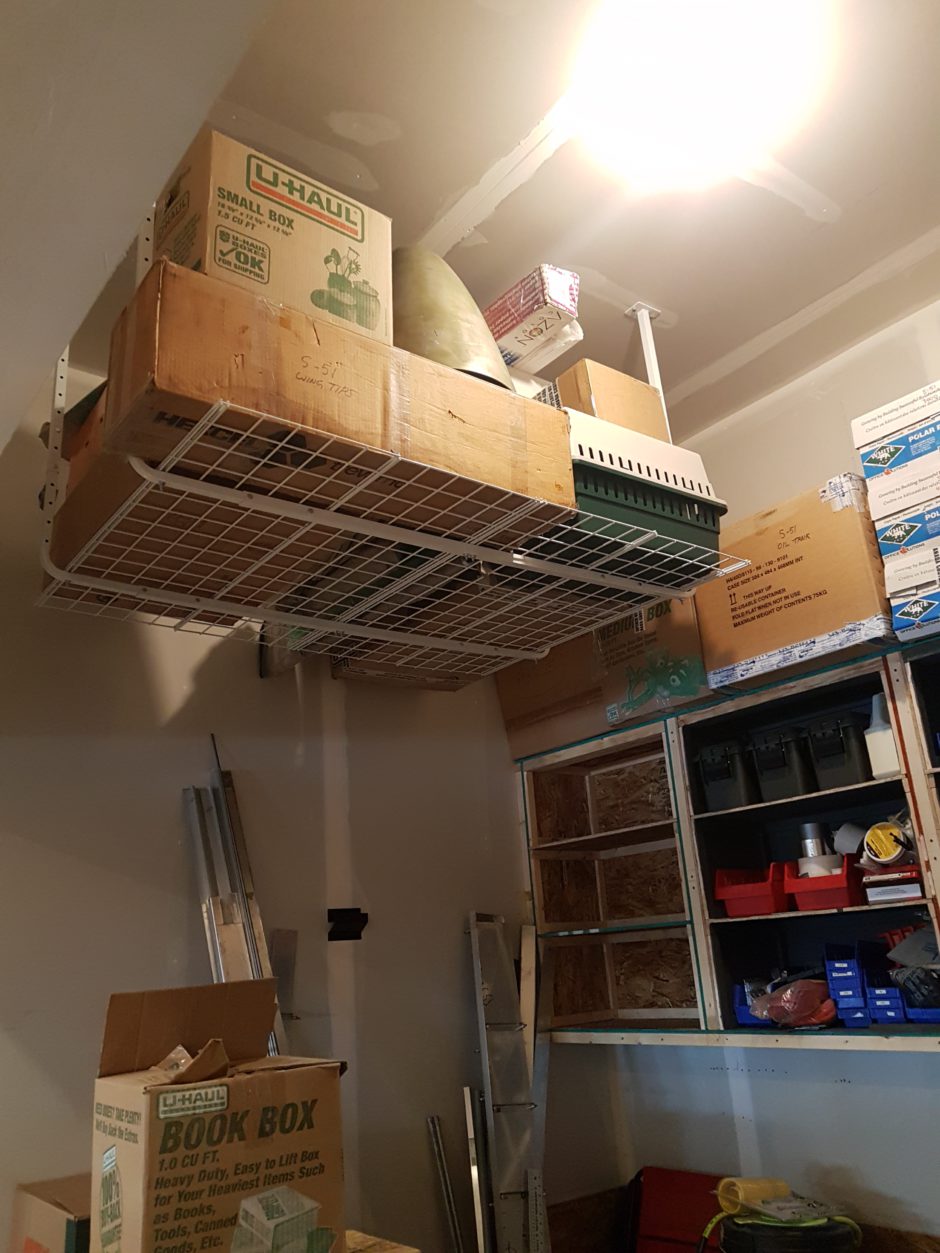
The lighting solution was to add LED lights to the lower side of the storage racks.
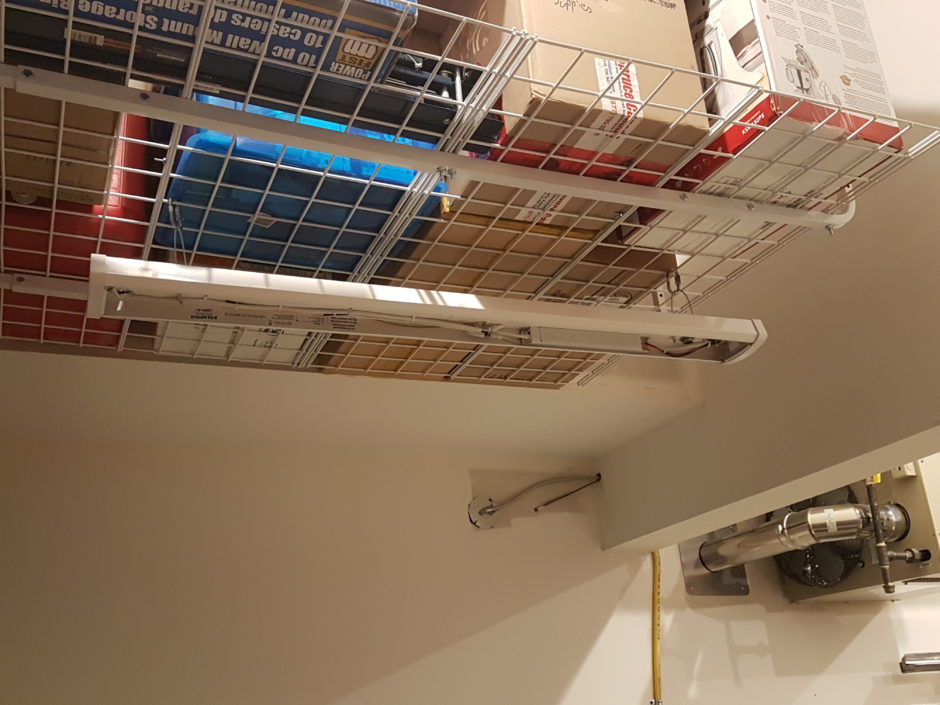
These lights were suspended by making a couple loops of cable, that were attached to the racking by some clips. These lights are not permanently mounted and can be easily removed. The images below, show greater detail of the cable mounting.
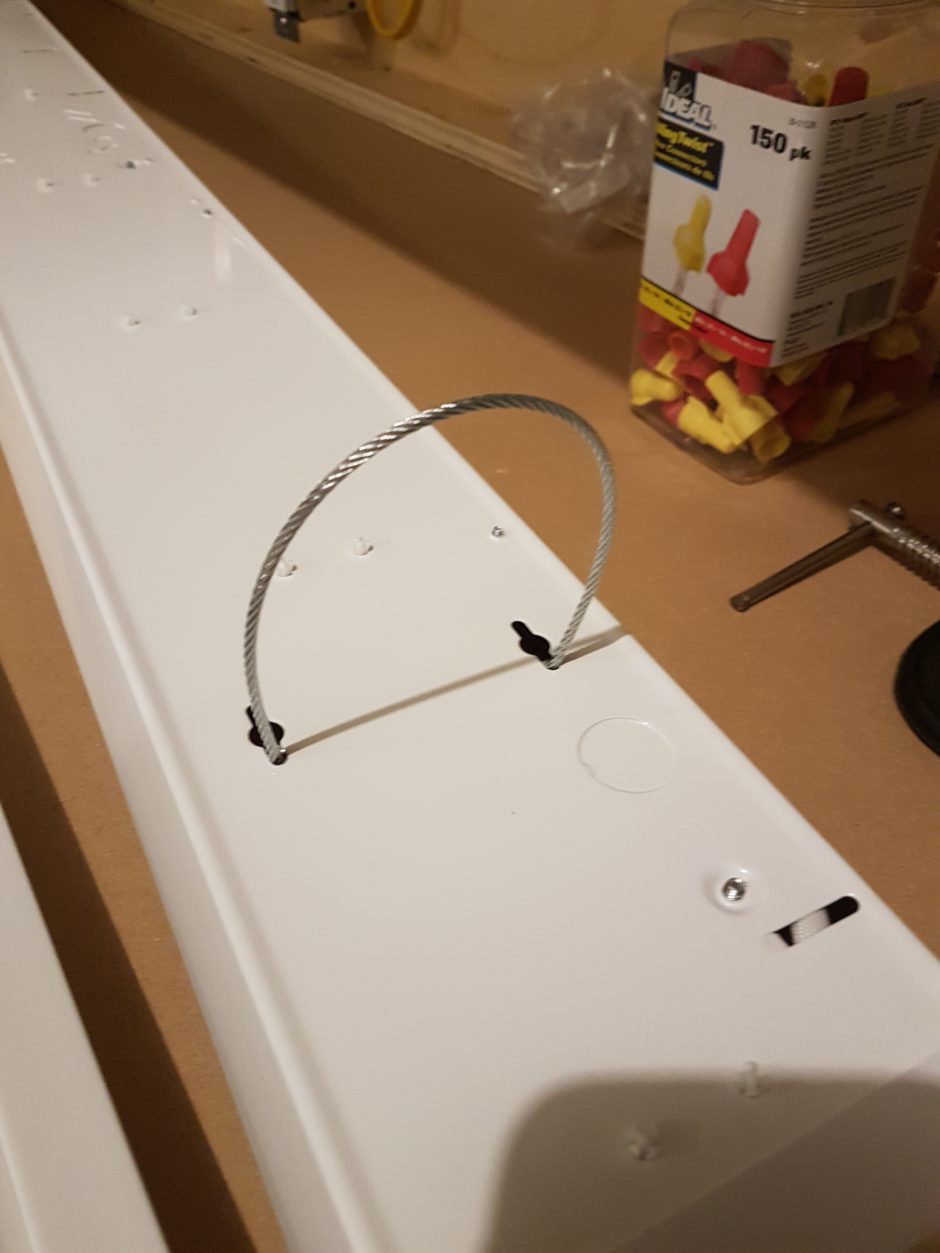
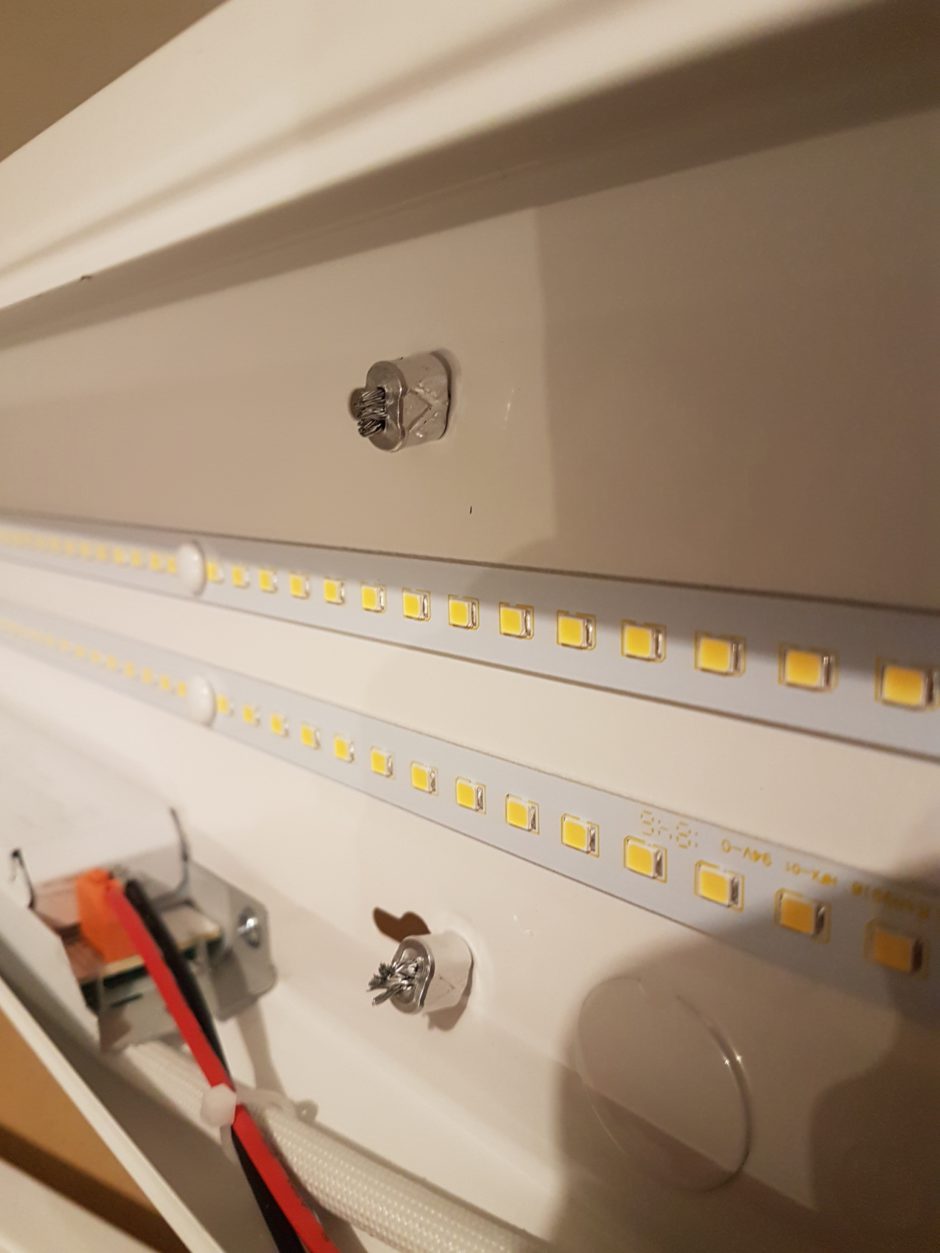
In the picture below, you can see that I added a receptacle plug end to the lights. There is a switch on the workbench to control these lights, however, this plug end will allow me to remove the lights if I need to.
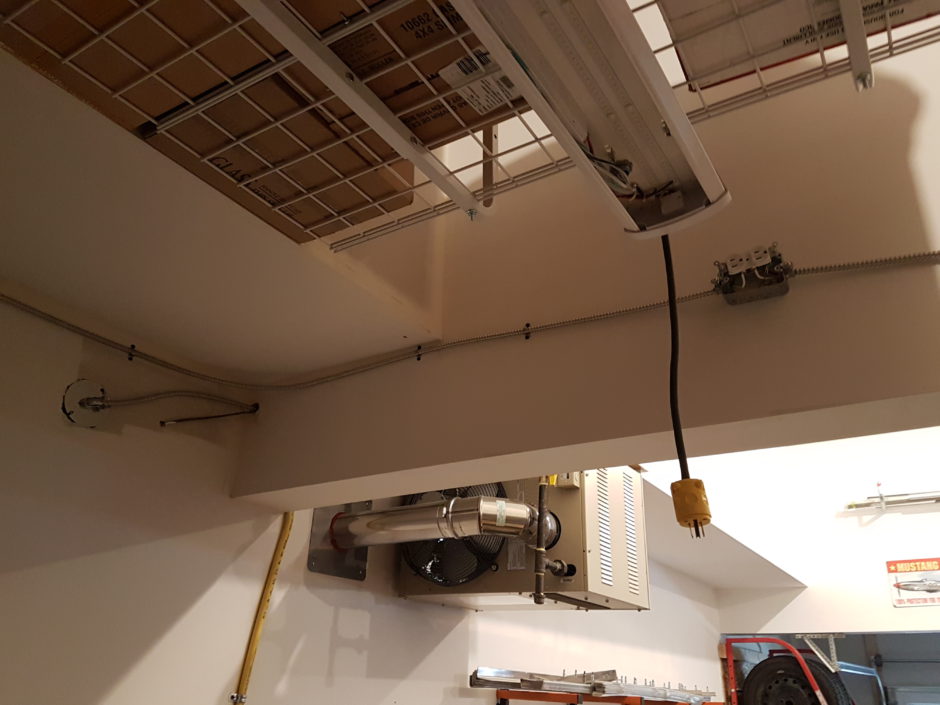
Back to the workbench…
On the side of the wall cabinets, I had a bit of space that wasn’t big enough to add one final cabinet, so I chose to build some shelves. This also seemed like a good place to build in storage for my bench mounted drill press. This worked out really well!
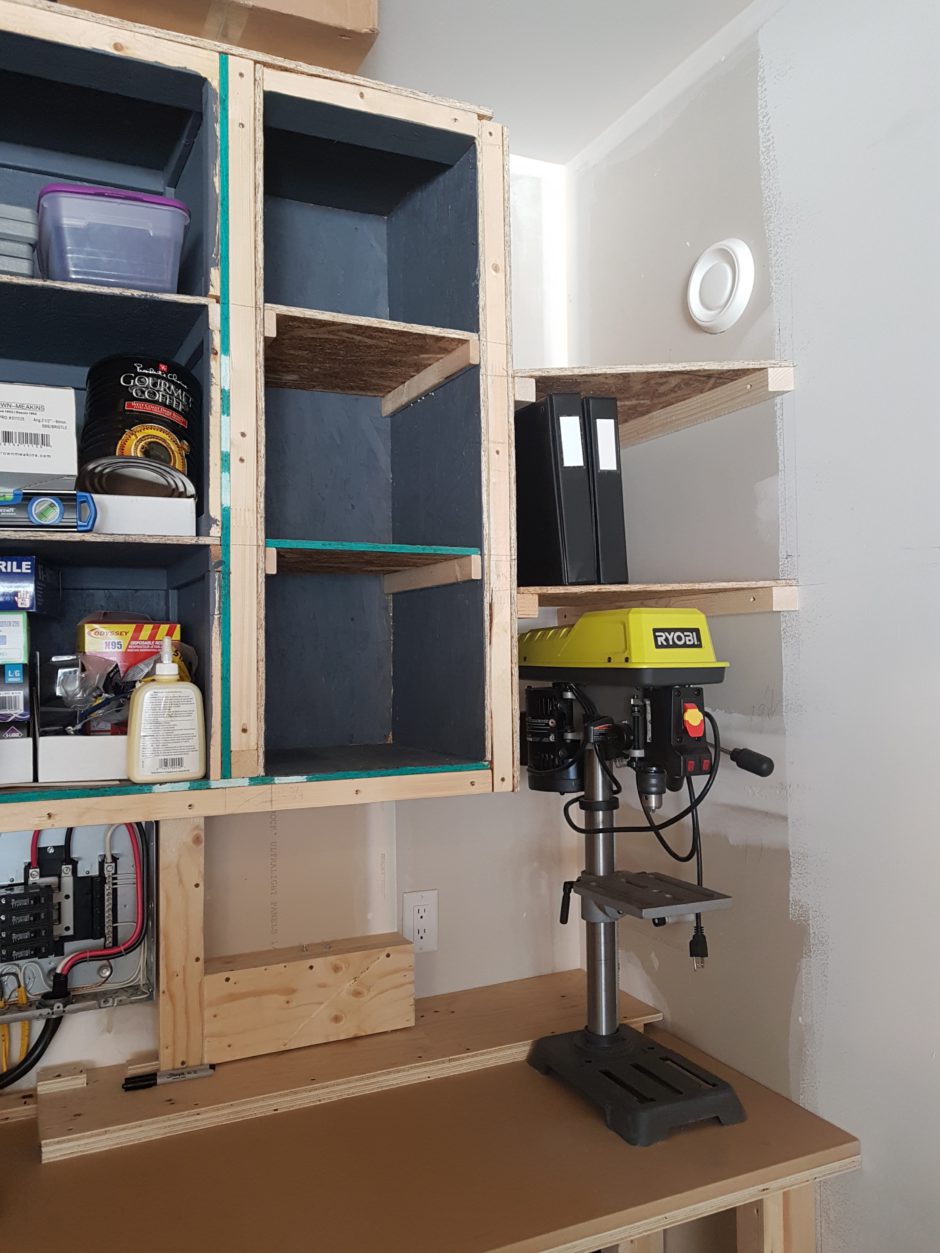
Back to working on the base cabinets. I started by adding dividers for some drawers.
I also noticed that the wall cabinet shelves were starting to sag from the weight placed on them. So I added some 1×2 boards to the lower side, glued with PL Construction adhesieve, and clamped until dry. This worked great, and added some much needed rigidity.
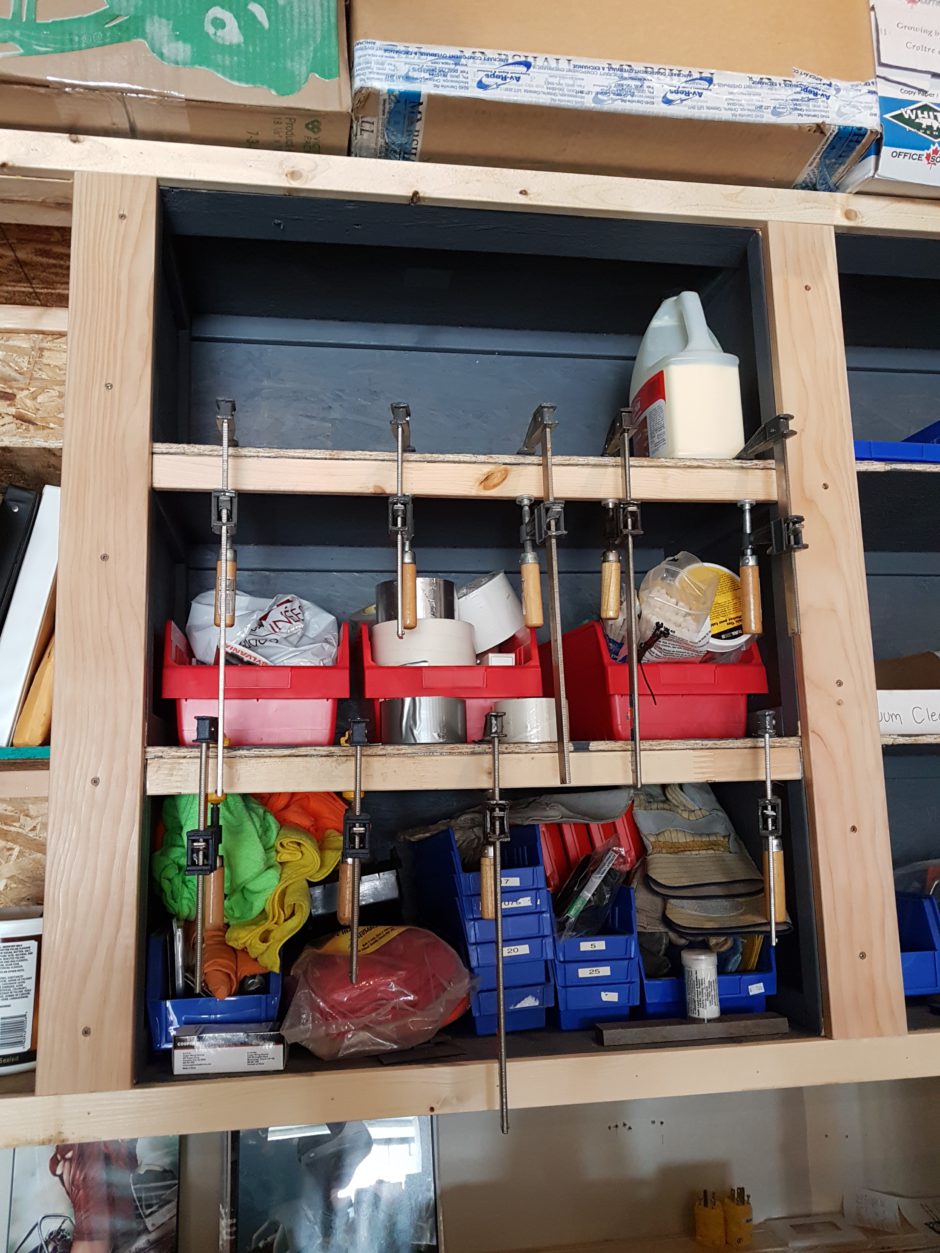
In addition to the main workbench and wall cabinets, I also built another set of wall cabinets on the side of the garage. These too are progressing nicely. I was also able to incorporate storage for my bike. Also in this picture, you can see the scaffolding that I used for painting the 12 foot ceiling.
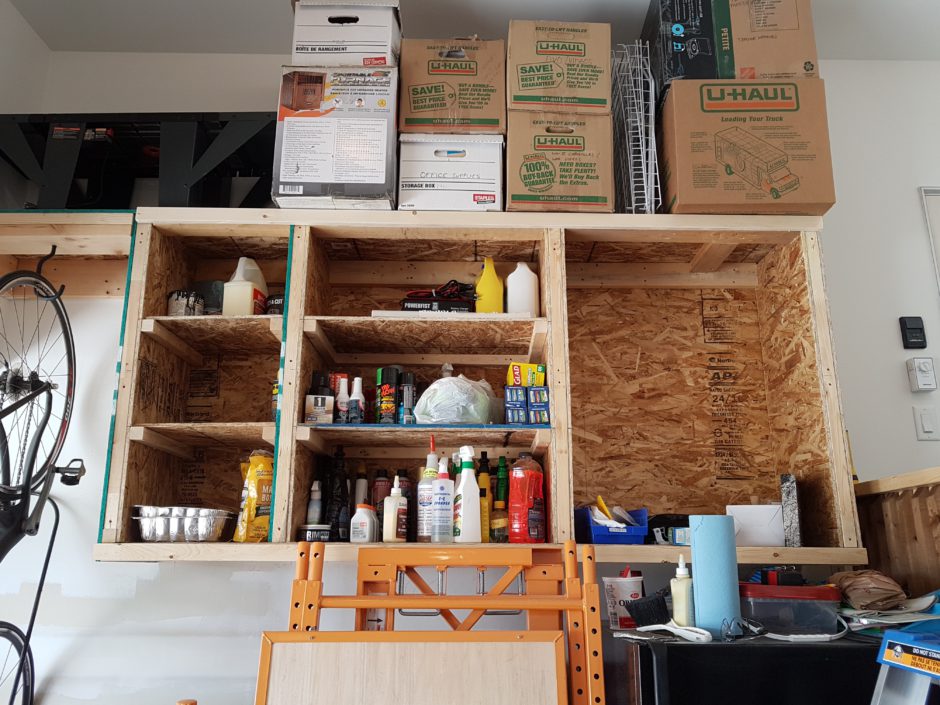
Below is a picture taken during the painting/priming of the main garage area.
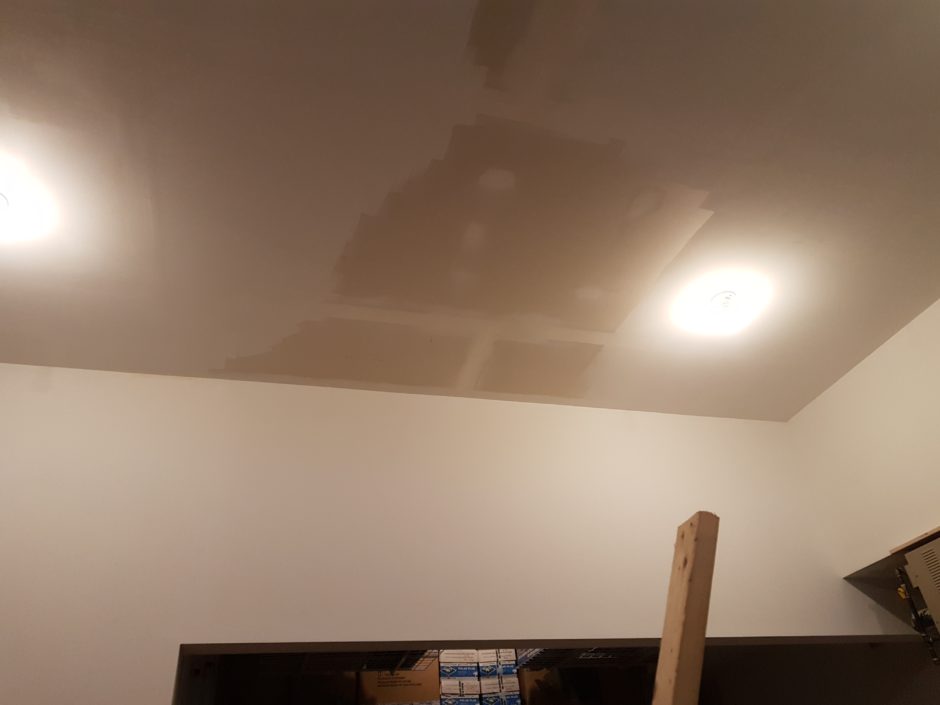
Airplane Parts…Finally!
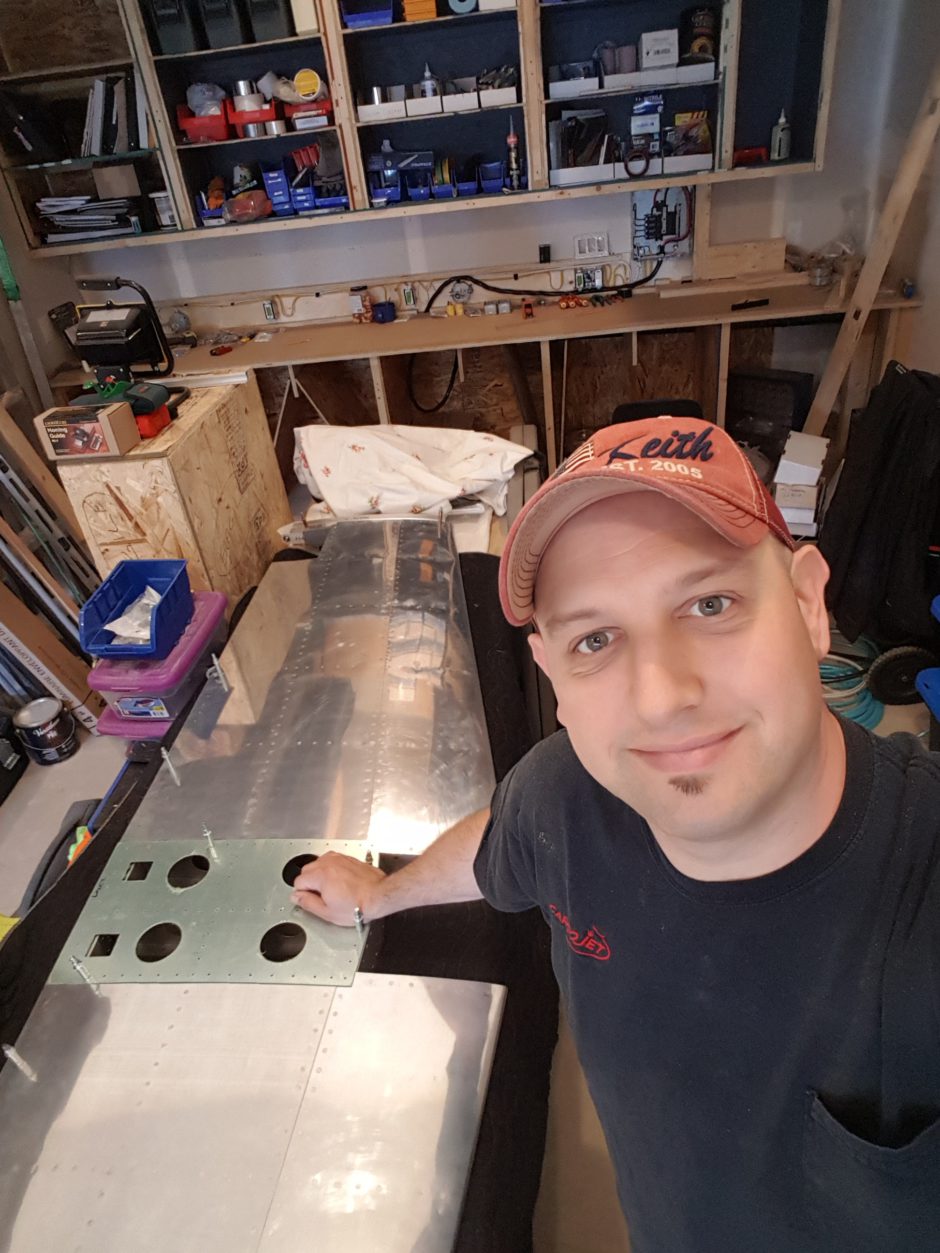
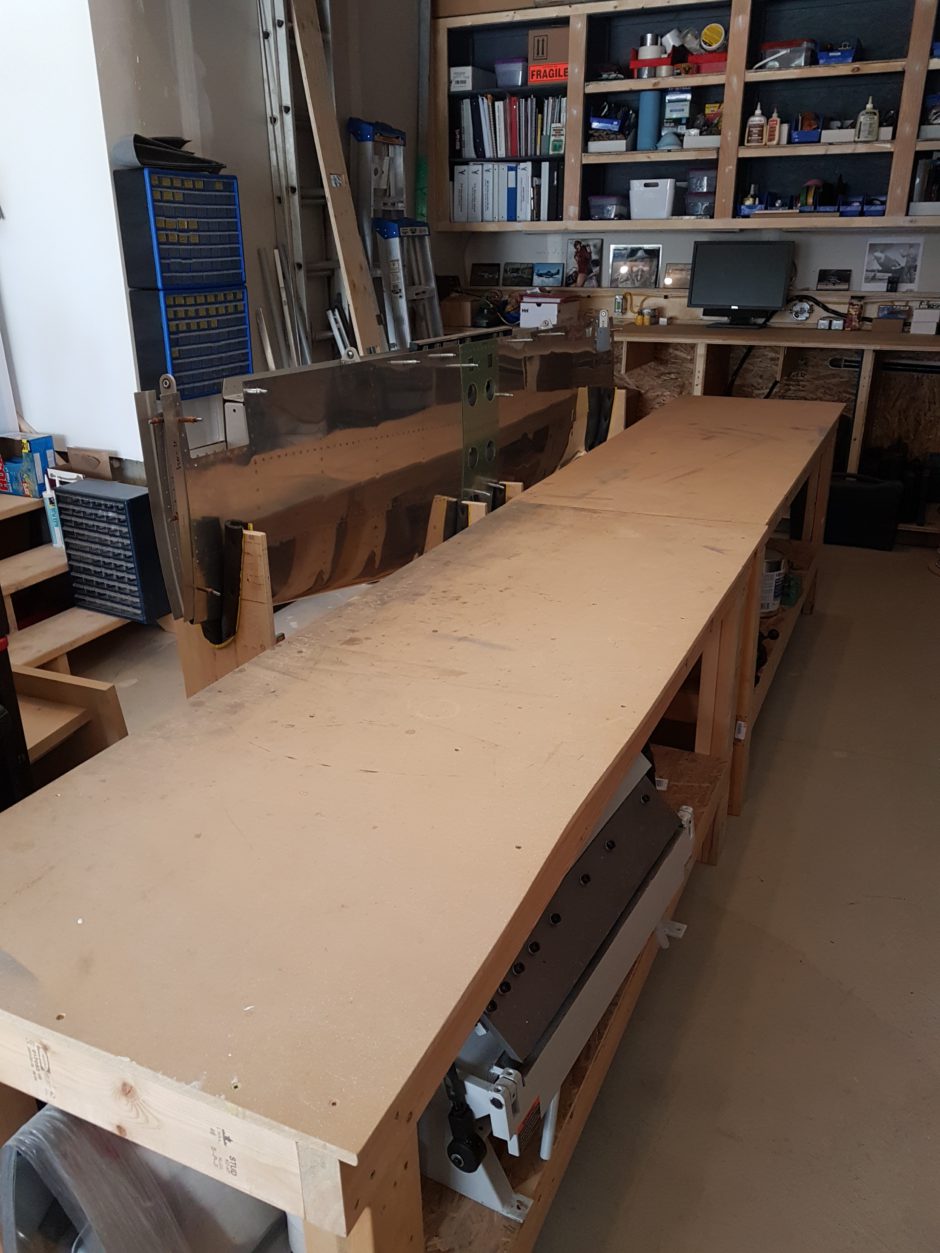
After about a year or more of doing house chores and building my workshop, I finally got to the point of being able to unpack and get my plane parts out on the workbench. The first part out was the Stewart S-51 horizontal stablilzer. This part was too large to be kept in my basement.
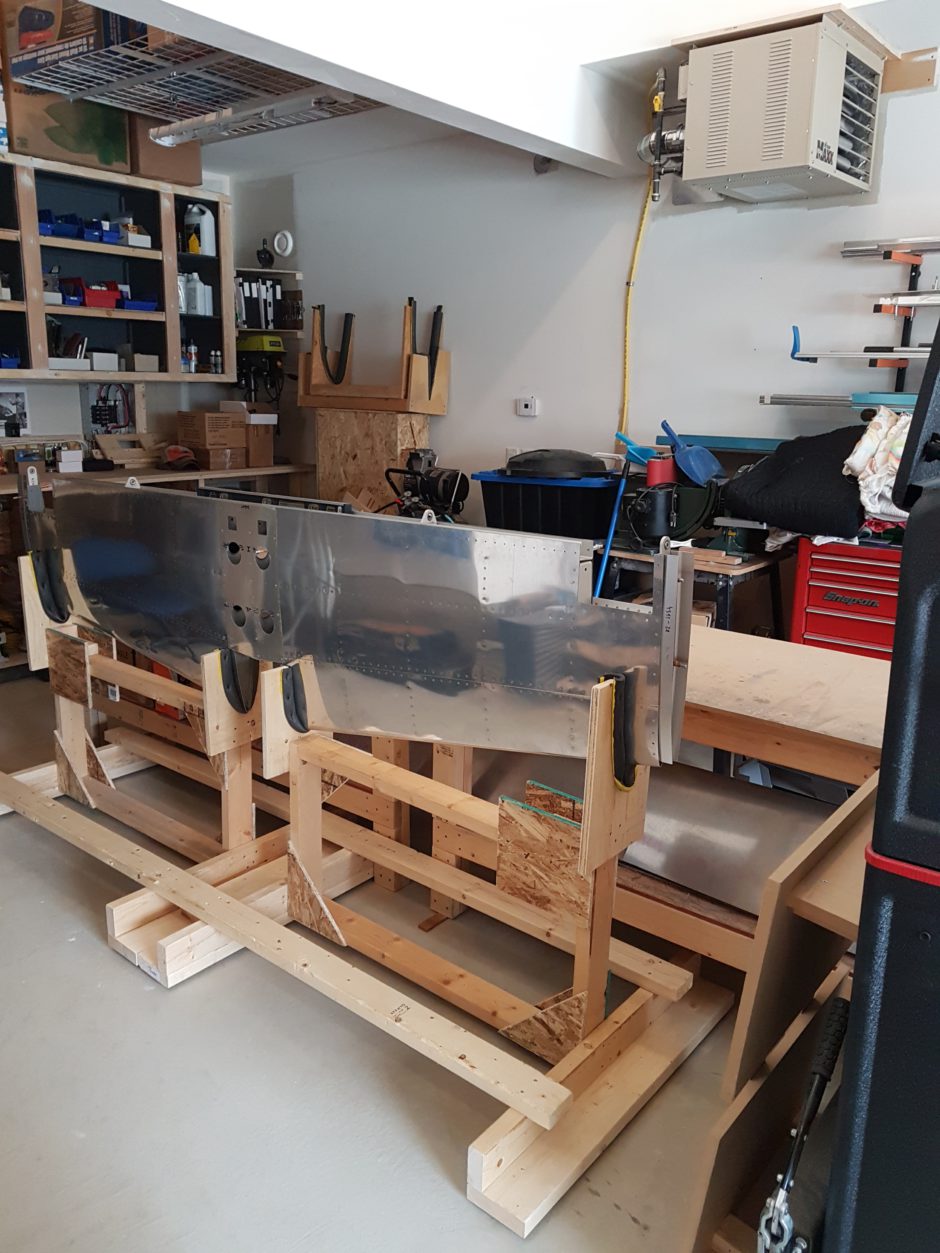
As this is a pretty large part, I couldn’t keep it on the workbench, so I built a stand to keep it safe and able to be stored vertically to keep space to a minimum.
The workbench was finally cleared off. But not for long… It sure is nice to see the workshop coming along. I’m getting eager to start building again…well, building airplane parts.
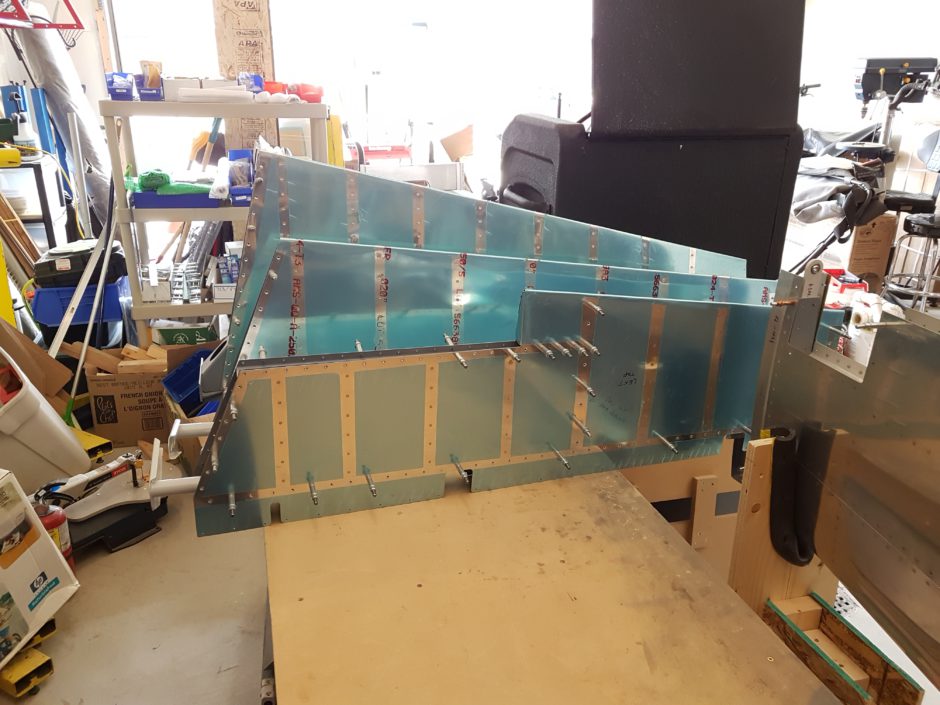
The next parts to come out were the F1 Rocket empennage parts.
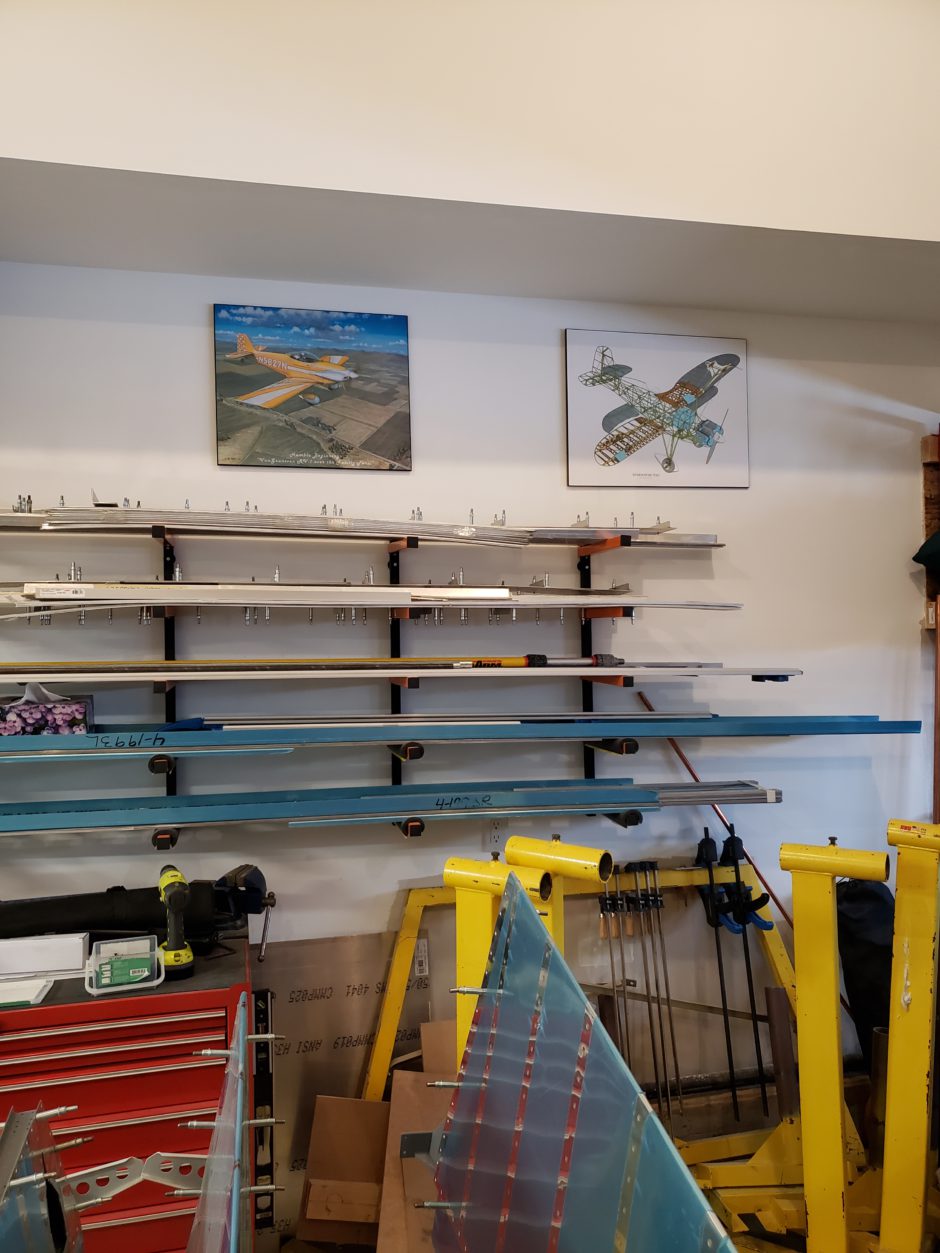
I also found several other ways to store aircraft parts and building materials. First was adding some wall racks to store the F1 wing spars (well, as of now they are still RV-4 wing spars). This was also a good opportunity to get some aviation artwork hung to add to the atmosphere.
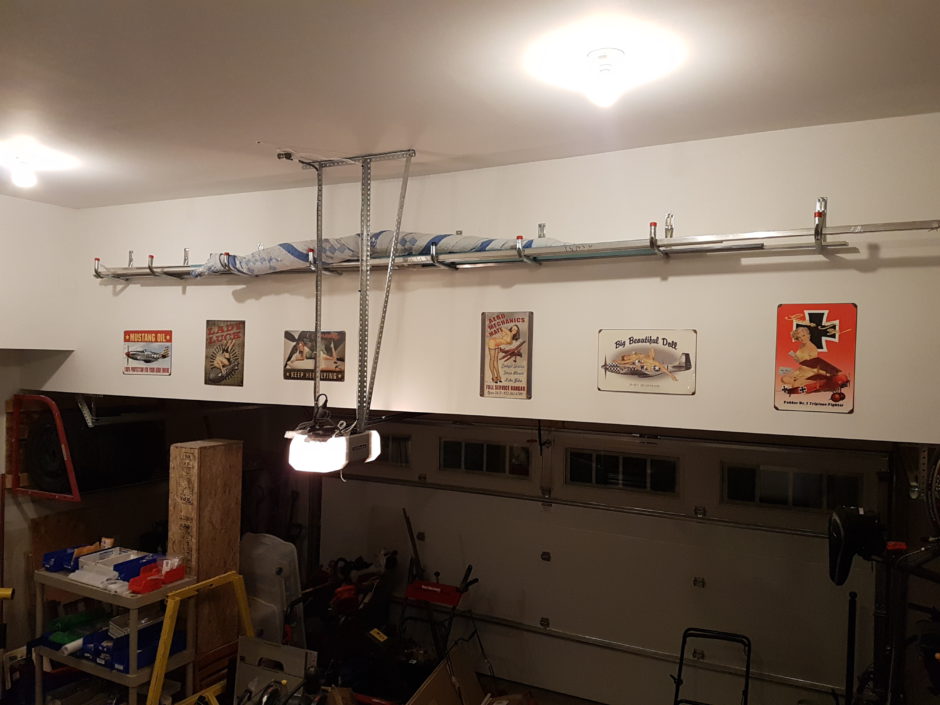
I also added some hangers that that I could store the long angle aluminum that the F1 will use for the fuselage longerons. Again, it was a good opportunity to put up some nose art signs.
Back to the wall cabinets
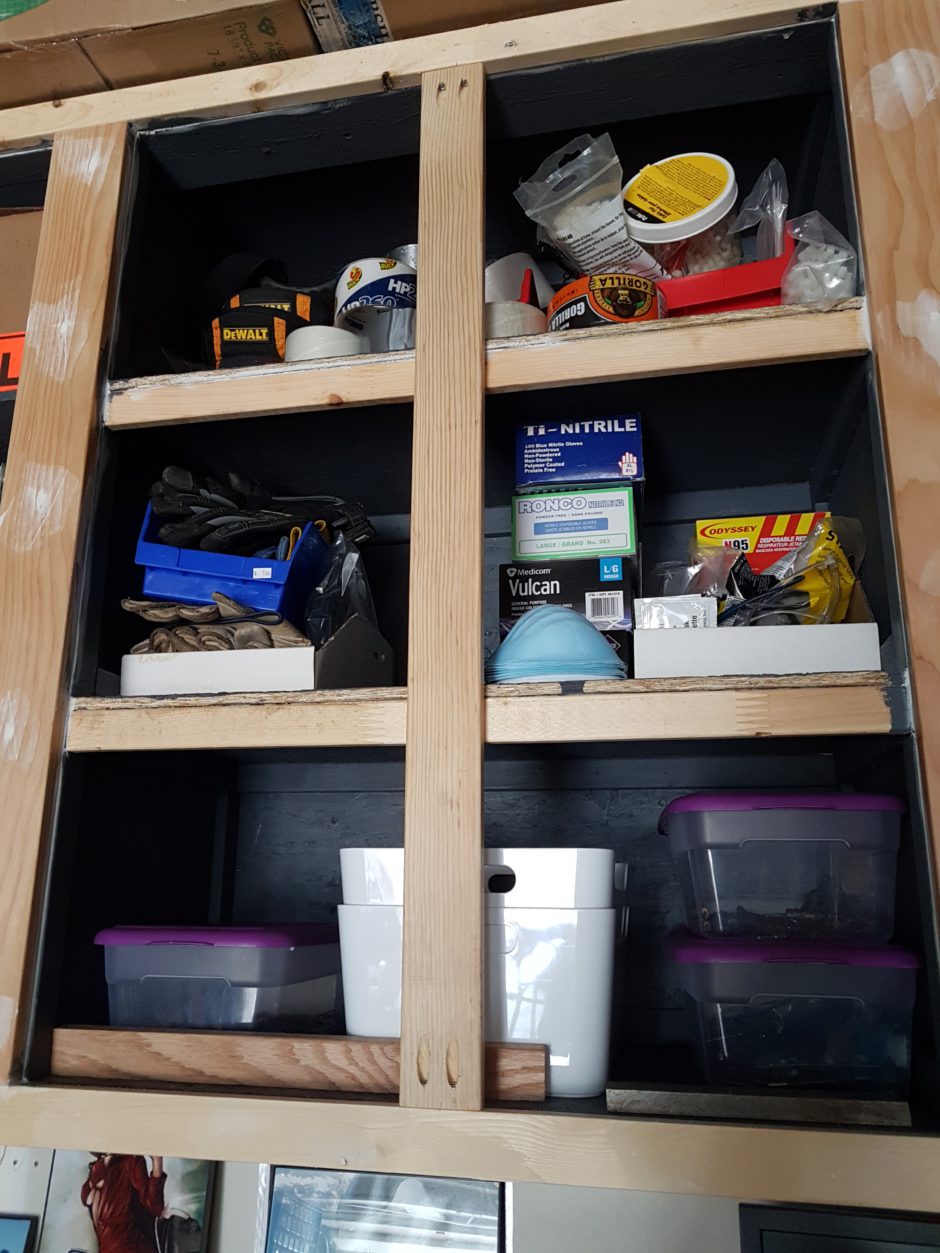
Getting back to the wall cabinets, I want to share a few more details about how I added a board for where the cabinet doors will close against. I used douglas fir for these as it is a hardwood that also has a good finish. I also started using pocket screws to fasten these board. Knowing what I do now, I sure wish I had known about and used pocket screws sooner. What a great tool…no more cracked boards when you put the screws in.

Workbench cabinet drawers
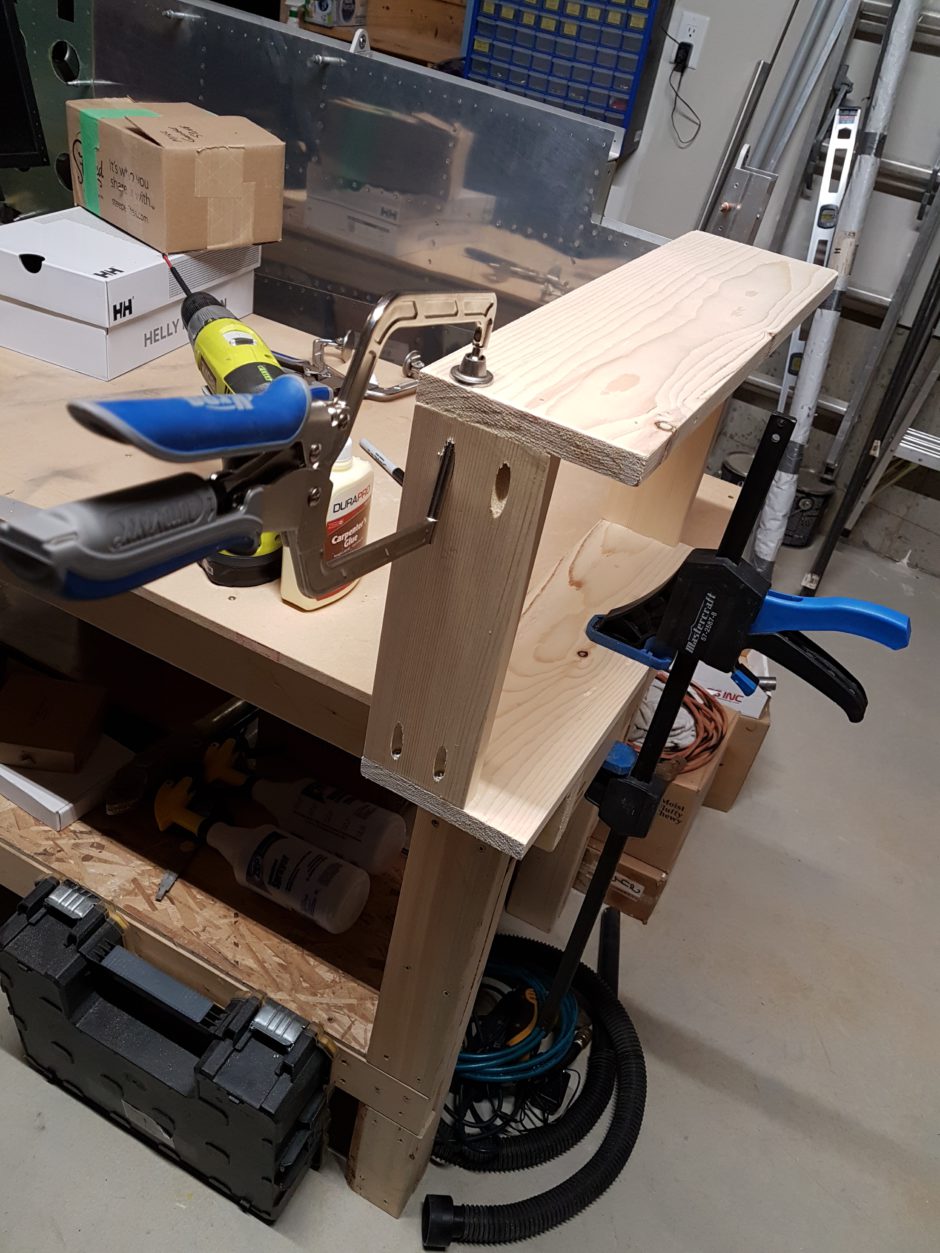
Work continued on the workbench, and I started to build the drawers. This was a first for me, and turned out surprisingly well. Again, the pocket screws were an invaluable tool for this job. In the image below, you can also see the special clamp used for applying clamping pressure through the pocket screw hole. This clamp is also worth purchasing.
The image below you can some more detail as to how I constructed the drawers. On the flat lower surface, I attached a 1/4 in. piece of MDF.
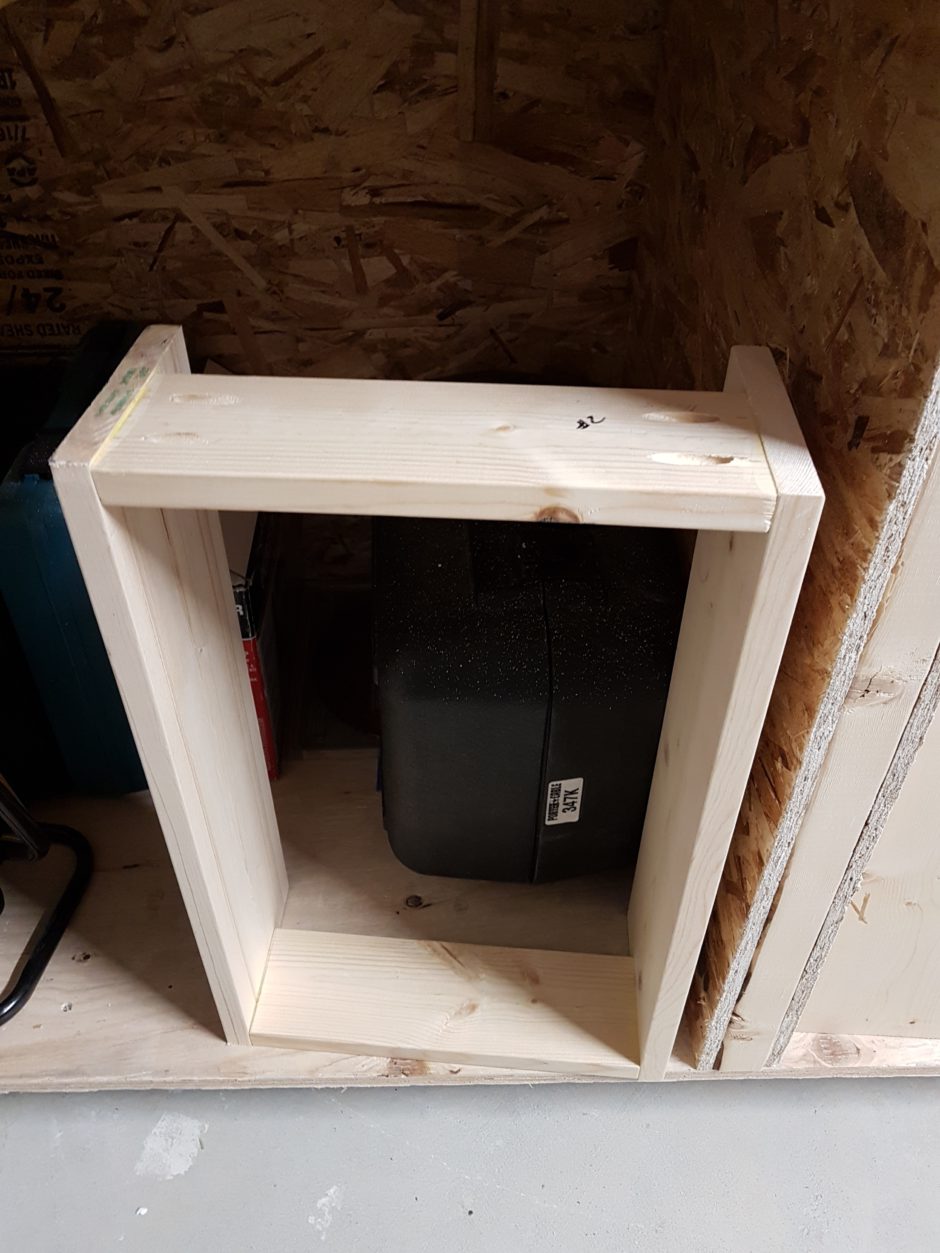
In the picture below, you can see one of the drawers with the MDF on the bottom. I occasionally have my little helper out the in the workshop with me as well.
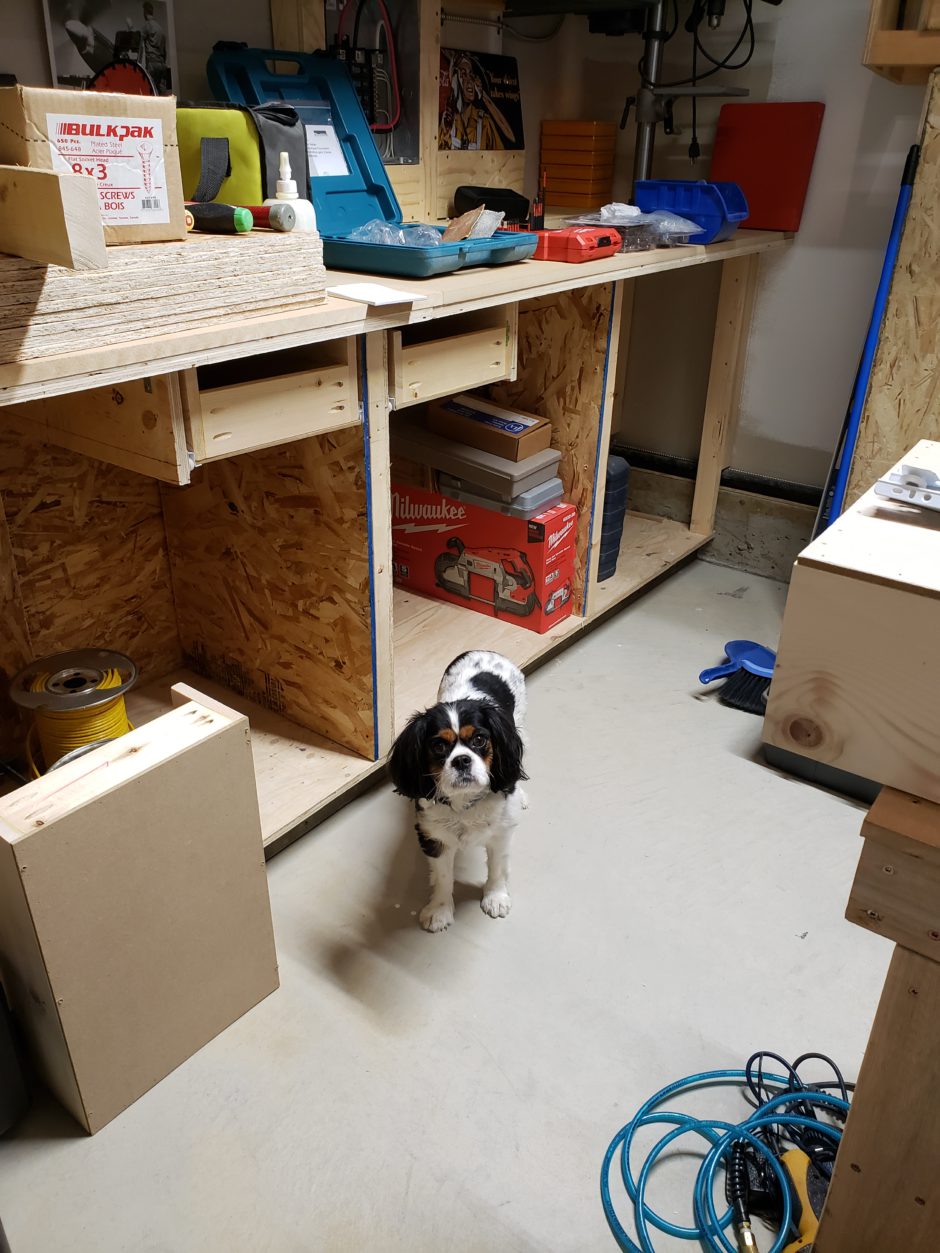
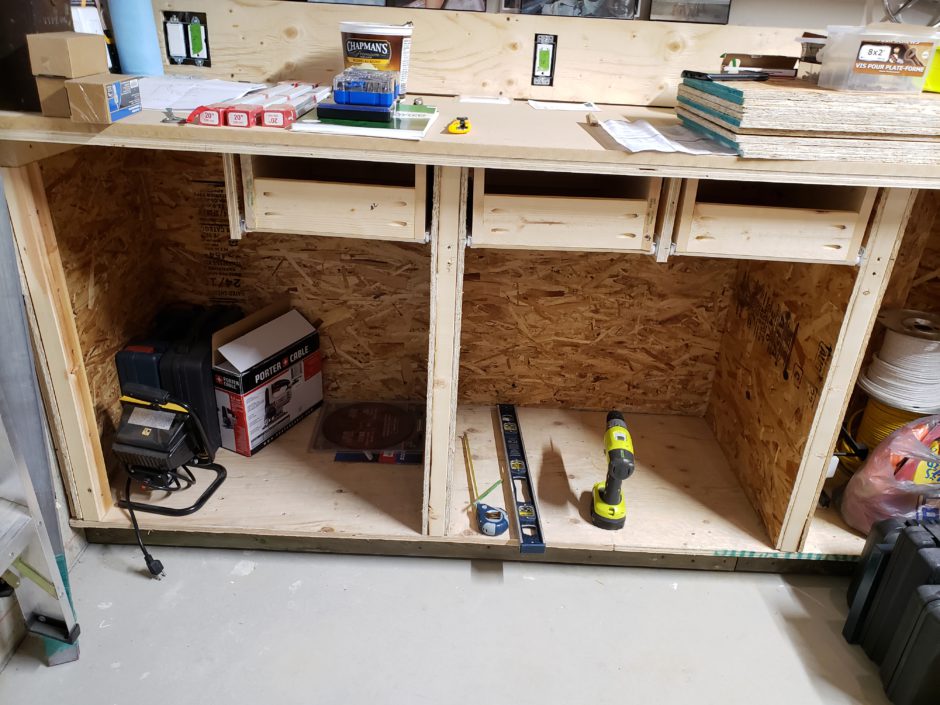
And the workbench is finally coming along. Slowly, but steadily.
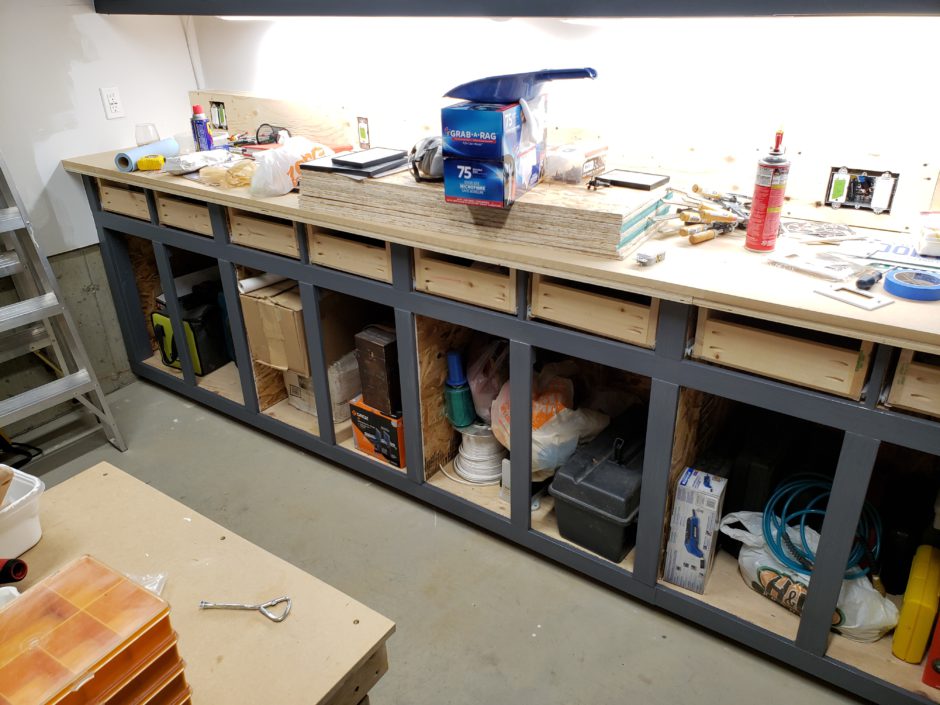
The Finishing Touches
Many of the finishing touches included painting the doors, and getting them installed, adding hardware and some workbench trim.
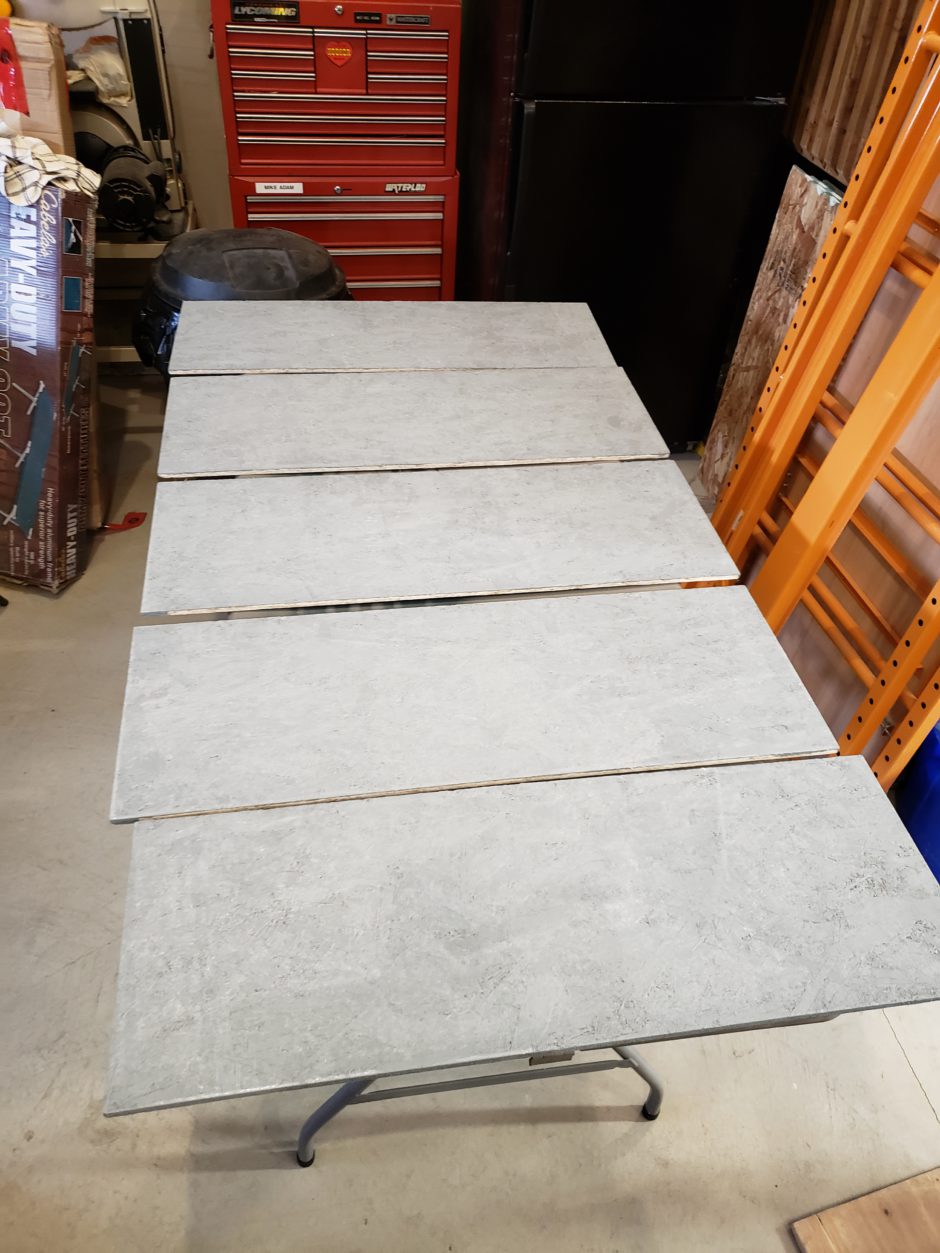
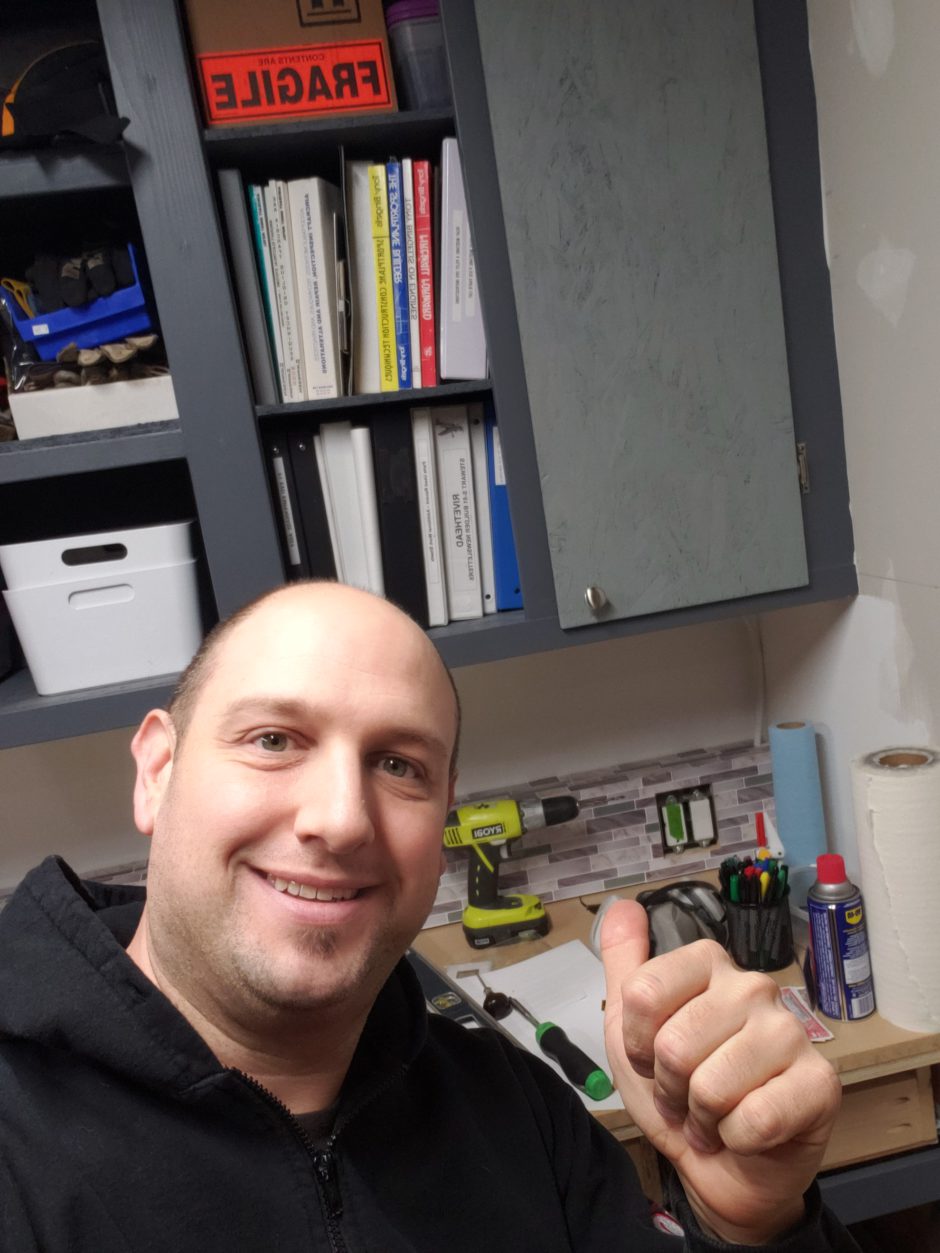
I also began to add some peel-and-stick tiles to the wire throughway to dress it up a bit. I think it turned out pretty nicely.
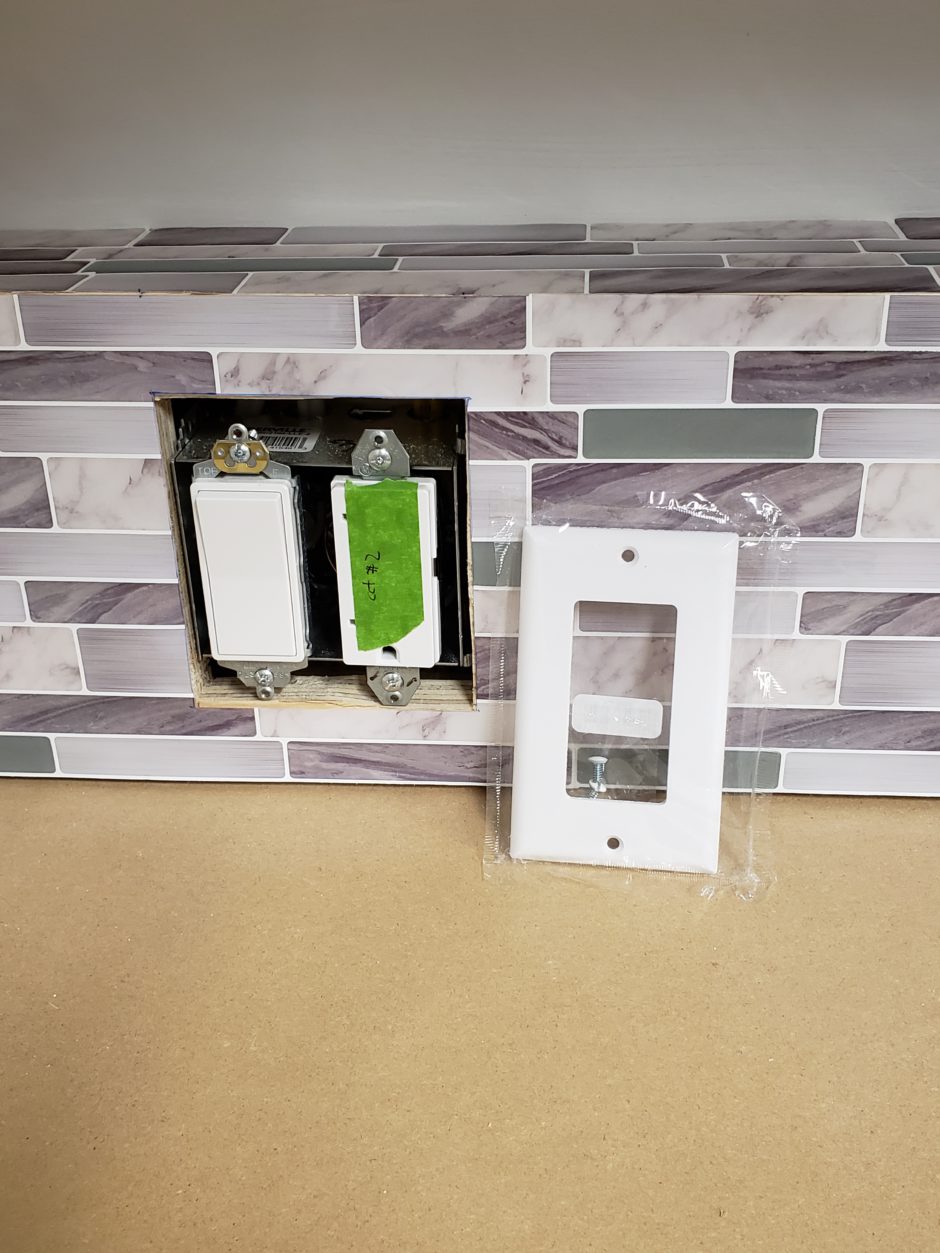
Jumping ahead, here all the doors are on and we are now oh, so close to being a functioning workshop!
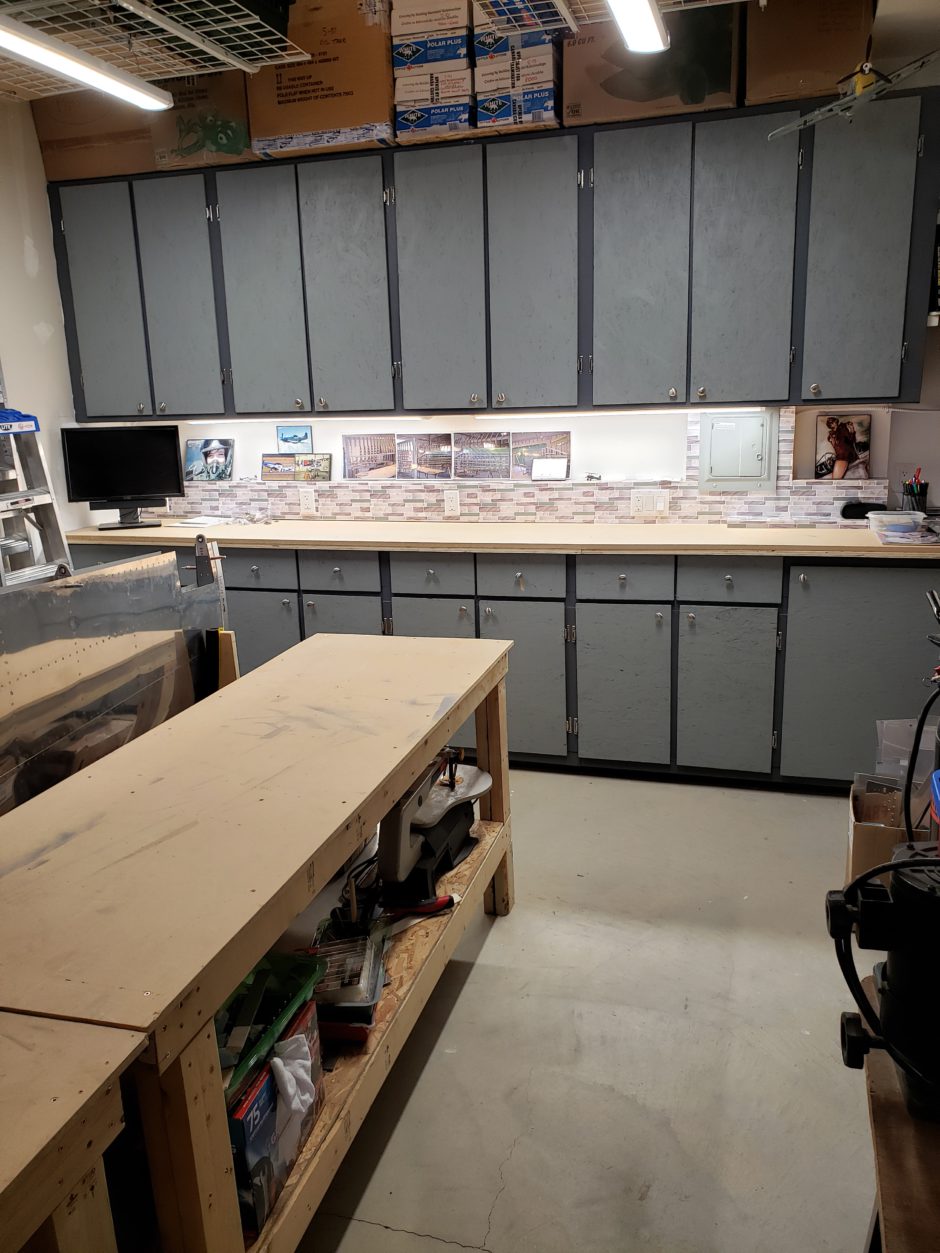
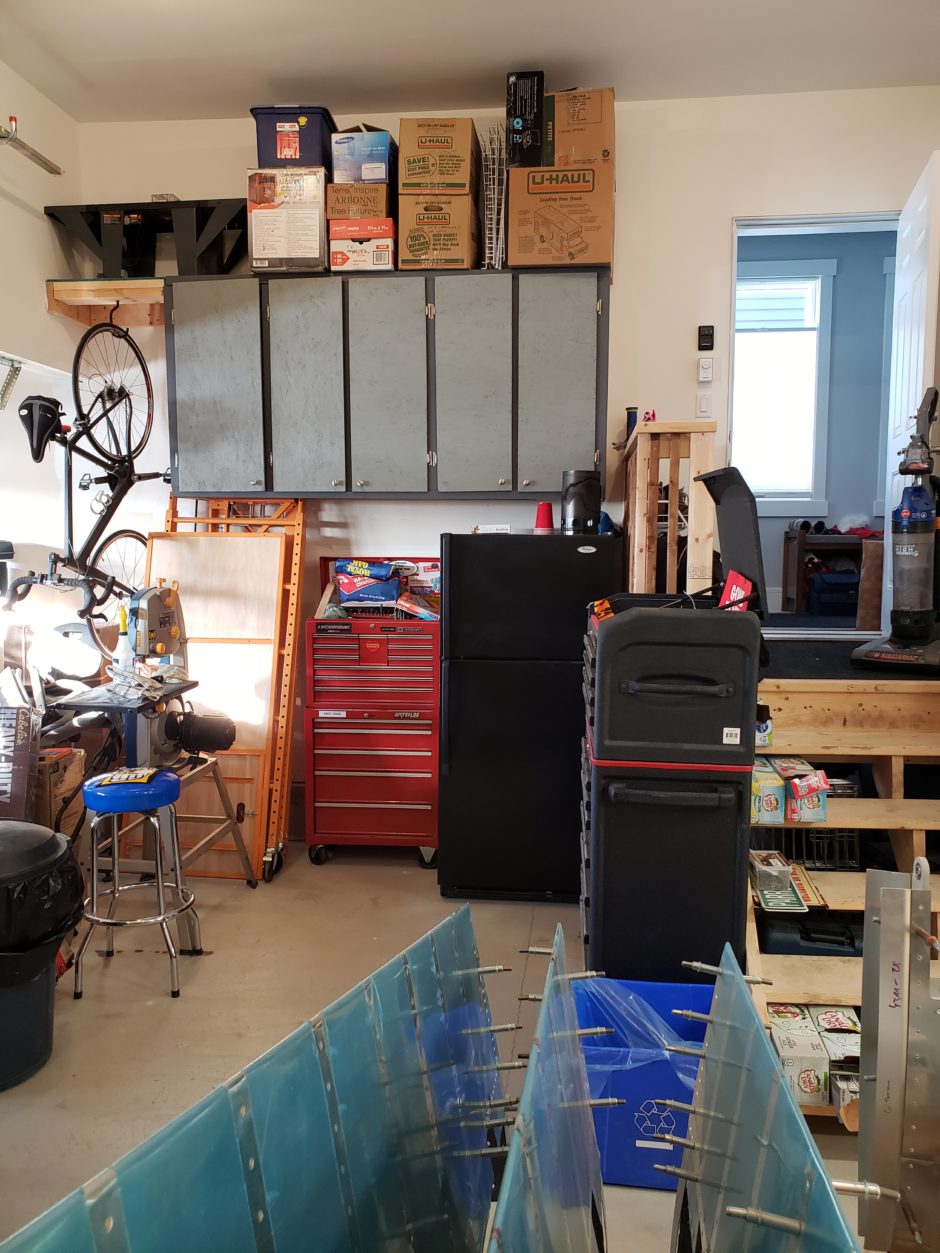
The Lighting
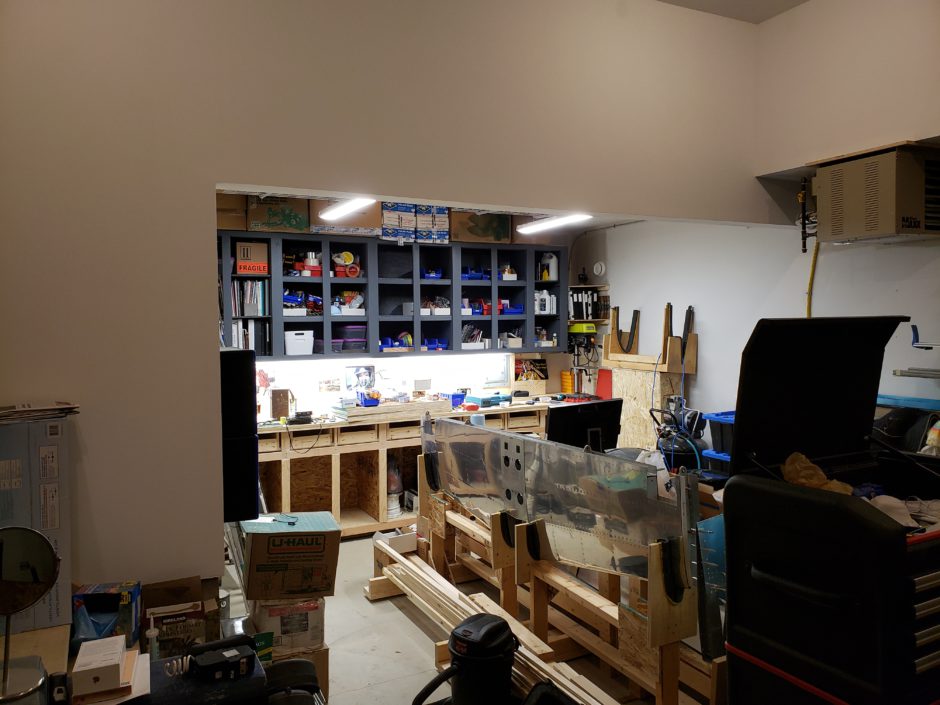
So, how well do the overhead and workbench lighting help? Well, in the images below you can see for yourself. I think I’ll have more than enough light to work with.
In the image below, I have the workshop area lights on, and the workbench lights off. Not bad. I think I need to add LED lights to the main garage area now.
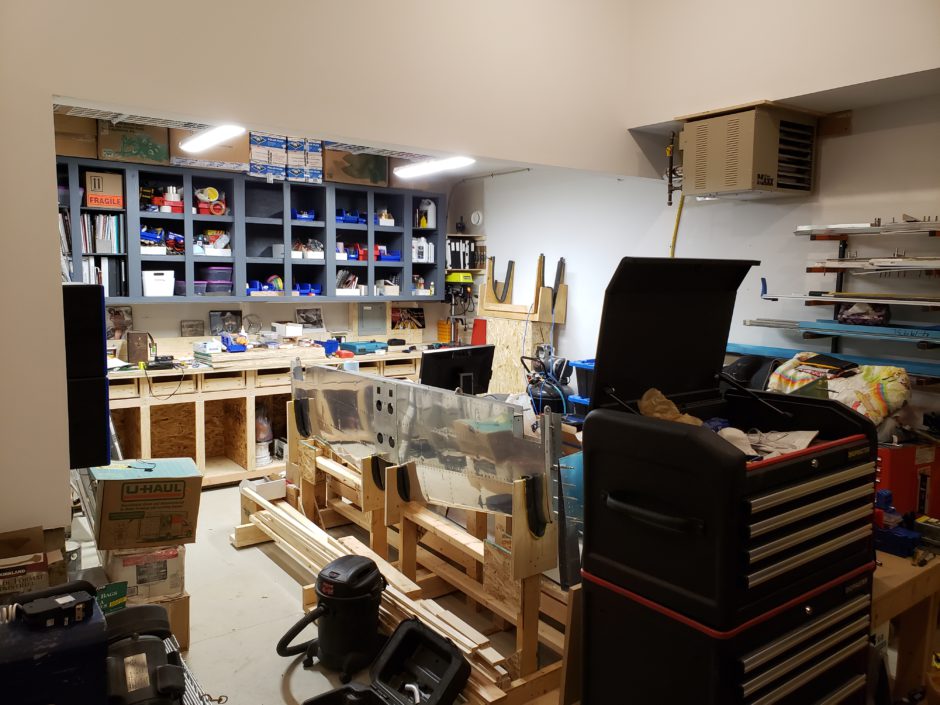
In the image below, I have the overhead lights off and the workbench lights on.
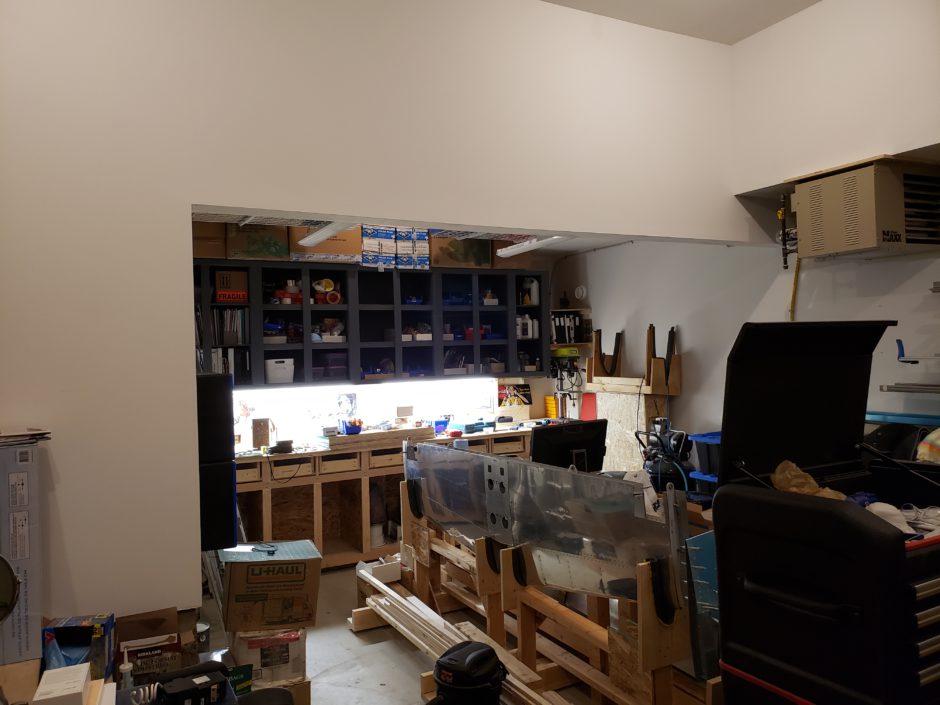
And in this final image, I have both the overhead lights on and the workbench lights. Again, more than enough light now!
Wrapping Up
Again, I apologize for not posting an update sooner. I appreciate those of my readers that have stuck around and especially those of you who have emailed me asking about updates. I’m happy to report that I’m now starting to get ramped up for more building. The first task is to review my parts after my long break to get gripped up on where I left off, and what the next steps are going to be.
There will be more actual building updates coming soon!
As always, please comment! I love to hear from my readers. Thanks again for coming along for this ride, you make my work worthwhile.
Awesome!!
Continue posting!!!
Hi Hudson,
Thank you so much for your support! More updates coming soon.
Hi Mike;
I just re-read your web site presentation, you did a fantastic job, congratulations and THANK YOU!
I hope you are making good progress with your S-51 project. I’m sure it will be a beauty!
Hi Jim, Thank you so much for you support and comments! I hope I can do you proud, as the S-51 is really the best homebuilt aircraft out there. Definitely worth the challenge and journey of the build.
G day Mike,
Yes I’m an Aussie lol, in Brisbane QLD.
I have recently acquired a Stewart S51 half kit, I say half because a lot of stuff is missing.
I have the fuse that I feel was factory assembled, landing gear struts and wheels, I have the vertical stab and skin (skin not fitted) and the horizontal stab, no skin
I do have various other items, some I have no idea about, anyway, I was elated to come across your blogging, I will be getting many ideas from your hard work, thanks, I hope that’s ok lol.
I don’t know the history of the kit I have, but I think it has changed hands quite a few times over the years, has a little damage but still it has potential.
I have also seen the builders group and will join up with that also.
Your postings have inspired me and I will be watching you with interest.
Cheers
John
Hi John, Thanks for your reply and your support for my blogging. I truly appreciate the support. I’ll contact you in by email so we can chat in more detail! Cheers, Mike